Basement Renovation on a Budget: How to for Under $600
This post may contain affiliate links. If you purchase a product through one of them, we will receive a commission at no additional cost to you. As Amazon Associates, we earn from qualifying purchases.
Today, dear fellow homeowners and aspiring homeowners, we’re going to talk about how we did this basement renovation on a budget!
We were pretty excited that our house had a “partially finished basement” – in other words, the ugly cement walls and utility space were separate from this room that has been sheetrocked and painted.
This was one of the nicer rooms in our home when we first purchased it. And by “nice,” I mean it had updated lighting (look at those high hats!) and nothing was broken except a giant hole in the floor in the corner.

We didn’t want to spend a whole lot of money on this little lair, since we had 2 kitchens and 3 bathrooms on tap. But hot damn, we needed to address a few issues to make this room comfortable.
There were four things that were really driving us nuts when trying to settle into this room:
- paint
- layout
- floors
- function.
For now, we’ll ignore the fact that it’s utterly filthy. (Why didn’t anyone mop up before trying to sell this house?!)
Anyway, let’s get to it.
1. Paint
The first thing we did for this basement renovation on a budget was paint.
How long could I last looking at a poor paint job of that very, very, green color, you ask?
Answer: not long. Not long at all.
The paint job was a pain thanks to the soffit, but we got it done as fast as possible.
Cost: $60 for 2 gallons of wall paint in “Monogramme”, $25 for basic trim paint.
2. Layout
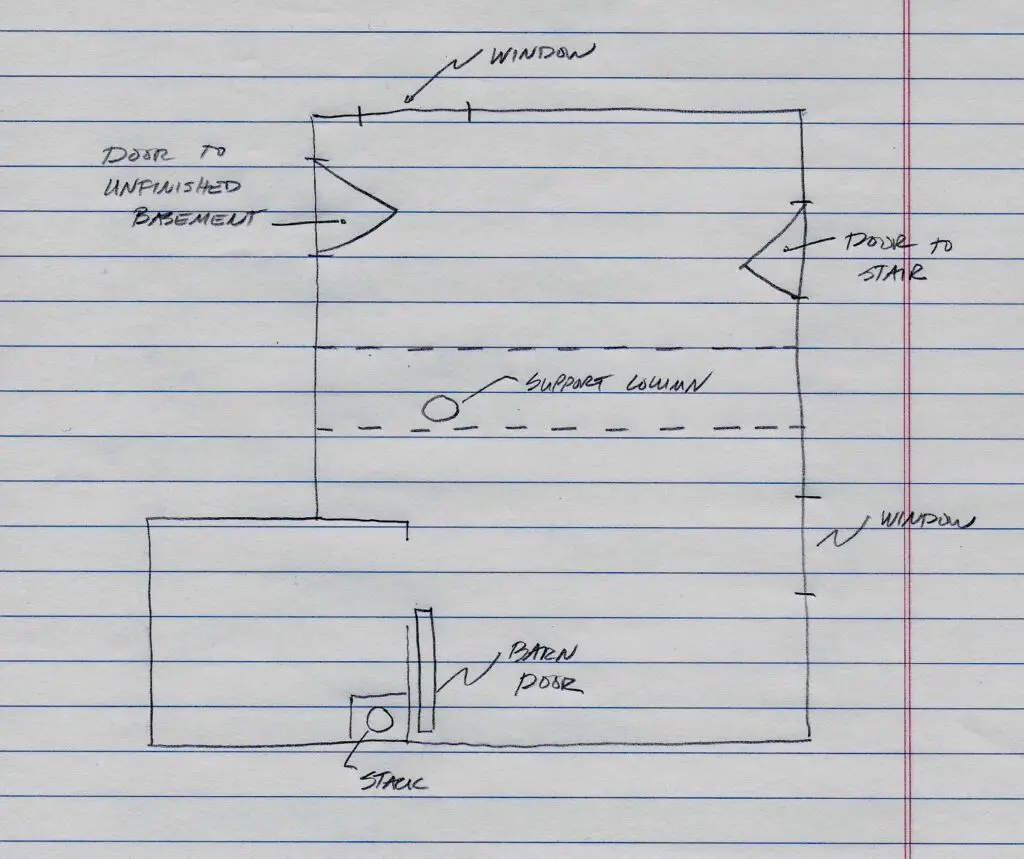
The layout of this basement room boasted a number of issues. Derek drew out a basic map for us, below.
Things we found most annoying:
- lots of doors in this room
- an inconvenient yet very important structural pole
- a ceiling soffit (noted by the dashed lines)
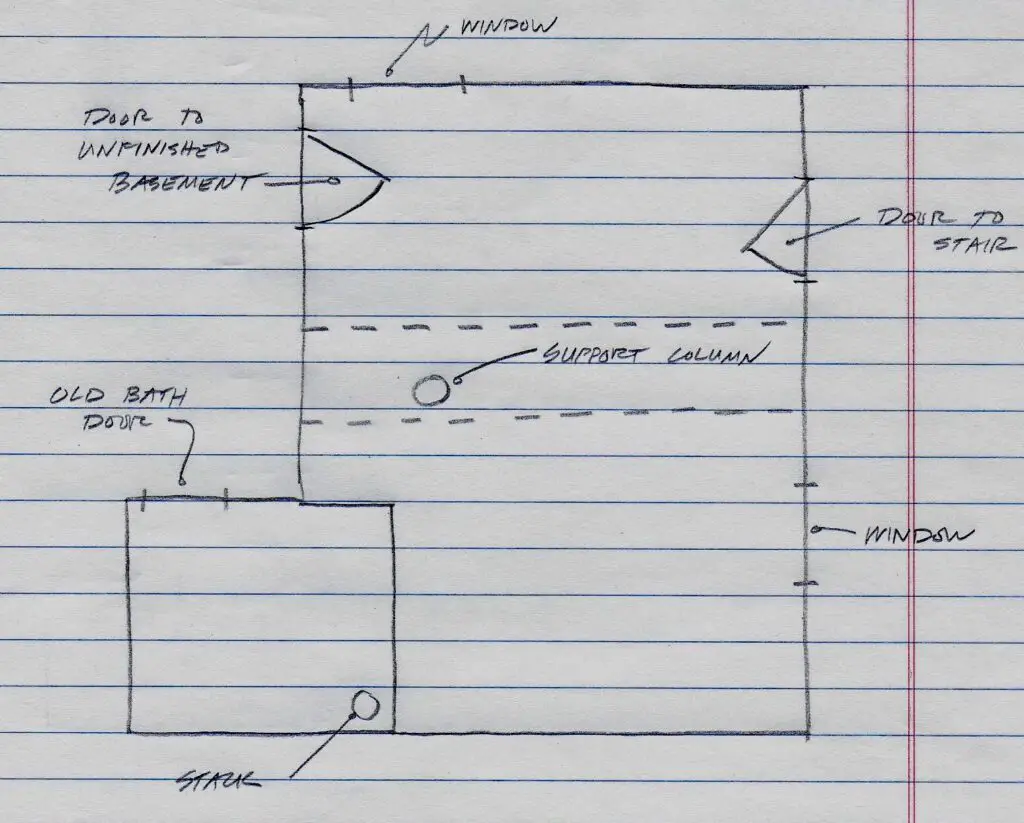
For point-of-view reference, the photos taken of the actual room are from the standpoint of the “door to unfinished basement.”
Here is the drawing of our “After” plan:
Doors
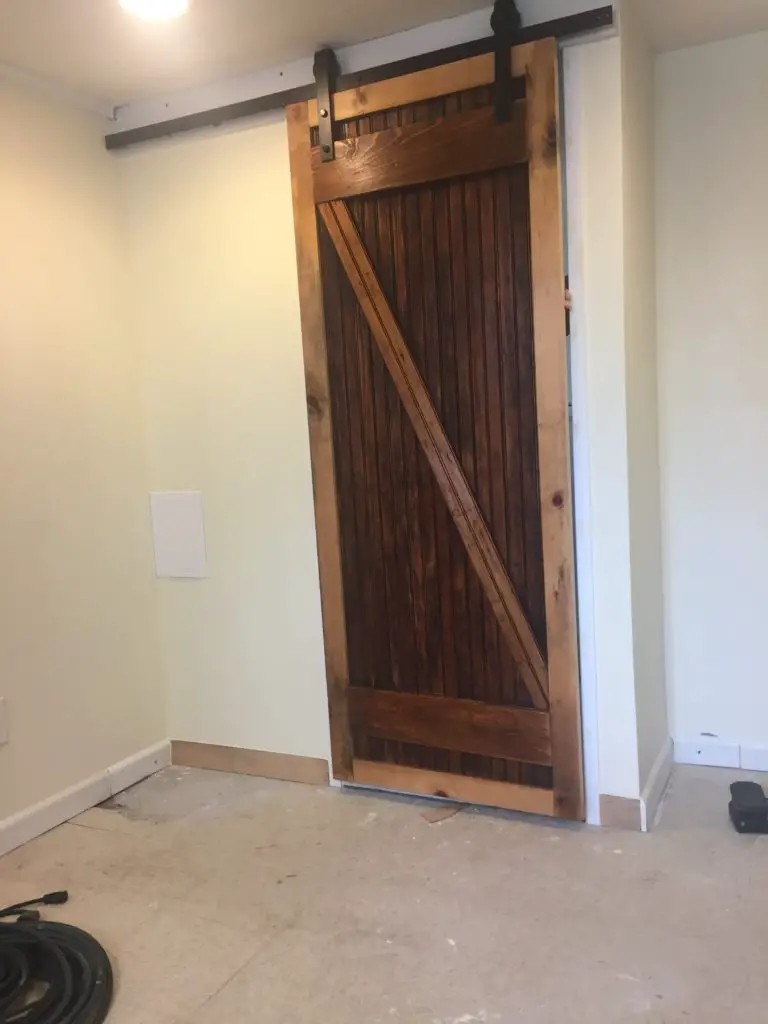
First is the issue of the doors. After renovating our bathroom, we now had three doors into this room – one from the back staircase, one from the main basement, and one from the bathroom.
Have you ever tried to organize a room that has one corner?! And three door swings? It’s challenging.
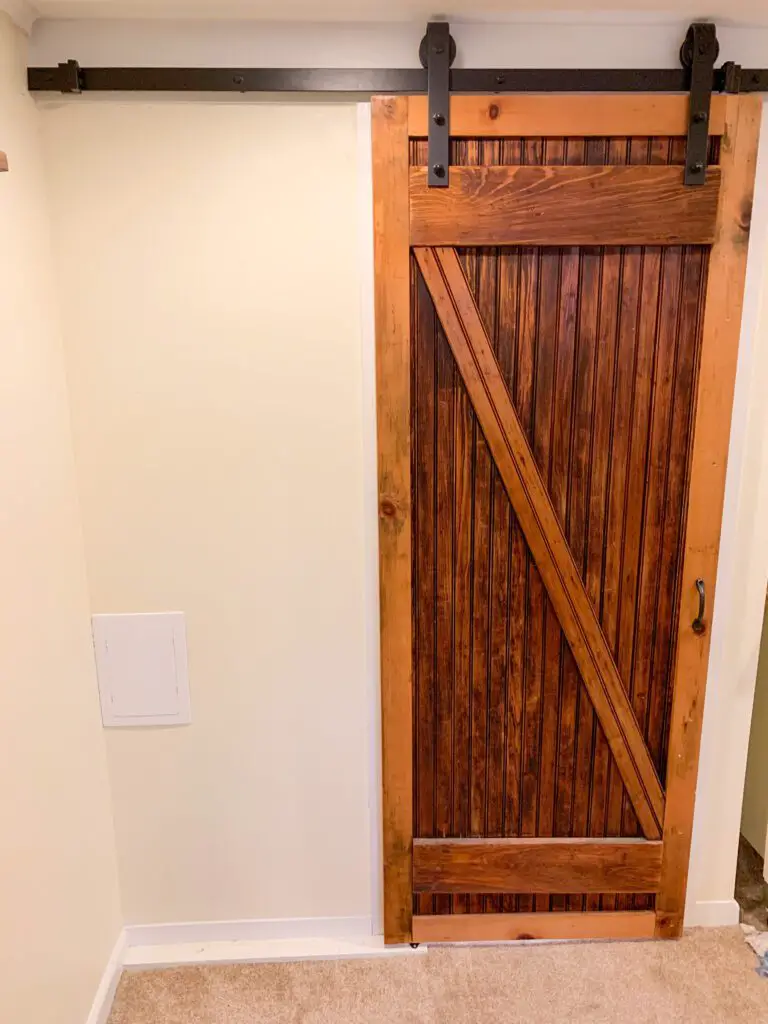
To combat this, we made the bathroom door a slider – a sliding barn door, to be specific.
We decided a slider would be less invasive on the space, therefore giving us more room for furniture or shelving.
As for the other two doors, we decided to paint them and leave them alone (for now). Someday, we plan to renovate our back stairwell to make it safer, which may affect the placement of the door in the room – but we are still recovering from our giant first floor renovation, and we need a break! So, it remains on the “someday” project list.
Cost: $0 for the door, but many hours in time. We found the barn door in the house when we bought it, and Dad ripped down some pieces of pine from a previous project to frame it out. We also spent about $50 on a basic barn door hardware kit like this to mount the door.
Pole
One of the beauties of a basement room is that you are subject to existing structural and utility necessities. For us, we had this pole… This lovely, green-stained (lazy painter!), sort of crusty, nowhere convenient, metal pole.
There was no moving this pole. It literally helps hold up the house. Now, while we could get a support beam, and take it out, and restructure it, etc. etc. etc., we had to ask ourselves: is it worth it for this room? This is a 2-fam in Garfield’s bonus room, not Buckingham’s sunporch. The answer was no, it’s not worth it.
We decided to take the path of least resistance and just sand and paint. To keep our basement renovation on a budget, we had to pick and choose.
Paint covers a multitude of sins.
Note: when painting metal, use an oil-based paint like this one!
Cost: $10.
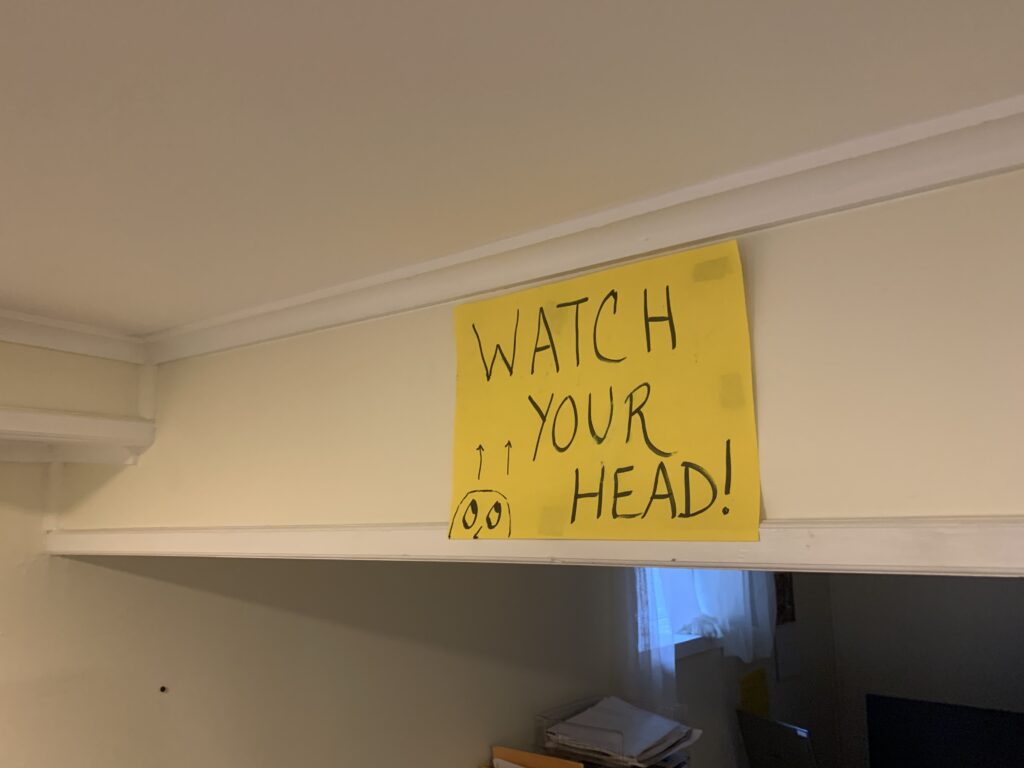
Ceiling Soffit
Yes, there is a giant soffit coming down from our ceiling. (Soffit, in layman’s terms: place that bumps down from the ceiling to cover the pipes.).
We inquired with our plumber as to what they were (heating pipes and returns, and thus important) and if they could easily be bumped up higher. The answer was no – not easily, anyway.
So, guess what? We had to live with it, much like the pole.
Great.
We did not like this answer for two reasons:
- It makes the room feel much smaller than it is.
- I am 5’10” and Derek is 6’2”. We hit our head on the regular when walking across this room!
Our solution to this issue is to hang a big ugly yellow sign that says “watch your head”.
Keep it real, keep it classy, folks.
Cost: $0.
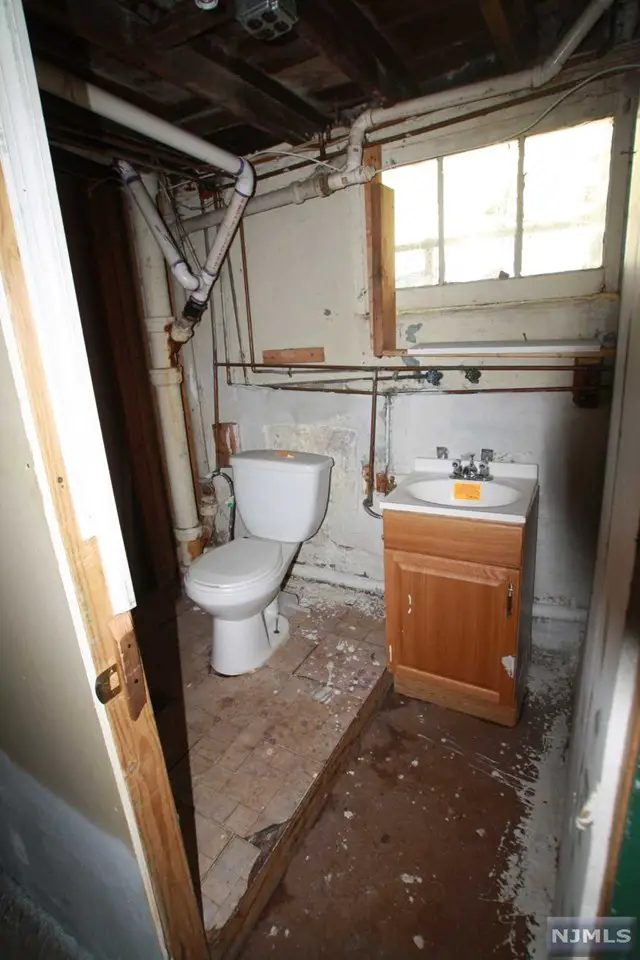
The Clean-Out Crater
For all my fellow new-ish homeowners that aren’t aware, there is a very important piece of pipe in your house called “the stack.” This is the rather wide pipe that flushes all the waste down to the pipe that takes it out of your house.
While she ain’t pretty, she’s a V.I.P. when it comes to function.
The stack also comes with a big ugly cap on the side somewhere called “the clean out.” This is in case you have a big problem (read: sewage backup) and you need to clean it out.
More experienced homeowners in my life swear they’ve used it less than once over the course of several decades. HOWEVER: you need to have it.
For some who-knows-why reason, our clean out was in the floor, with a giant hole in it – in the finished room!! – for that singular “just in case” moment.
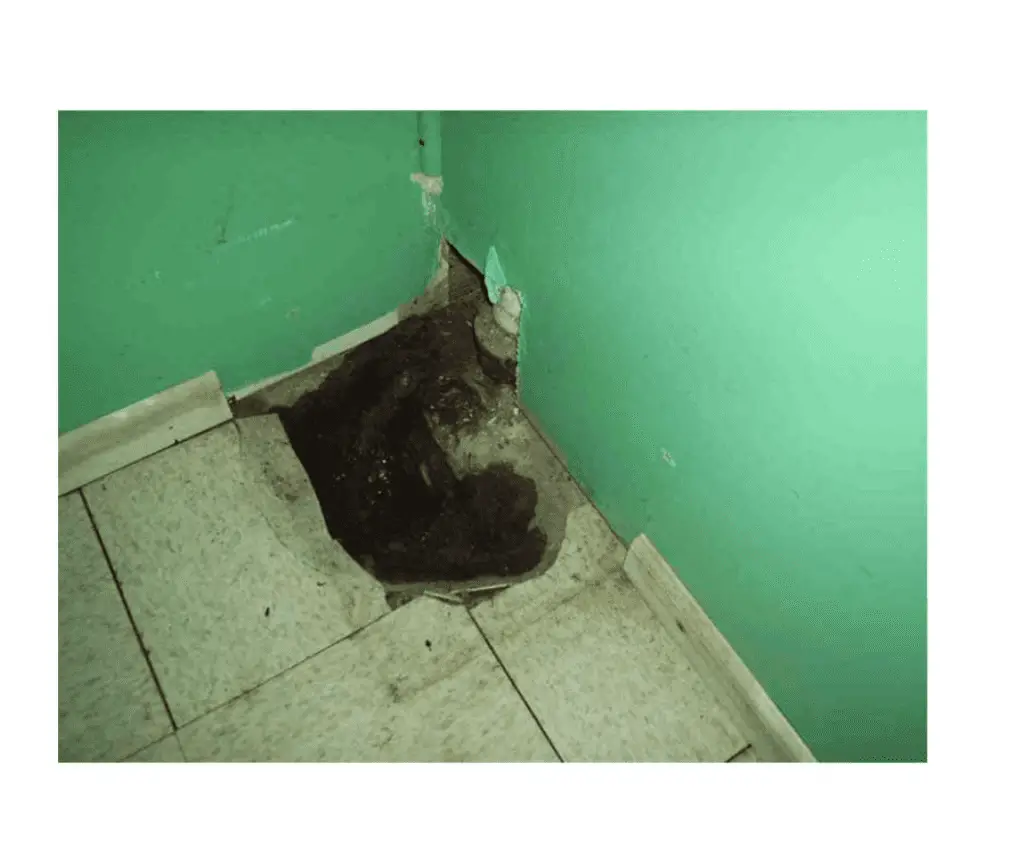
Seriously?! Who designed this room around a giant hole in the floor?! GROSS!
How did we fix it?
While working on our basement bath renovation, our plumber was replacing the bottom half of the stack anyway. Since we were digging it all up, we got our choice of where to put our clean out.
We voted about 4 feet up from the ground for three reasons: easier working height, easier to disguise, no more hole in the floor.
Once we filled the hole with concrete, sheetrocked the wall, and cut out for the clean out, we got a glorious $10 panel to cover up the hole and allow for easy access.
Look how nice! Look how civilized! And thus, our little rec room no longer has a clean-out crater.
Cost: About $8 for a small bit of cement, $12 for the access panel. (Sheetrock and plumbing stack replacement costs were part of our bathroom renovation.)
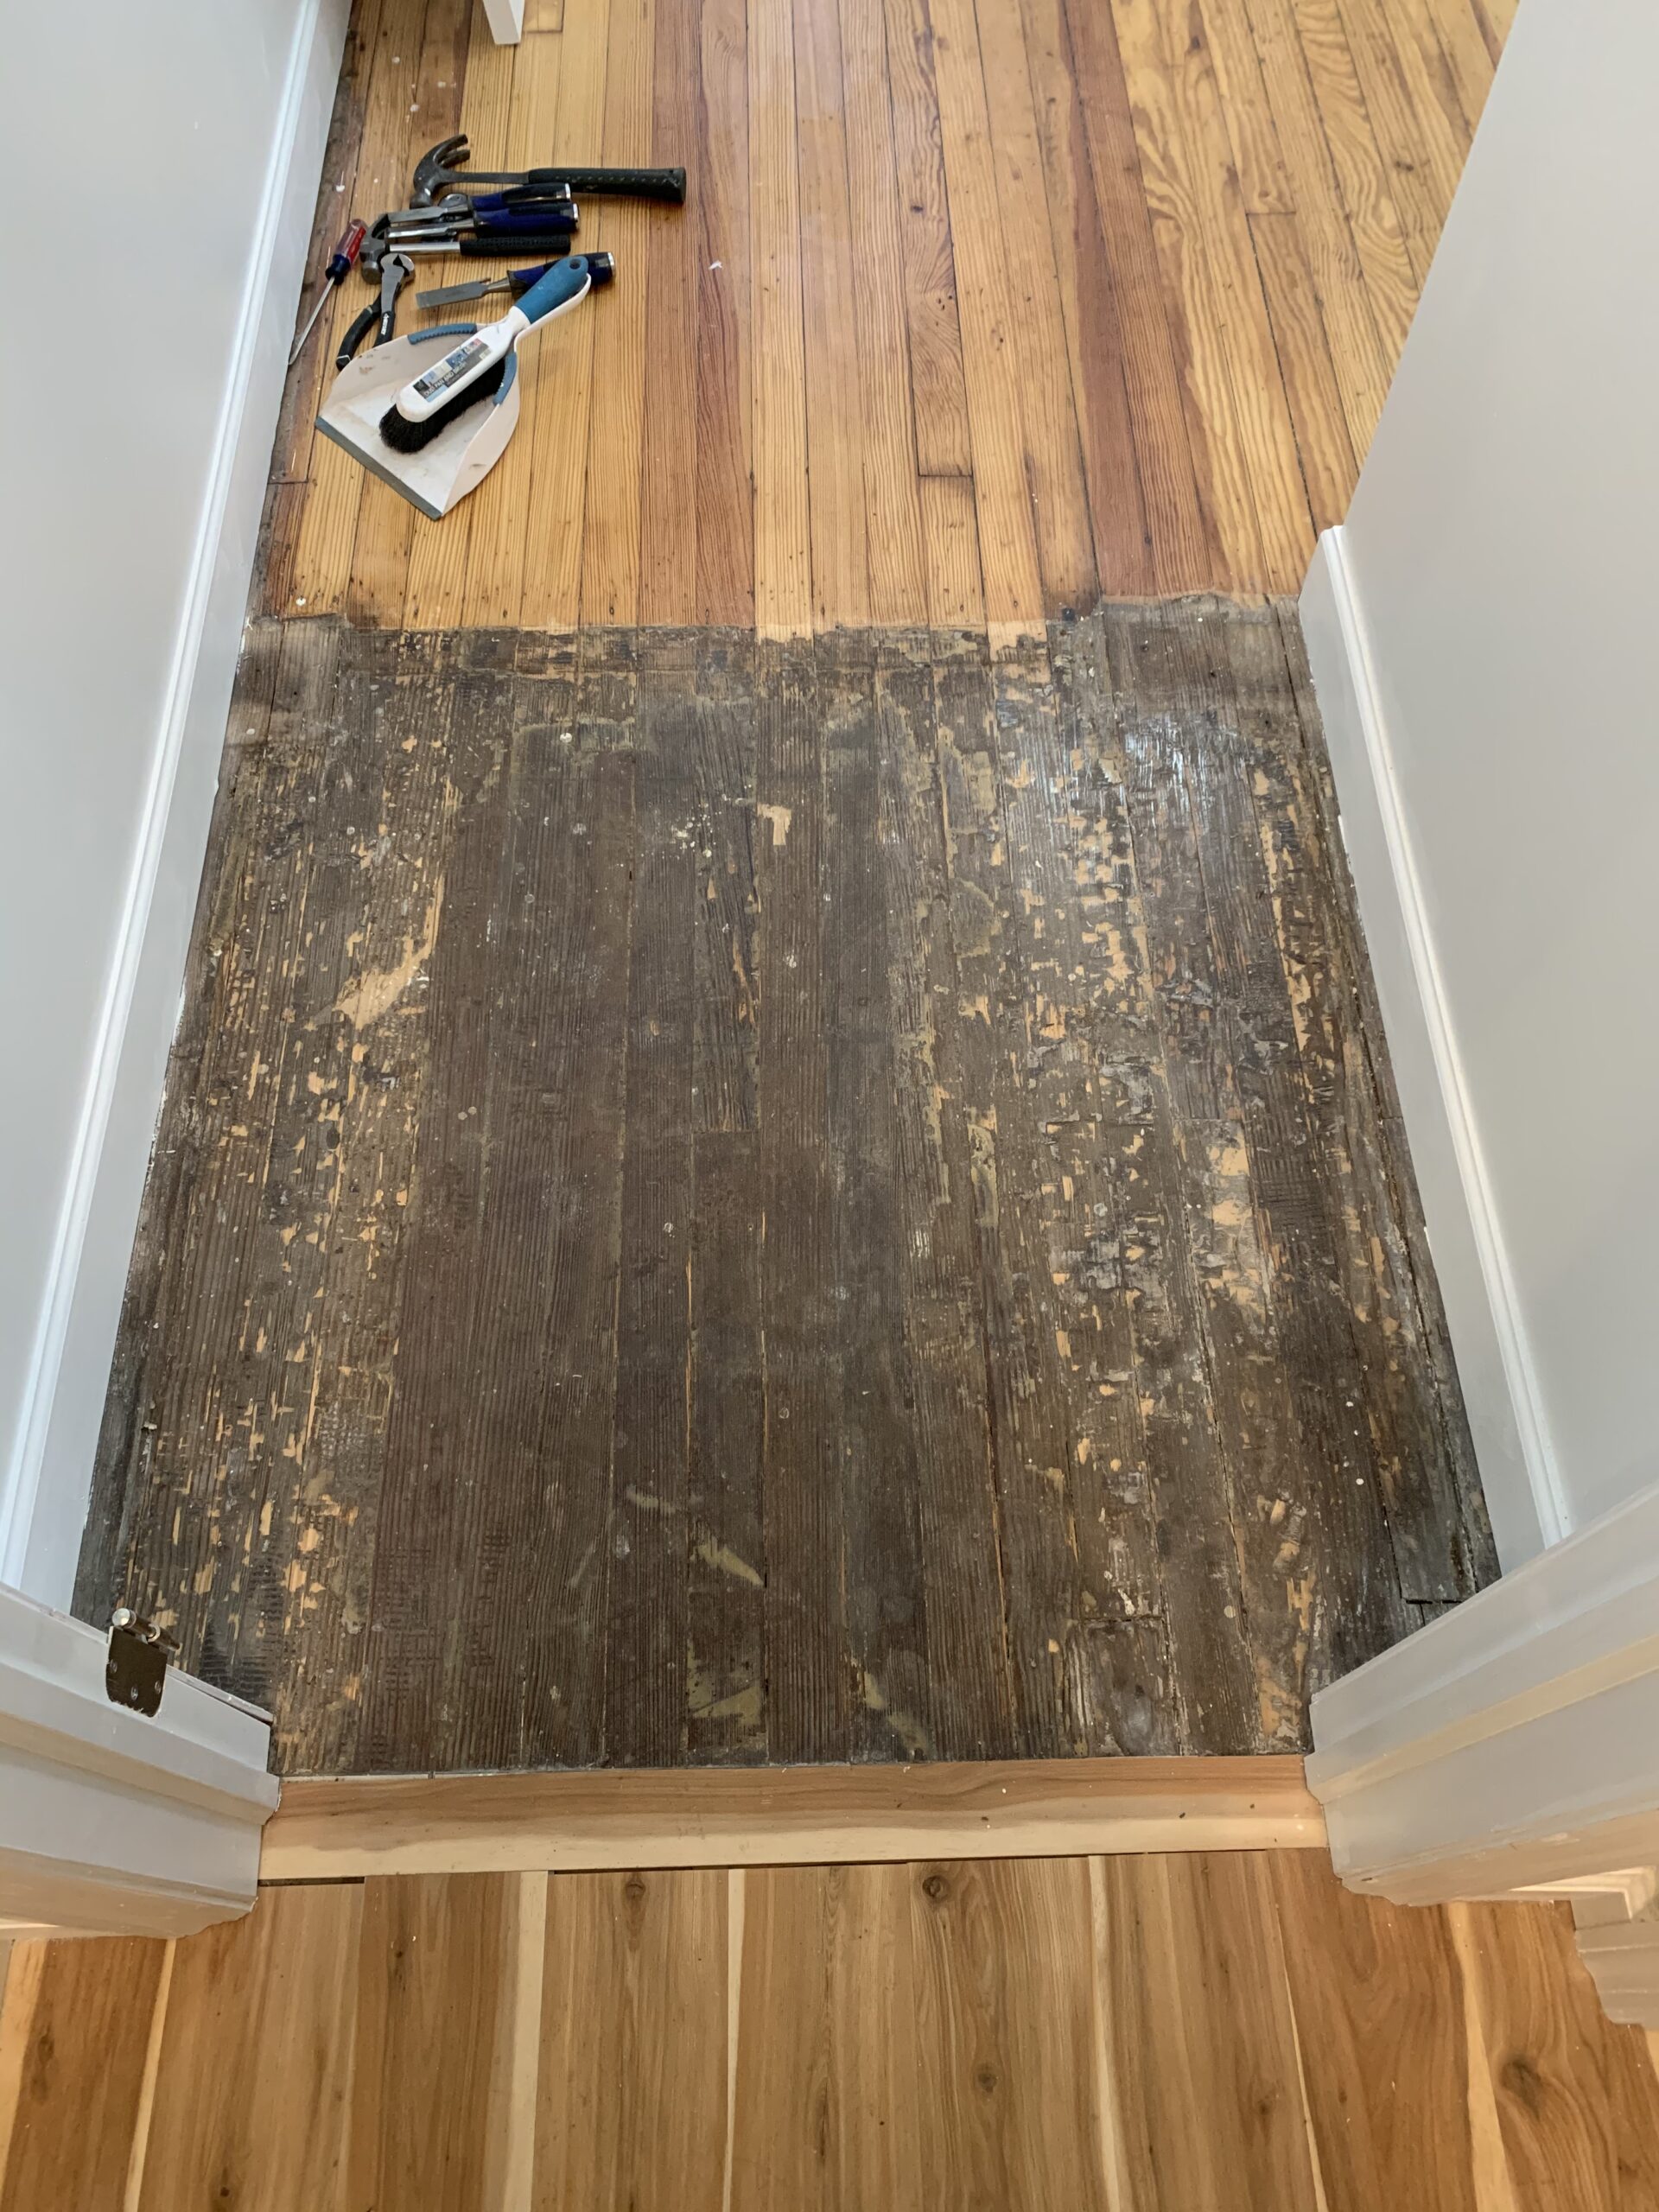
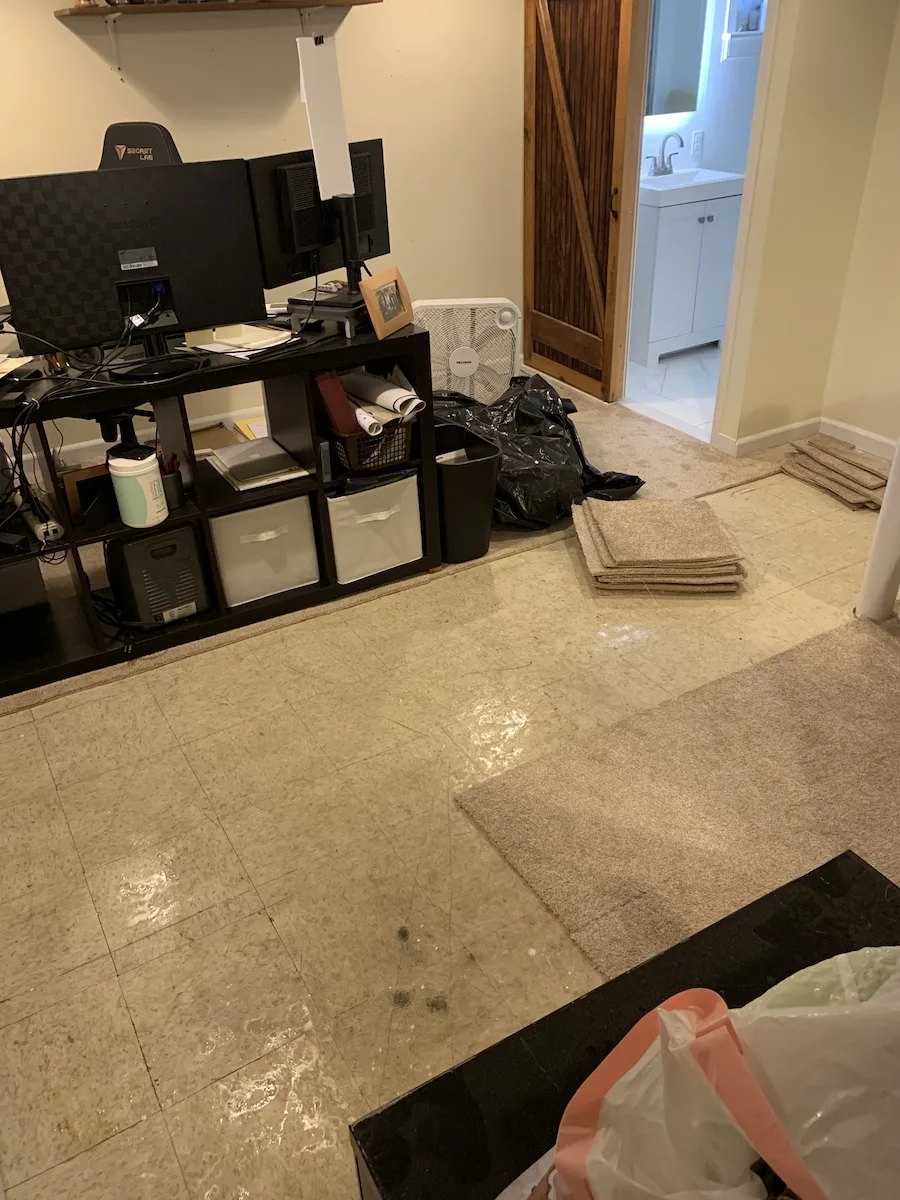
3. Floors
With ceilings, walls, poles, doors, and clean outs accounted for, we had successfully worked our way down (always work top down!) to the final eyesore of this rec room: the floor.
The lovely, filthy, stick-on-tile, nasty… eh, you get the point.
Call it what you will, we needed to cover up that ugly sucker. Choosing flooring was somewhat challenging, as we of course wanted to keep our basement renovation on a budget.
Ah, the debate. Something hard or something soft? What if carpet in the basement gets wet? Or, what if hard flooring in the basement gets wet? What about the fact that the floor isn’t totally level since our foundation was poured pre-WWI when people didn’t care about level basements?
We eventually accepted the fact that whatever flooring we put in our basement room could potentially be damaged, and decided on something soft.
Instead of a wall-to-wall carpet, we decided to use carpet tiles.
Carpets come in tiles? You bet! And you might not know it, but you walk on them all the time – they are quite popular in commercial properties for two reasons:
- They are usually a lower pile (aka less fluffy) and therefore easier to clean.
- If the carpet gets damaged, you can just replace the problematic tile(s), rather than having to get a brand new carpet for the whole space.
Reason number 2 was the selling point for us. We decided that if the basement took in water for some reason, and the carpet got really nasty, we’d rather just replace the affected tiles than replace the whole carpet.
Another perk of using carpet tiles – they’re super easy to install! Peel and stick, baby!
Here’s how to, really quick:
We found the center of the room (yes there is a time in life where you use algebra. Behold, it has arrived). We shifted our center starting point to accommodate the side of the room (think: you don’t want a big tile on one side and a sliver against the other side, otherwise it won’t stick for very long). Derek also cut carefully around the annoying structural pole.
We used a high-tech carpet roller. …
And by a day’s end, we had a plush floor underfoot!
I CANNOT EXPRESS the difference this made in the room! It “feels” warmer and cozier, even if the temperature is no different.
Cost: $443 for these carpet tiles. We chose “Candlewood” as the color. Be sure to add 10% to your square footage so that you have enough, and think before you cut.
Flooring Update 2021!
We did eventually take water in our basement during Hurricane Ida in 2021. There’s nothing like checking out the status of your basement at 5am, only to feel that delicious “squish” beneath your socks!
Our carpet tiles proved to be the right choice.
We took the tiles up from the wet floor and hung them out to dry on the mercifully sunny day following the hurricane.
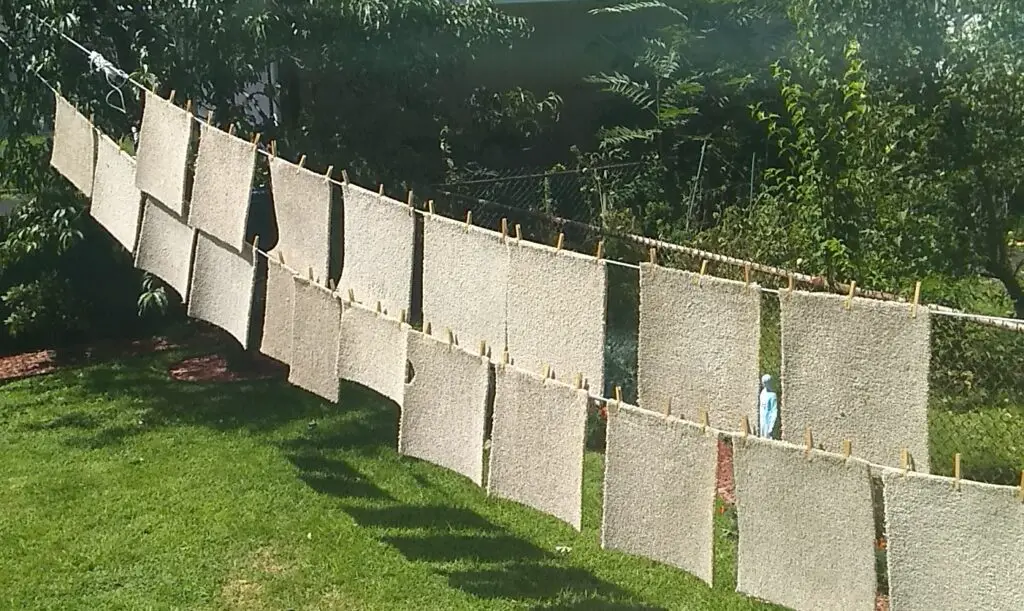
By the next day, we stuck them back into place.
Carpet tiles = win.
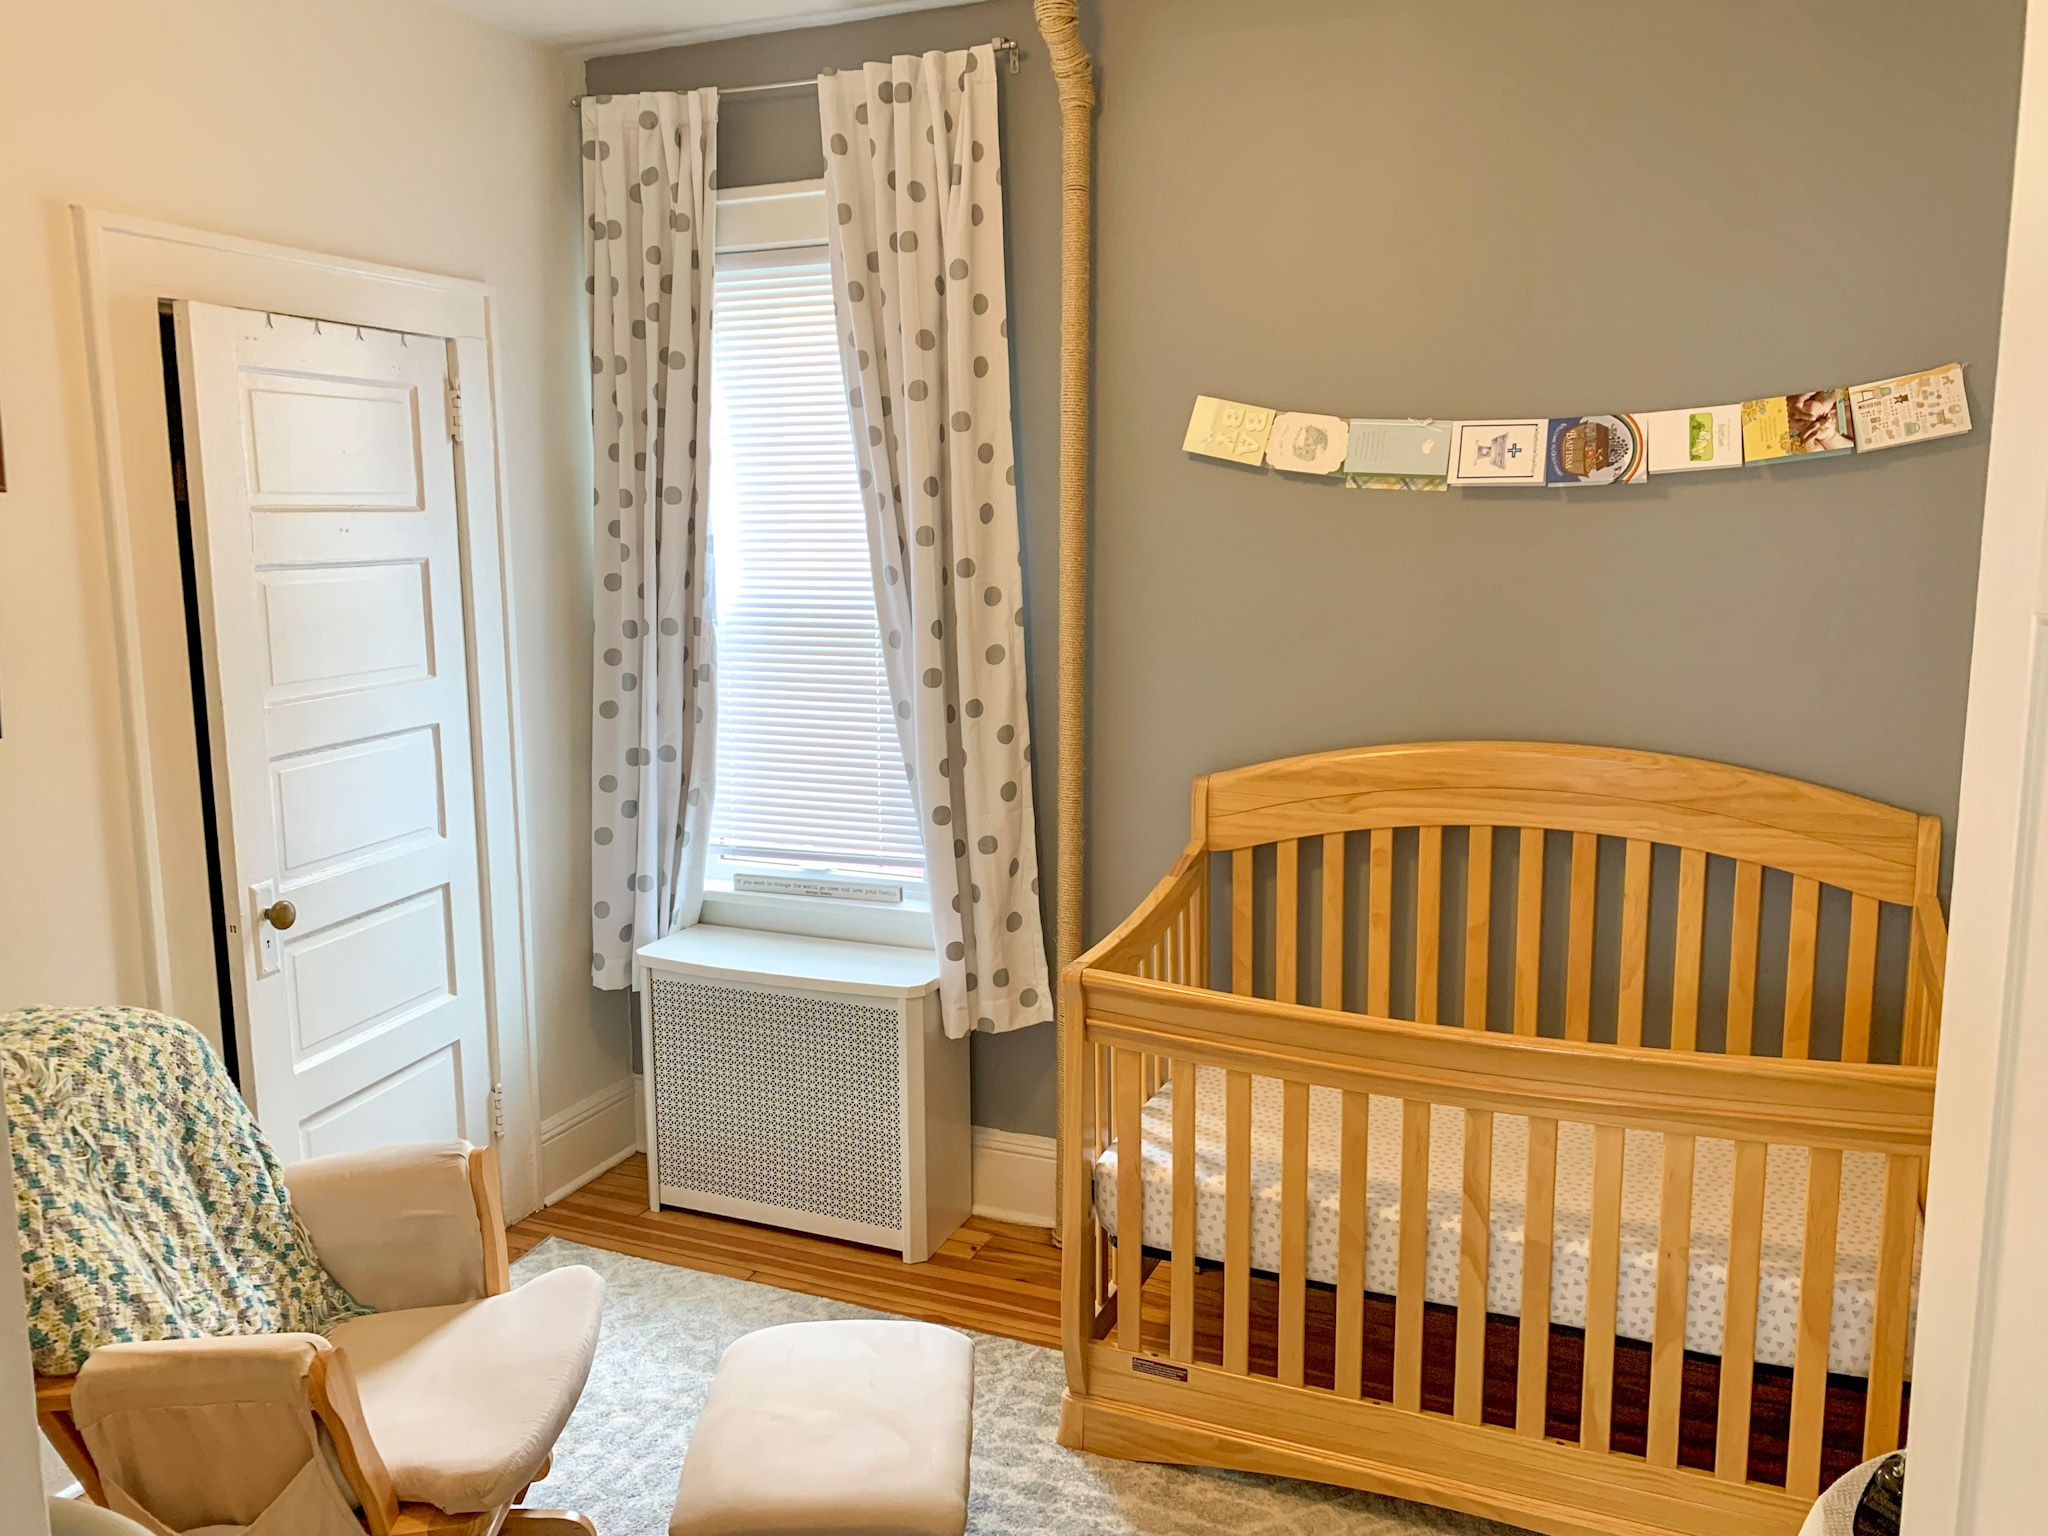
4. Function
This being a basement bonus room, we had to ask ourselves – what are we going to use it for? Like, seriously, what exactly IS it?
No, it does not count as a bedroom – in your home, a basement bedroom might be considered illegal and/or unsafe, depending on your egress situation. Our town explicitly allows no bedrooms in basements whatsoever.
So, what else could this room be? A playroom (we had no children at the time of this project). A gym – but it’s a little large for our hobby-level dedication to working out. A second living room – which it became for some time, when we had an unnecessary 60” television. Particularly in the summertime, when the basement was cooler than the rest of the house, we enjoyed an occasional movie night down there. But this happened three times a year… which we came to admit, did not warrant its own dedicated space in our home.
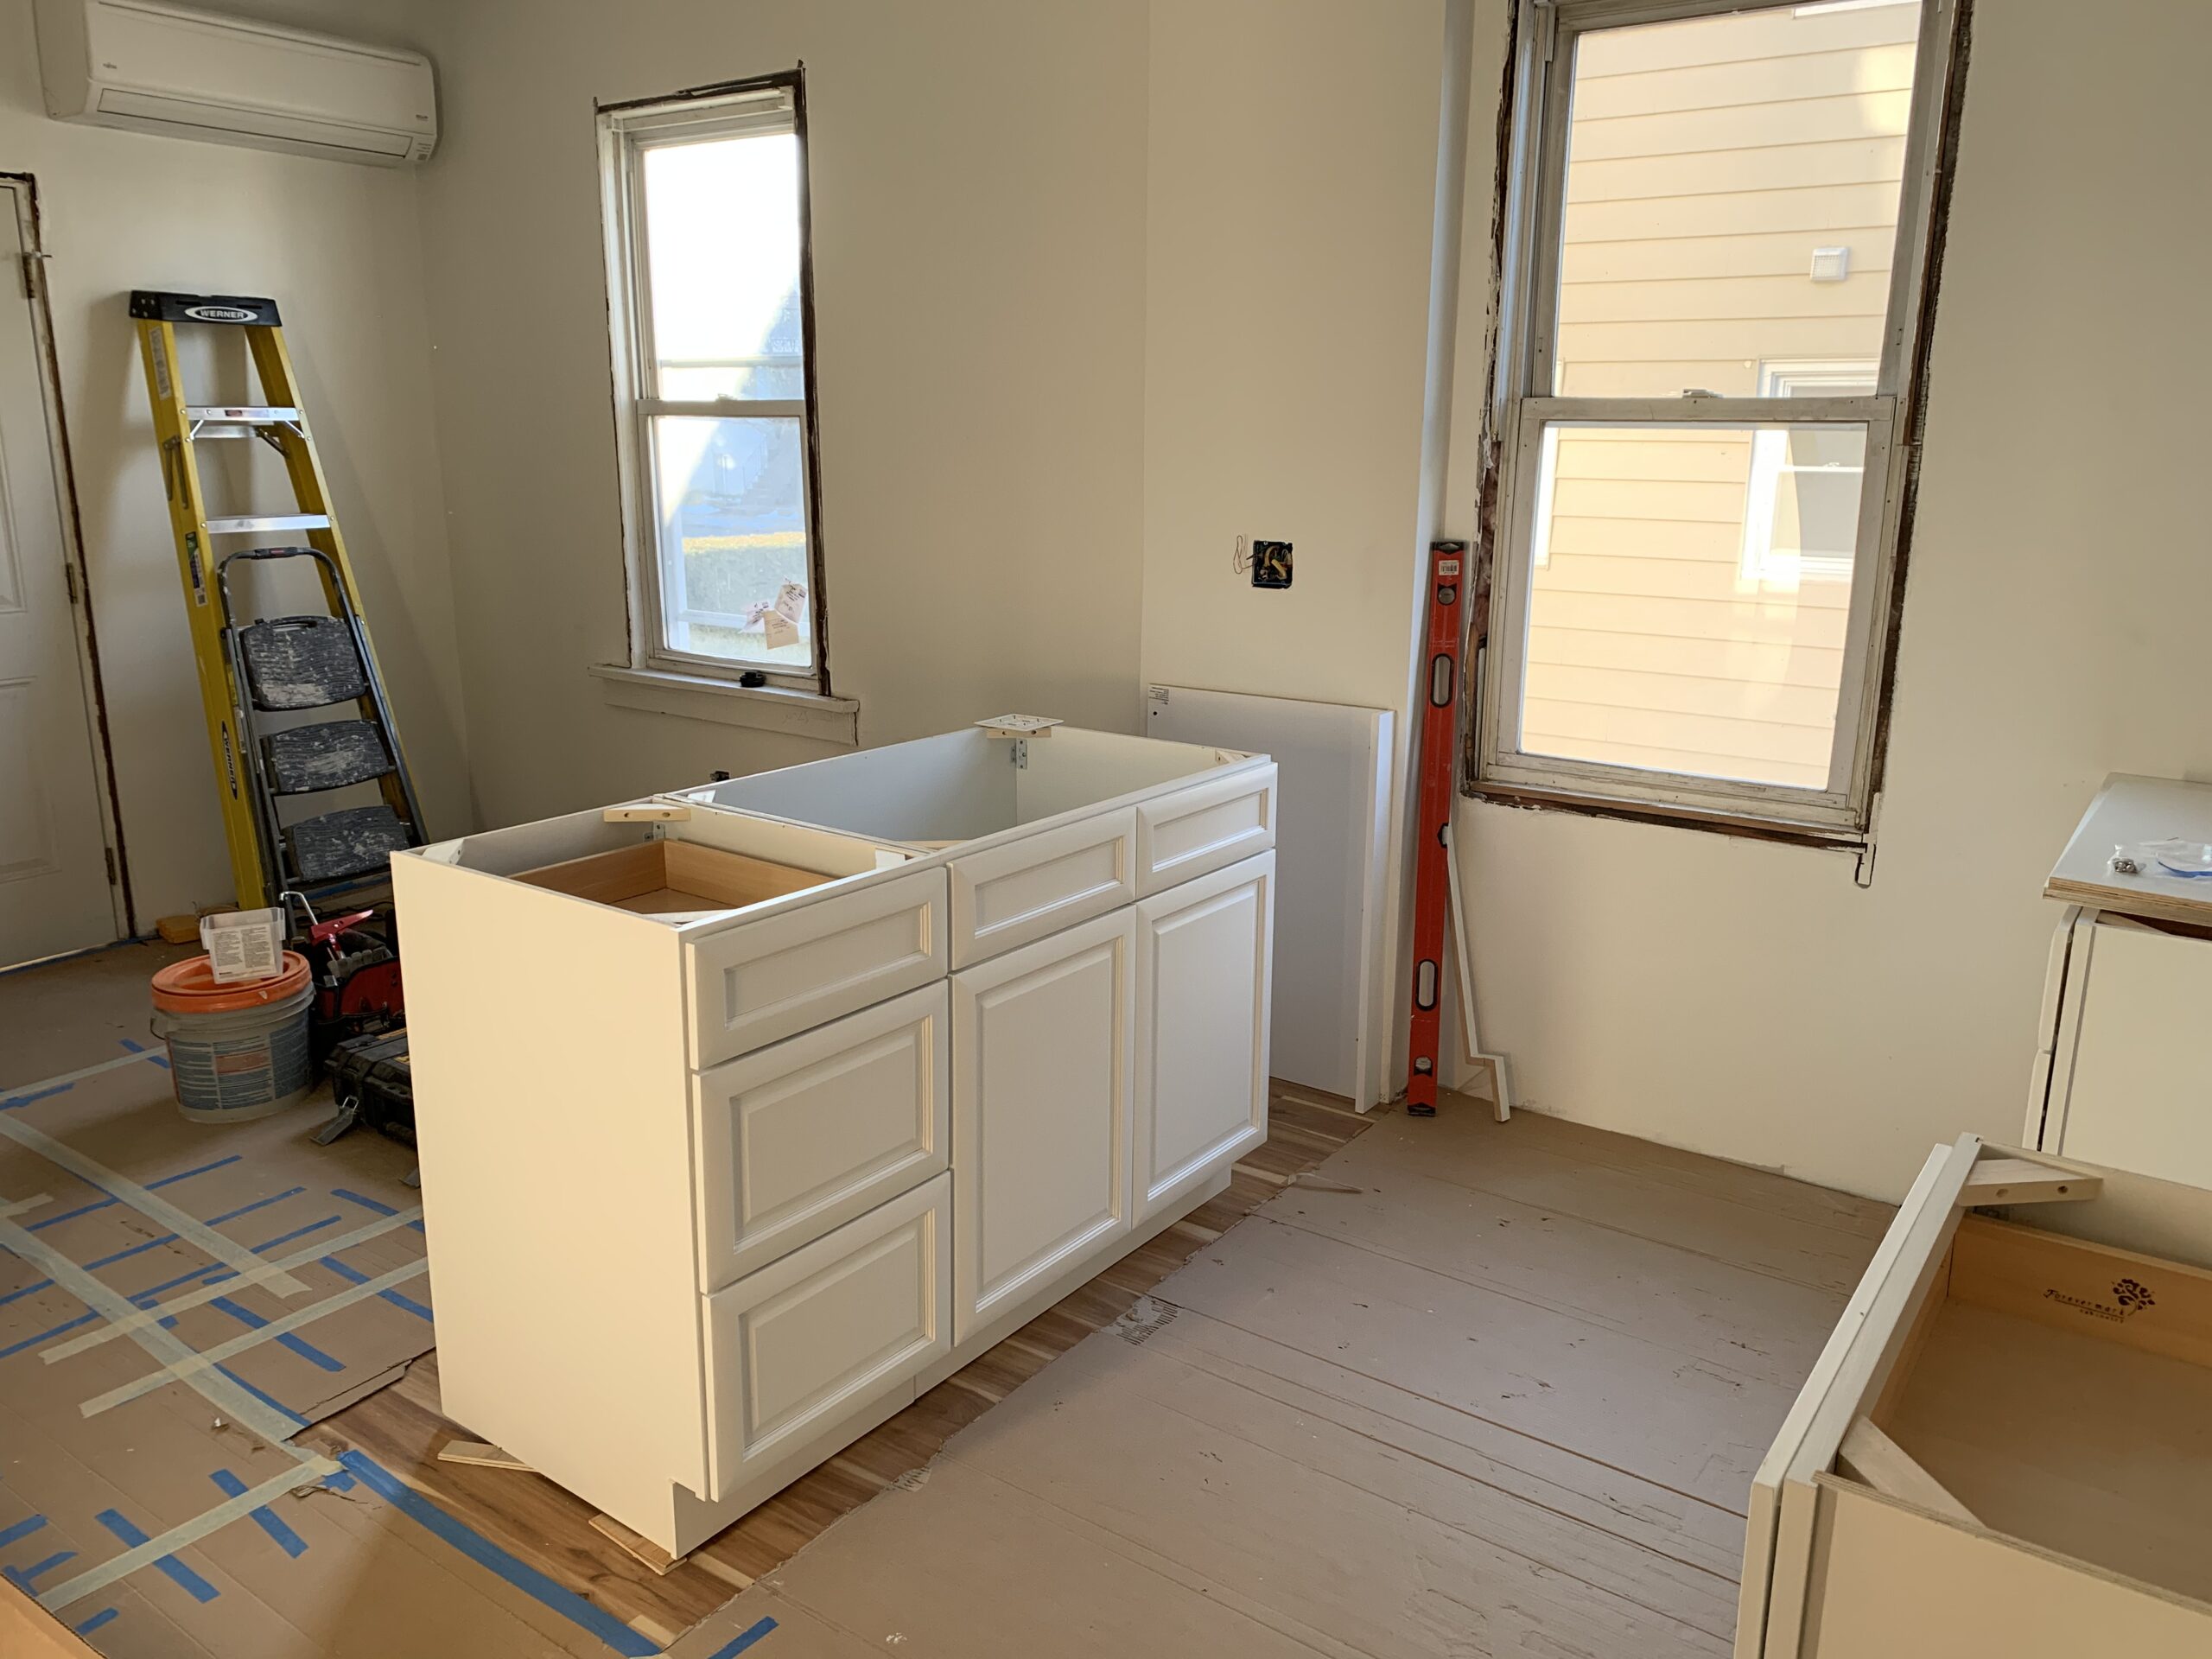
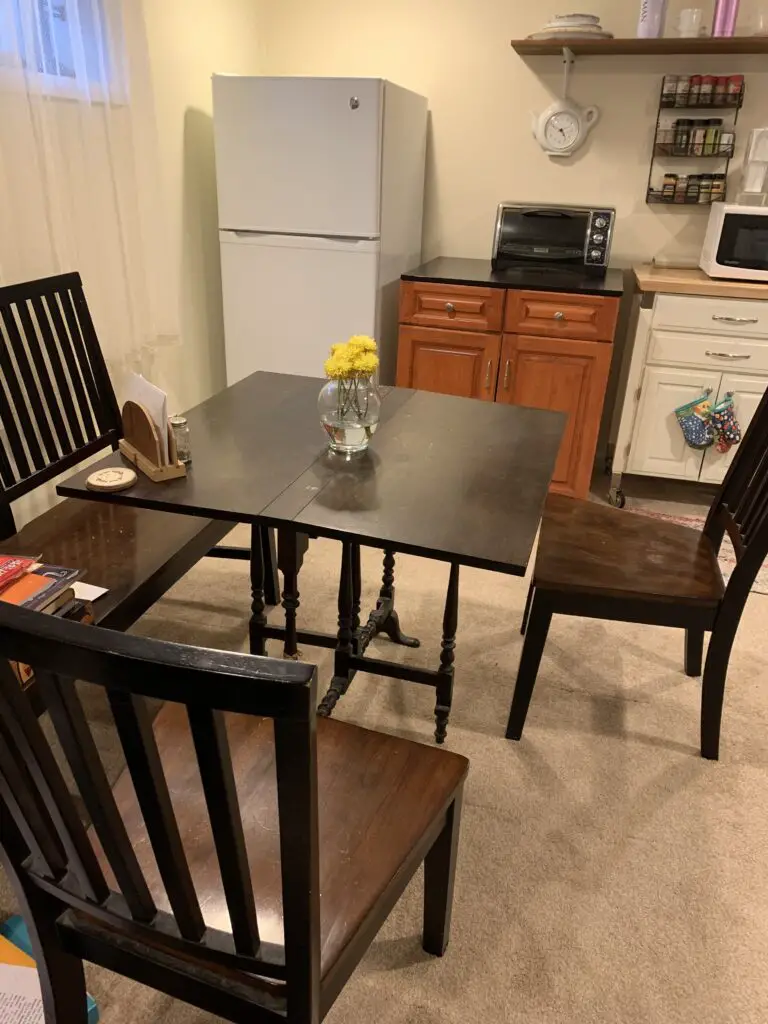
During the giant renovation of our first floor, our little rec room became our studio apartment – we managed to squeeze in our makeshift kitchen during our remodel, dining area, and living space. Not bad, right?
Currently, this has morphed again to become our office. After realizing that “work from home” was here to stay in 2020, we had to admit that a semi-permanent working space – instead of a makeshift one – was essential.
Furthermore, separate space for hubby from wifey was also a welcome idea – wifey’s work from home involved a lot of talking, while hubby’s work from home involved a lot of quiet thinking.
We also appreciated the idea of keeping workspace separate from home space – while it’s a subtle difference, it really influenced our mindsets in terms of “coming home from work.” It really does prevent the mental line from blurring.
We’re pretty pleased that this basement renovation on a budget was mostly cosmetic, especially since most of the house was a lot more, shall we say, involved, ha!
Grand total on costs was $608. In comparison to the rest of our house, that is a delightfully low number.
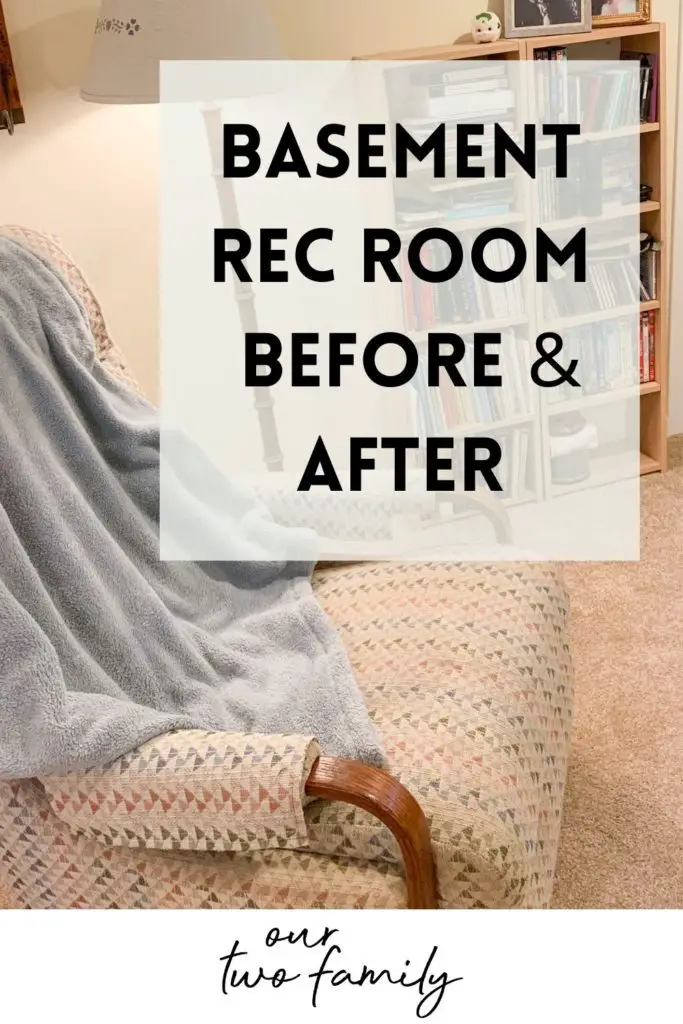
Here’s the official before and after.
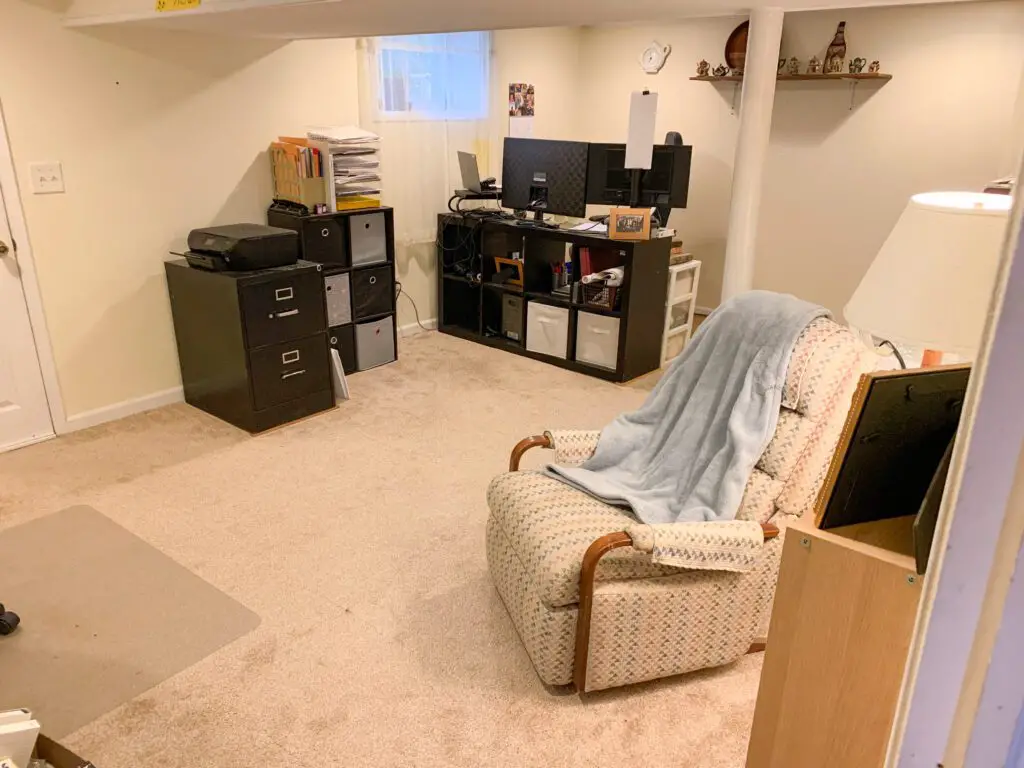
Maybe someday this will become a playroom or extra living space, but for now we love it as our office.
Derek’s work-from-home setup sort of resembles that of Dr. Claw from Inspector Gadget, but we’re very glad he can continue to avoid his commute!

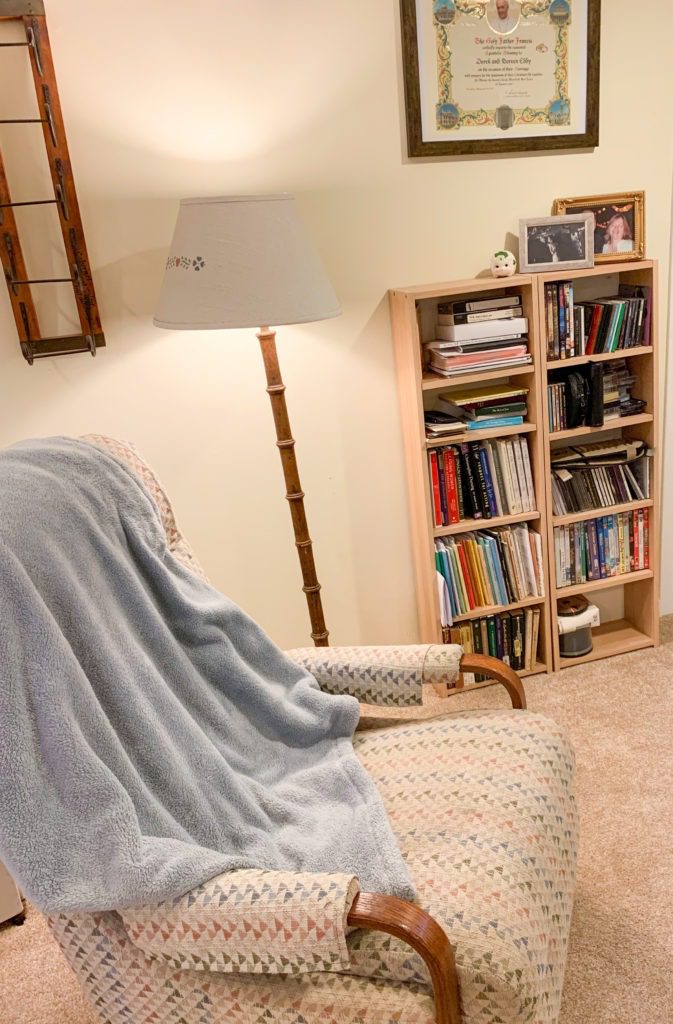
We also worked around the metal pole (as you see on the right) with our favorite family pre-loved recliner and pecan wood lamp to create a little reading nook. I often write this blog from that cozy corner.
You will also notice the empty wine rack, thanks to our pledge to quit drinking at home.
Don’t forget to subscribe to Our Two Family to never miss a post!