Kitchen & Pantry Layout Correction – The First Floor, Part 1
This post may contain affiliate links. If you purchase a product through one of them, we will receive a commission at no additional cost to you. As Amazon Associates, we earn from qualifying purchases.
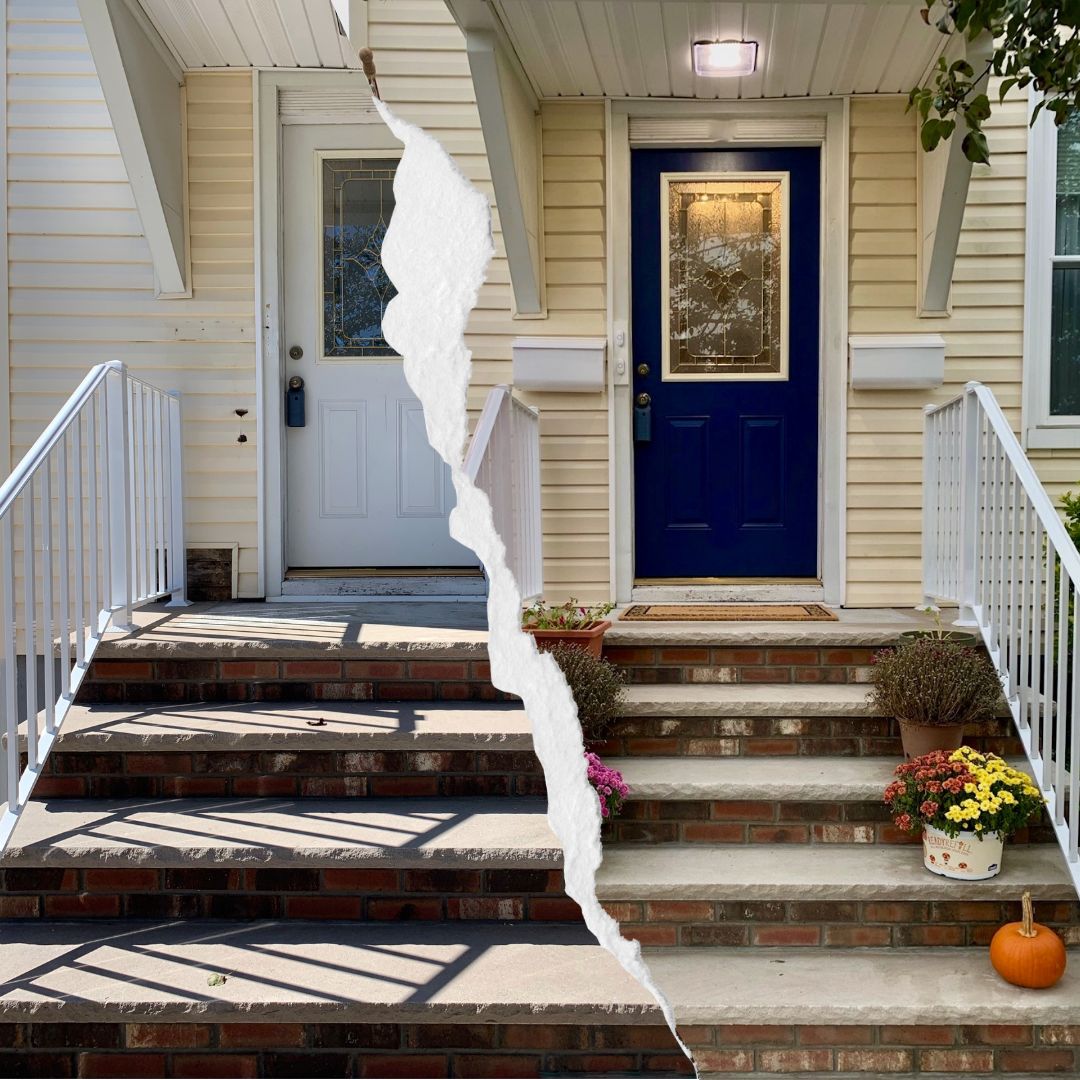
Welcome. I will now rehash the kitchen and pantry layout correction that catapulted our first floor renovation into existence.
I could call this a kitchen renovation, or a bathroom renovation, or a hallway, or a pantry renovation, or even a master bedroom renovation.
Any of those titles would prove an interesting and entertaining journey… but… they just won’t do.
It was an “all of the above” renovation.
WHY? Well, they were all connected, and required a bit of framing around and between each of the others. One thing led to another, and you know how it is when you pull a piece of yarn on a sweater….
Let’s just get into it.
Why All at Once
I’ll start with the why.
What on earth possessed us to do our first floor renovation whole hog, ripping out these rooms all at once?
- Kitchen
- Pantry
- Bathroom
- Hallway
- Master bed
Here’s why:
- We’re a little bit insane, let’s be honest. We probably would have benefitted from reading our Ultimate Home Renovation Survival Guide.
- We had no kids at the time, so we didn’t flinch at living in a giant disaster zone. With the hope of children on the horizon, we would rather do this big renovation “BC” (before children) than do it “AD” (after ‘dem).
- They were all connected. We would have done just the kitchen and pantry layout, but the pantry was connected to the bathroom.
Ok, so tack on the bathroom… but the bathroom had this weird bumped out wall that was eating into master bed closet space, so tack on the master closet…
and the useless hallway…
and suddenly we were demolishing 2/3 of our first floor.
Cest la vie. Carpe diem. No day but today, for my fellow theatre nerds. - We would be saving time and money by doing the project whole hog. How?
Renting a dumpster once, buying a stack of sheetrock once, hiring the electricians and plumber once… these things add up, and contractors sometimes give better rates for bigger jobs.
We figured we would just do it all together and save in the long run., kind of like shopping at Costco. - There was also the incentive of insulation – our house being so old, it had no insulation behind the lathe and plaster.
While we could have left the walls up and just had the powdered stuff blown in, we decided that, coupled with all the electric work needed to update our 1950’s-era pull-chain light fixtures, we’d just gut it and start over.
Problems & Solutions
There were, of course, several kitchen and pantry layout issues to confront.
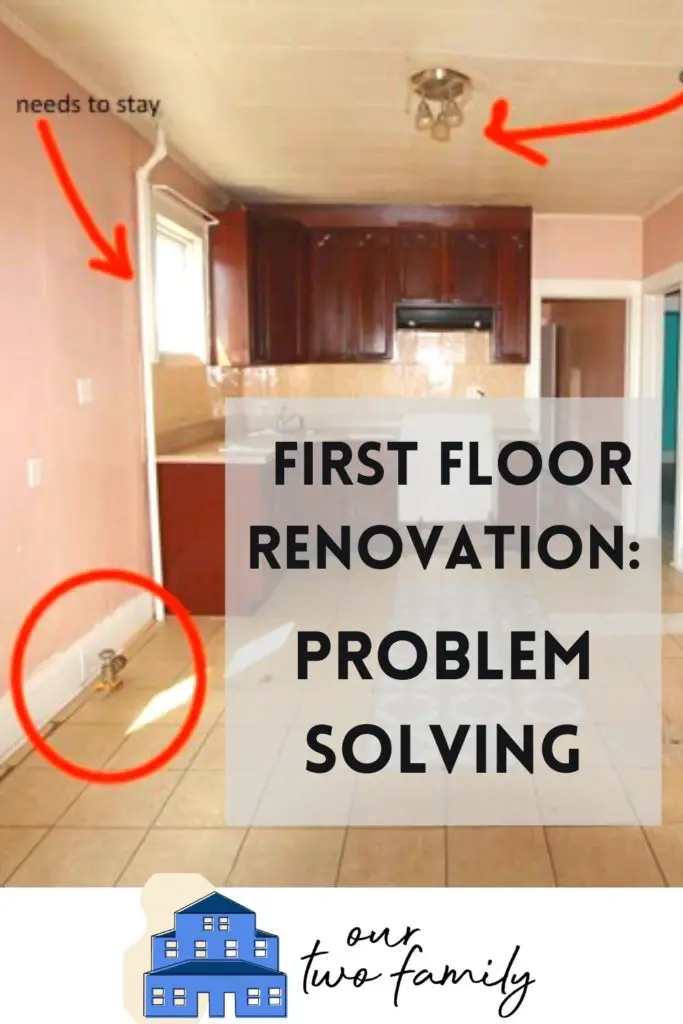
1. Kitchen Window.
Problem: blocked natural light.
Welcome to Our Two Family, where the previous homeowners did the stupidest DIY things on the cheapest route possible.
These are the same tiles found in the 1st floor bath… used as a kitchen backsplash, blocking our kitchen window.
Never mind the corner sink, which would be enough to drive a post-1950s housewife to drink… WHO IN THEIR RIGHT MIND COVERS UP HALF A WINDOW?
(How did we know it was a whole window? We went outside and looked at it. Just call me Nancy Drew.).
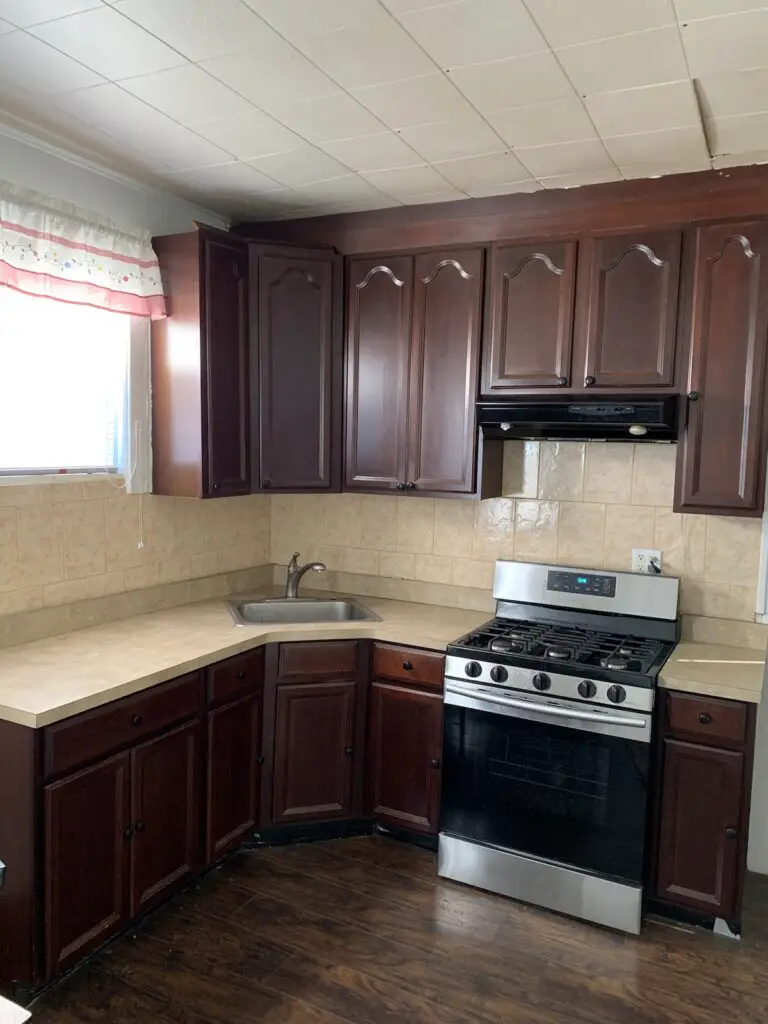
Solution: rearrange the cabinet layout.
In addition to the cabinets fighting the window – which is south-facing and sunny, a criminal waste if you ask me – I also wanted to take a sledgehammer to the corner sink the moment I laid eyes on it.
All of this just wasn’t working. I can’t work like this, people! GAHHH!
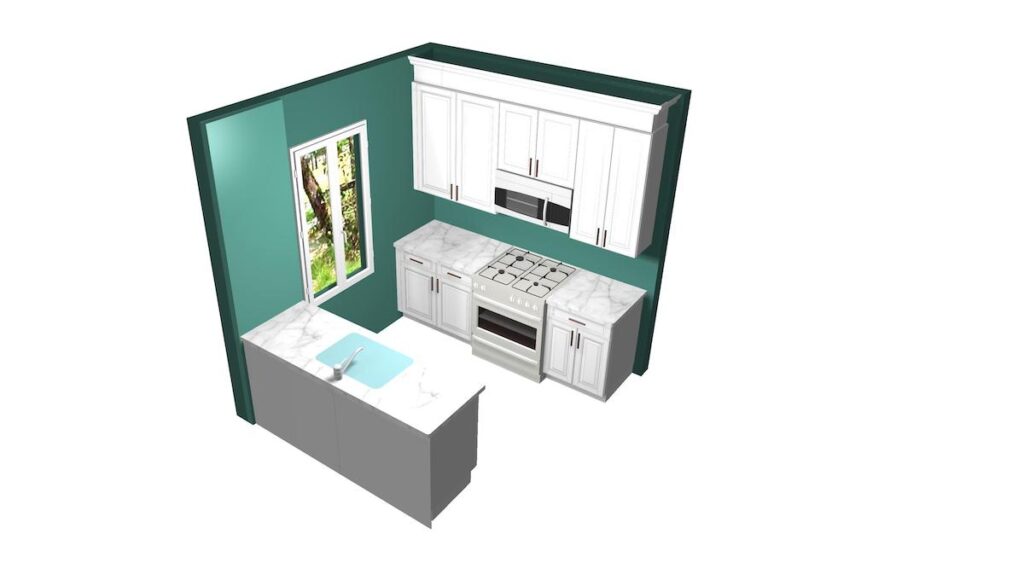
We played around with a few options – however we knew that we did not want to change the window opening, which would turn into an even bigger project – messing with exterior, siding, framing… no thanks!
Our house being so old, the windows were only 2 ft up from the floor and 64” tall. A kitchen counter stands at 36”, so it would not make sense to keep a cabinet underneath the window.
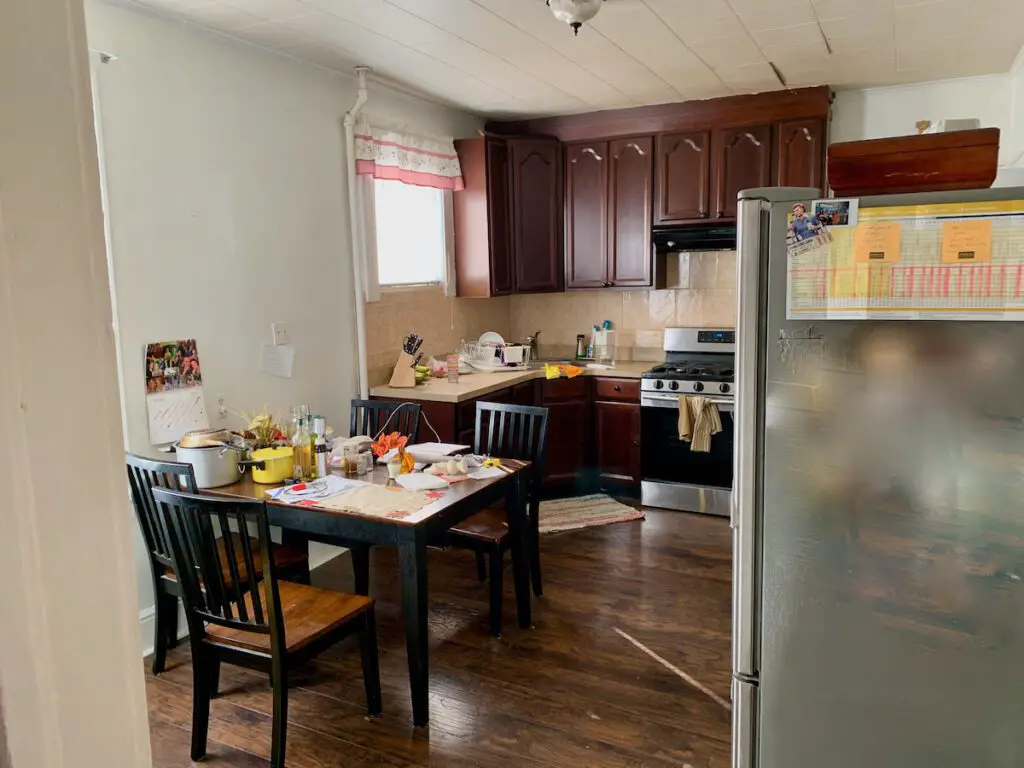
We decided on an open galley kitchen – leaving the stove where it was but moving the plumbing for the sink and adding – bless my New Yorker soul – a dishwasher!!
This would also continue to leave space for a dining table and chairs when we finished correcting this kitchen and pantry layout.
TIP: Live in your house for a little while before making drastic changes to the layout. As you spend time in it, you will come to understand your pain points and desired solutions. As my dad says, “it will reveal itself to you.”
2. Kitchen Pipes
Problem: In Jersey we call this a verifiable cluster****.
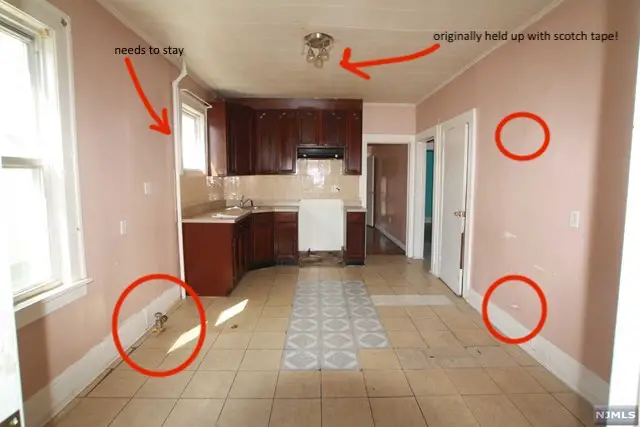
Super Mario himself couldn’t have had more fun with his little mushrooms, bouncing around these pipes in our kitchen.
Notice the leftovers from a cast iron stove on the right (our house being built in 1912, we could only surmise this was the case, given the concrete nestled between the studs).
There was a radiator feed on the left coming from the floor – but the kitchen, surprisingly, needed no radiator. We’d kept plenty warm in the three years prior to this reno without one, even without insulated walls.
There was also pipe to nowhere – capped in our ceiling, but proudly towering over our apartment door.
Solution: Rip them all out.
EXCEPT! There was one pipe – to the left of the L shaped cabinetry – that actually needed to stay, being that it’s attached to the tenant’s radiator in use.
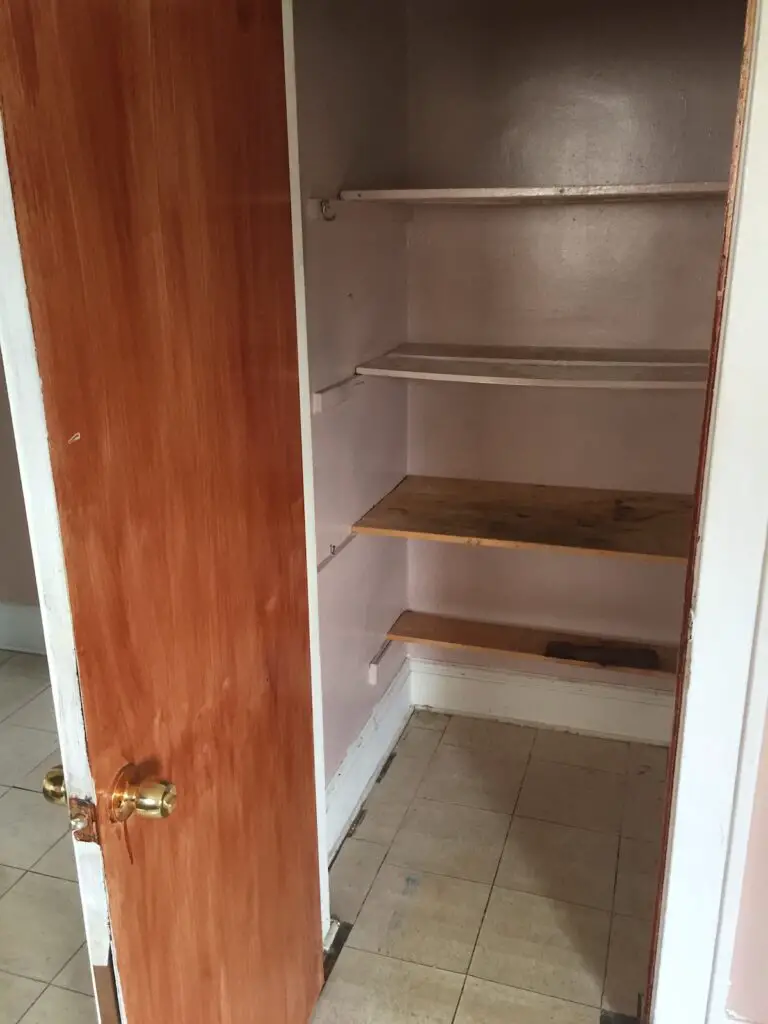
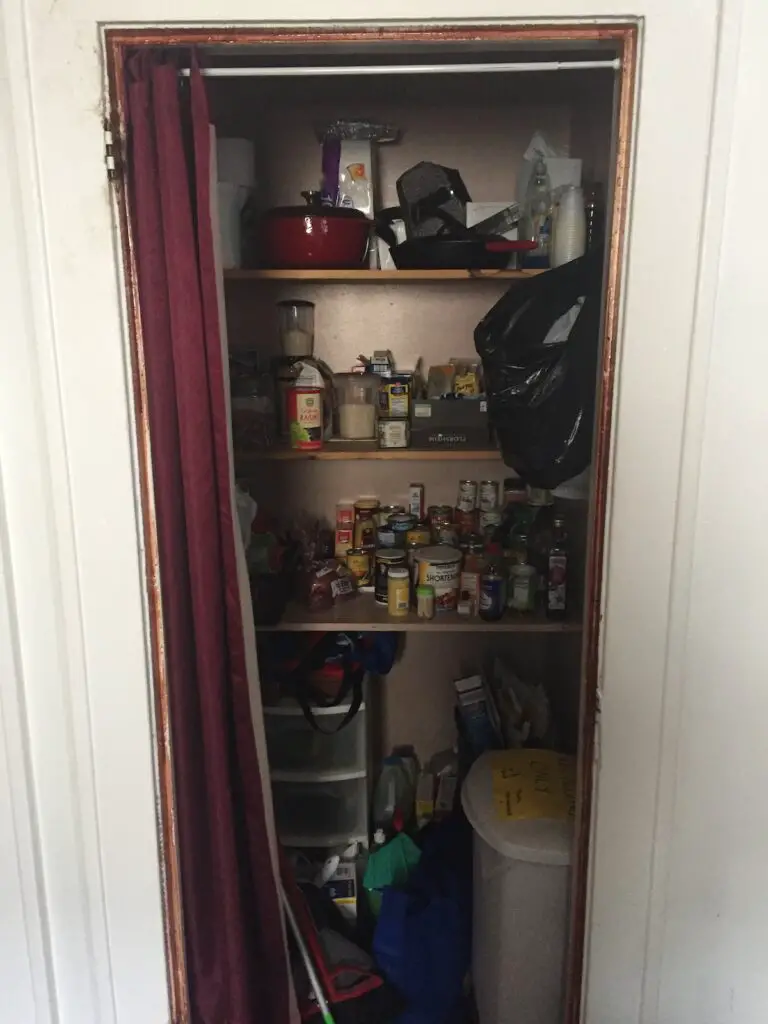
3. Walk-in Pantry & Fridge.
Problem: wasted space.
Don’t get me wrong, I appreciate plentiful pantry space, but I didn’t need a 5 x 5 ft. walk-in like a celebrity crib shoe closet! Cans and cereal boxes aren’t that big!
This was a huge waste of space, both in the shelving layout and the aerial space in this pantry.
The other issue was the fridge (this one, from Whirlpool, by the way!). Let me say, we picked the smallest fridge on the floor at our local home improvement store.
Nonetheless, it looks like an absolute monstrosity in our house!! No matter the color or design of fridge we had picked, it would envelop a huge amount of floor space in our eat-in kitchen.
Now, don’t get me wrong: as a former NYC-dweller, I utterly love my giant fridge capacity… I just didn’t love that it had a presence so large it would look like Wendy Williams visited Smurfville.
Solution: Recess the fridge into the pantry.
I originally hated this idea because I’d lose pantry space… until a few people suggested – recess some shelving in the wall to the left!
The doors could open up into the hallway, which was useless anyway. All a pantry needs is some space between the studs.
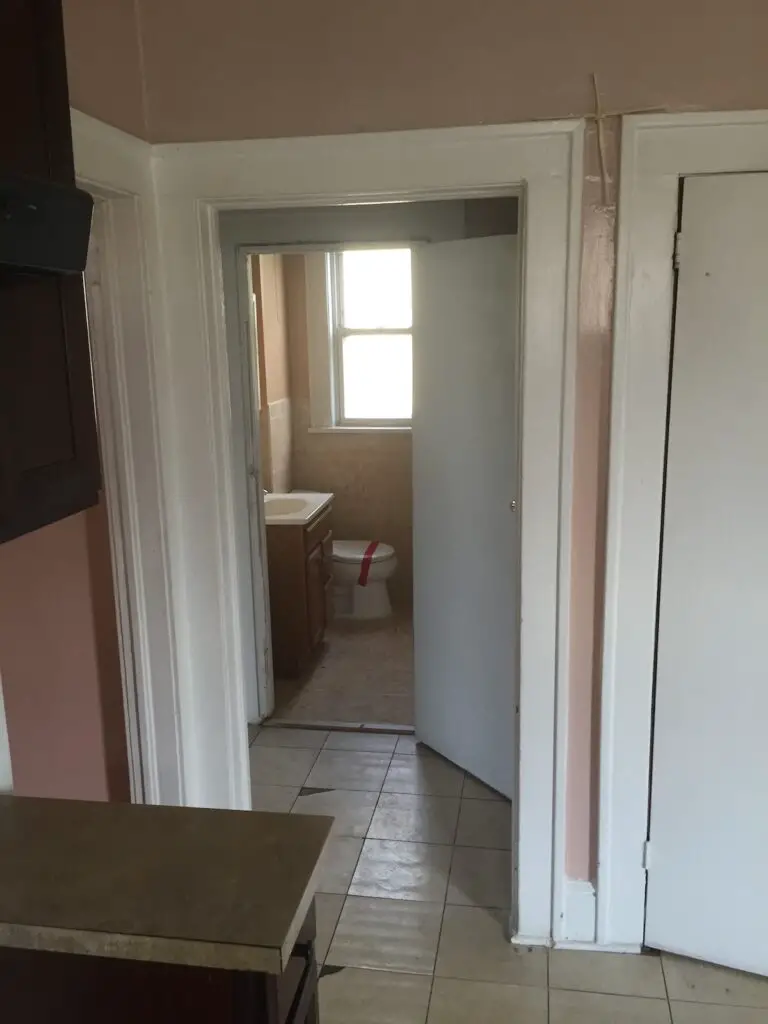
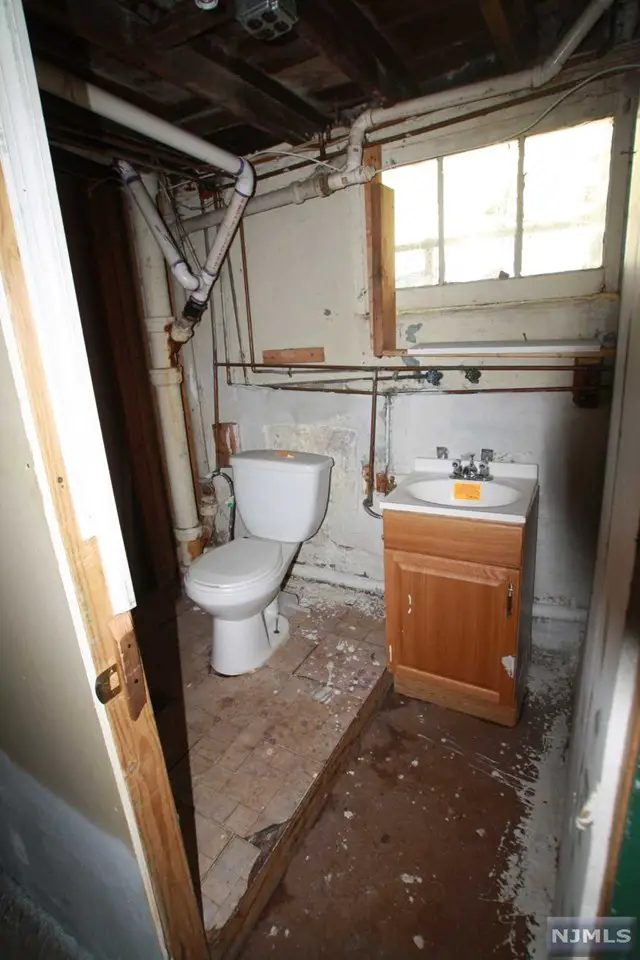
4. Bathroom Wall & Master Closet
Problem: Our humble, small bathroom had eight corners.
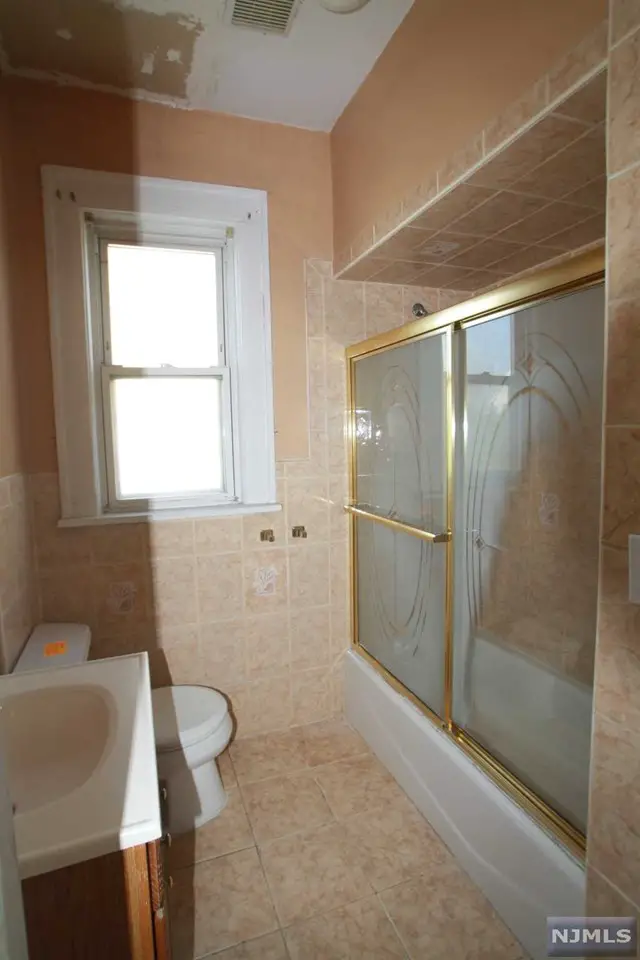
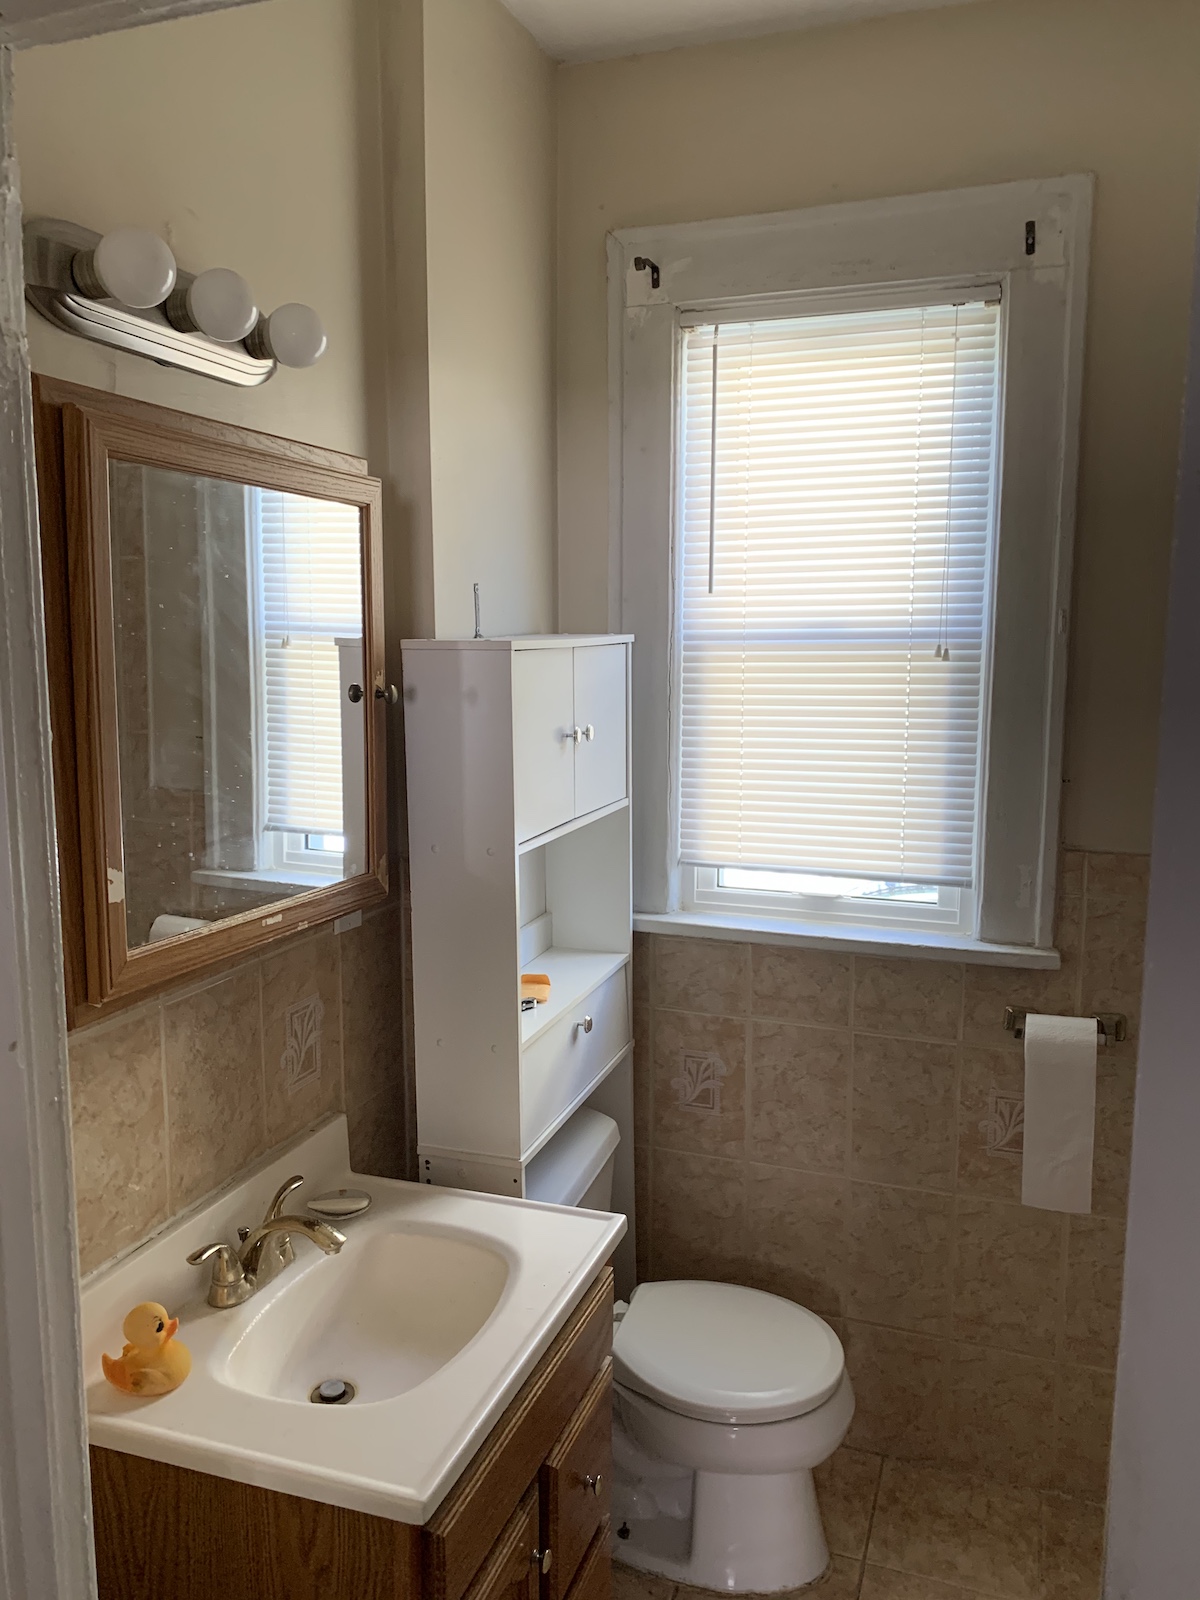
Look at that jig behind the toilet. It might not be a full-on wreck, but too many lines can tire the eye.
It was created this way to accommodate the stack – aka the waste line for the whole house – but it also created a headache behind it in the…
…Master closet.
Standard closet depth is 24 inches. Our master closet was… 22”.
You know what’s annoying? Hangers not fitting in your closet by 2 inches.
Solution: reframe
We decided to make up the space by bumping the closet into the bathroom to make the wall behind the vanity even with the wall behind the toilet.
This would kill two birds with one stone: (1) flatten out the jig in the bathroom wall and (2) give us space to fit a real hanger into our closet.
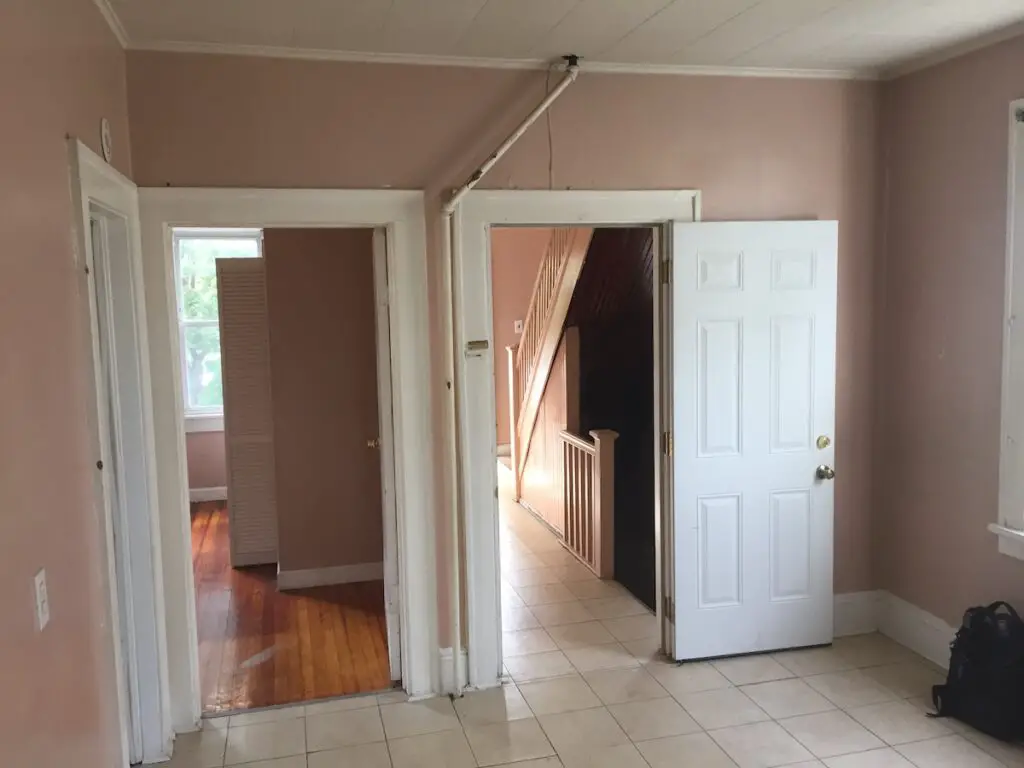
5. Master Closet Door & Hallway
Problem: more wasted space
Speaking of the master closet… let’s be real for a second and say that while we are calling this the “master,” it’s really just another bedroom in the house.
The closet had a regular 24” opening, but a double wide closet. This created a “dive” situation if you even needed something in the back of the closet. No fun.
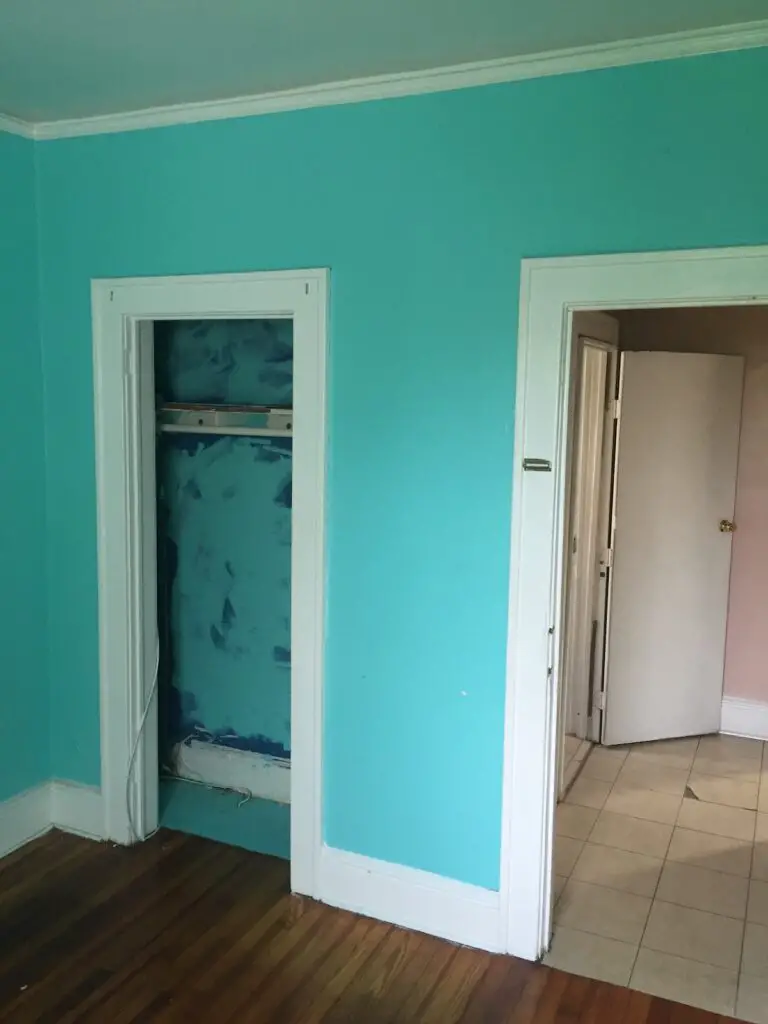
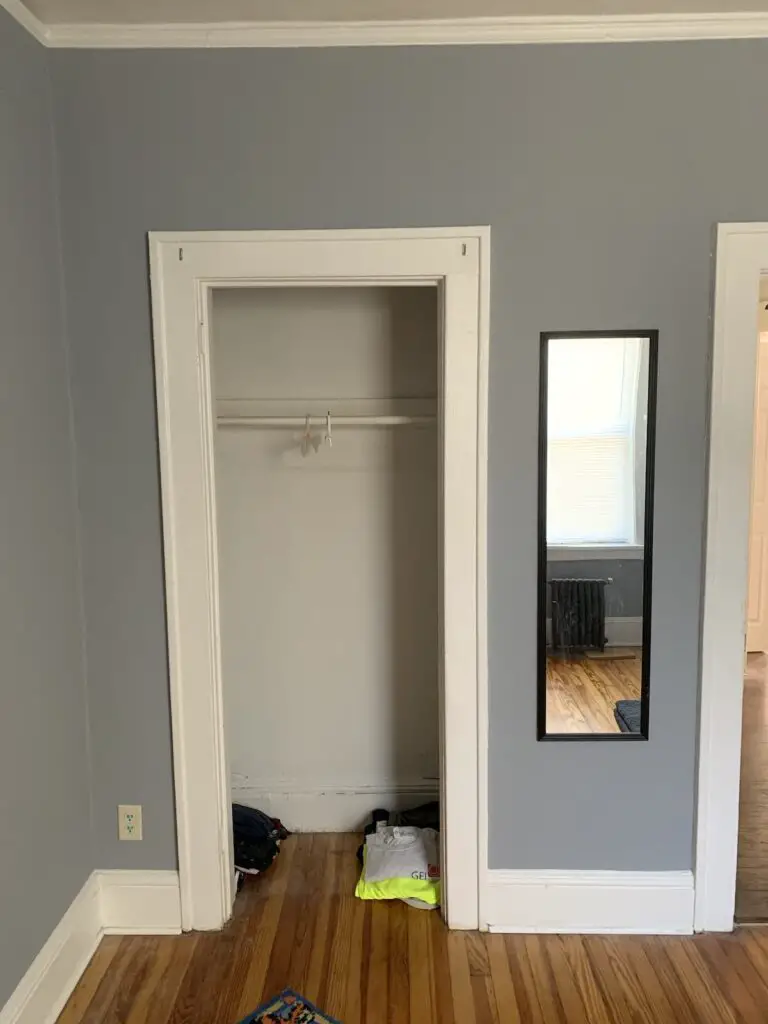
The other pain points here were the hallway and door.
The 5×2’ space between the pantry area and the bedroom was… useless. With the bedroom door swinging into our room (as opposed to into the hallway), it didn’t even give a home to a door swing.
Solution: reframe and bifold doors
For the closet, we opted to widen the door opening for a 4′ bifold door set.
We also decided to bump back the door to the room to encompass the hallway into the bedroom instead. This would keep the door swing out of the main area of the room, making it feel bigger.
Since we were reframing the closet anyway, we figured… let’s just do it. First floor renovation, go big or go home!
TIP: Before you reframe any walls in your house… check out the structure. While it looks neat on TV to just “bust out this wall,” you’d be wise to take a trip to your basement and figure out which walls are sitting on top of beams, truly holding your house up. And don’t forget to plan a safe and effective demo day!
As you can see, this kitchen and pantry layout on our first floor got complicated quickly. It was a monster project!
Check out Part 2 of this renovation – our Open Concept Galley Kitchen!
You may also like:
- How Long Does a Kitchen Renovation Take?
- Impressive Old House Kitchen Renovation
- Cheap Temporary Kitchen – How to Set Up Shop when your Kitchen is in a Dumpster!