Cheap Temporary Kitchen – How to Set up Shop When Your Kitchen Is in a Dumpster
This post may contain affiliate links. If you purchase a product through one of them, we will receive a commission at no additional cost to you. As Amazon Associates, we earn from qualifying purchases.
Welcome! I take it you’re looking for cheap temporary kitchen ideas. You’ve come to the right place!
If you’re preparing for a kitchen remodel and wondering how to get by during the process, fear not.
You CAN create a cheap temporary kitchen space so that you can cook, eat, and clean up while your kitchen is under construction.
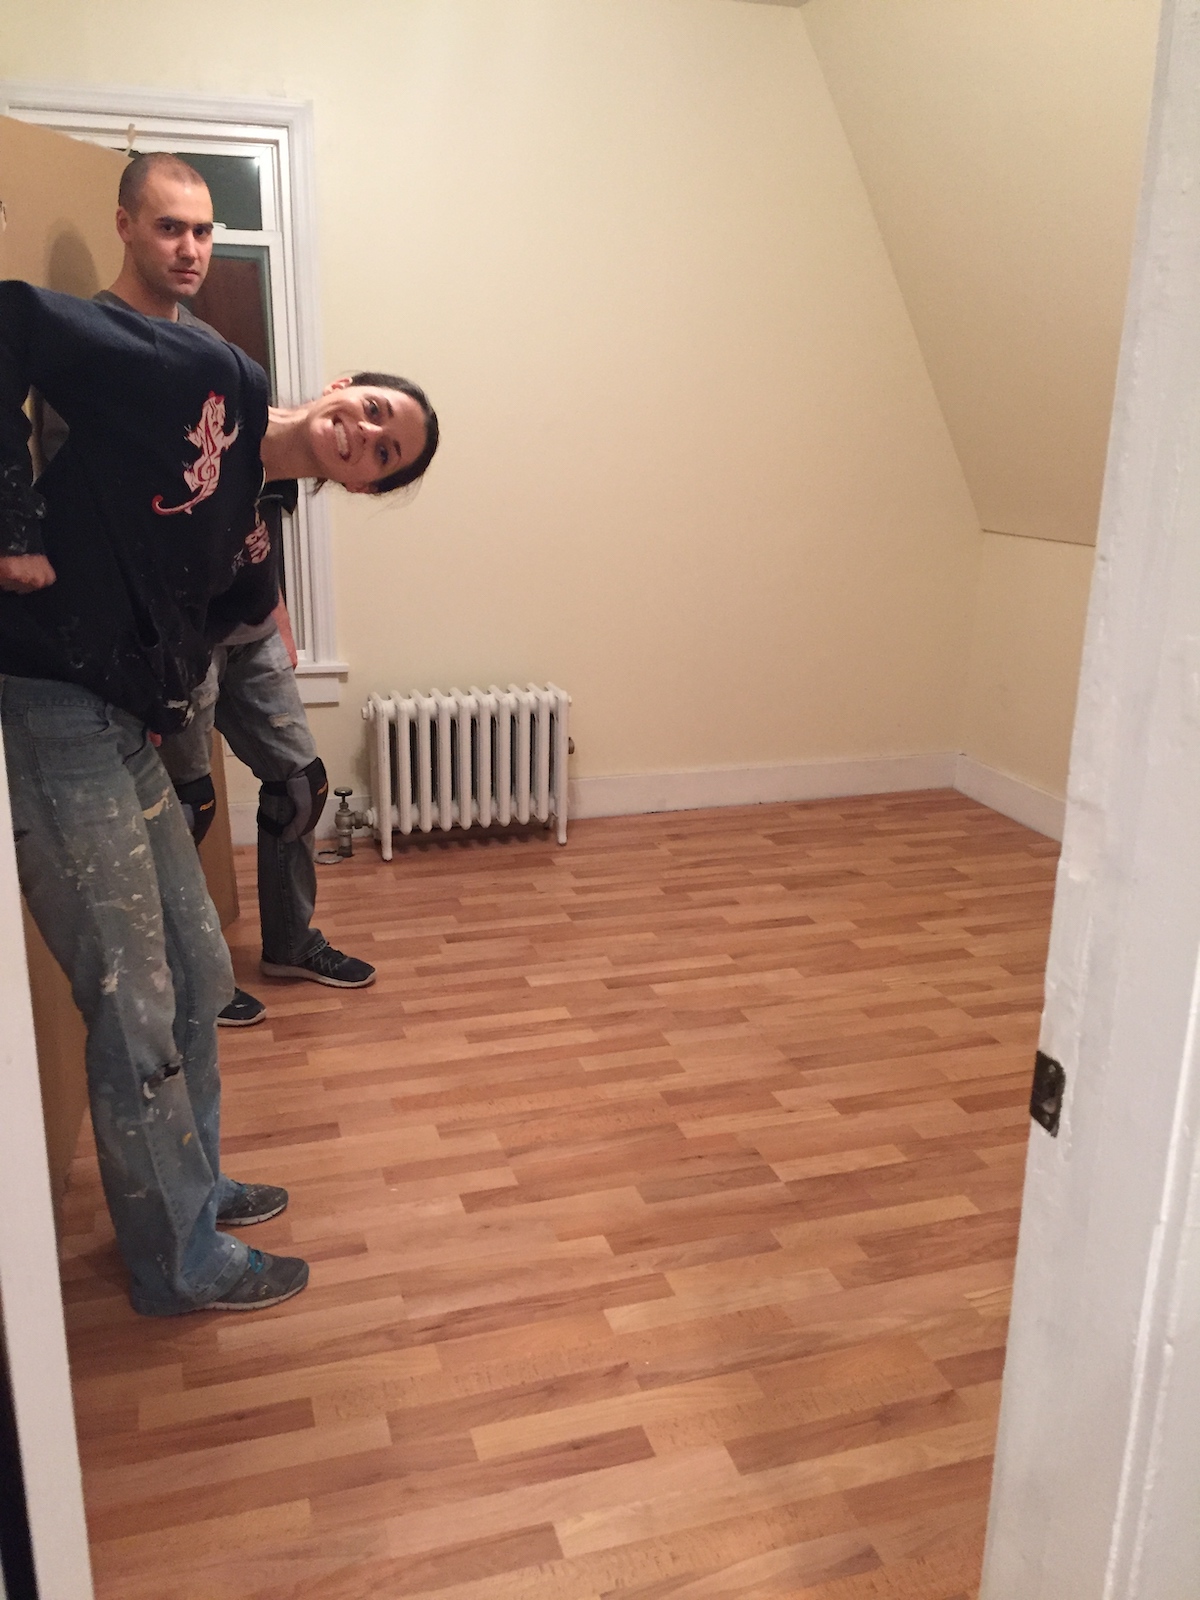
We have lived this process before – read all about our makeshift kitchen during our remodel here. We fortunately were able to use most of our kitchen gadgets and appliances from our regular kitchen.
If that’s not an option for you, don’t worry! We’re about to brainstorm ways for you to set up a nice, cheap temporary kitchen, with workspace, appliances, and clean up.
Workspace
The most significant part of your cheap temporary kitchen will be your workspace. Even if you’re just cobbling together a peanut butter and jelly sandwich, you’ll need a spot to lean your plate. Let’s set one up for you!
First things first, let’s hunt your house. Find a small table, old cart, a desk you’re not using any more… all you need is a surface in the 32”-36” range to prepare food on. Don’t worry about food grade or anything like that, since we’re in survival mode.
No small furniture to repurpose? Let’s explore three options.
1. A Cute Cart
We love our Dolly Madison cart, but there are more affordable options like this one:
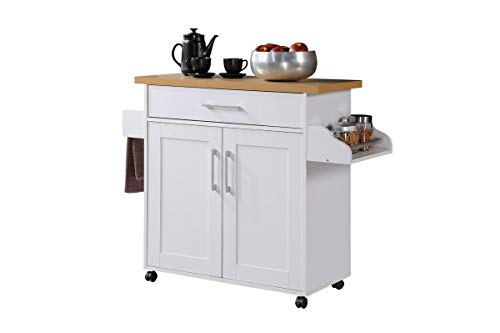
Ikea has several kitchen carts in the $100-$125 range. Not exactly cheap, but if that will get you through a month-long kitchen renovation, it might be worth it!
TIP: Don’t forget to peruse your local thrift store or Facebook Marketplace for cheap options. People move all the time and unload things like kitchen carts. You might even find a random lower cabinet like we had. You never know!
2. A Folding Table
Here are some options for the folding table approach.
Option #1: A standard 6 ft folding table that folds in half. This will not only suffice for your cheap temporary kitchen, but it will also come in handy for future events like parties in your spruced up backyard.

Option #2: Not into spending that much on a folding table? Check out this neat camping folding table. It’s also a foldable, but get this – it has optional heights. It doesn’t boast a ton of room, but it’s enough for chopping veggies before throwing in your slow cooker meals, right?

3. Storage Drawers + Piece of Wood
Ok, it’s not pretty, but it’s a practical solution. Why not invest in some storage bins and lay a piece of wood over the top?
Confession: this has constituted Derek’s work-from-home setup for the last year. A regular desk was bothering his workflow ergonomics, so we used a few pieces of salvaged wood on top of our three-drawer bins. He likes that he could customize his mouse-working height.
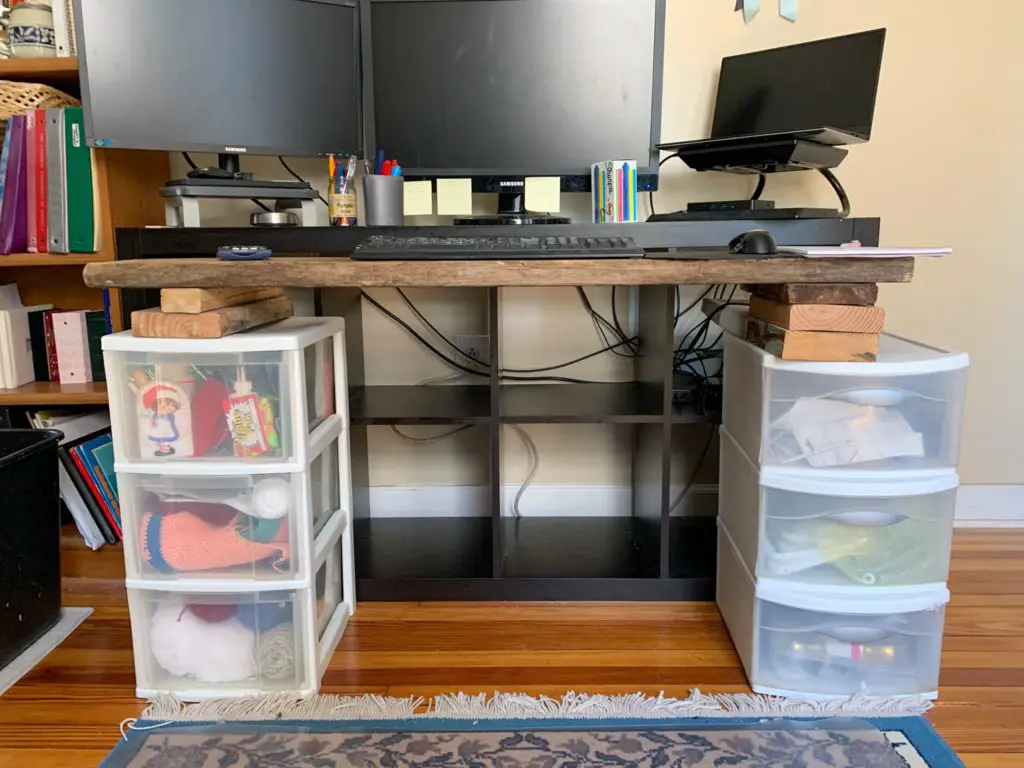
For your cheap temporary kitchen, you can even use the drawer storage for your kitchen utensils. Double win!

Or, if you don’t find you have kitchen gadgets that you’ll need very often, why not stack some giant tote bins underneath your working surface? You can store your bigger kitchen gear from when you move out before your project. Ah, dual purpose.

The best part about this workspace option is that when you break down your cheap temporary kitchen, you’ve got useful storage containers, for everything from your basement to your kids’ closets.
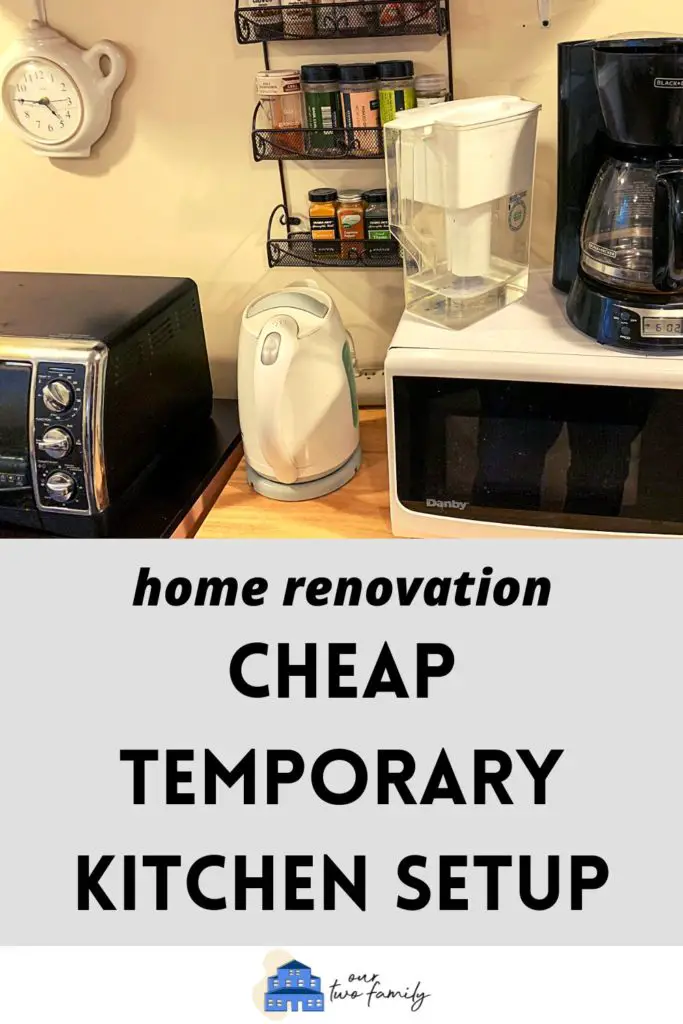
Small Appliances
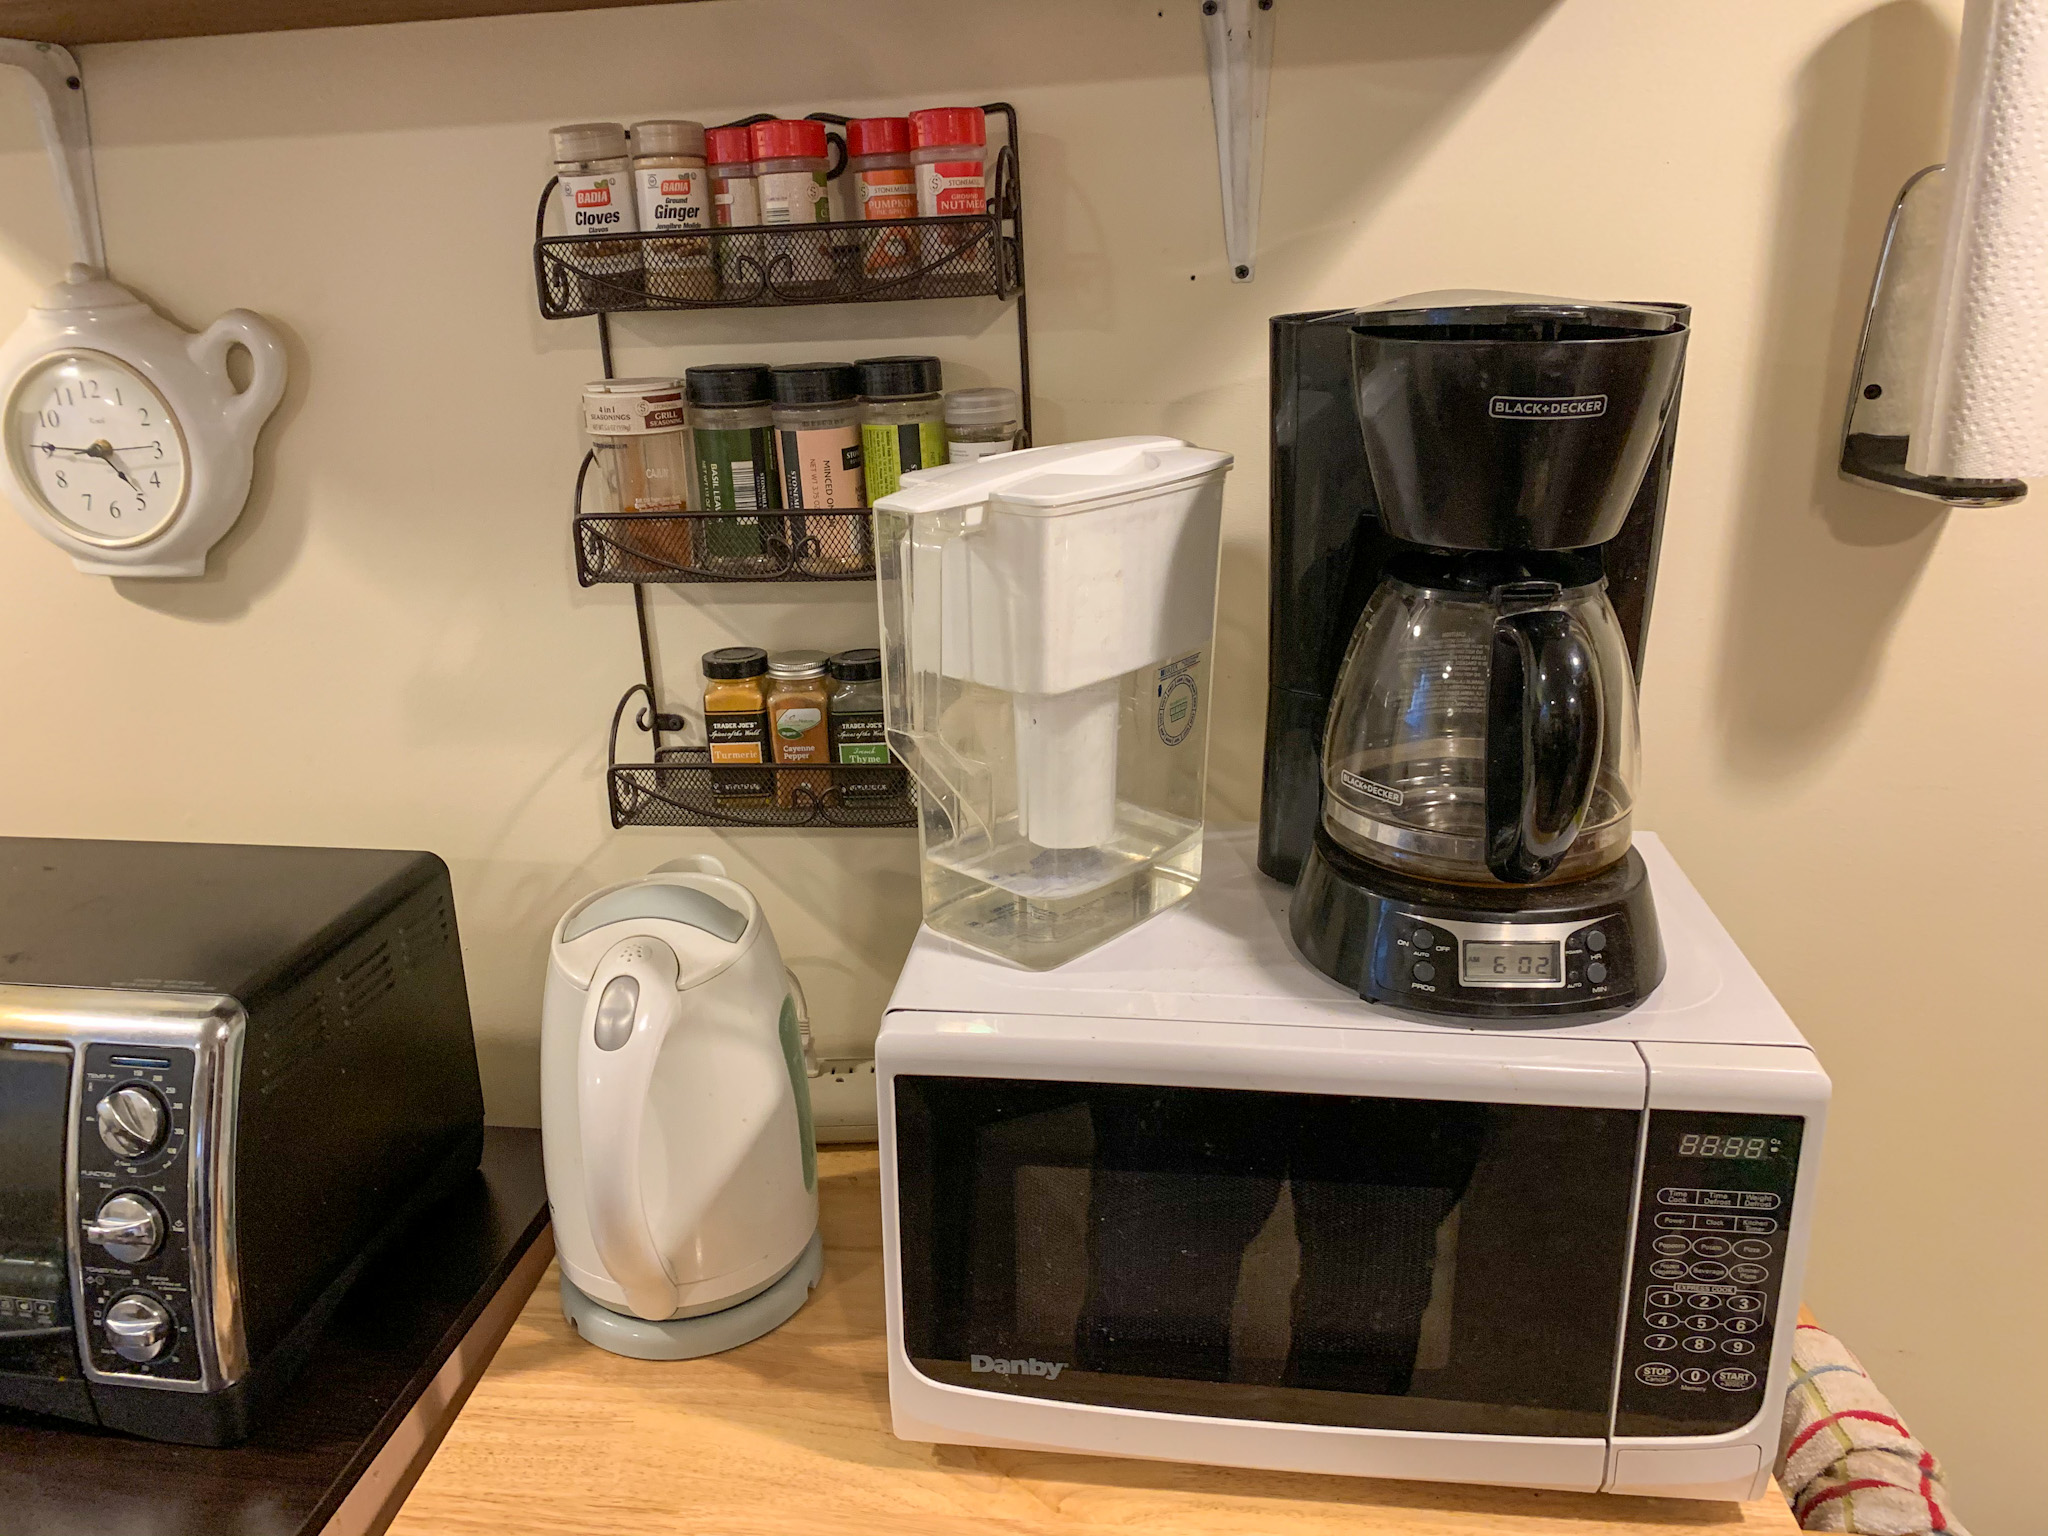
At bare minimum in your cheap temporary kitchen, you will need a small fridge and a microwave. We recommend you add to that a toaster oven and an electric kettle. Let’s explore some options.
Small Fridge
If your fridge got tossed out on demo day, or you just have to unplug and store your regular refrigerator for the length of your renovation, you should probably invest in a mini fridge. Call it like college and grab yourself a beer fridge, but either way, you’ll need a place to keep things cool.
Back in my day, a mini fridge was a little box with a 4” x 10” “freezer” for a Troll-sized ice cube tray. (I’ll just go shop for dentures, be right back…)
Now, with the advent of tiny homes, decked-out Airsteams, and themed Airbnbs, there are some fabulous fridge options out there for your cheap temporary kitchen.
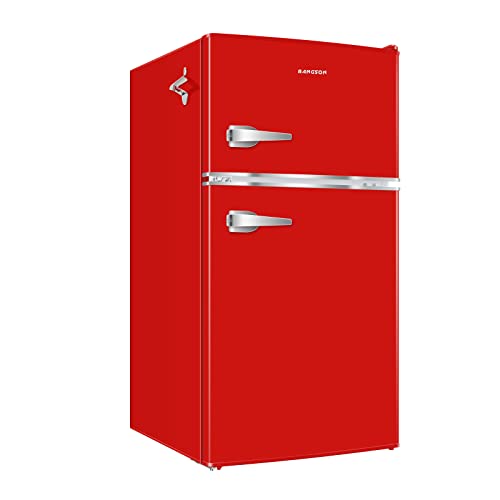
Basic fridge
Super fun for a few more bucks
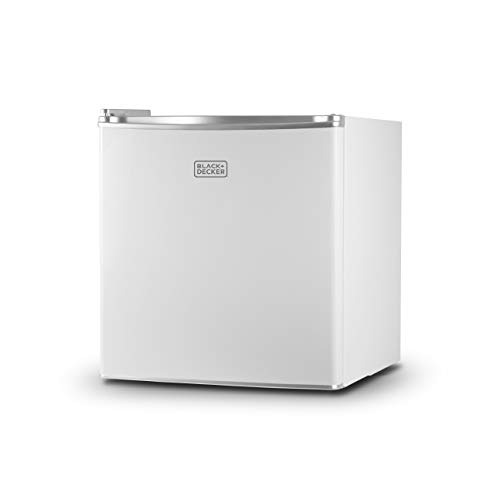
Micro-machine fridge
If you want a truly miniature fridge for a true beer fridge that would hold a six pack, they make those these days! How funny! Check out this little cutie!

Microwave
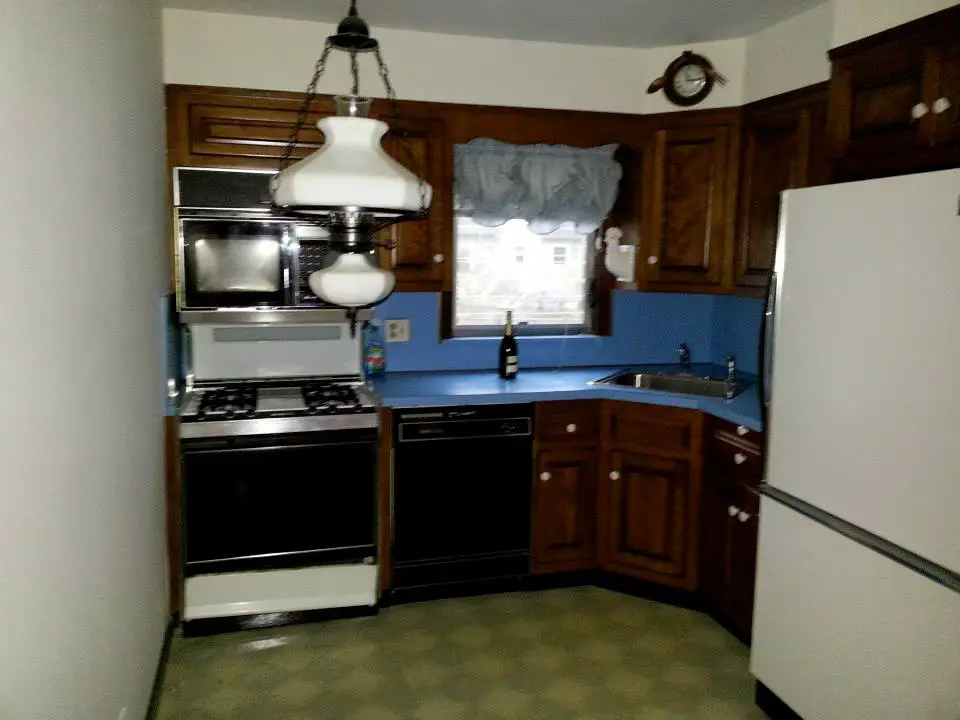
At first glance it may seem funny to discuss a simple microwave, but hear me out. During a renovation, your microwave might just be tossed out along with your stove.
…like this one, from my brother’s original, “state-of-the-art,” 1950s kitchen.
For an affordable small microwave for your cheap temporary kitchen, look no further than this bad boy:
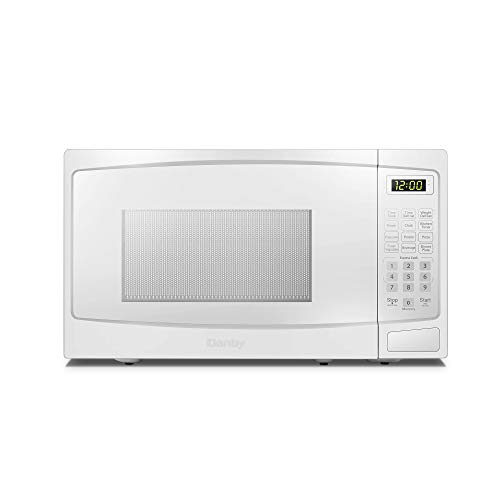
We’ve had one of these for six years – since our days house shopping from our couch in Queens! And it hasn’t failed us yet.
Toaster Oven
We were so fortunate as to borrow a toaster oven for the length of our first floor kitchen renovation. If you’re operating on the cheap, why not ask around and see if someone with a full, not-under-construction-kitchen can lend you one for some time.
If not, we highly recommend this one:

It toasts, bakes, broils, and has a built in timer. How’s that for simplicity while you are on to more important things, like your remodel?
Related: Easy Toaster Oven Meals to Survive Your Remodel
Electric Kettle
Finally, how about this all star small appliance? Even if you’re not a tea drinker, you’ll need a source of boiling water in your cheap temporary kitchen. Think about things like instant oatmeal, those comfort bowls of ramen, and warm drinks like hot chocolate.
We recently had to replace our electric kettle after its 15 years of service to my tea addiction. We currently love this one…

…and use it every day, at least 3 times a day, still going strong!
Optional Appliances
There are ways around the following items – for example, if you drink both coffee and tea, you can omit the coffee pot and just use a French Press and hot water from your kettle. Or maybe you’re down with a rice cooker, but not a slow cooker. But if you’ll need a few more troops in your small appliance army, here are our favorites for each!
Rice cooker

Slow Cooker

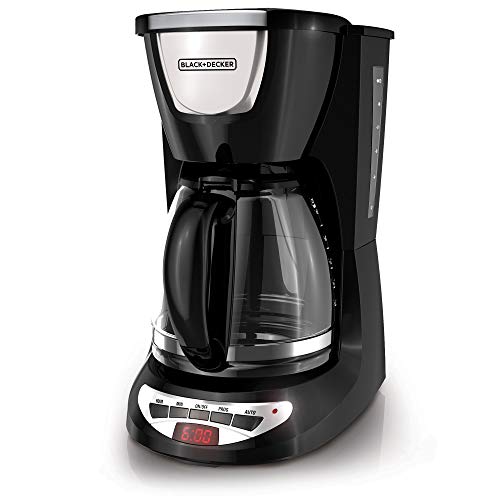
Coffee pot
Once you’ve got your appliances in order, all you need are a few gadgets like can openers and ladles to get your chef on. We’ve got a printable for you below.
Clean Up
Unfortunately, even when you don’t have a kitchen, you’re going to have to do a dish. Whether it’s your travel mug or a ladle, something, at some point, is going to need dish soap and a sponge.
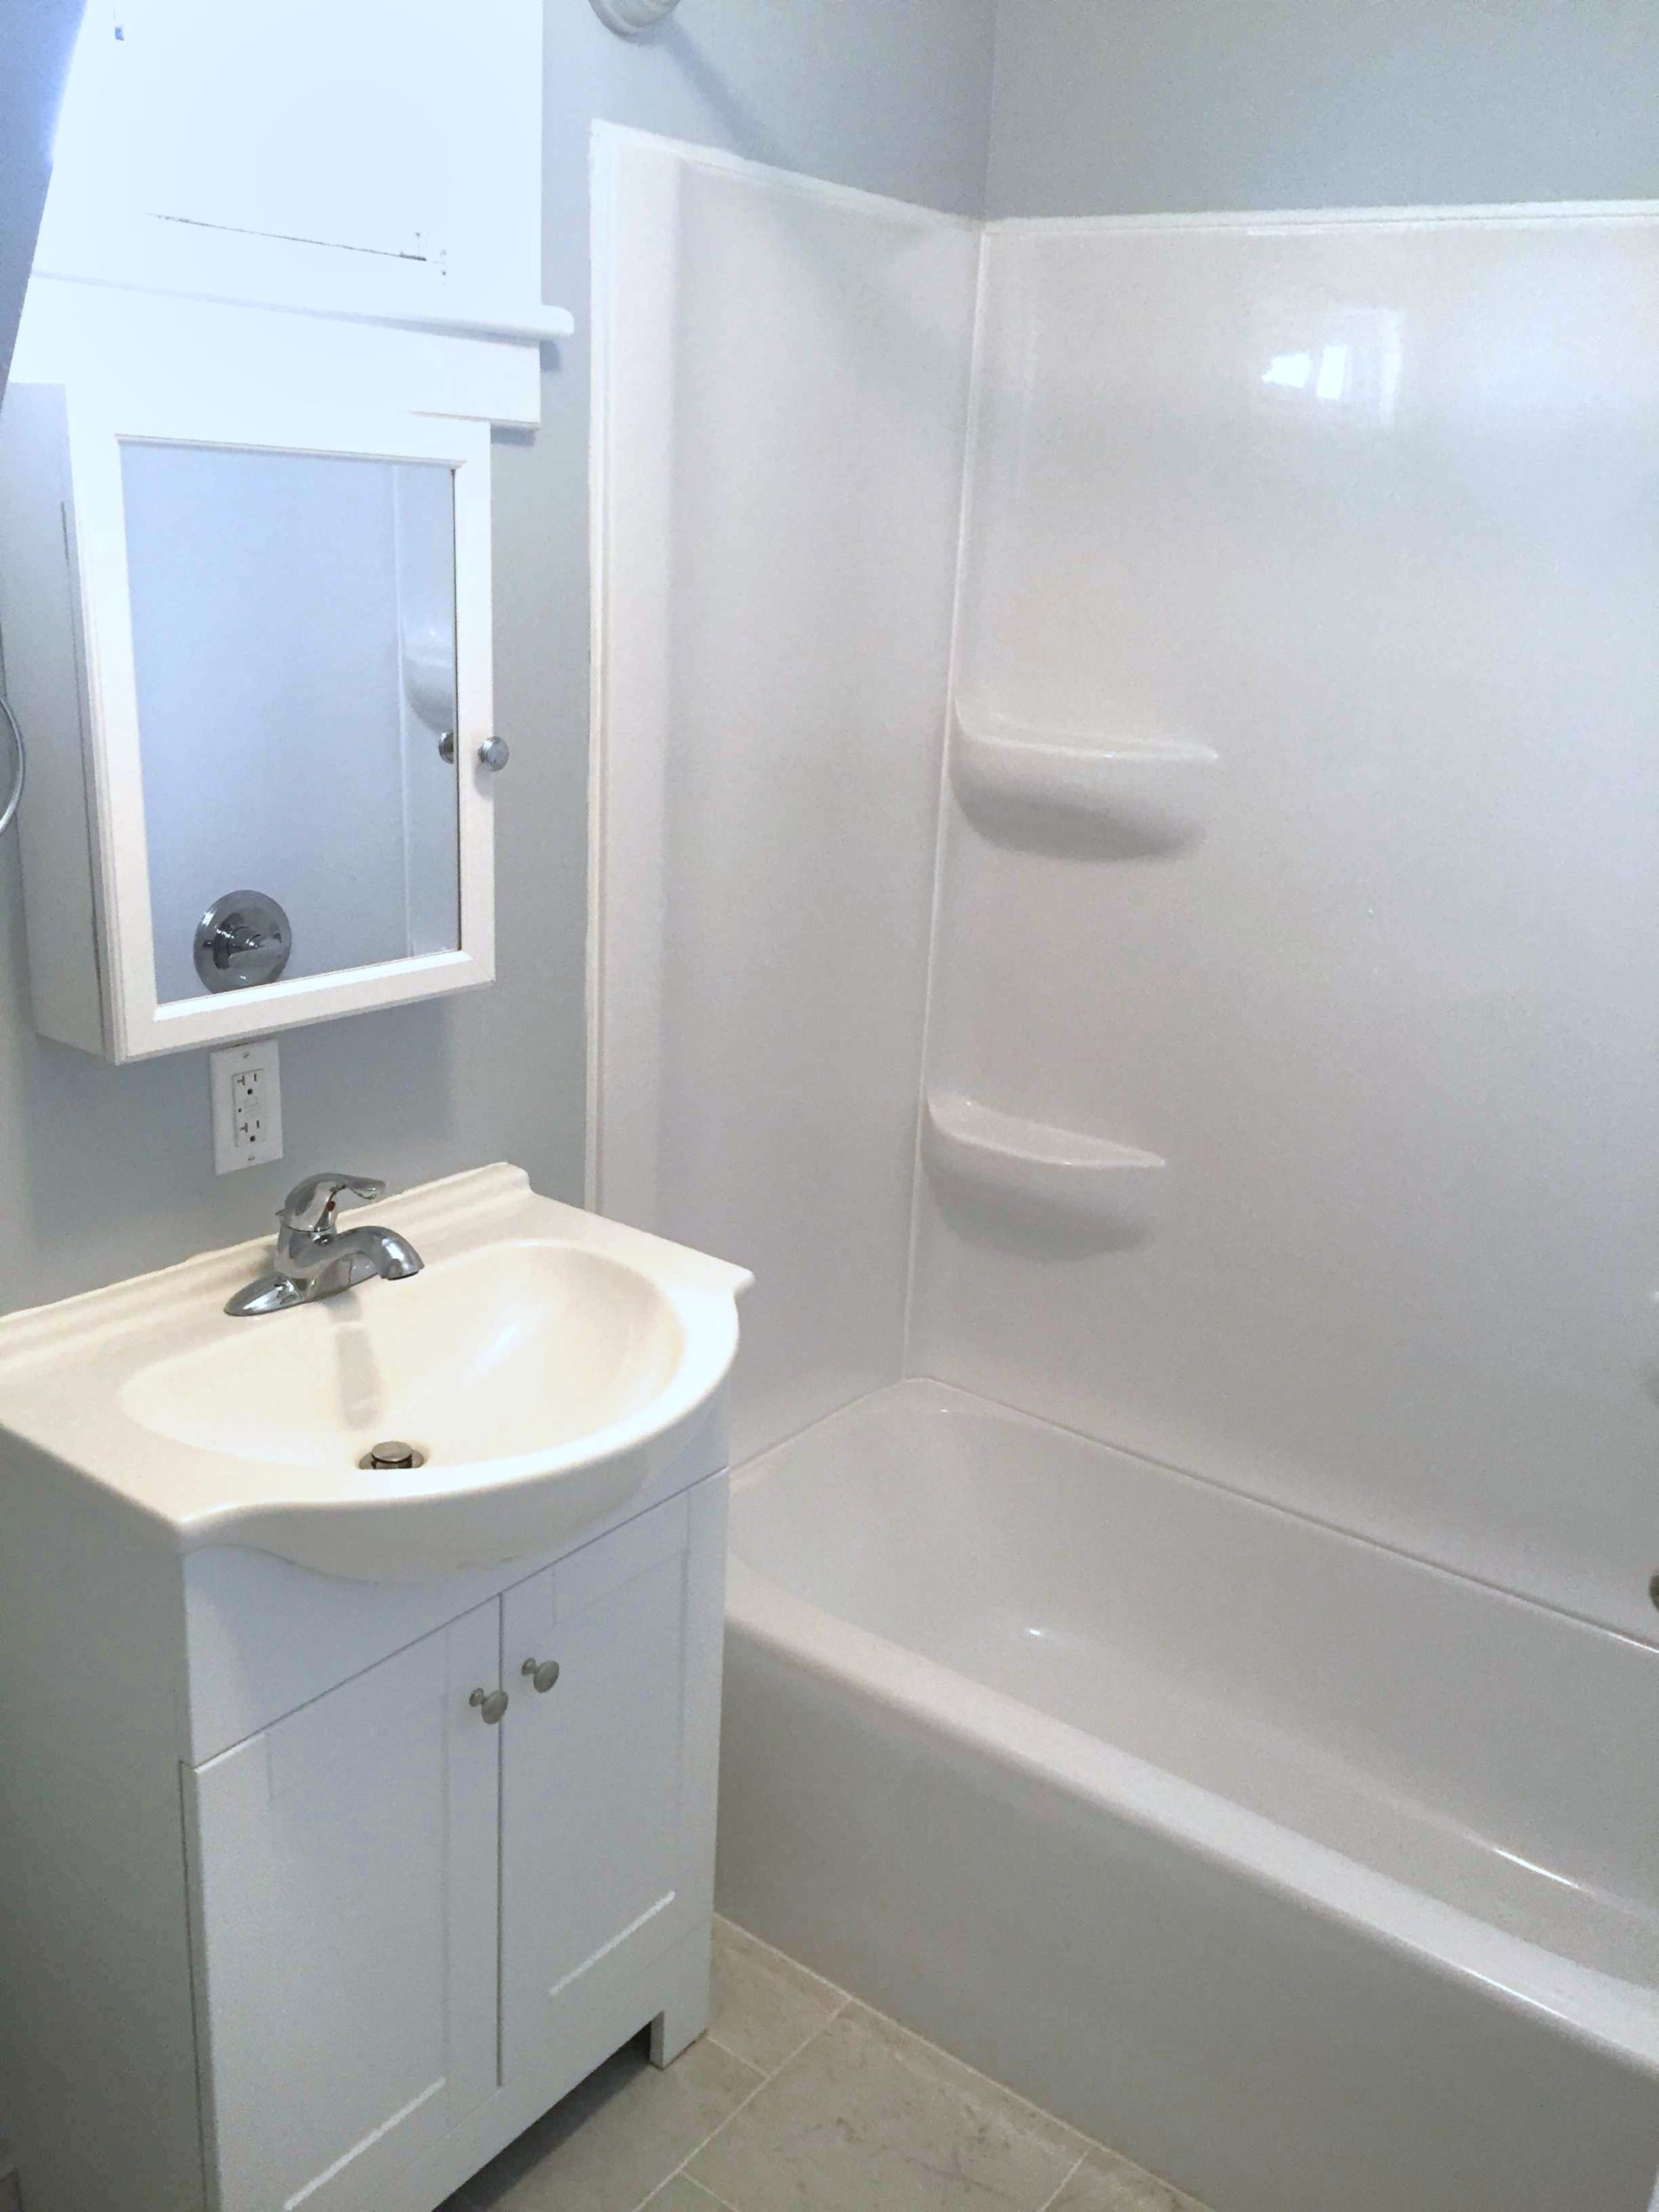
Unless your cheap temporary resides next to a sink, I’ll assume that you’ll be toting your dishes from temp kitchen to water source and back again.
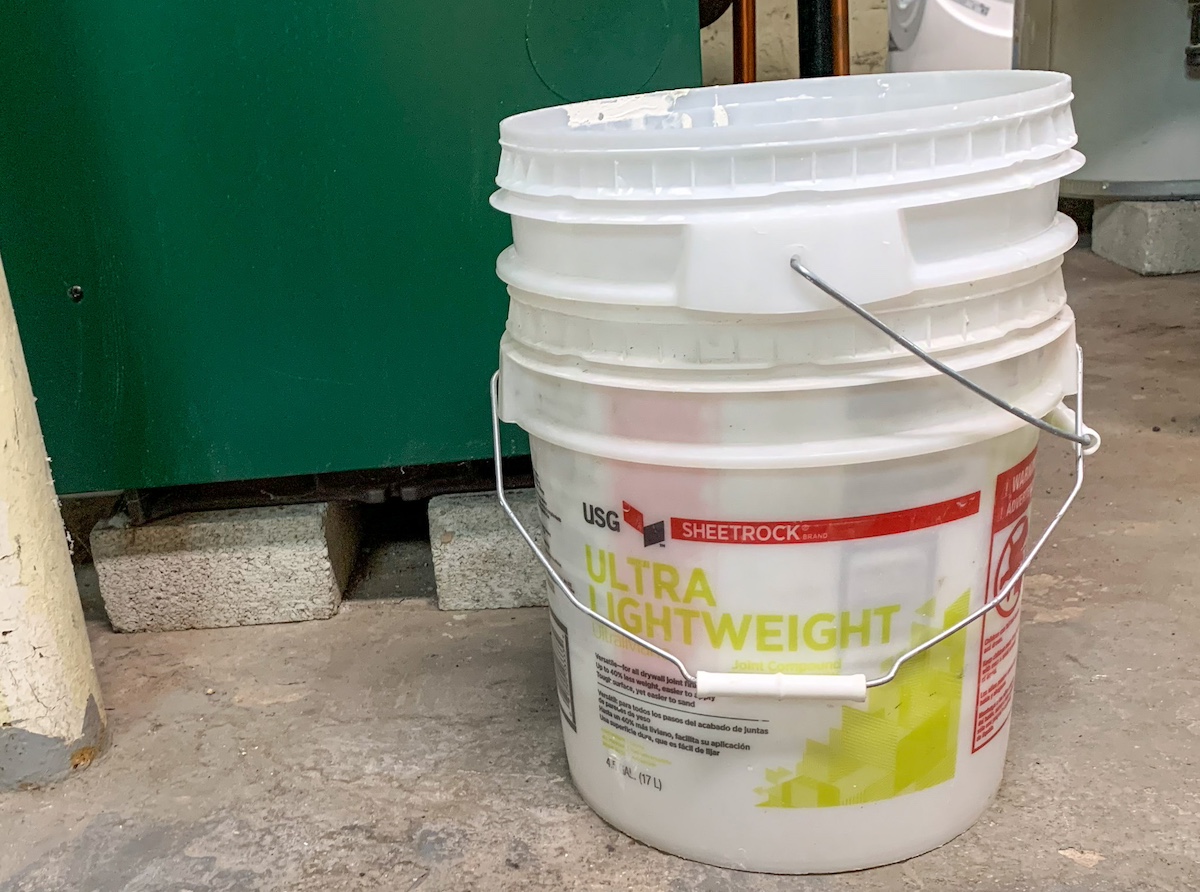
Enter: the plastic bin.

I see two scenarios with this fantastic piece o’ plastic.
First scenario: You have a sink, so you fill this bin with dirty dishes, wash them, and bring them back.
Second scenario: You have no sink, only a single water source like a spout or bath, so you purchase three of these bins, and wash your dishes like a Boy Scout.
Seriously! You fill each bin with water. Then you clean your dishes using a three-bin camping system: one for soap, one for rinse, one for bleach. Scrub, dunk, sanitize. Done. For a detailed instructional on this, visit Scouting Magazine’s helpful blog post here.
A nice cheap spend if you ask me! Either way, you’ll get clean dishes!
Conclusion
Well, my fellow homeowner, you’re now equipped and ready to set up a functional cheap temporary kitchen. Workspace, appliances, and clean up, all ready to go! Don’t forget to check out our Ultimate Home Renovation Survival Guide to be ultra-prepared.
What does your temporary kitchen look like? Tag us on Instagram with @OurTwoFamily and a pic of it!
Related posts:
- 3 Simple Steps to your Perfect Makeshift Kitchen during a Remodel
- How to Prepare for a Kitchen Remodel
- 7 Complete Meals when you have No Kitchen