Backyard Before and After DIY: How to Conquer the Yuck to Create a Comforting Oasis
This post may contain affiliate links. If you purchase a product through one of them, we will receive a commission at no additional cost to you. As Amazon Associates, we earn from qualifying purchases.
This post is about a backyard before and after diy.
Ah, the backyard. A place to enjoy the fresh sip of an iced tea, hear the warm fire crackling beneath your marshmallow, whiff the smell of your local deli’s kielbasa smoker… God bless America, what a privilege.
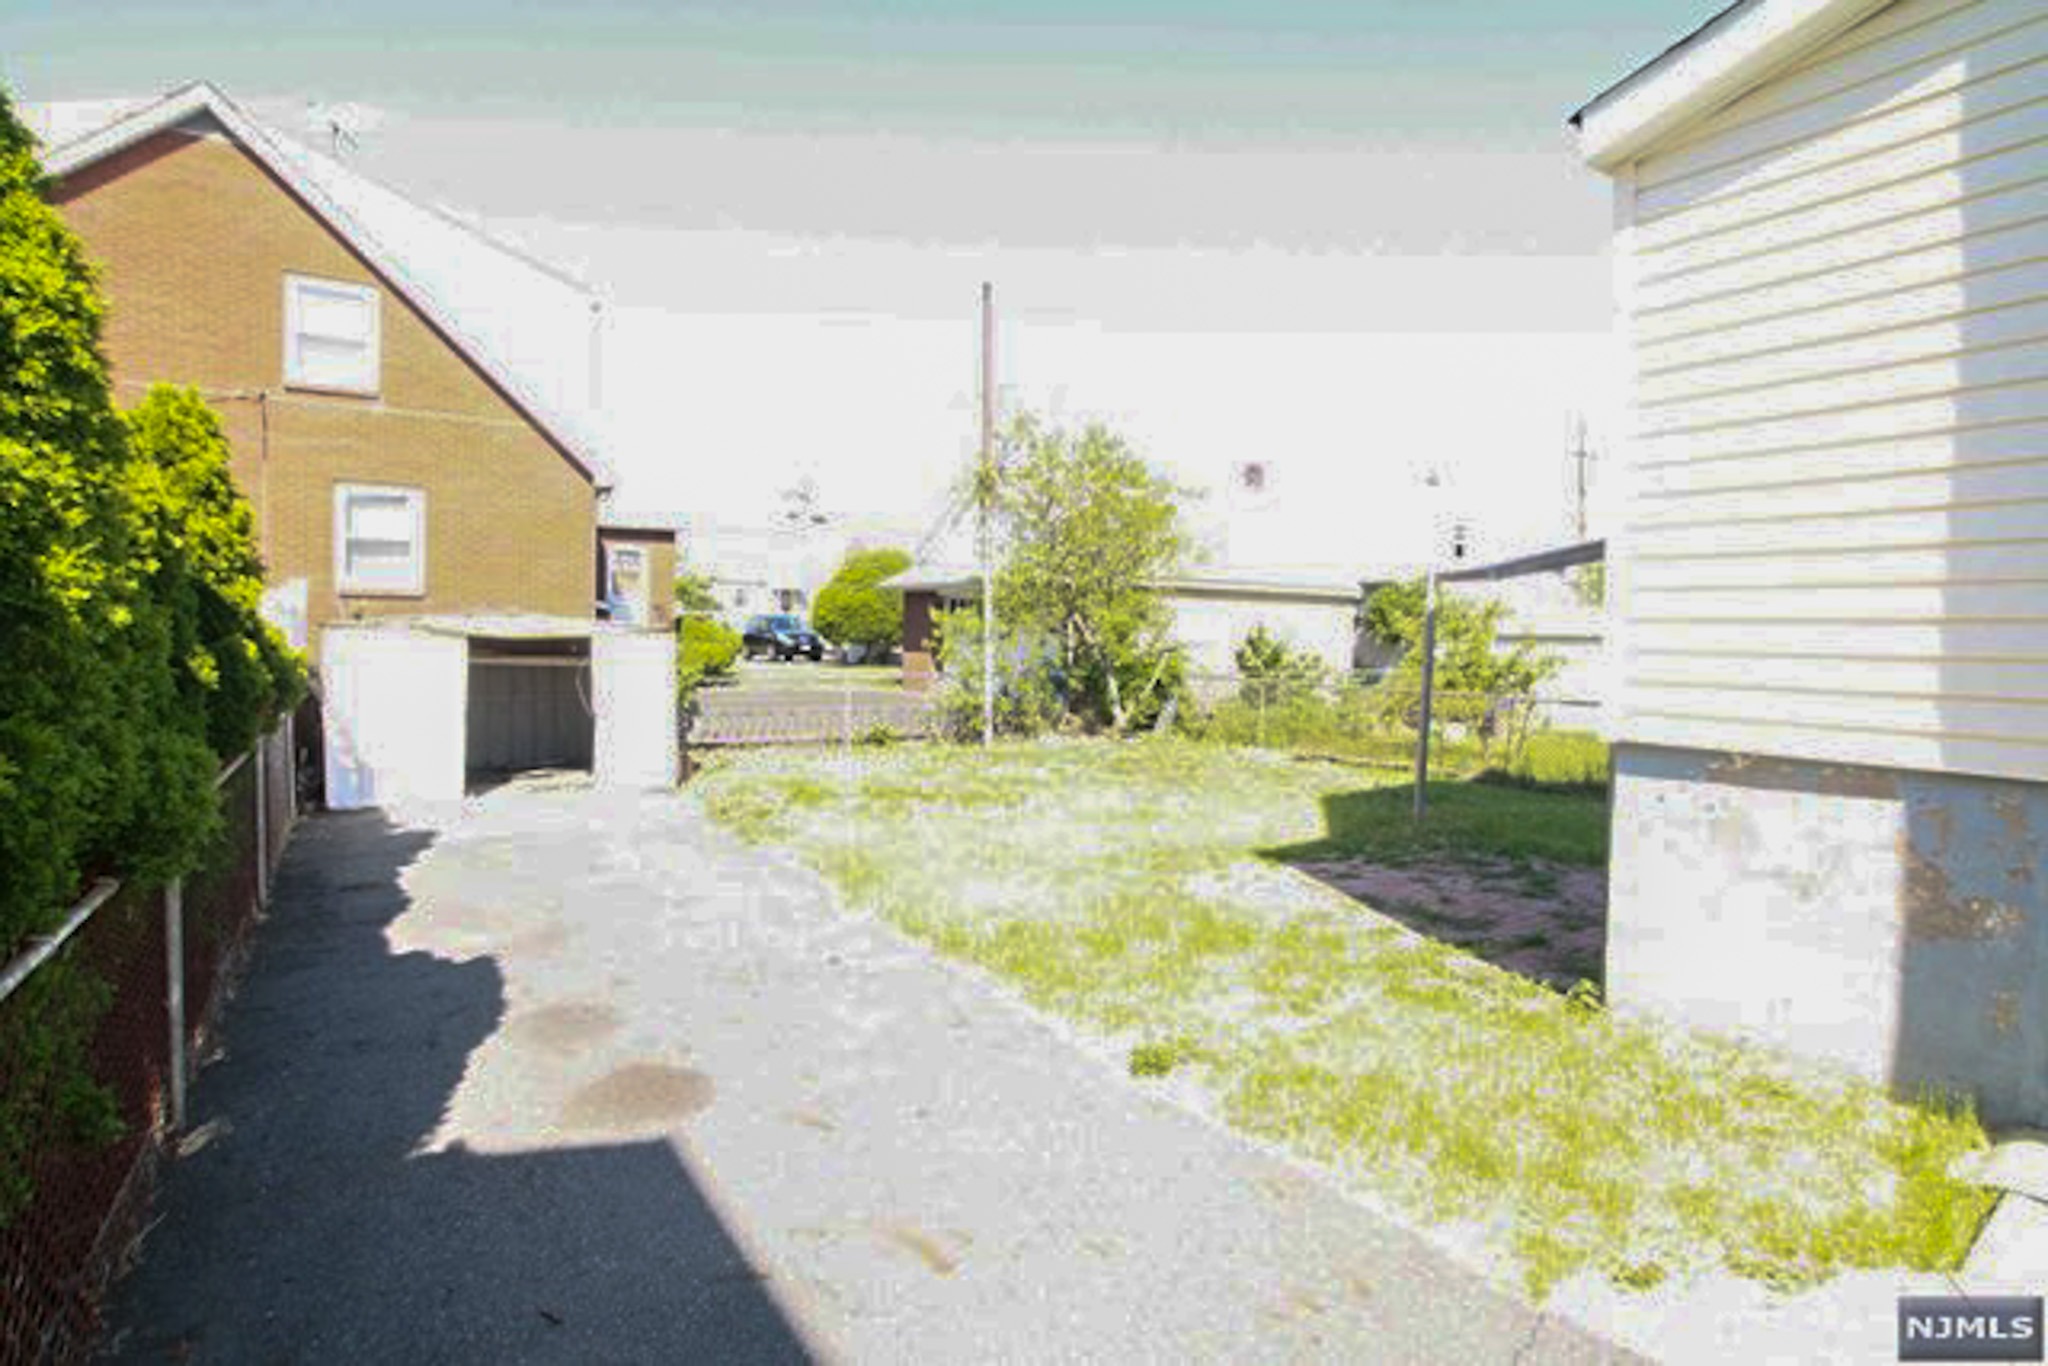
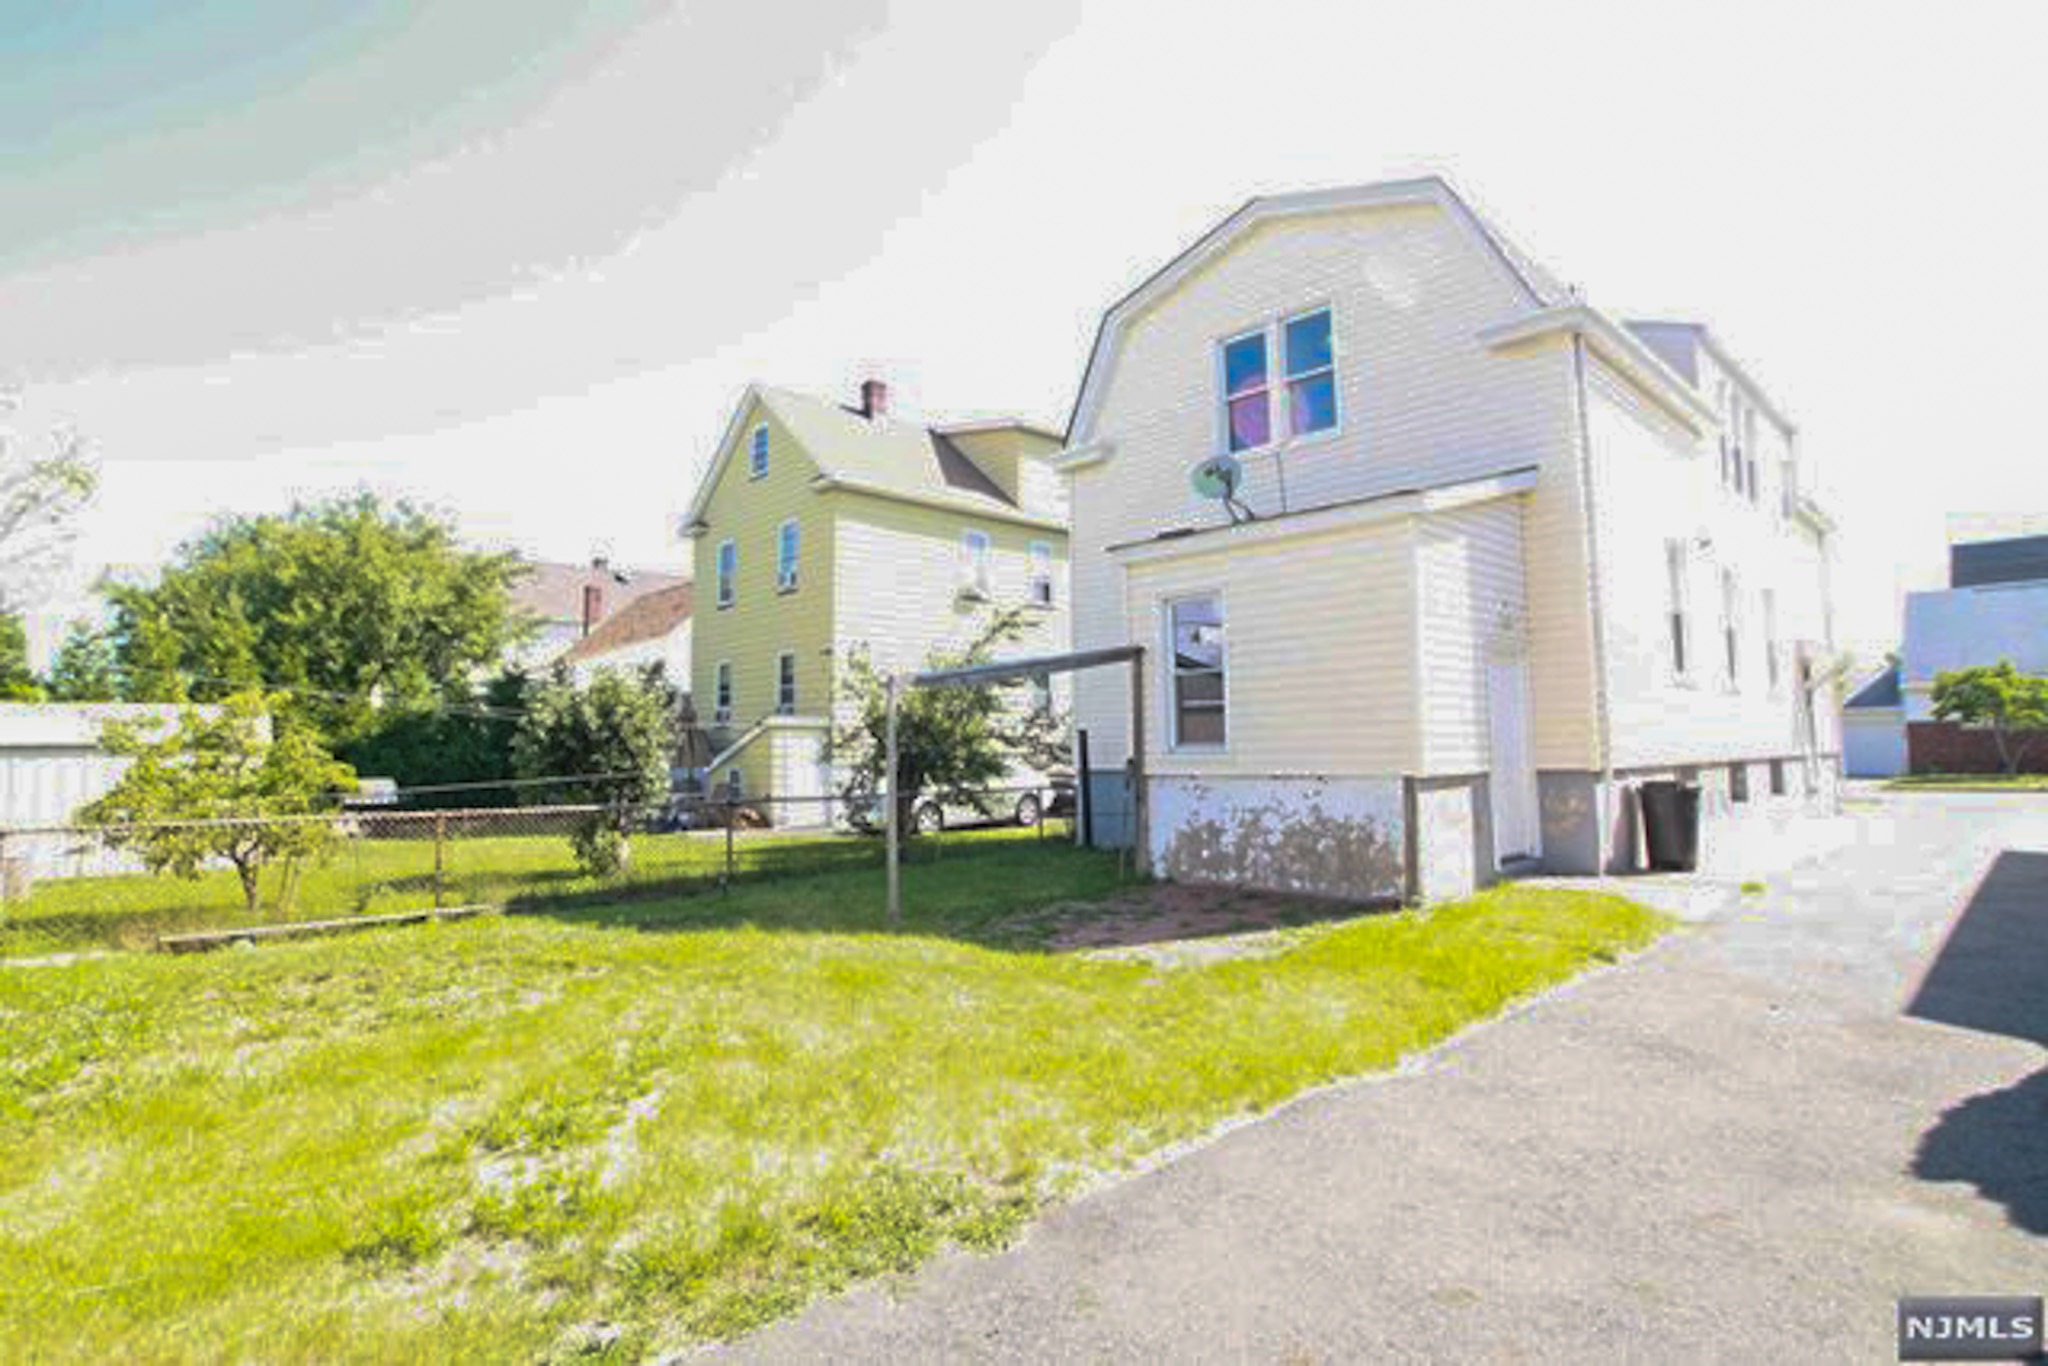
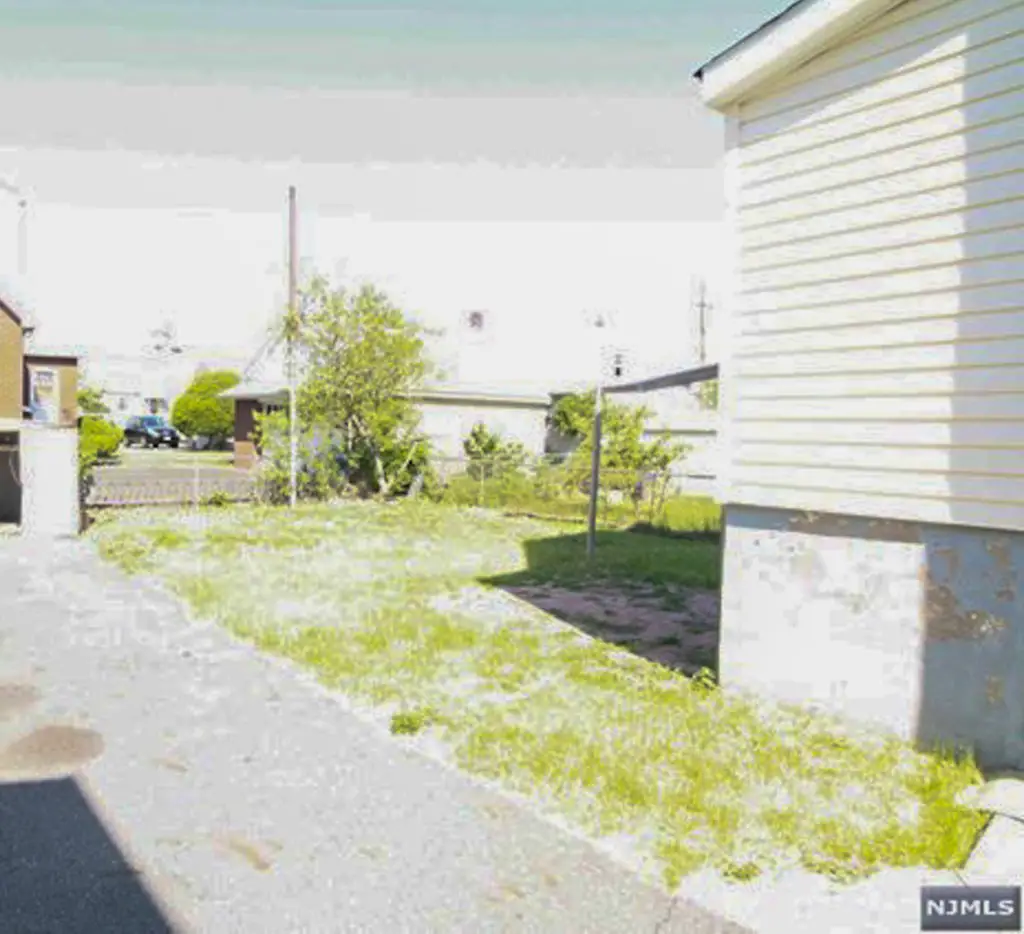
Let’s look at what our house started with when we bought it, and the many ways it needed a makeover:
Oh, I’m sorry.
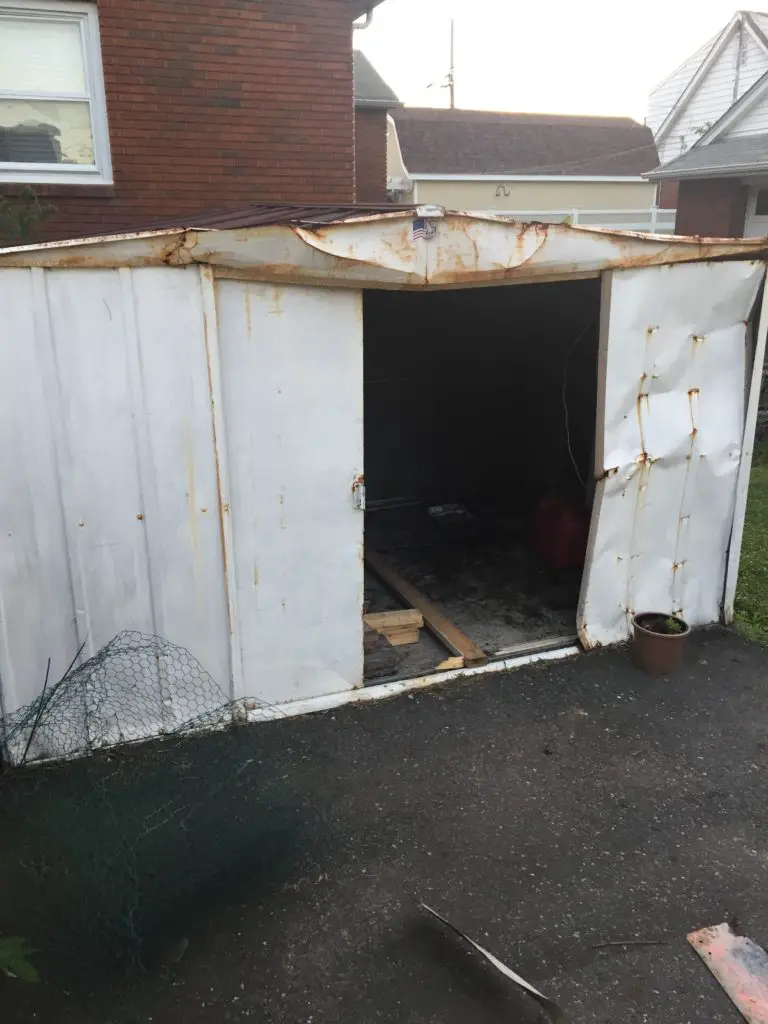
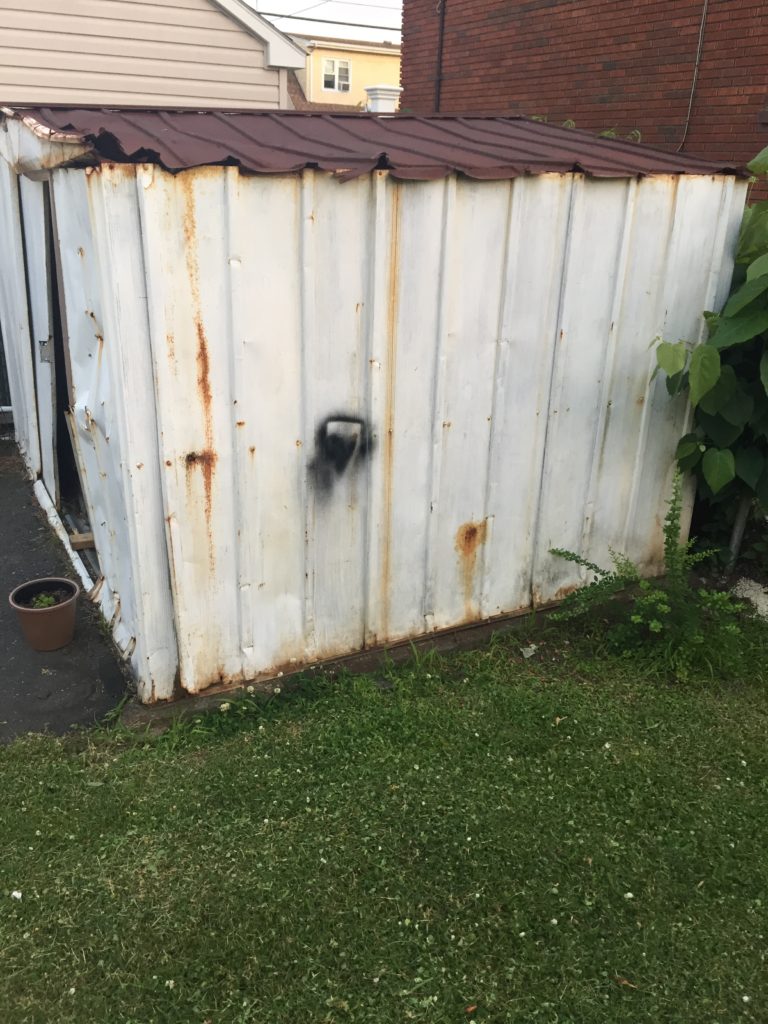
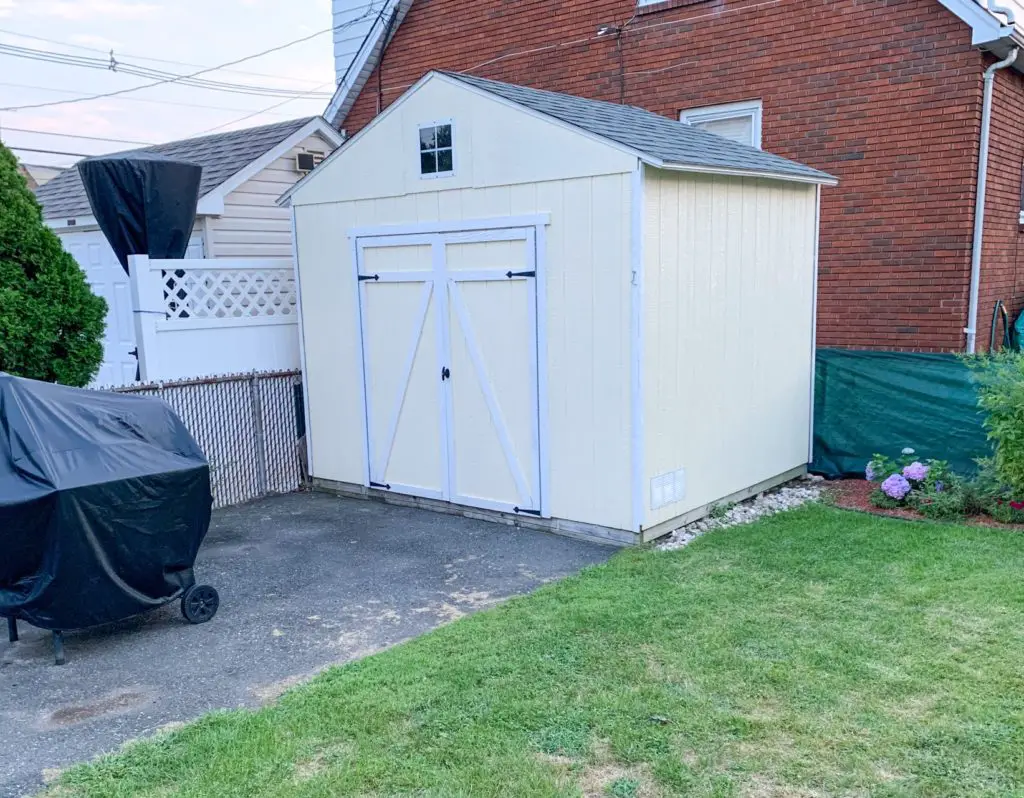
Did you want to see a close up of that shed?
Here:
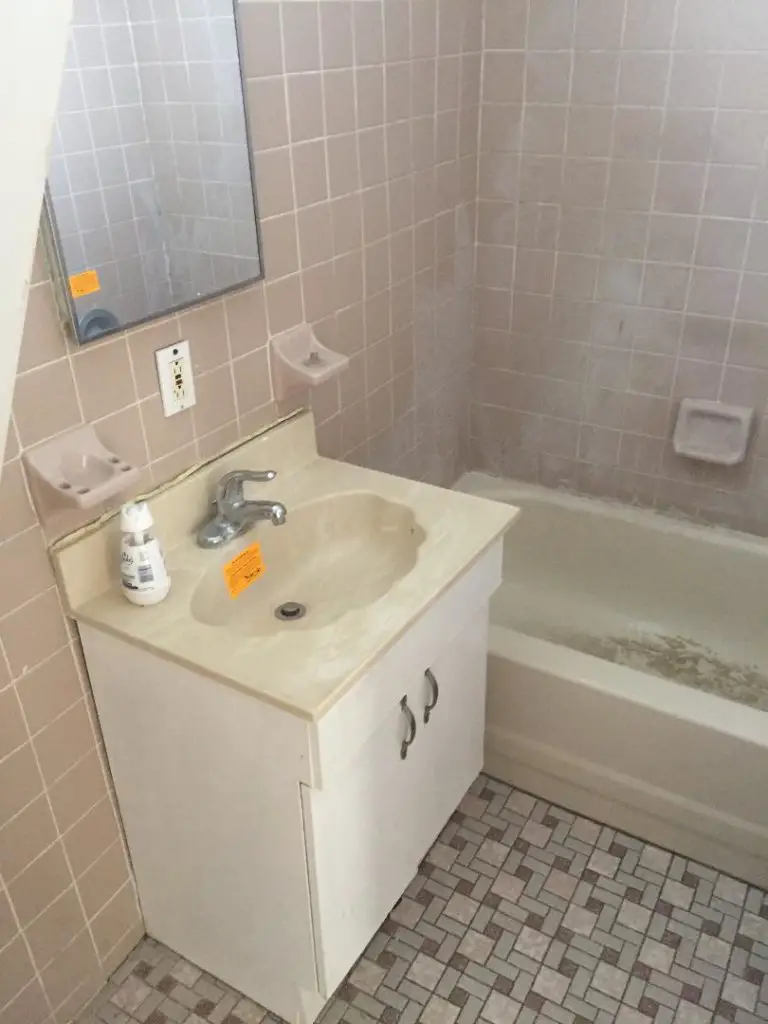
Much like our basement bathroom, we did consider renting out this fine structure to horror film and murder mystery TV shows. We then reconsidered and decided to make our backyard enjoyable.
We admit, this process was not a fast one. It took three years to complete this backyard before and after DIY. We’ve done the bulk of this work ourselves not only to save some money, but also because we enjoy it.
Had we hired a landscaper, I’m sure at least the gardening part would have gone faster, but we did what worked for us.
Challenges to Our Backyard Before and After DIY
The challenges presenting us in this backyard included:
- No one had cared for it in approximately a decade. Much like the rest of our previously foreclosed house, it fell into disrepair long before it was foreclosed and therefore needed some serious love. Thankfully, other than the shed and foundation paint, it was mostly cosmetic fixes.
- Speaking of… what on earth is that rusty, dented piece of crap in the backyard? The shed was literally five feet tall – you had to be a Wizard of Oz munchkin to use it. It resembles the “shack” of the game “MASH” that we played on scrap during 2nd grade bus trips.
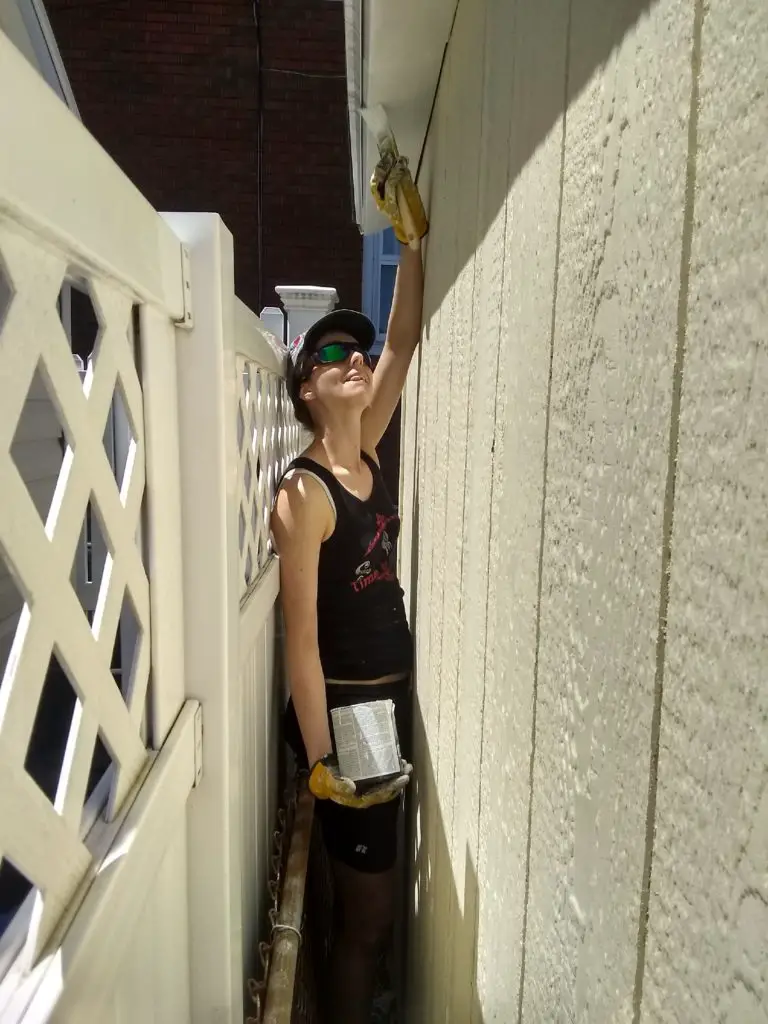
The positive of this shed, however, was that there was no sign of squatters in it when we bought the house. This meant that the neighborhood was decent enough that no one was taking shelter in this structure. I mean… other than a possible relative of Pepi La Peu. - Lead paint on the exterior foundation. This is a biggie – see that peeling gray paint on the bottom of the house? Having purchased our house through HUD on an FHA loan, we could not obtain a dwelling certificate or even close on our FHA 203k loan without having contracted a professional to fix this problem. Because the paint was chipped and peeling, it posed a serious hazard. This was a classic “point and pay” that we were glad to have behind us.
- Trash. The backyard was littered with trash. When we first moved in, there was a deteriorating stack of plywood on the patio beneath that lovely “pergola.” There were bottle caps and broken glass at the foot of the peach tree. There was junk… everywhere. We pulled teacups out from behind the shed and children’s toys up from the soil. But we kept on loving this backyard, little by little, and cultivated it to beauty.
Replacing the Shed
In retrospect, I’m not sure that DIYing this was most efficient. It started out innocently enough…
The tear down was easy. The Big Bad Wolf himself couldn’t have done it faster! Derek and I chose a nice Saturday night for our demo-date (always remember, safety first!).
We ripped that rusty old thing down in a half an hour. We laughingly folded the walls with our hands (wearing gloves, of course).
(What did we do with it, you ask? “Free scrap” on Craiglist.).
We were so glad that we’d done the demo the night before because building the new shed was a very, very long day. It didn’t help that day in June clocked in at 95 degrees Fahrenheit.
Nonetheless… thanks to the help of family and friends, we got it done. It was a kit from a big box store like this one, with a 35-page instruction manual.
Note – when shopping for one of these, be sure to check what comes with it. Ours required a separate purchase of roof shingles, for example.
Also, keep an eye on paint! Ours came primed, but not painted.
Anyway, having a functional shed really helped with organization. Glory be! Our lawn mower, snow thrower, and gardening tools could finally move out of the basement. Win!
Gardening in 3 Sections
Speaking of gardening… oy. Landscaping is hard work! We knew our backyard before and after DIY would not be complete without some pretty flowers and herbs to beautify its appearance.
We decided to add a couple of sections of garden along each fence line, hoping that little perennials (those are the ones that grow back each year) would eventually grow big enough to hide the chain link. We’d inherited a couple of heavy-duty shovels and a hoe and dug out a spot where the little divider would go.
After turning over the grass and covering it with black gardening cloth, we gradually planted a few things each spring to fill in the space.
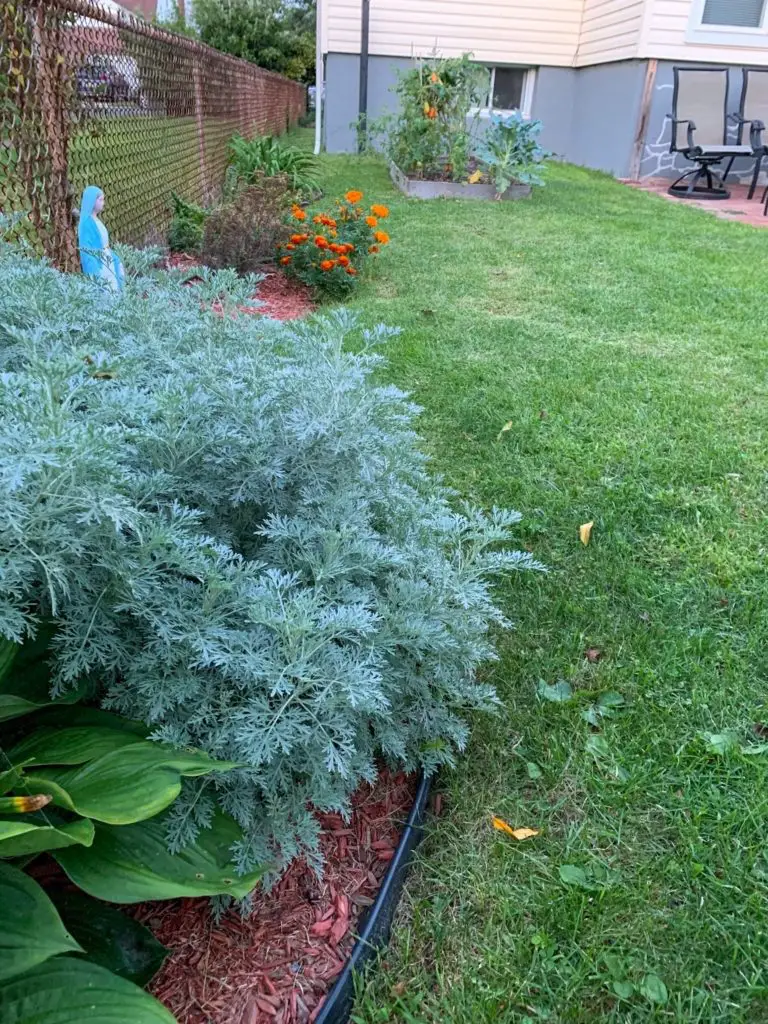
We repeated this process the next spring, adding a garden area along the back chain link fence. More shoveling, hoe-ing, and brute strength employed.
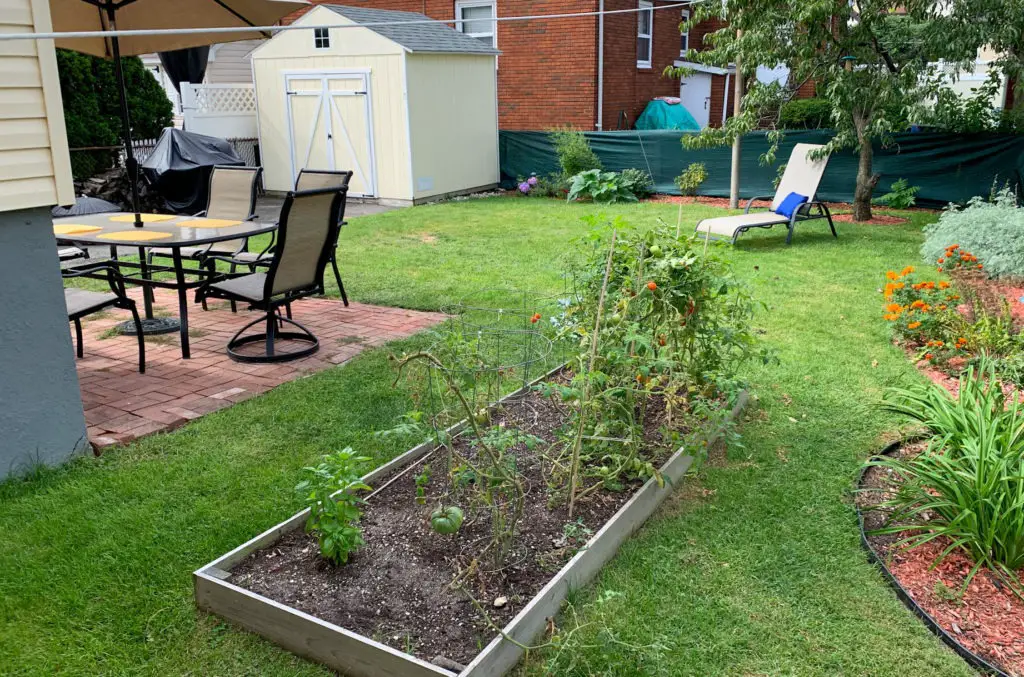
Finally, we created a raised garden bed! We purchased two 12-foot lengths of cedar and had them cut at the store to 8 ft. x 4 ft. (much easier to fit into our car). Box it, fill it, and we had ourselves a nice raised bed to plant our tomato garden.
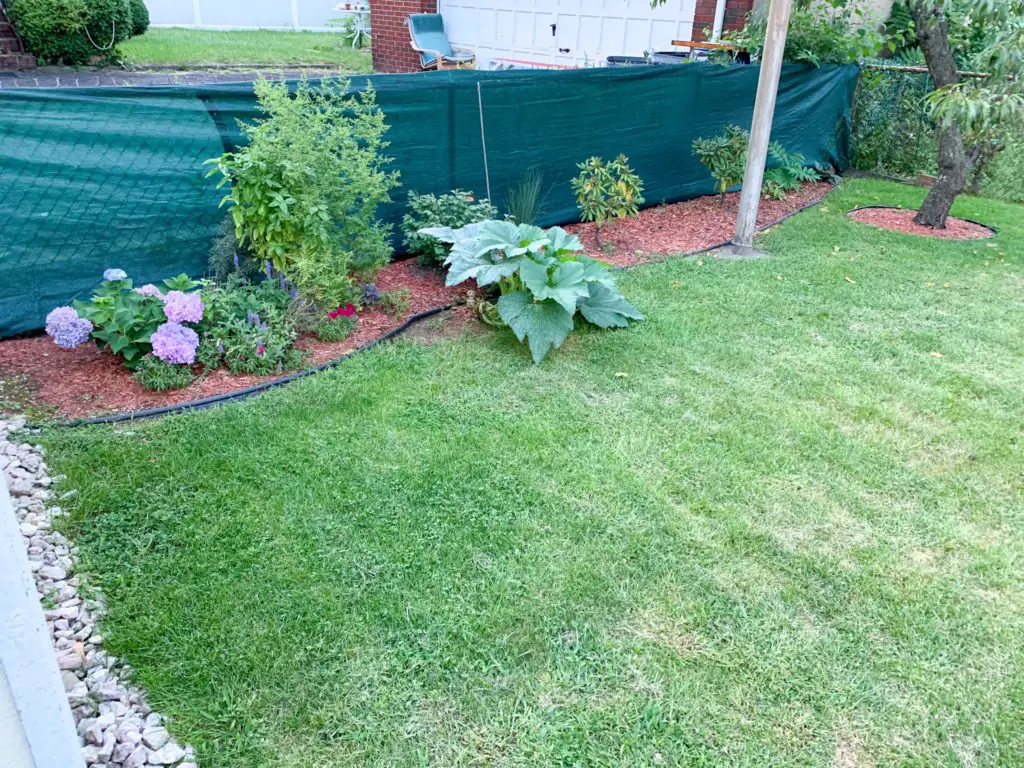
One easy fix that we’ve come to love – this green fence covering along our back fence. It’s wonderful because it hides our neighbor’s stuff, gives us a little more privacy, and even has venting so that it doesn’t blow off in the wind. We were grateful for an affordable fix that didn’t require permits from the town (like rebuilding a fence would) and gives us a nicer look.
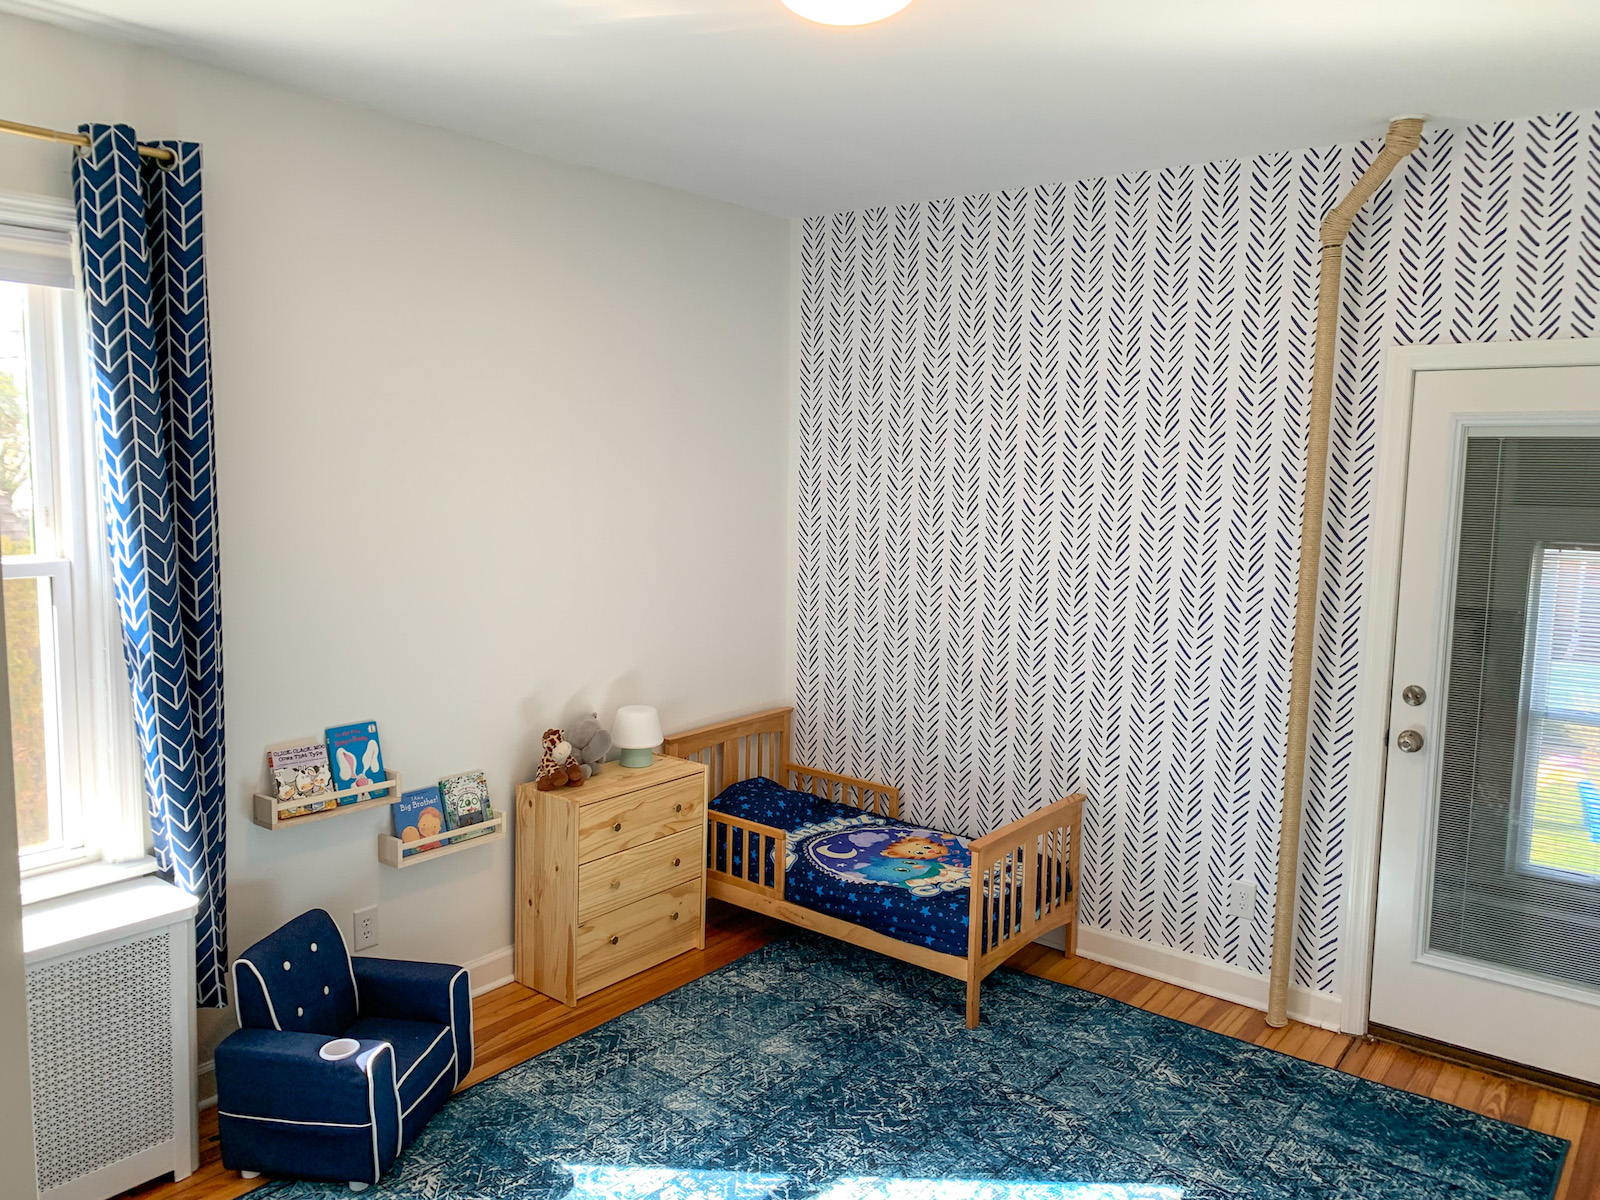
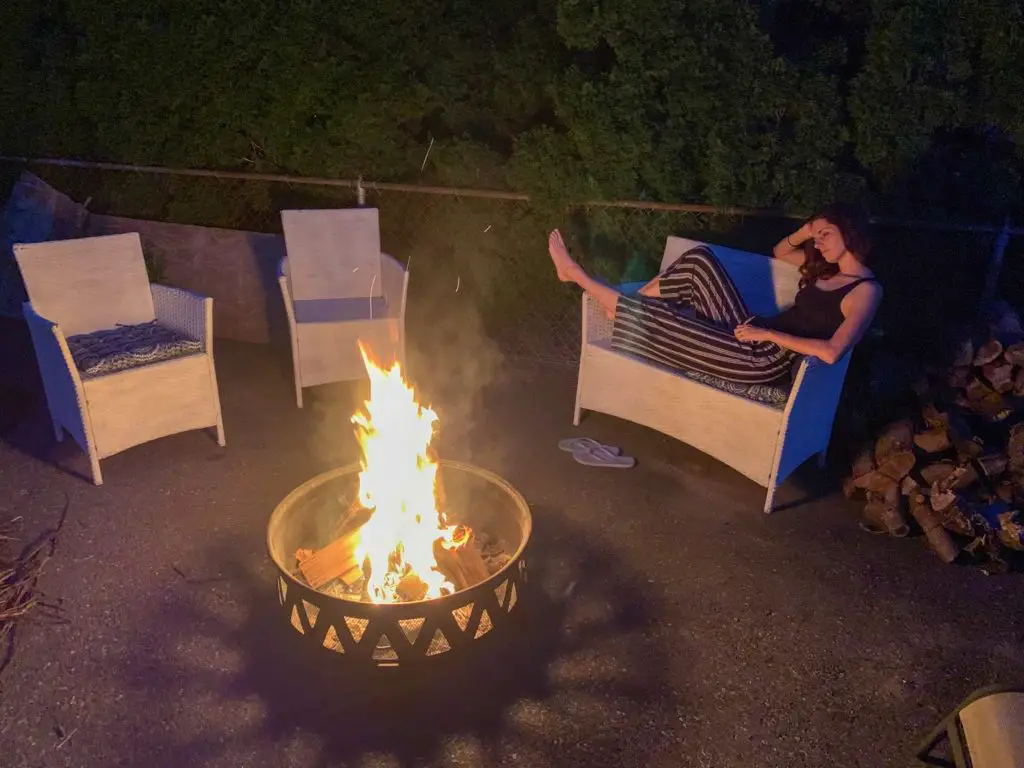
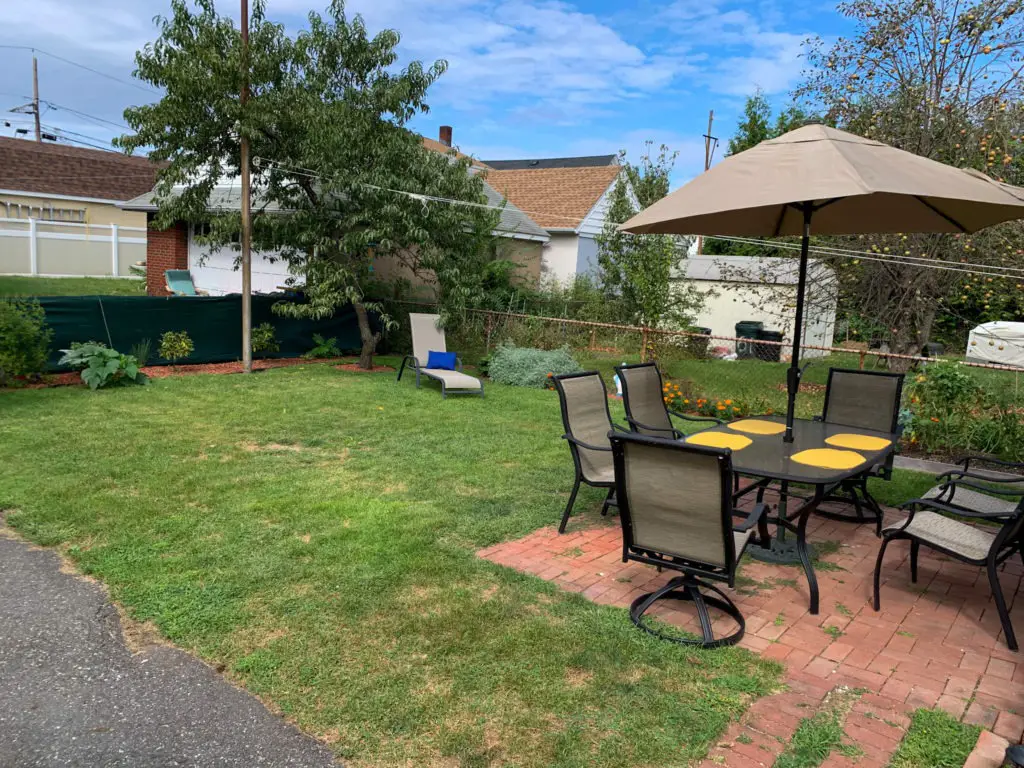
Outdoor Living Room + Fire Pit
Now, to make this backyard before and after DIY complete – with comfort!
We needed a place to kick our feet up.
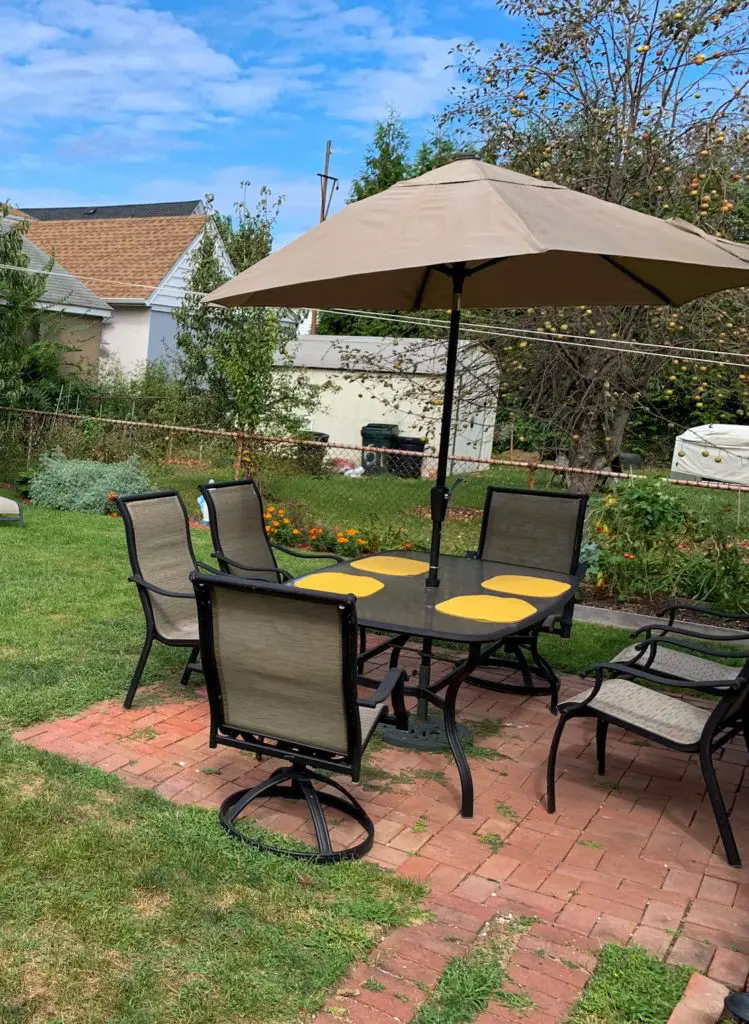
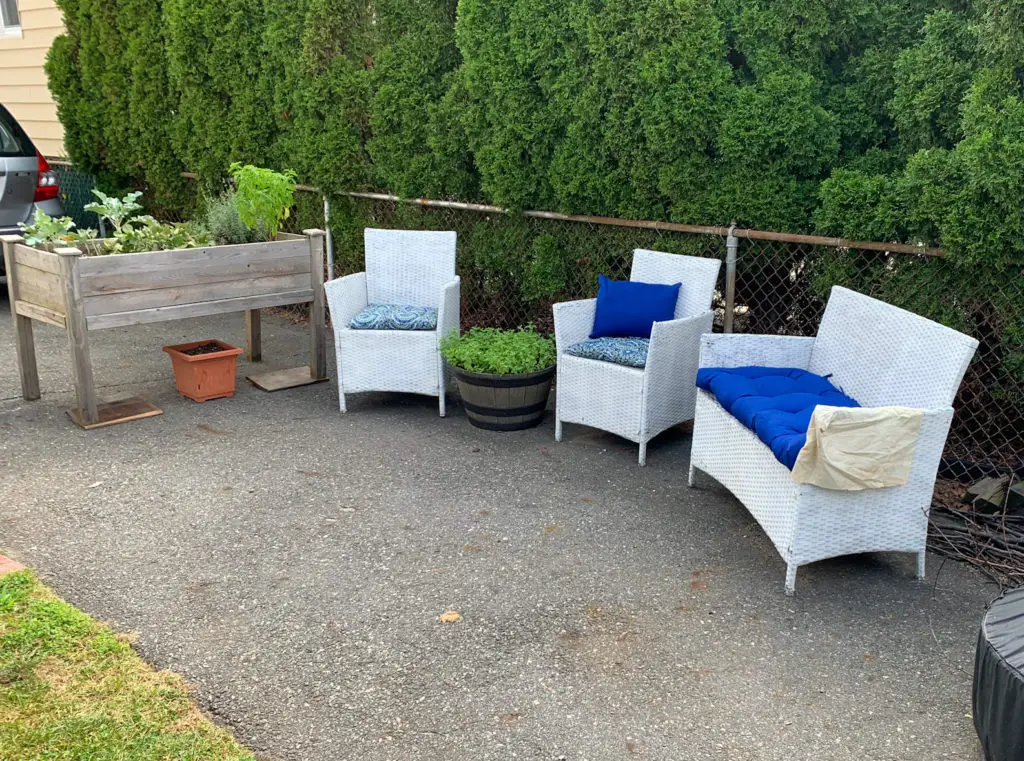
After the big fixes like the shed and garden, we were inspired to make the backyard nice-nice. Since Derek’s folks downsized right when we bought our place, we were lucky enough to inherit a sweet patio set. Dining space, check!
We had also acquired a fire pit more out of necessity than anything else – with so many wood scraps, we wanted to find ways of avoiding putting it in the trash. (Safety tips: do not start a fire without a bucket of water nearby; do not burn wood that is pressure-treated, painted, or stained; check the winds before you begin. Thank you for coming to my Ted talk.). Lathe from plaster walls is particularly good kindling, which we had plenty of!
After checking with the local fire inspector, we elected to keep our fire pit on the driveway. Our town requires 10 ft radius from any existing structures. Fair enough.
For a while we just dragged patio chairs over to enjoy a toasted marshmallow at dusk. But I, being my frilly self, wanted a separate sitting space. So, I took to the internet, only to discover that outdoor living room sets run upwards of $1,000. And that’s pre-cushions! NO SIR, GOOD FRIEND!
We of course “kept our eye out” at yard sales and thrift stores, to no avail.
Until one day…
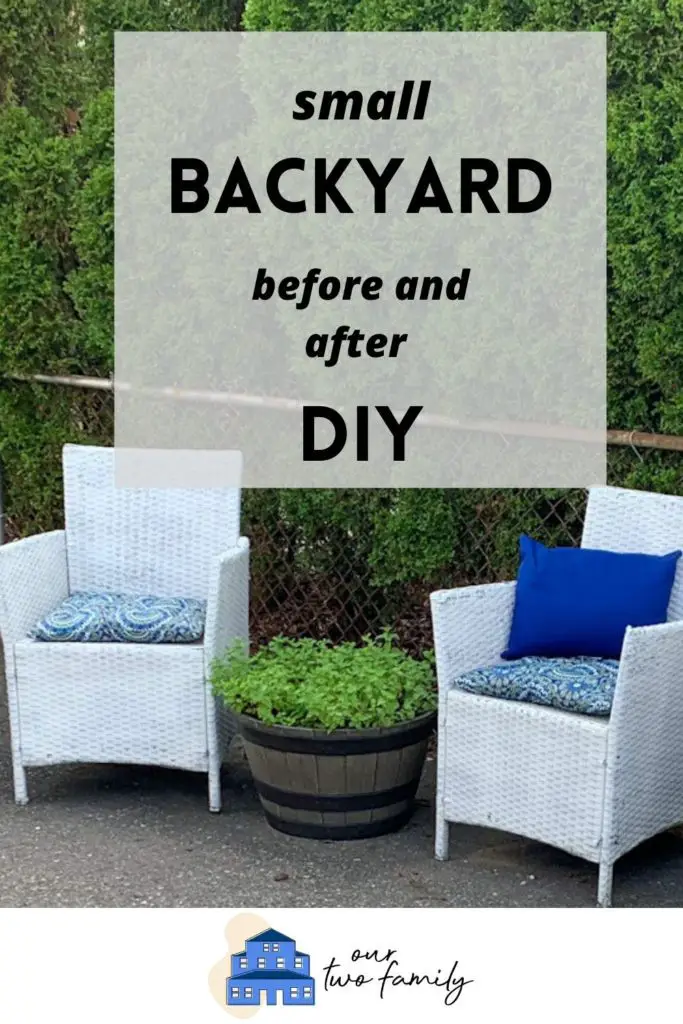
Derek texted me at 8:30am (very strange) on his way to work (very alarming) to say he had pulled over (are you kidding me) and found a pair of wicker chairs (OH, THANK GOODNESS). A little loveseat and a singular chair, in “okay” condition, waiting for their demise in the local trash pickup.
Bless my soul! He scooped them up and rescued them from their impending doom.
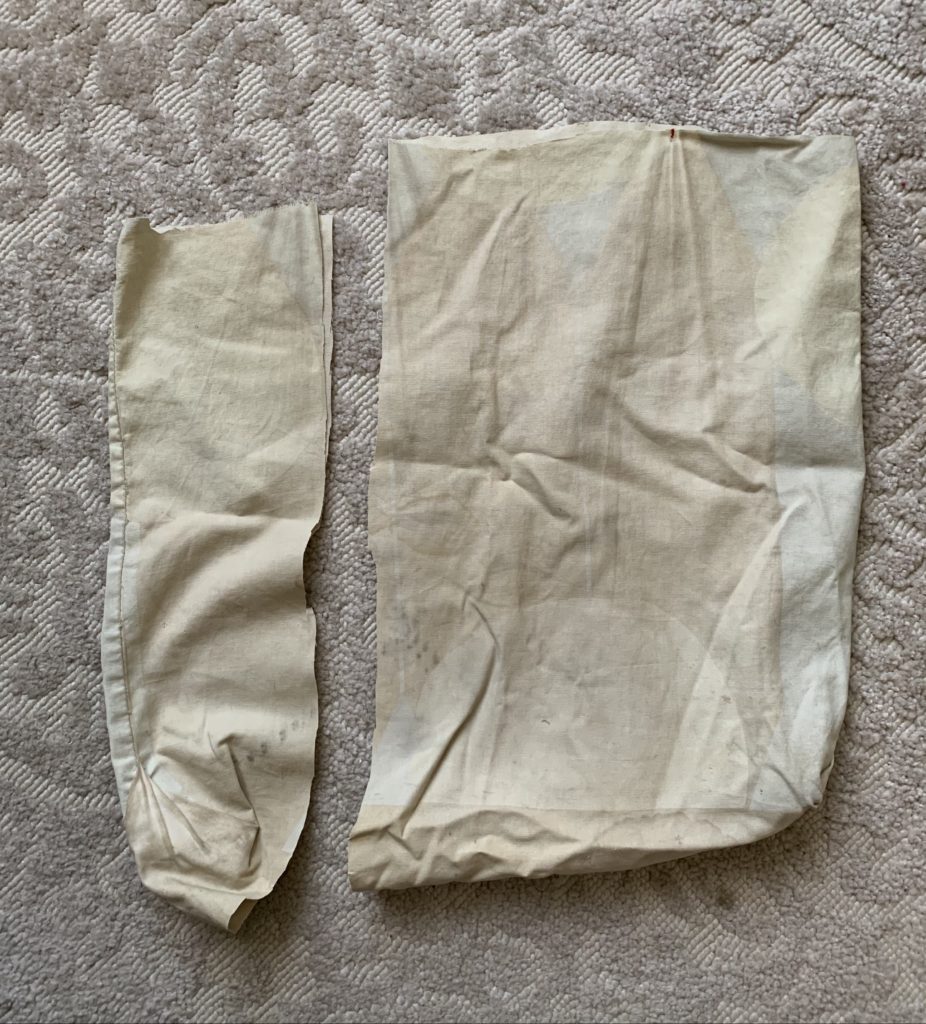
Upon further review, these chairs needed some love and affection. I would too, were I left for dead on the curb. We sprayed painted the wicker, then made some arm covers for the icky parts as follows:
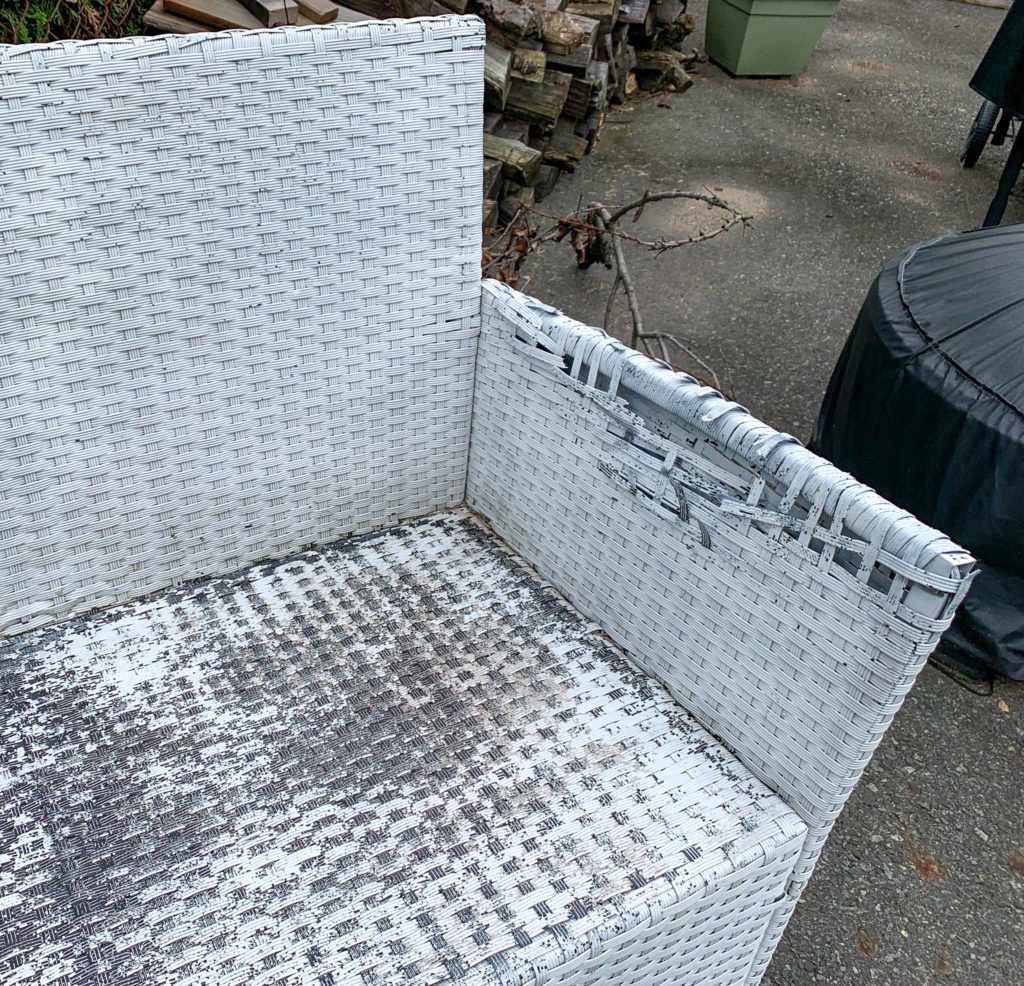
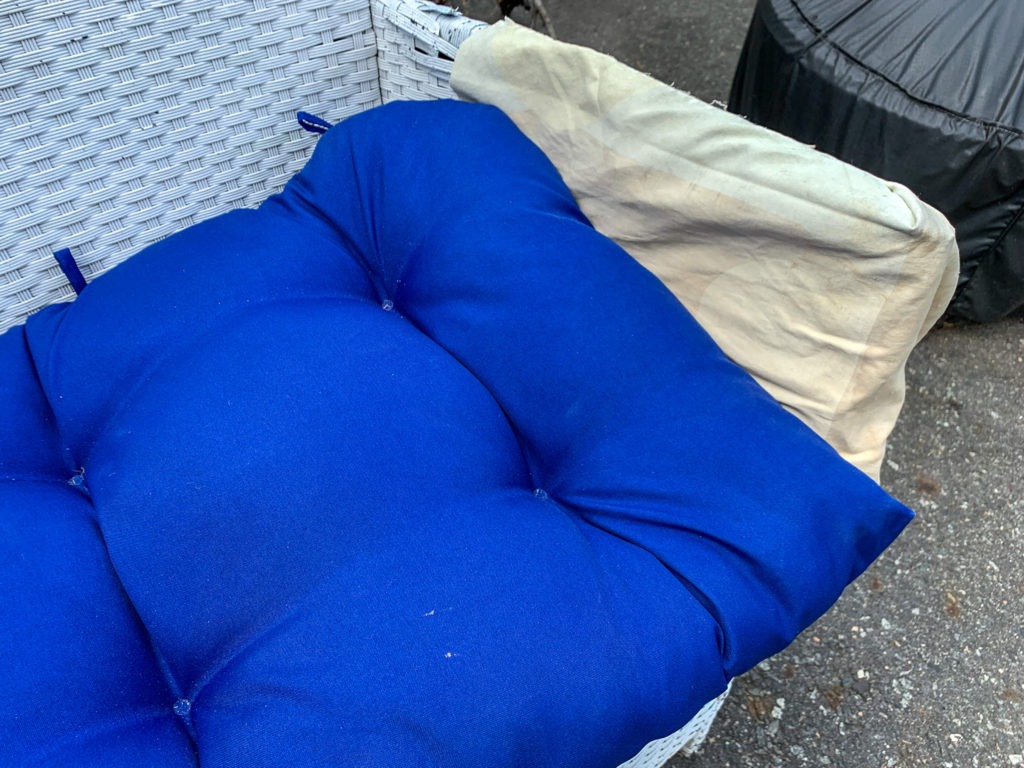
And yes, we naturally bought some cushions (yes, brand new, a very rare day in our household!).
BUT WAIT, THERE’S MORE!
The following week, Derek was on his way to work… (you know where this is going…)
When he saw a third chair on the side of the road!
Same house, matching chair. A family reunited once more! A bit more spray paint and one more cushion, and we had a matching set for four tushies in our outdoor living space.
Oh, and that lovely garden table? So simple to assemble. The hardest part was finding clean fill. We like how it distinguishes the space from the “driveway” section of the driveway.
A few planters, a little love, and presto, a perfectly delightful outdoor living room! We were also pleased that this space cost us less than $250 – a big win while we were saving up for our first floor renovation.
Costs:
Chairs – $0
Spray paint – $10
Cushions – $40 (found them at Christmas Tree Shops, where self control goes to die)
Fire pit – ours was $80, but this one is cheaper!
Cedar garden box – was $100 when we bought in 2019
It took us three years to make it happen, but we are just loving our backyard before and after diy! It’s not perfect, and probably isn’t magazine material, but we are pleased that it has improved.
Fall fires, summer BBQs, and cozy conversations, commence!

What do you think? (And if you have any gardening advice, lay it on me!). Until next time…!