Old House Bathroom Renovation – The 2nd Floor, Part 3
This post may contain affiliate links. If you purchase a product through one of them, we will receive a commission at no additional cost to you. As Amazon Associates, we earn from qualifying purchases.
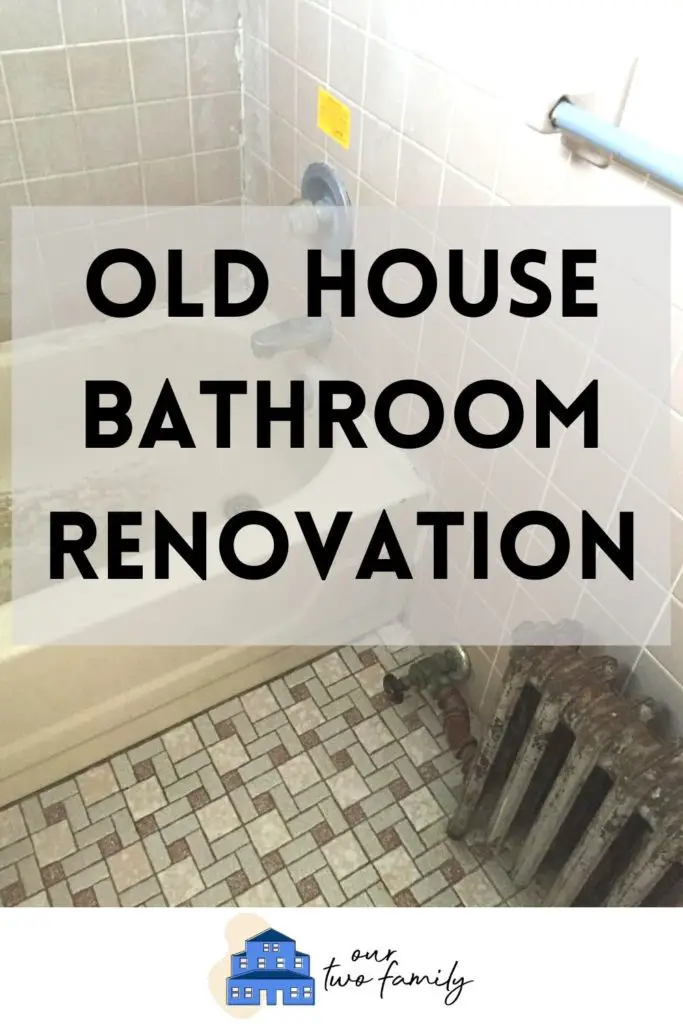
Welcome back! This is part 3 of our month-long series exploring the gut renovation of our second floor. Today we are talking about our old house bathroom renovation.
If you’re just stopping in and want to hear it from the beginning, check out our first two posts in this series:
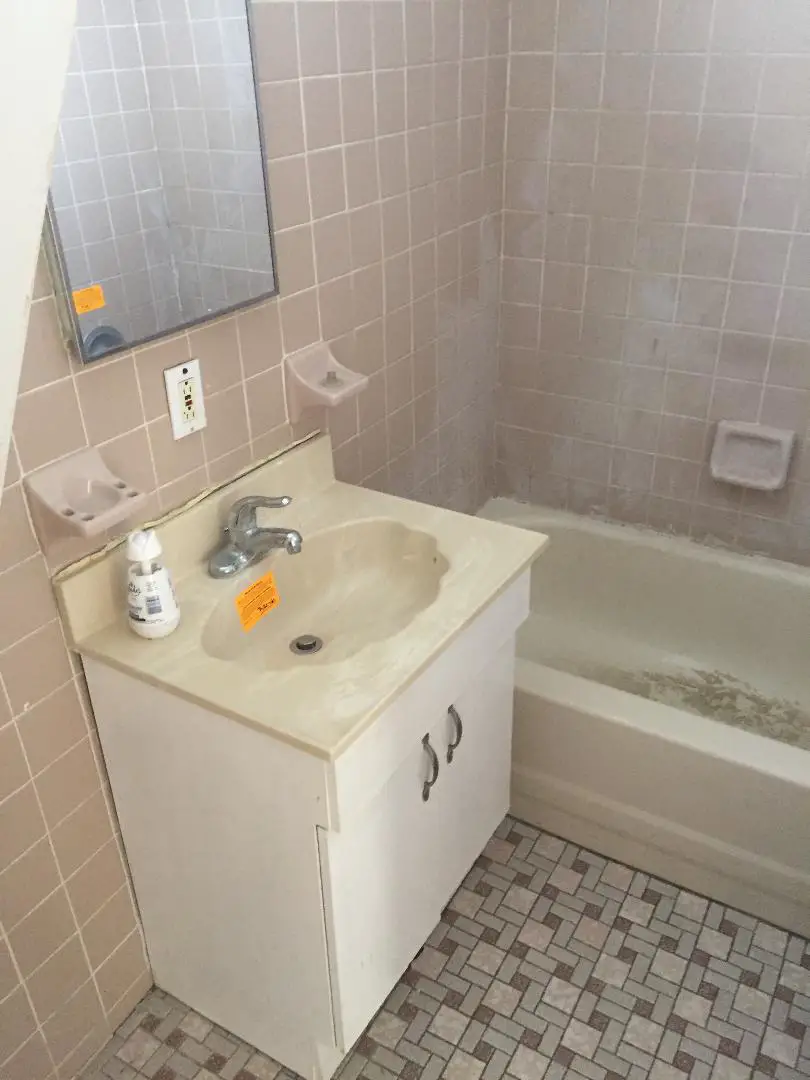
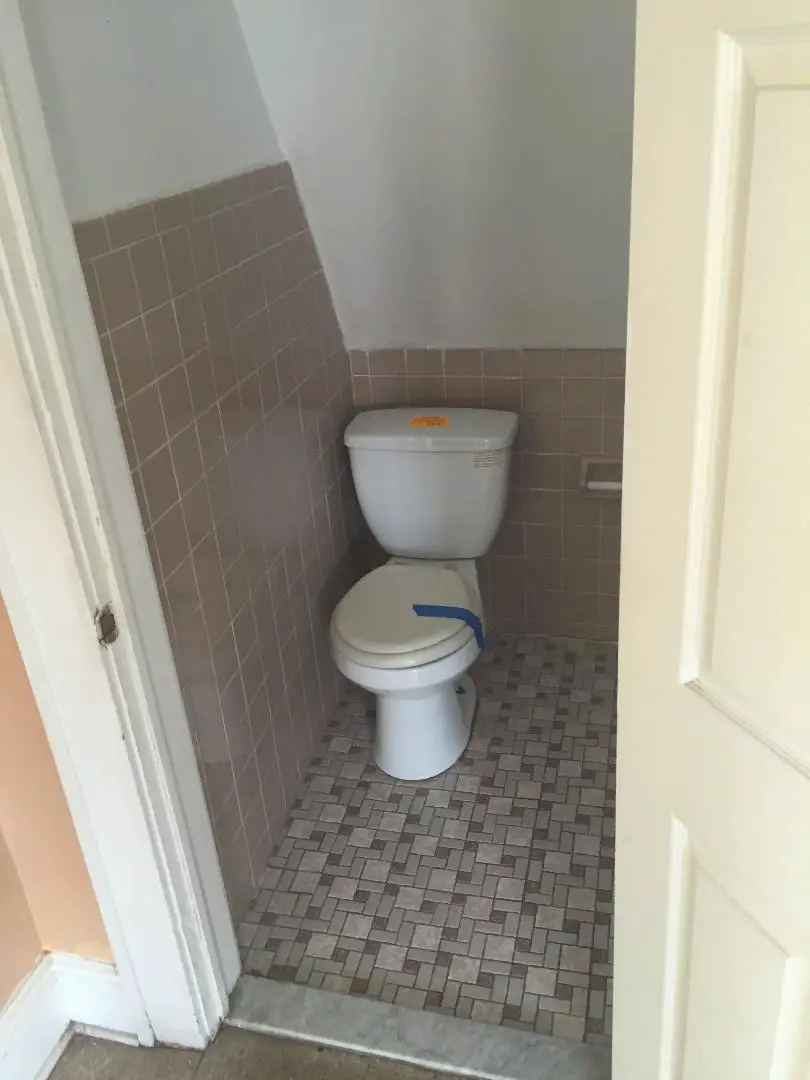
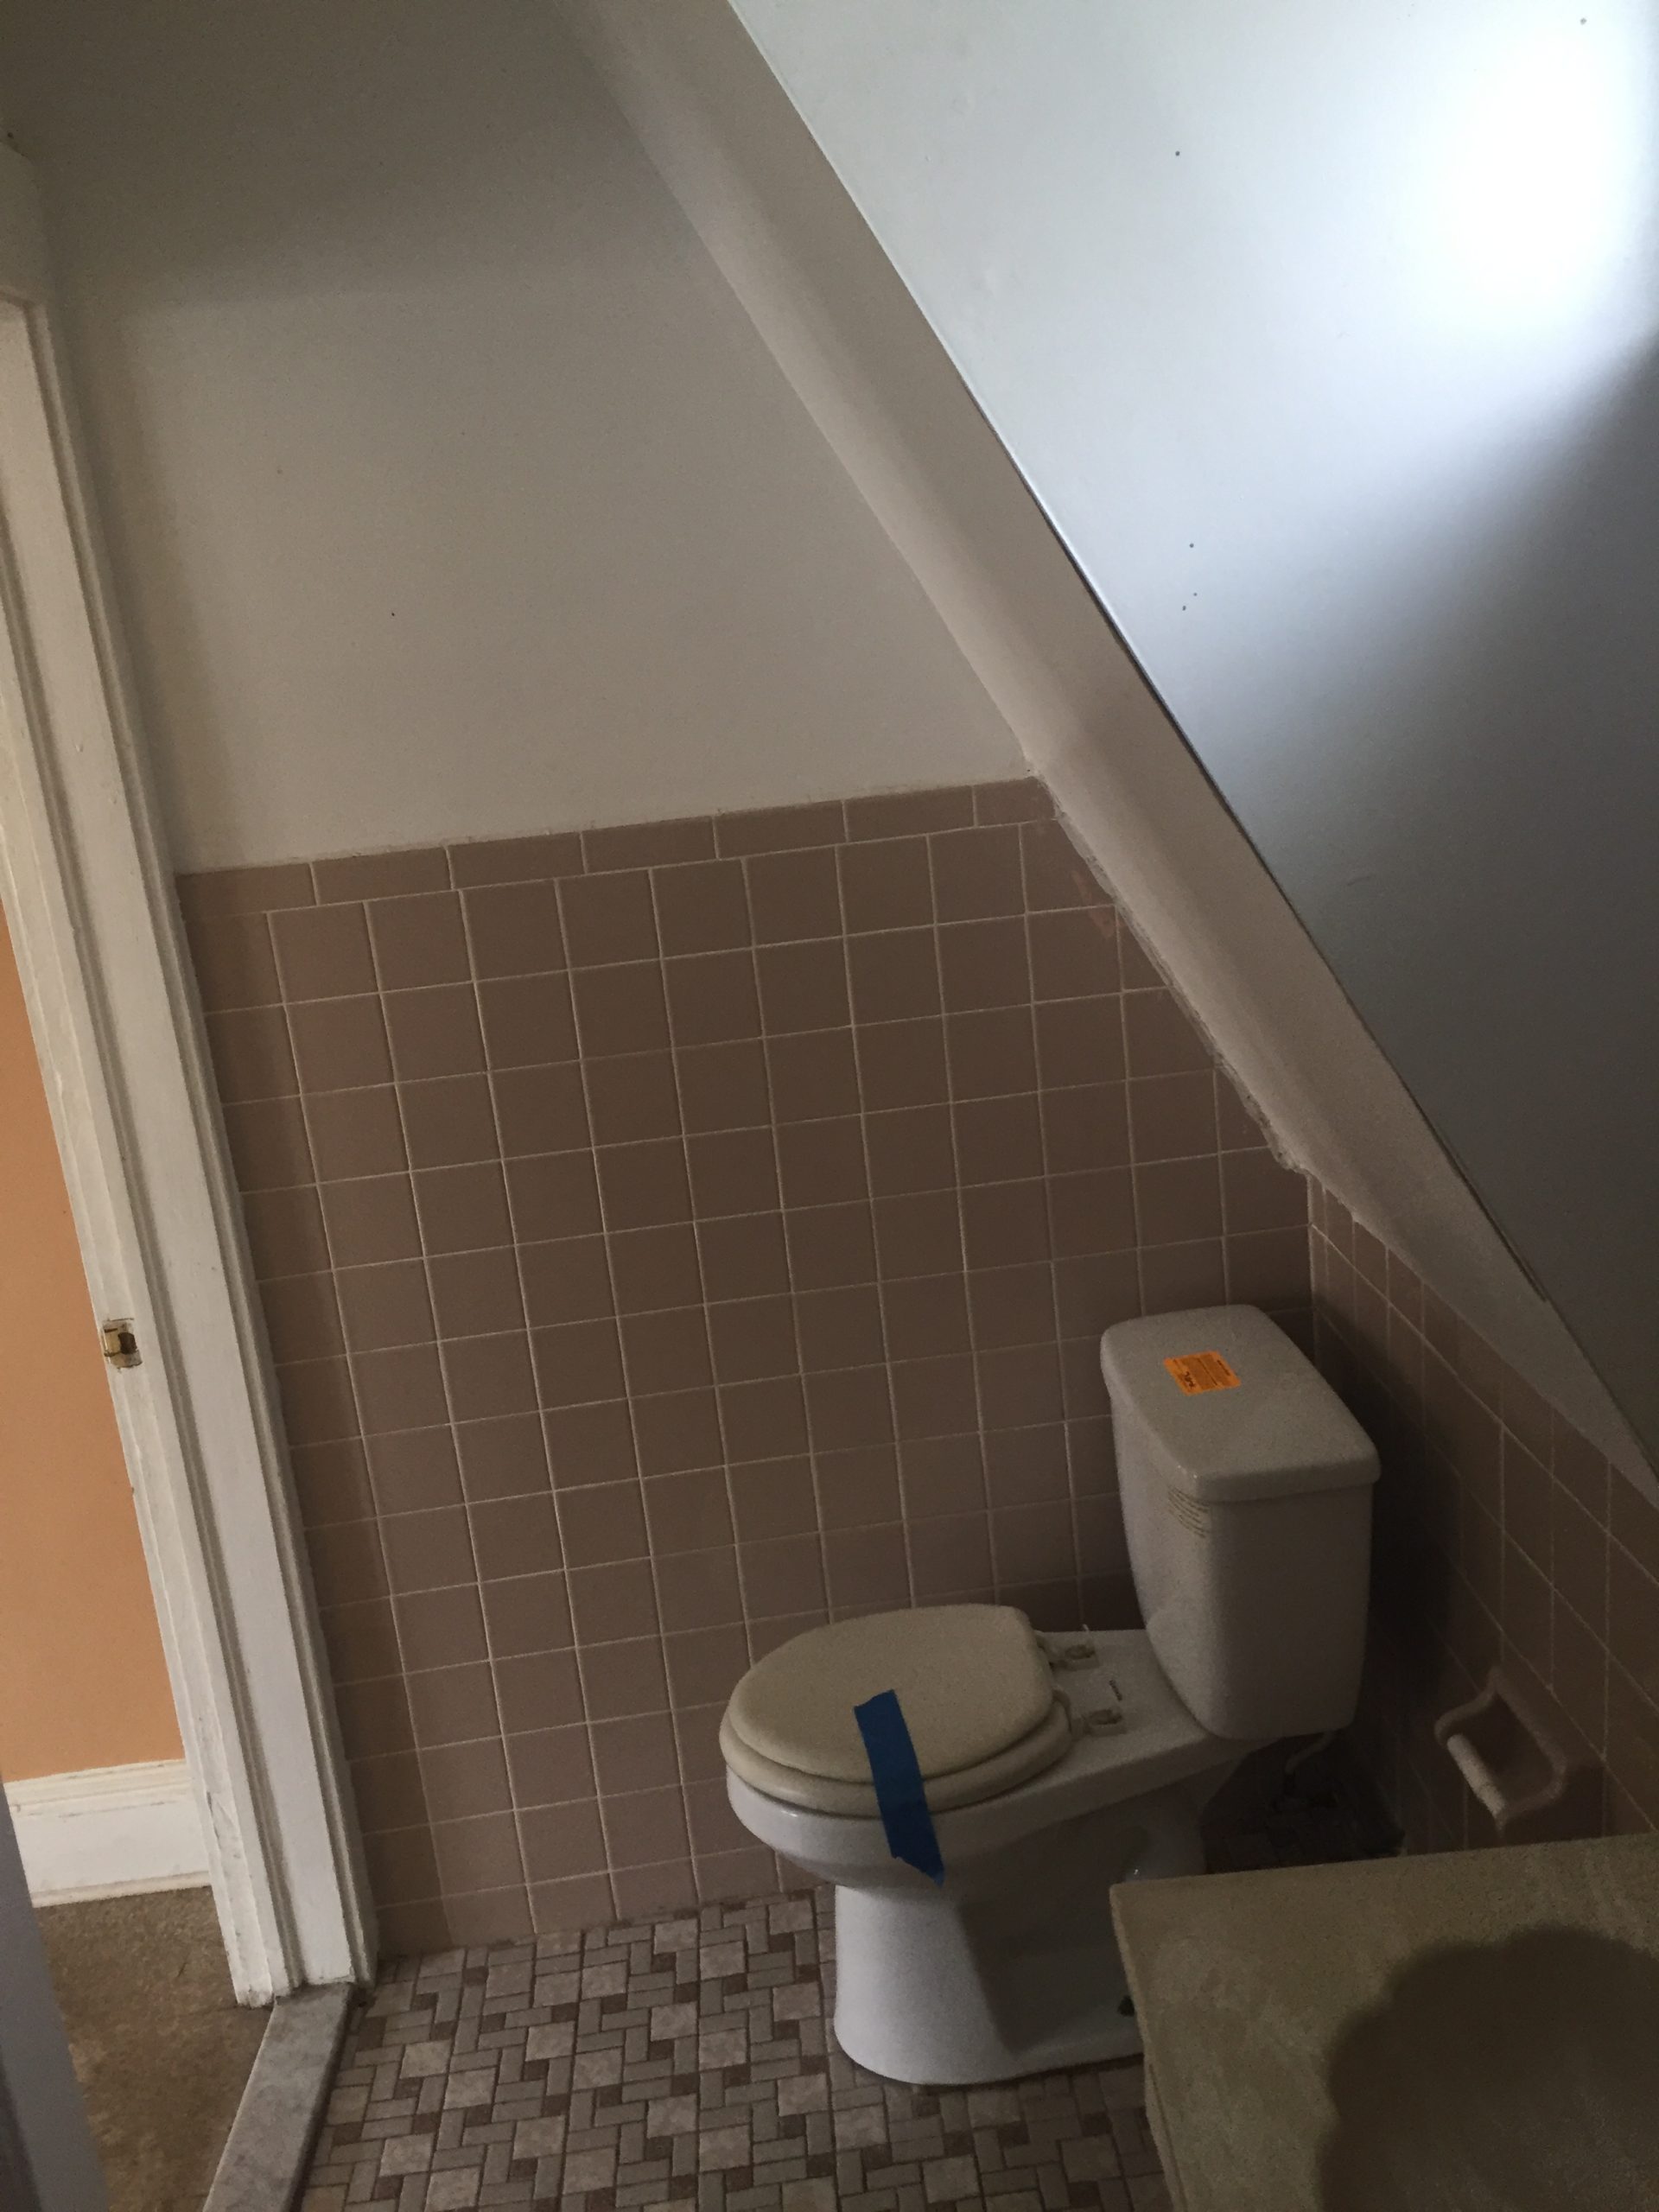
Now, on to the bathroom. Check out these miserable before pictures!
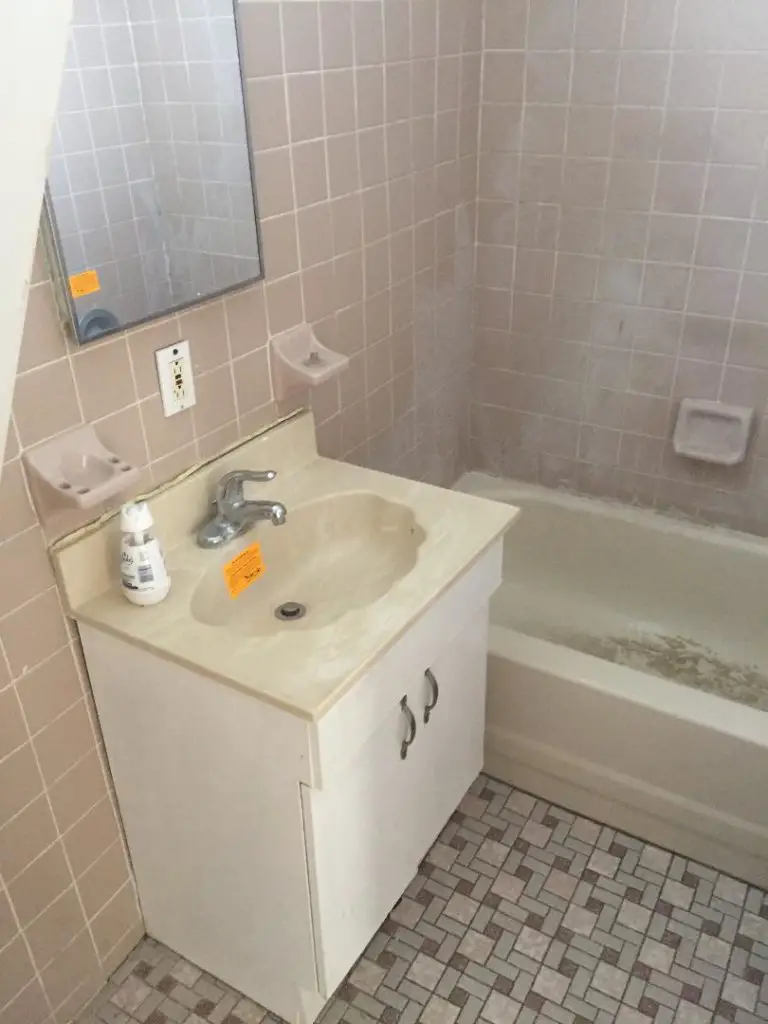
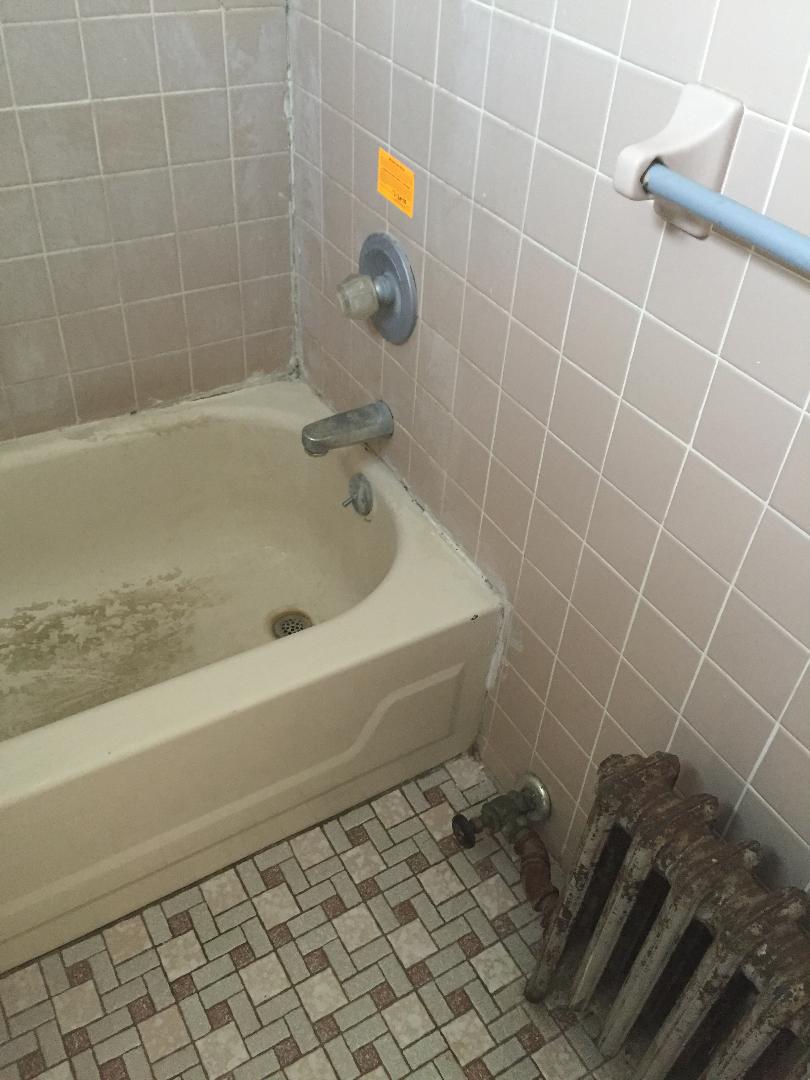
Impressive, no? If you recall, the toilet resided too close to the wall, oh and the electric was a sad, sorry sight to see.
Ugly as it was, our old house bathroom renovation would prove straightforward. Let’s dive in!
Layout
We elected to leave the layout of this bathroom generally the same. With such a small space, there was no need to mess with it.
There were two orders of business in regards to layout – more our plumber’s concern than anyone else’s:
- Get that toilet up to code (i.e. 15” on center)
- Recess the small radiator into the wall. With such little square footage, the radiator was just in the way.
Once we elected to move a toilet, remove a tub, and rip out wall tile… it quickly became evident that we would be gutting this room, right down to the joists in the floor.
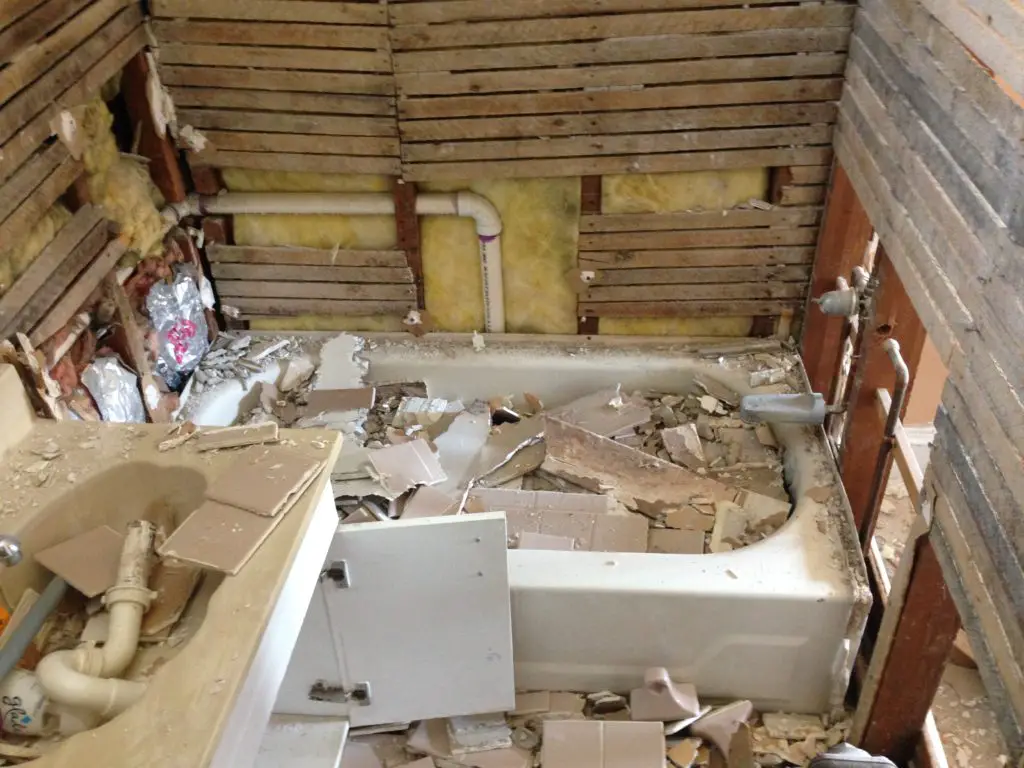
Did you know? Flooring used to be filled with ash. Like this:
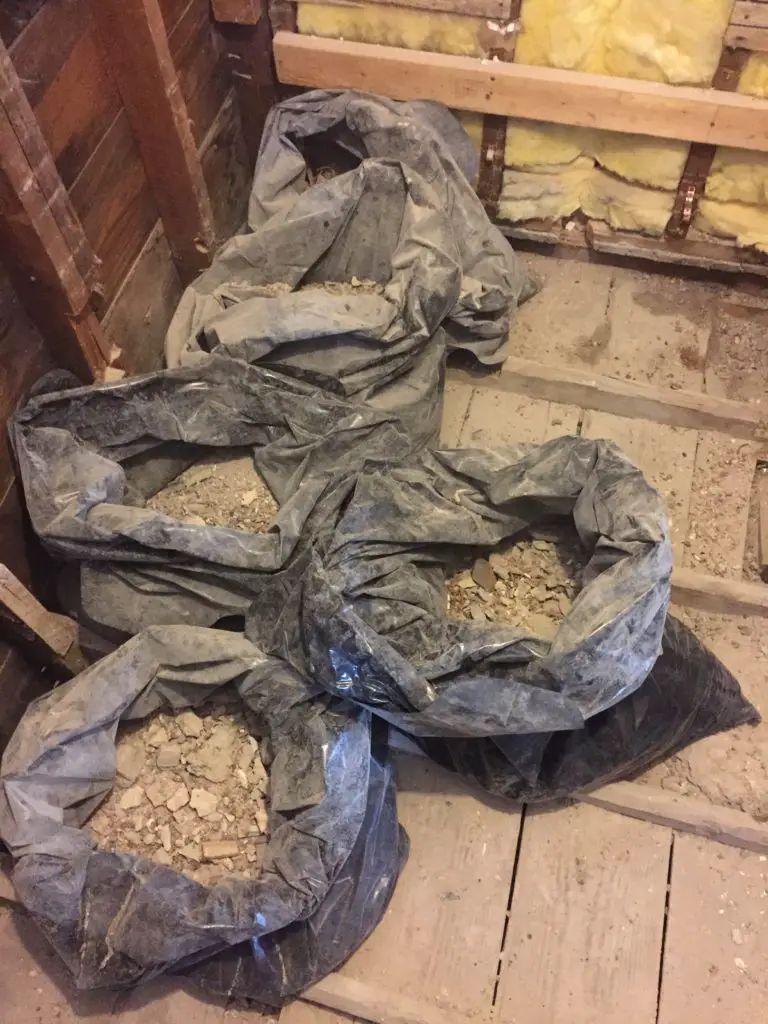
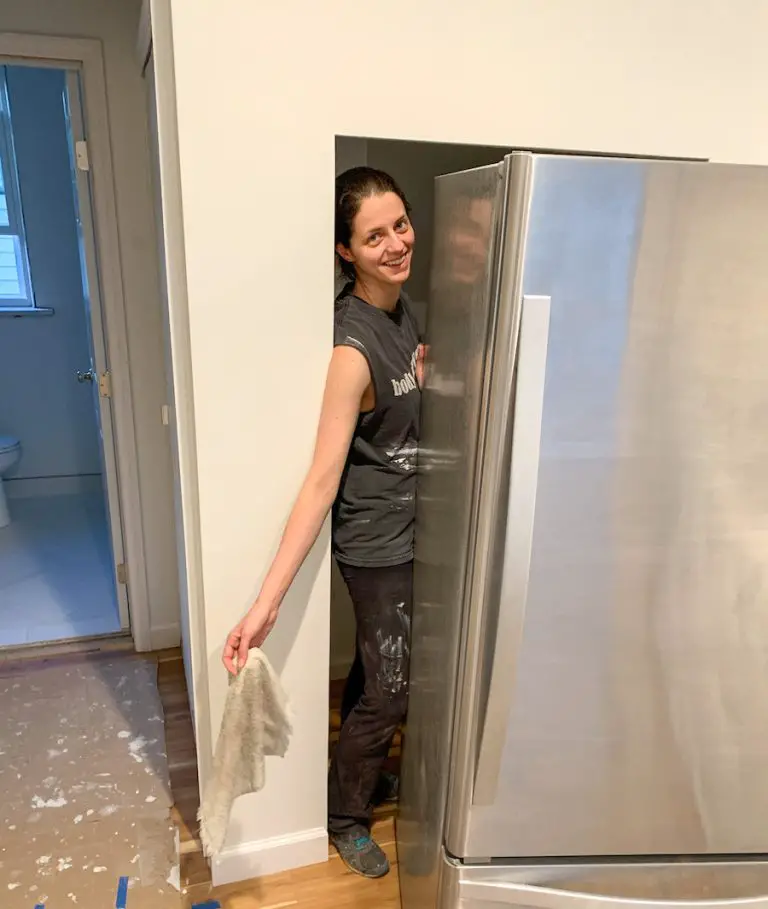
Why yes, while the boys did more complicated work, this hand model donned her favorite work gloves and scooped this mess out of the floor and into these contractor bags. SO GLAM.
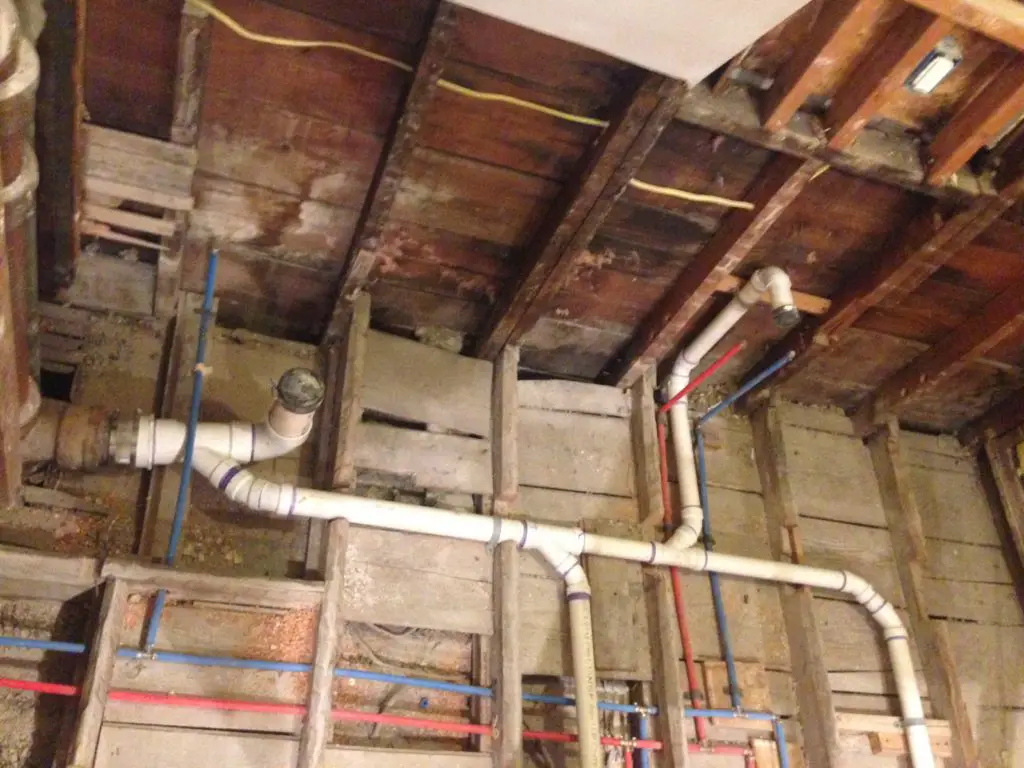
Our plumber took care of all the rough-in to get our bathroom in proper working order. Like so:

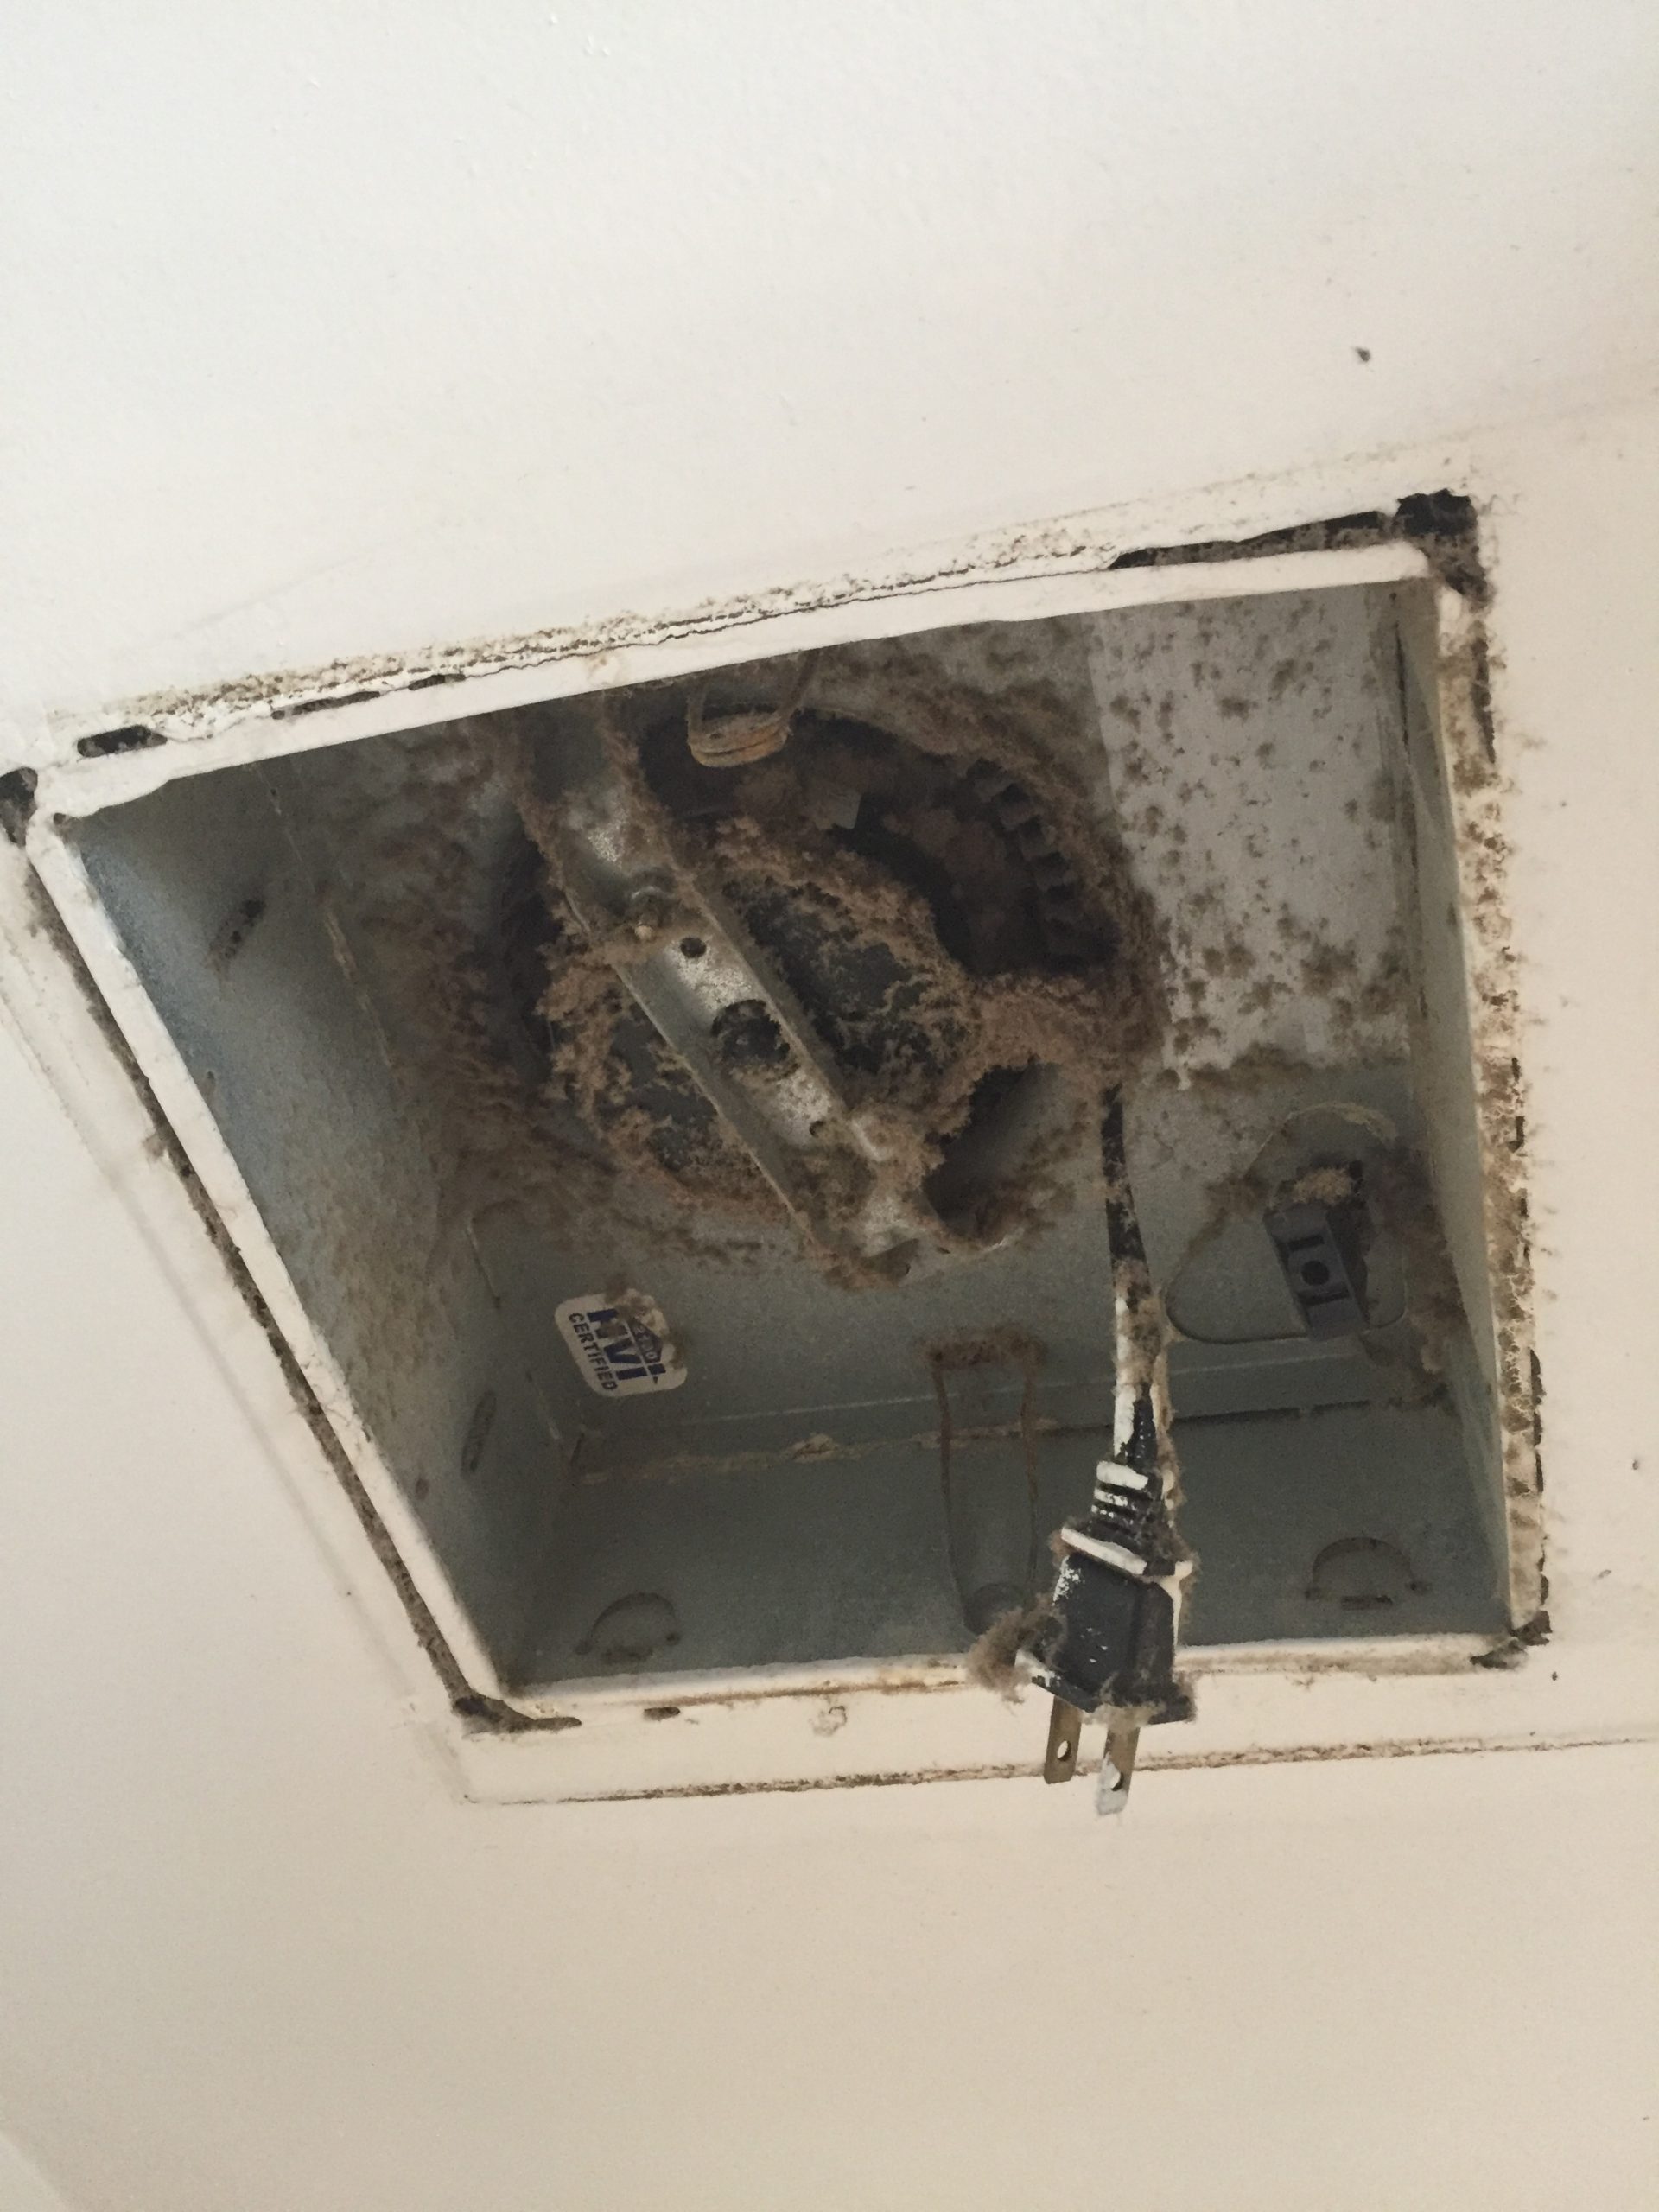
Electric
Our old house bathroom renovation required a serious upgrade in electrical. Just take a look at how it started:
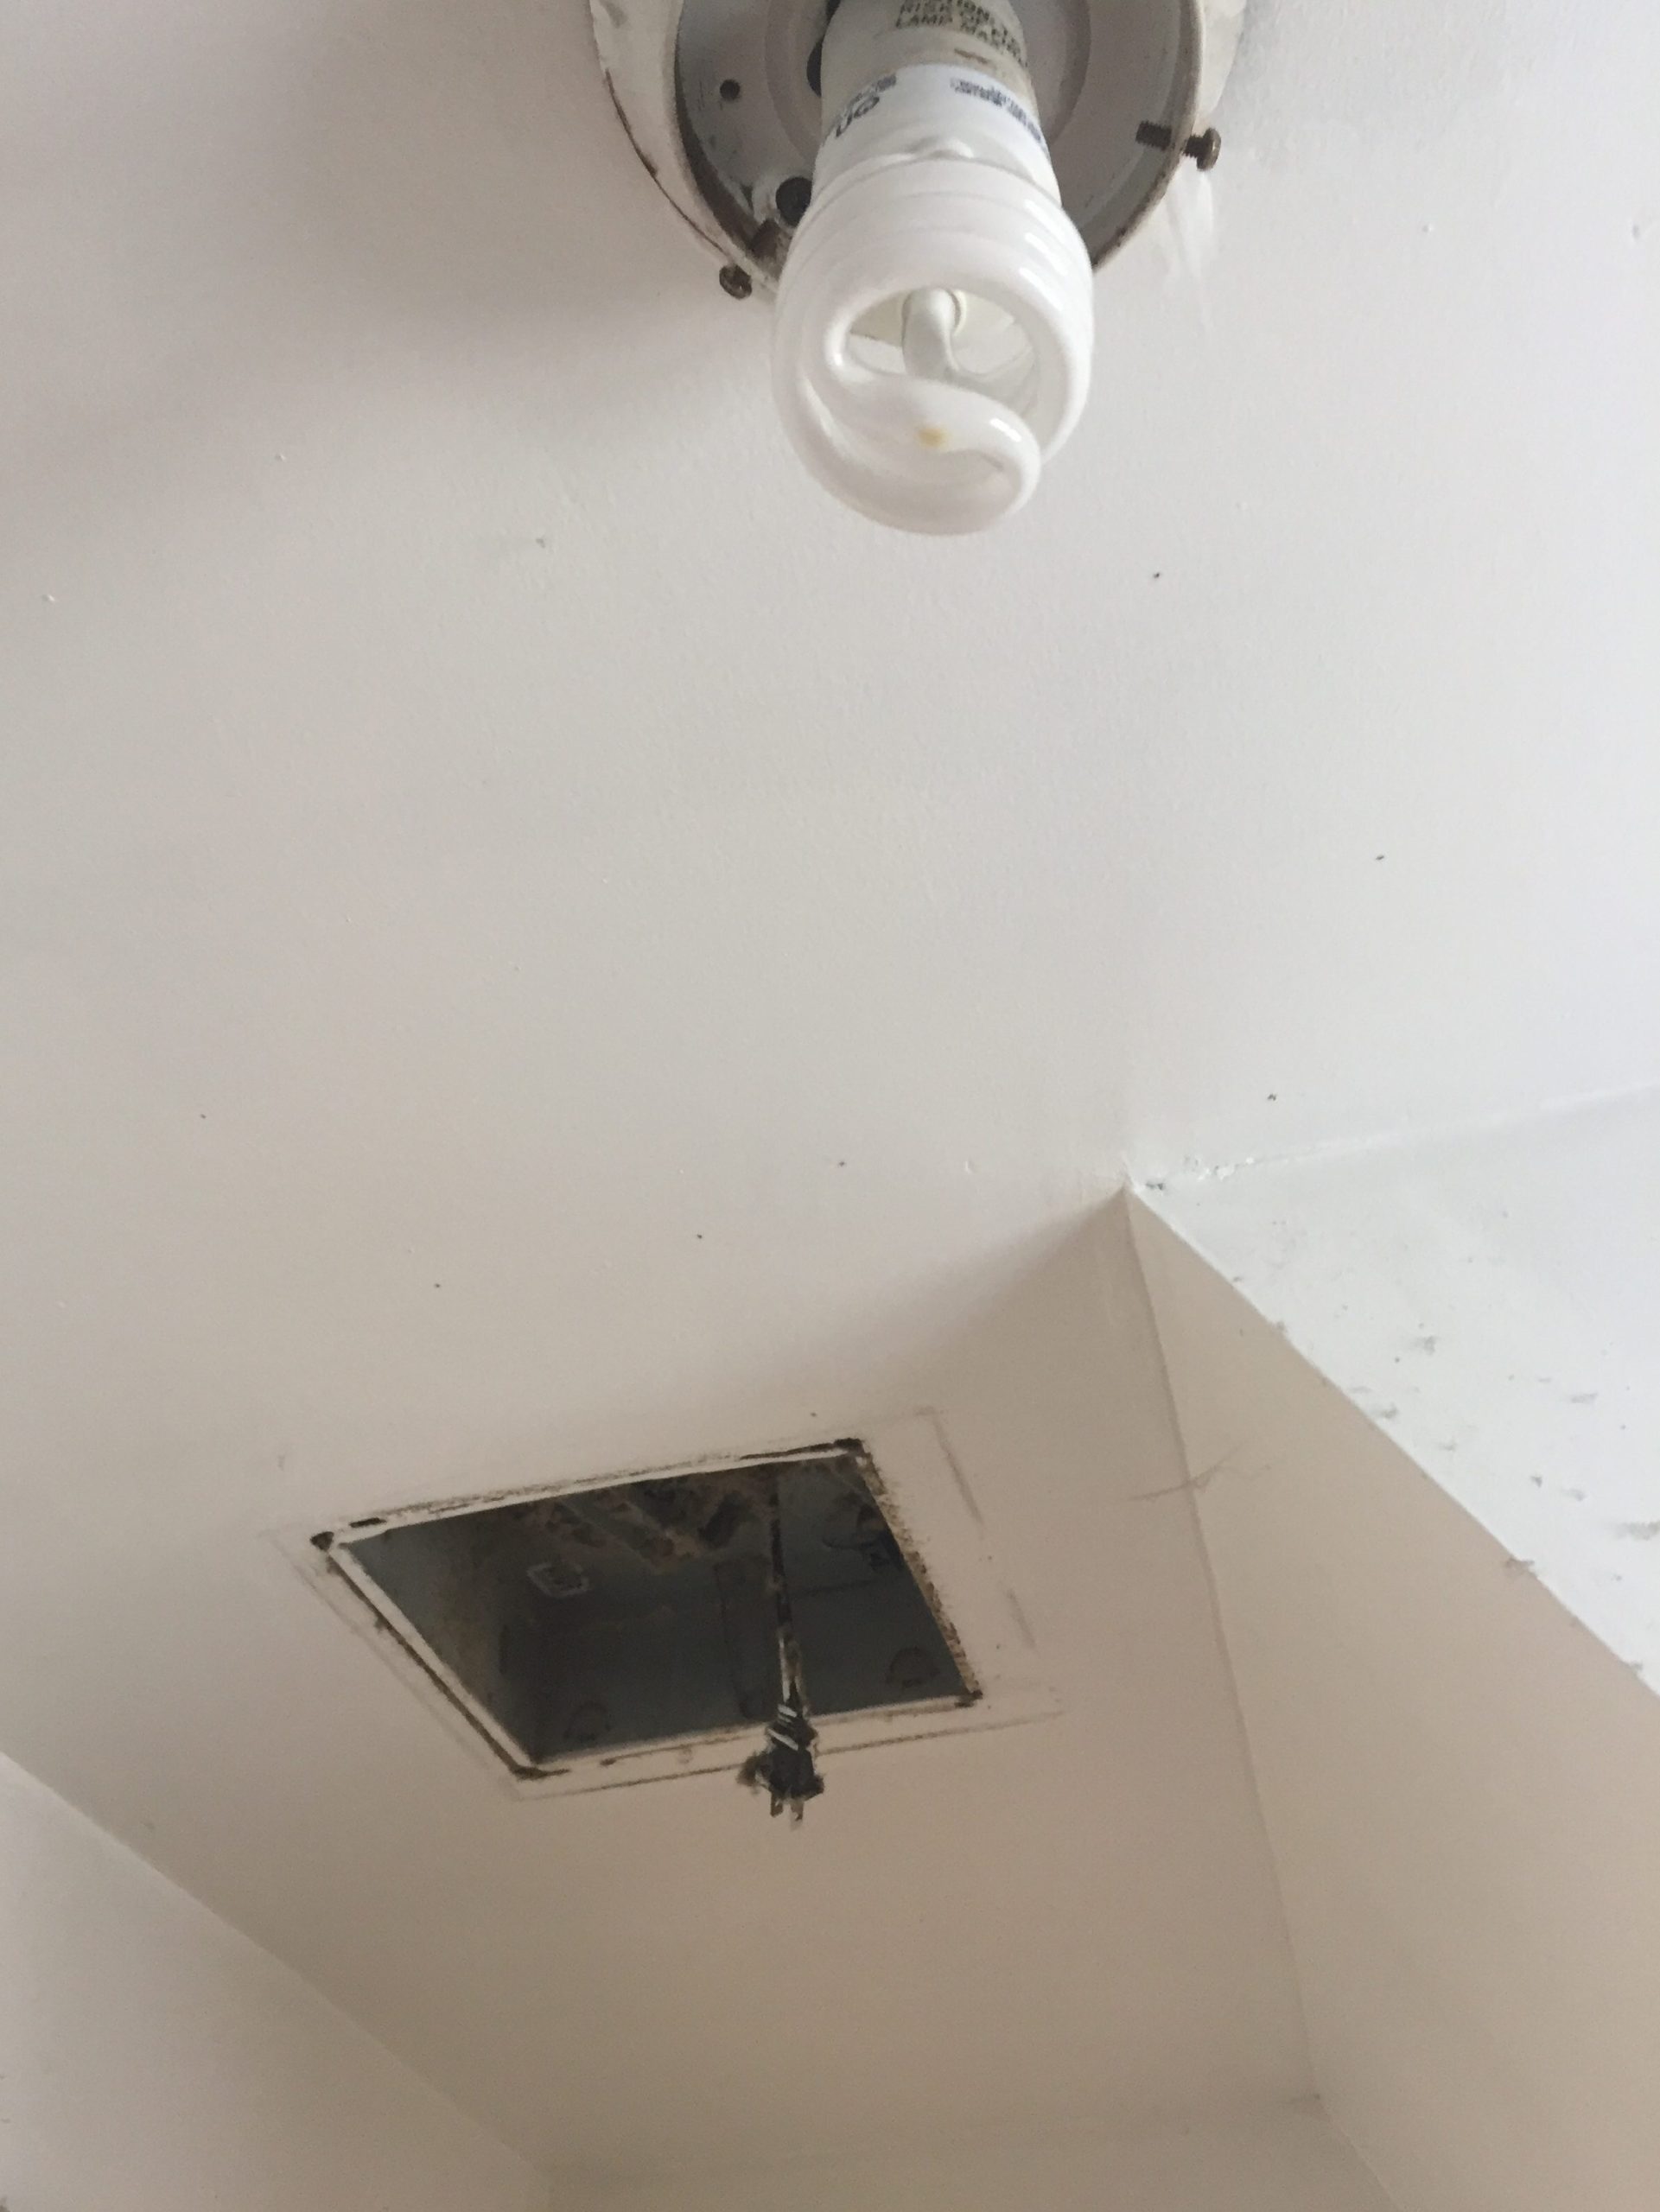
We tried not to panic when Leo the electrician’s first reaction to the original wiring was, “No good… this is not safe.” Months later, our next door neighbors revealed that the house once had an electrical fire. YIKES.
We had Leo make it right, and got a simple flush mount light fixture, along with a vent to replace the dust-mite-disaster pictured above.
Since it is part of the rental unit, we made sure to wire the light and fan to turn on together. That way, tenants would more than likely run the fan while showering, hopefully keeping moisture out of the bathroom regularly.
Walls
We left the framing the same in this bathroom and got to sheetrocking. Don’t forget – purple boards for humid rooms!
In the midst of our rock-n-roll adventure, we came to discover a giant crater in the wall next to the toilet. We were taking a break one night and noticed a good 18” of depth available between the wall and the closet which backed into it. It had a bit of space since it had to accommodate the stack.
From four feet away, my dad took his tape measure and poked the 2×4 in the middle, which swung back and forth. It was holding up…. nothing.
Concluding that this wasn’t a structural wall, we removed the 2×4 and recessed a cabinet into it.
Our 2nd floor apartment would be a rental, and what renter doesn’t appreciate more storage space?
Just look at the genius:
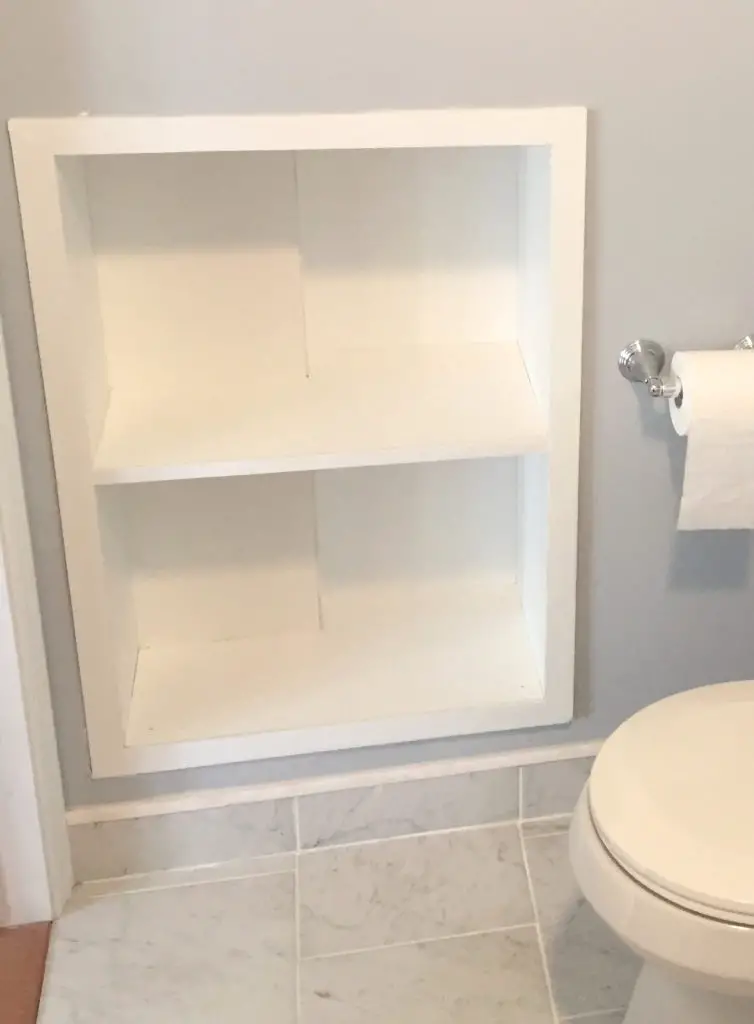
Pretty cool, huh?
Are you mid-bathroom renovation?
Go claim your Bathroom Renovation Planner – it’s the best nine bucks you’ll spend on your new loo!

Finish Line in Sight!
Tiles
We just love the simple tiles in this room from our local shop called Wayne Tile Company. Their staff are so knowledgeable and their products are excellent! If you’re near northern NJ, we highly recommend their outlet.
Fixtures
Our plumber did his thing installing the toilet (correctly, might I add), plus the vanity and tub.
We opted for a vanity similar to this one, with a shallow cabinet to keep the bathroom from feeling cramped.
Tub
We replaced the tub with an updated one, same size, a 4 footer. Four foot tubs are less common, but this is what worked for our small bathroom remodel.
Here I note that 4 foot tubs are only 28” wide, for all you bath tub enthusiasts out there. Plumber man was pretty pissed that he had roughed in for a 30” wide tub. He had assumed it was standard size. He never asked about tub width, so I never told him.
…Oops.
All good – he used plastic piping, not copper, which is therefore bendy… and nothing bad has happened, so I guess it’s okay?
Surround
To save time and money, we also chose to use a direct-to-stud tub surround for our old house bathroom renovation. It’s easy to clean, practically seamless, and installed in five minutes = win!
Once we had walls and tape complete, it was all the frilly stuff.
Paint
This paint color is called Morning Fog and is one of our favorites! There are few things I find more annoying that painting a bathroom, with its 8 million corners and 45 sections of trim, but we got it done.
Hardware
As for the toilet roll holder, towel ring, and towel rack – we aren’t wholly satisfied with them, so we won’t publicly shame their creator.
All I can say is I’m a big fan of this toilet roll holder, which we have used both in our first floor bathroom renovation and our basement bathroom remodel. We will never go back to any toilet roll holder that requires two anchors!
Oh, and for the shower curtain, we chose a curved tension rod like this one. With such a small tub, we felt it would alleviate the cramped feeling in the shower.
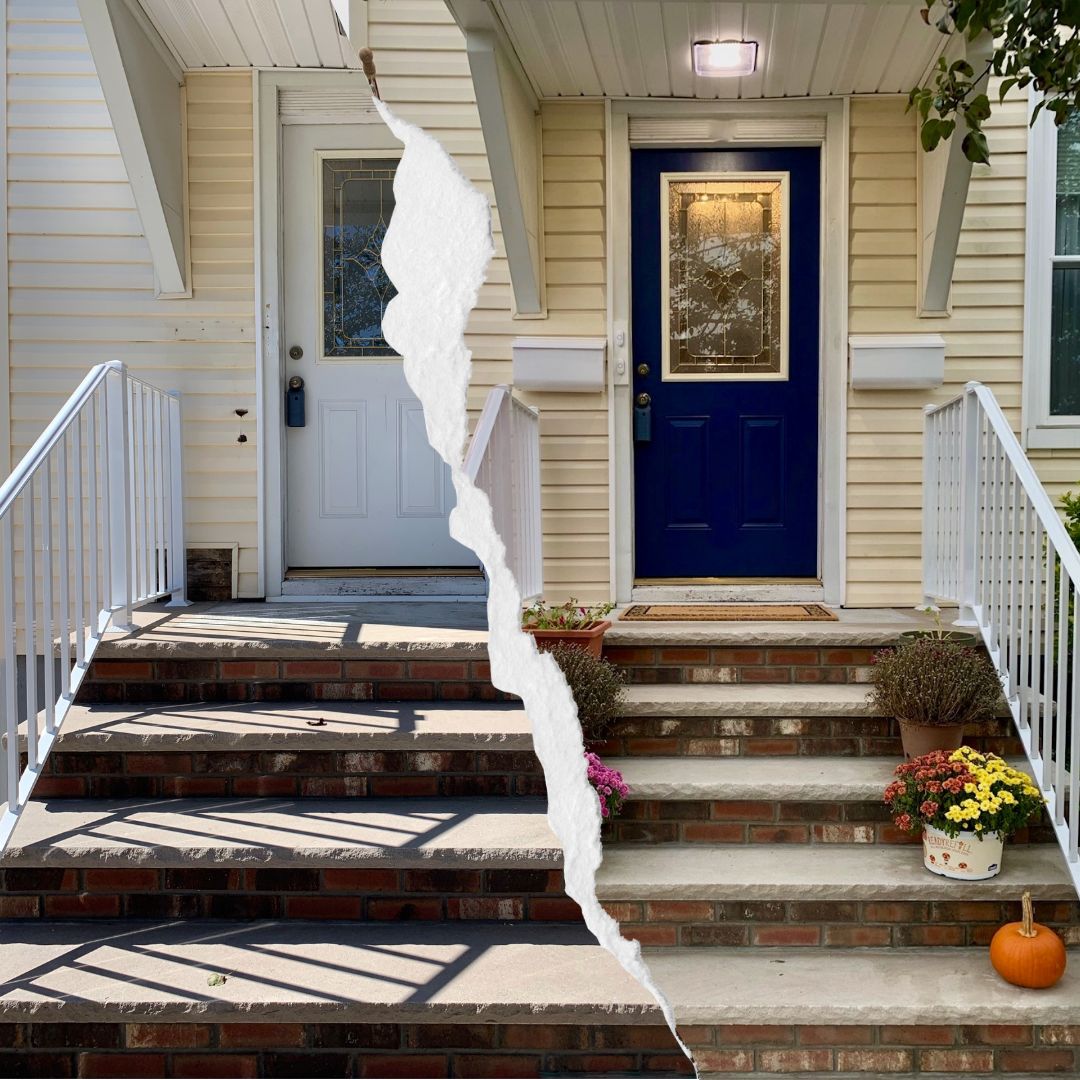
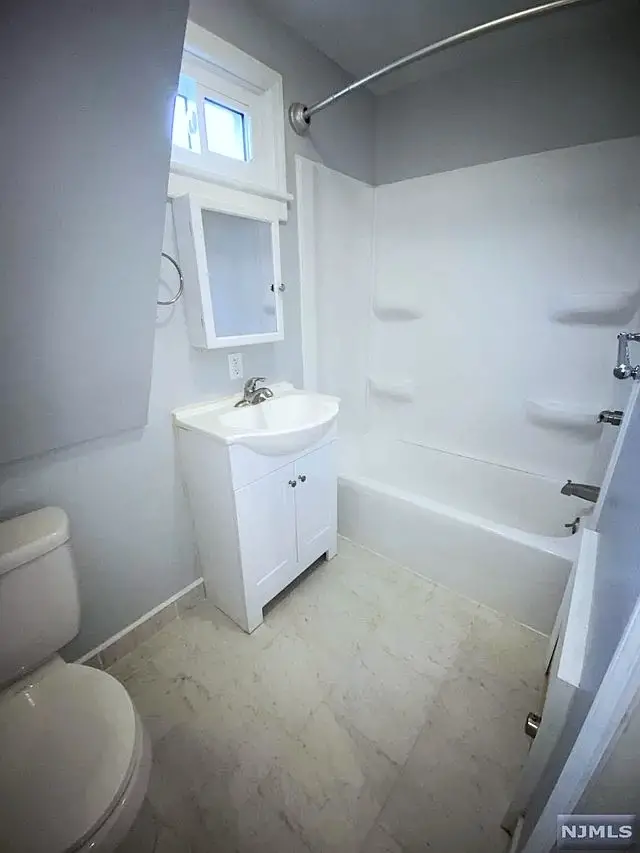
Before & After
Some paint, some fixtures, et voila, our old house bathroom renovation was complete!


Since it’s such a small space, here’s a fish eye of the room, where you can see how the radiator is no longer taking up prime real estate.
We are quite satisfied with our old house bathroom renovation – it was among the first of our remodeling adventures! Not bad for novices, right?
Check out our final installment of the 2nd floor remodel: Our Amazing Old House Remodel (part 4, the staircase).