Impressive Old House Kitchen Renovation – The 2nd Floor Part 2
This post may contain affiliate links. If you purchase a product through one of them, we will receive a commission at no additional cost to you. As Amazon Associates, we earn from qualifying purchases.
Welcome back to Our Two Family house! Today we’re going to explore our old house kitchen renovation.
Last week we had a good laugh at all the things wrong with our rental apartment. Catch part 1 of this series, here: our 100 year old house renovation – the 2nd floor part 1.
Today we present you: the kitchen!
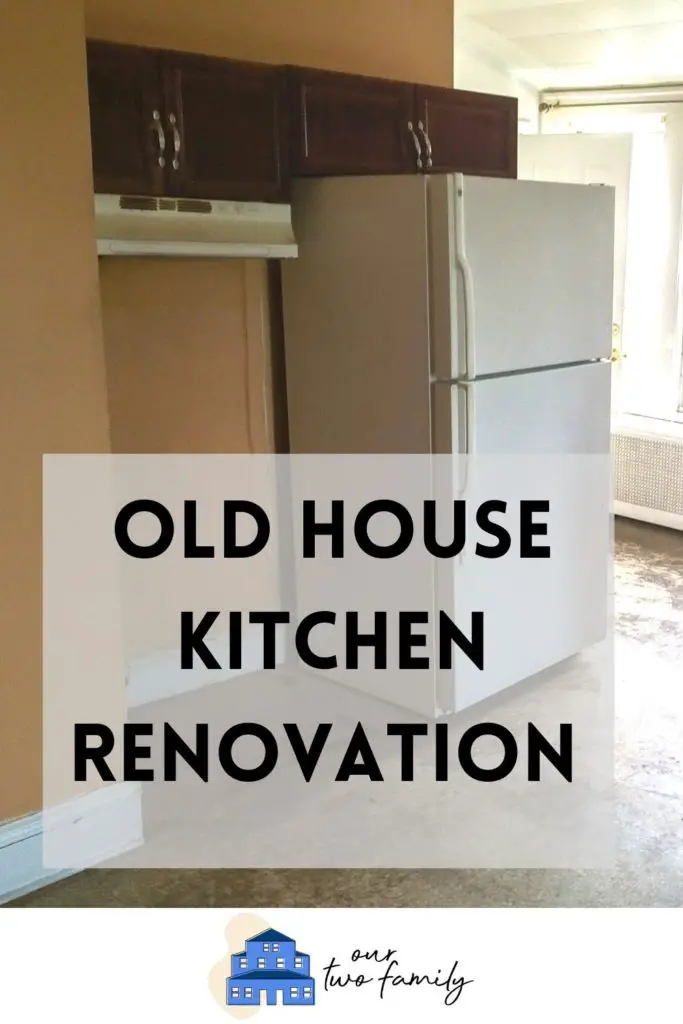
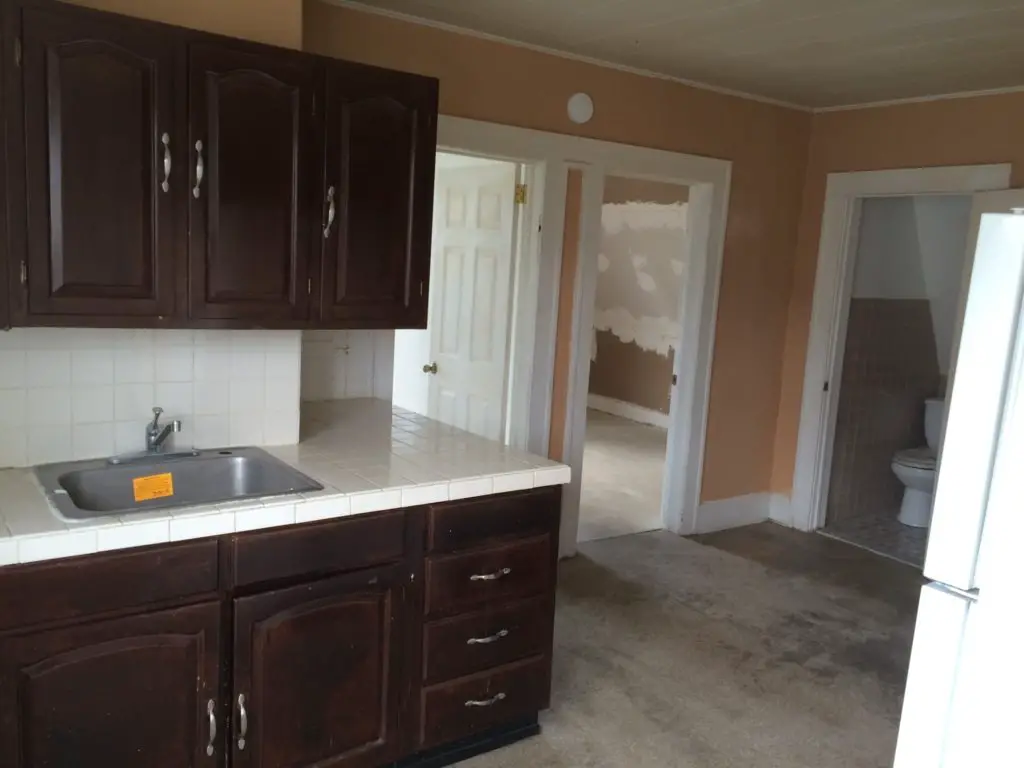
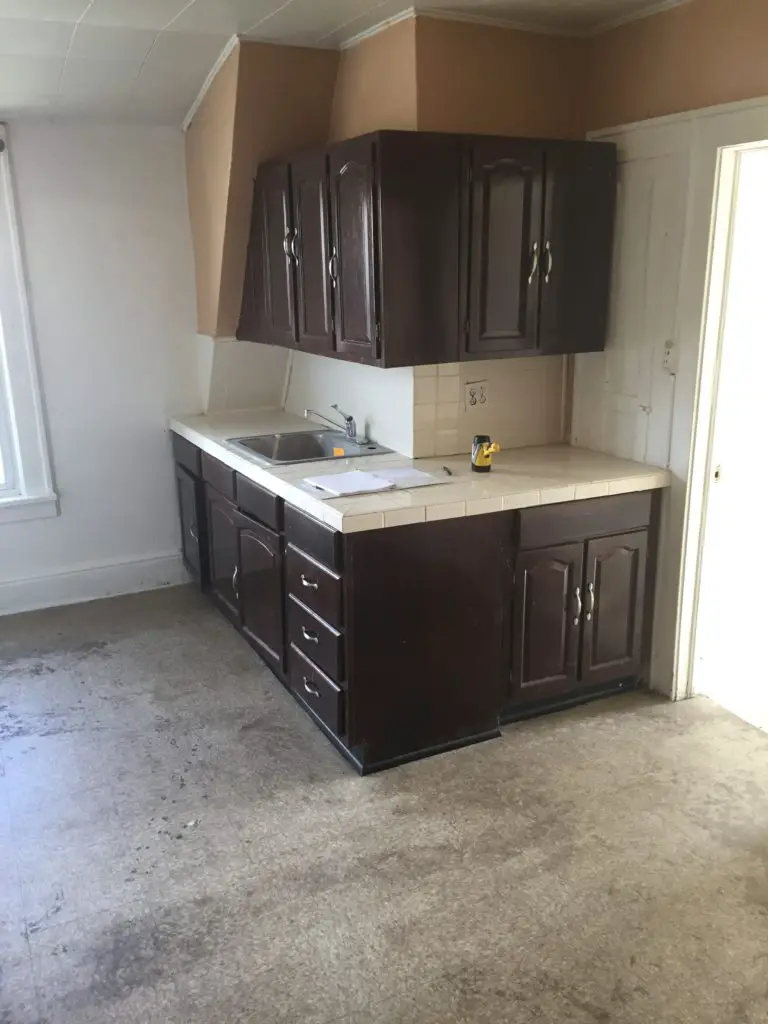
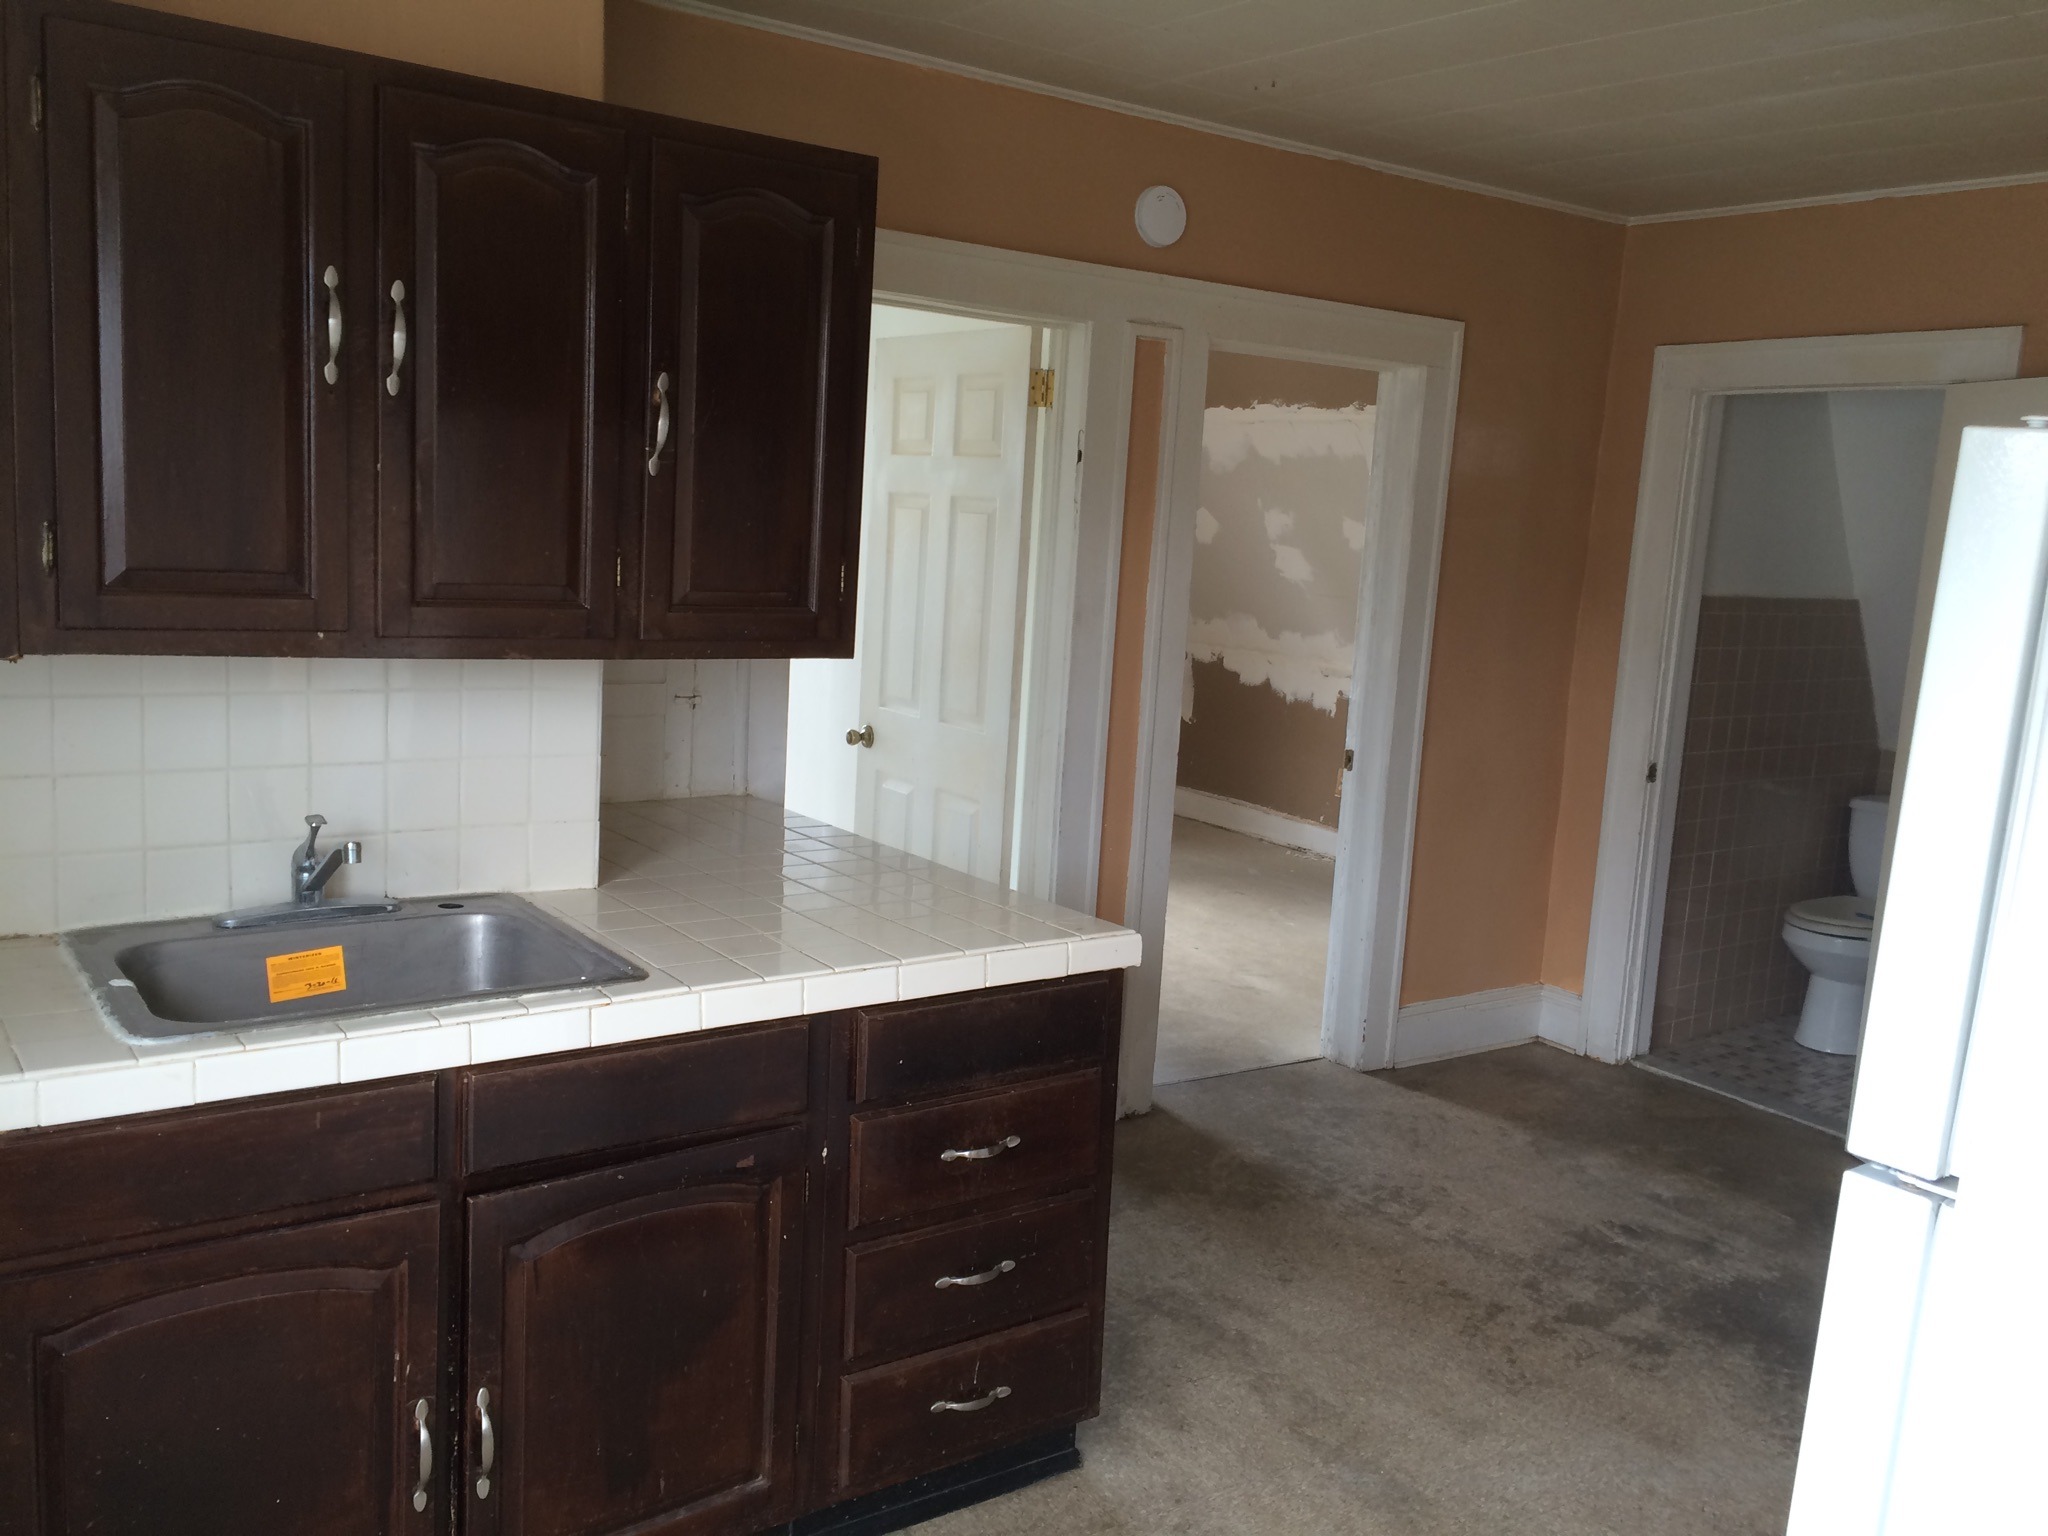
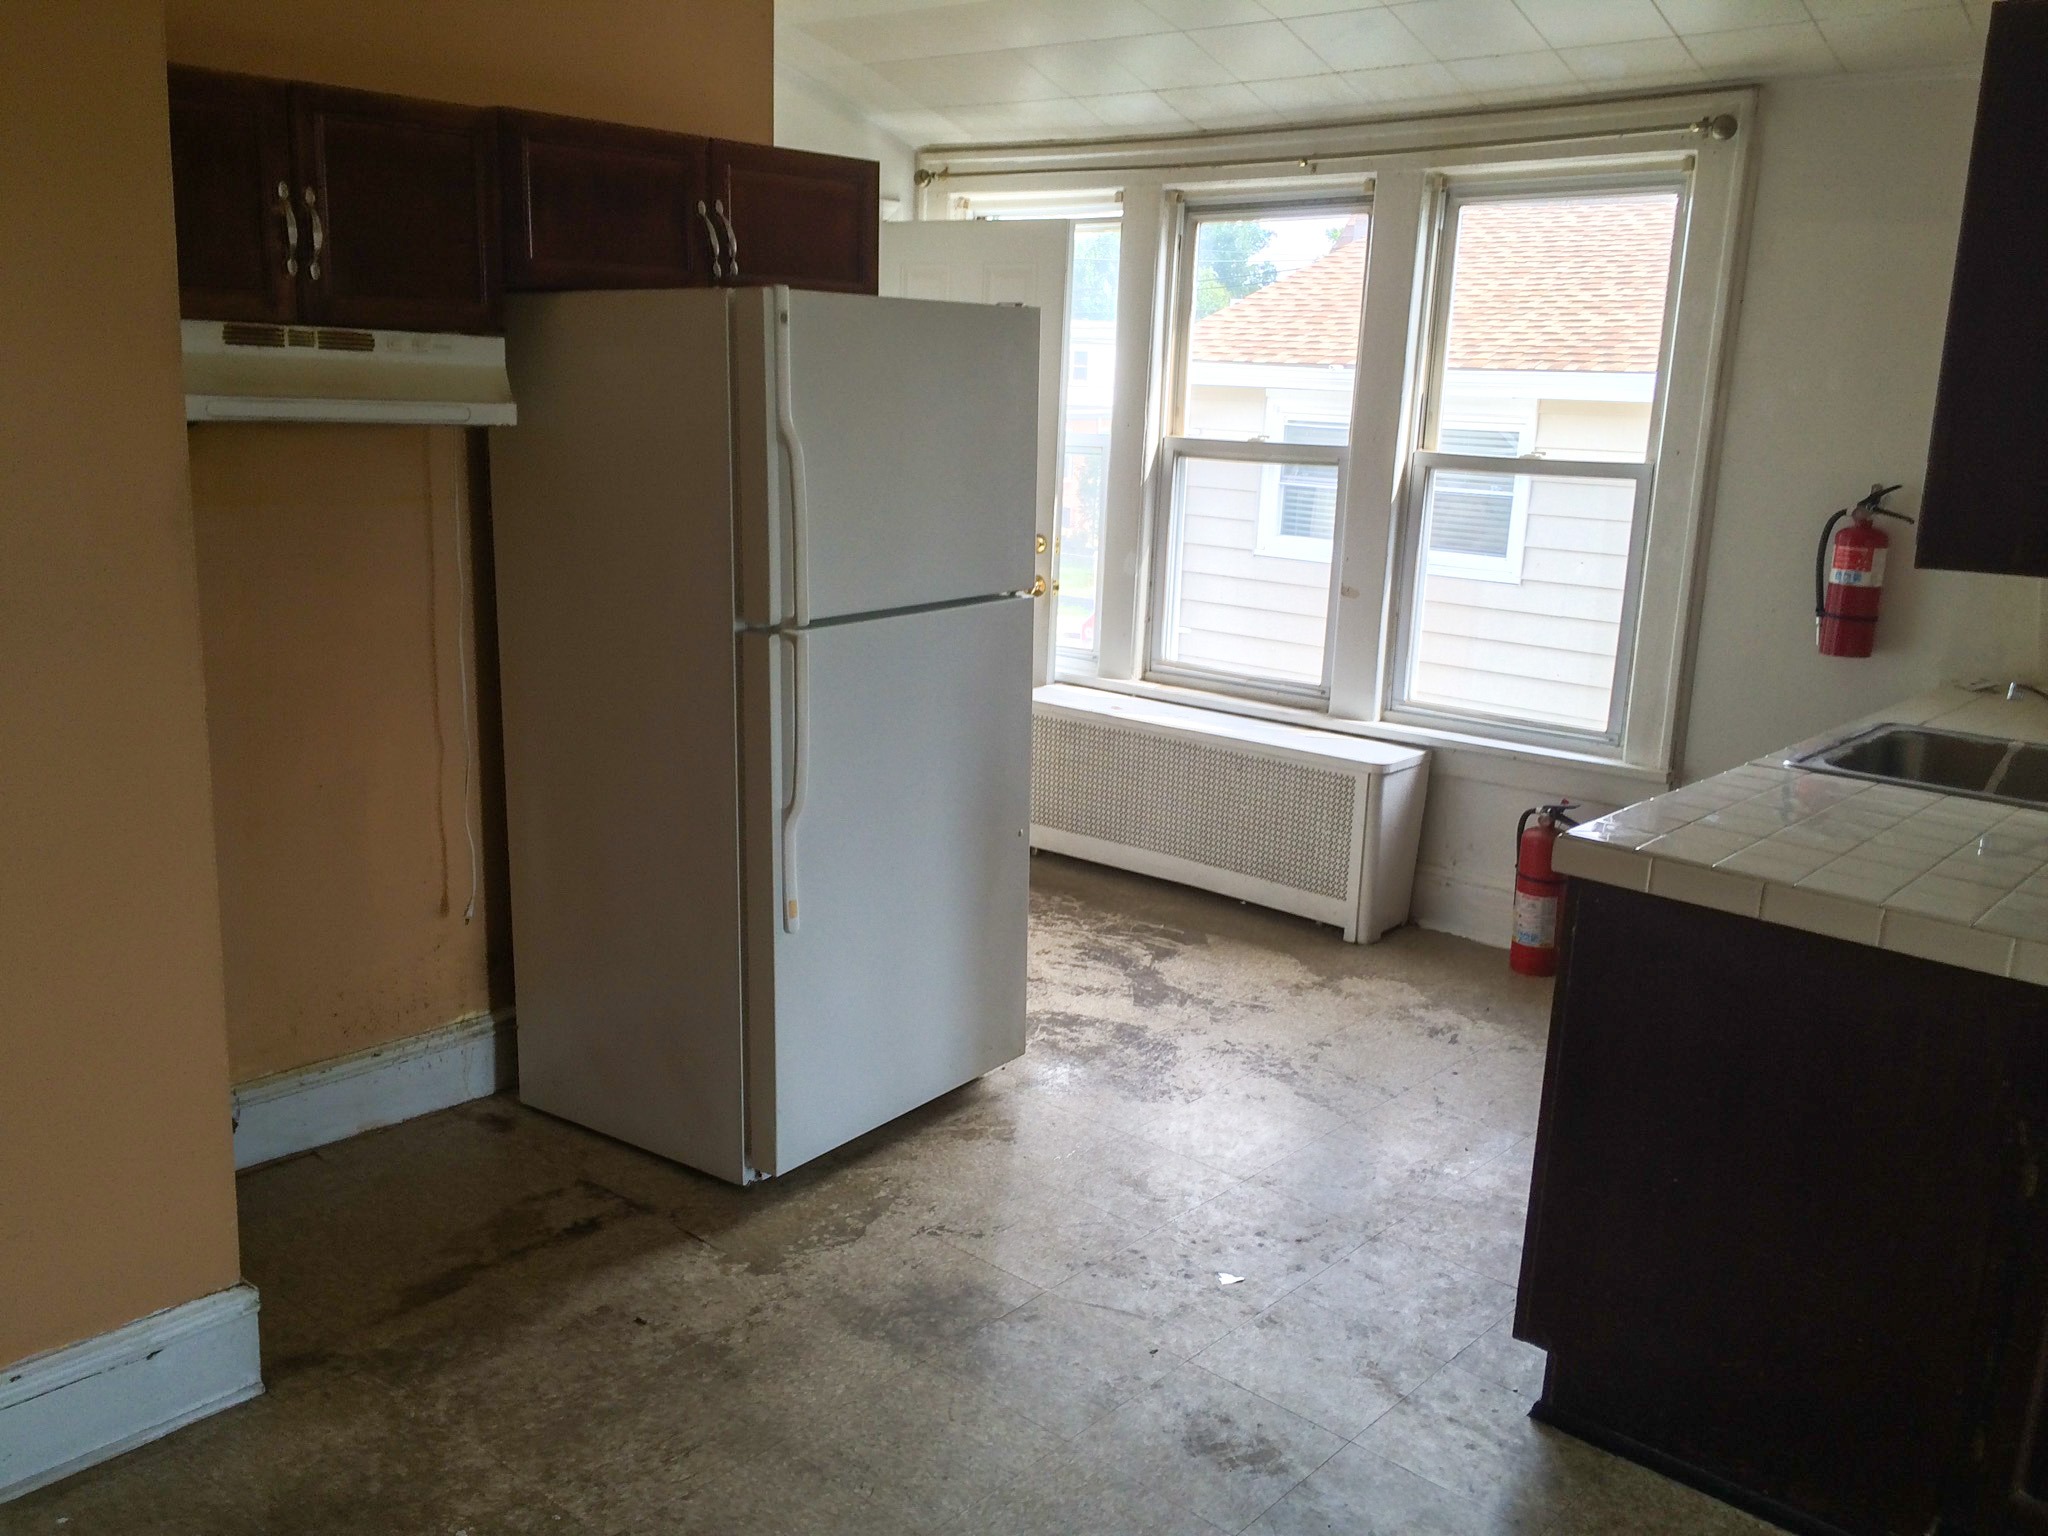
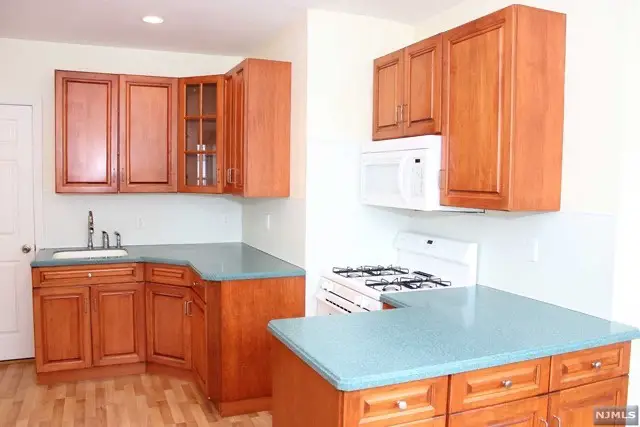
There were many things wrong with this kitchen. Here’s the before view to give you some intel:
Let’s dive in to our 100 year old house kitchen renovation!
Layout
This kitchen just didn’t make sense, with L-shaped cabinets jutting into the room, and the fridge + stove right on top of each other.
We decided to back the sink up to the bathroom and stick the cabinets into the corner. This would create a better work flow.
Here’s the before:

And here was the general plan for after:
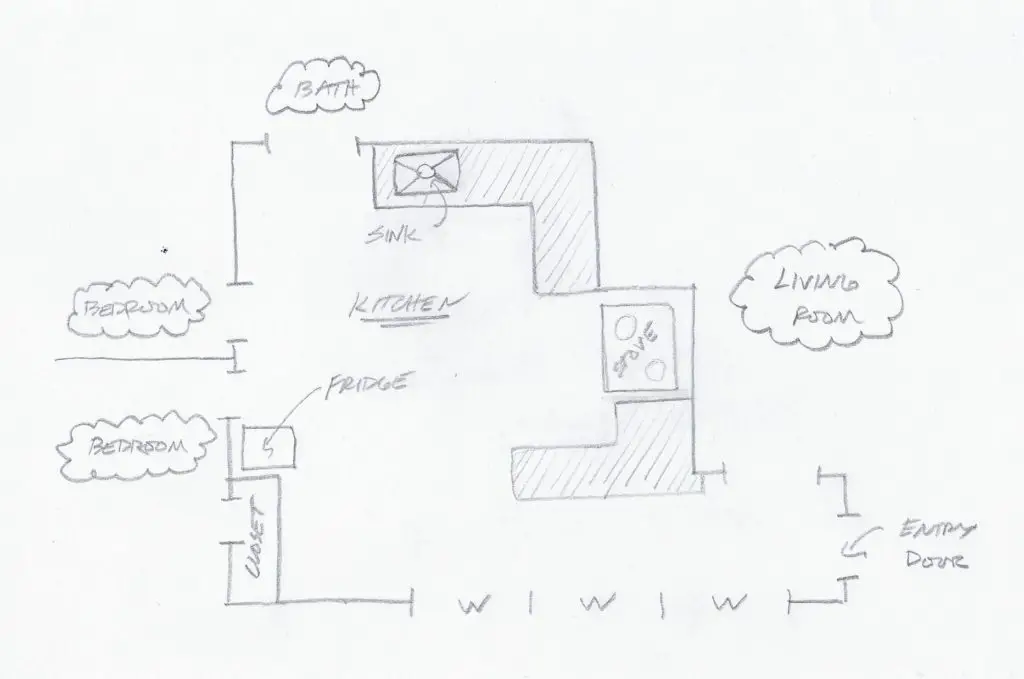
Our plumber helped us move the sink across the room in the kitchen, backing it up to the bathroom, where all the pipes are anyway.
Ripping It Out
We decided to take out the cabinets and start over. With an old house kitchen renovation, sometimes you just need to start from scratch.
Craigslist, my old buddy, found us a buyer – yes, a BUYER – of those old crusty cabinets. If you’ve been around our blog for a while, you know we love reselling online for extra cash!
We asked $250 for the old kitchen, they handed us $160, and this old fella and his two buddies arrived with a little trailer and removed all the cabinets and counters to take them… I don’t know where. Happy buyer, happy seller, everyone wins. BUH BYE!
The fridge, which was left unplugged and closed for two years (you’re not supposed to do that…), smelled like a dead body. We put it up on Craigslist for scrap, and a guy retrieved it the next day.
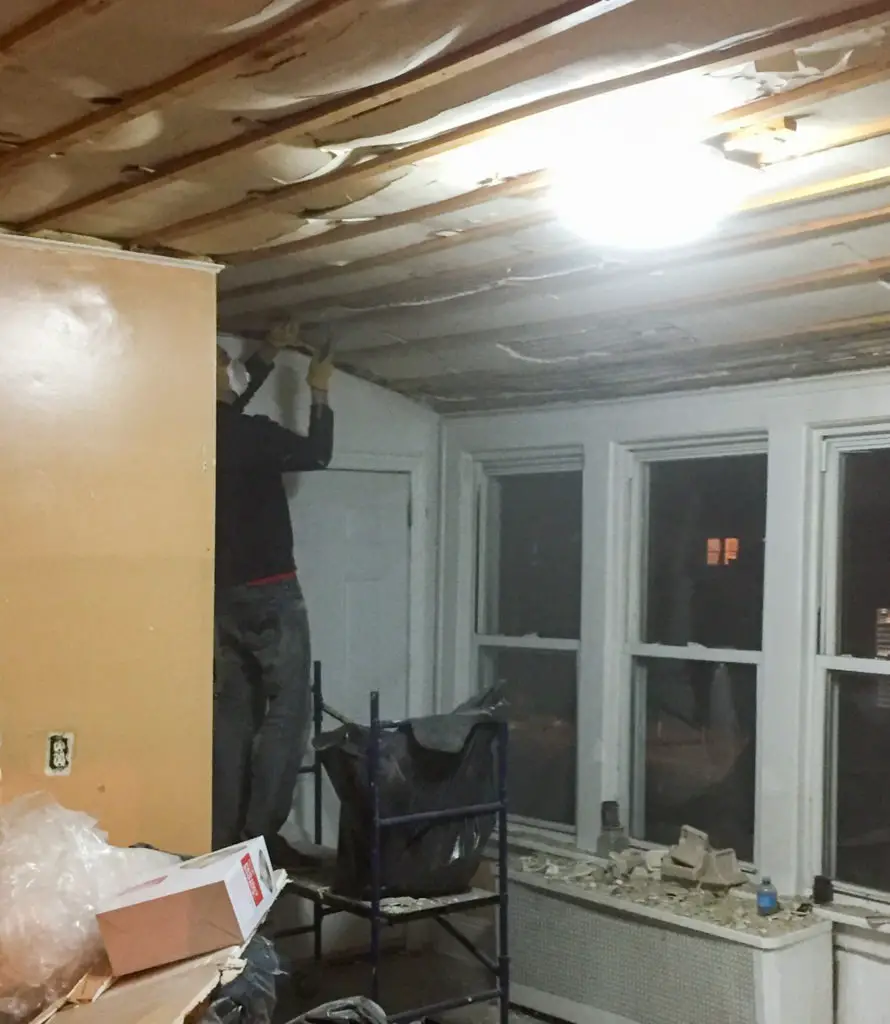
The ceiling, which was lumpy as all get-out, was made of plaster. Unfortunately, the plaster had dried out and was falling in unattractive lumps. Gravity always wins.
Remember the year the Superbowl went into OT?
Derek and I had no clue.
We were destroying this ceiling.
Good thing, too – we’d found an old tenant’s nest lodged up in the crawl space. Looked big enough for a squirrel, probably just trying to keep warm!
Check out this other fun find – an old fold-out closet ironing board. Being that its door was sealed shut behind the old cabinets, its interior was mint condition!
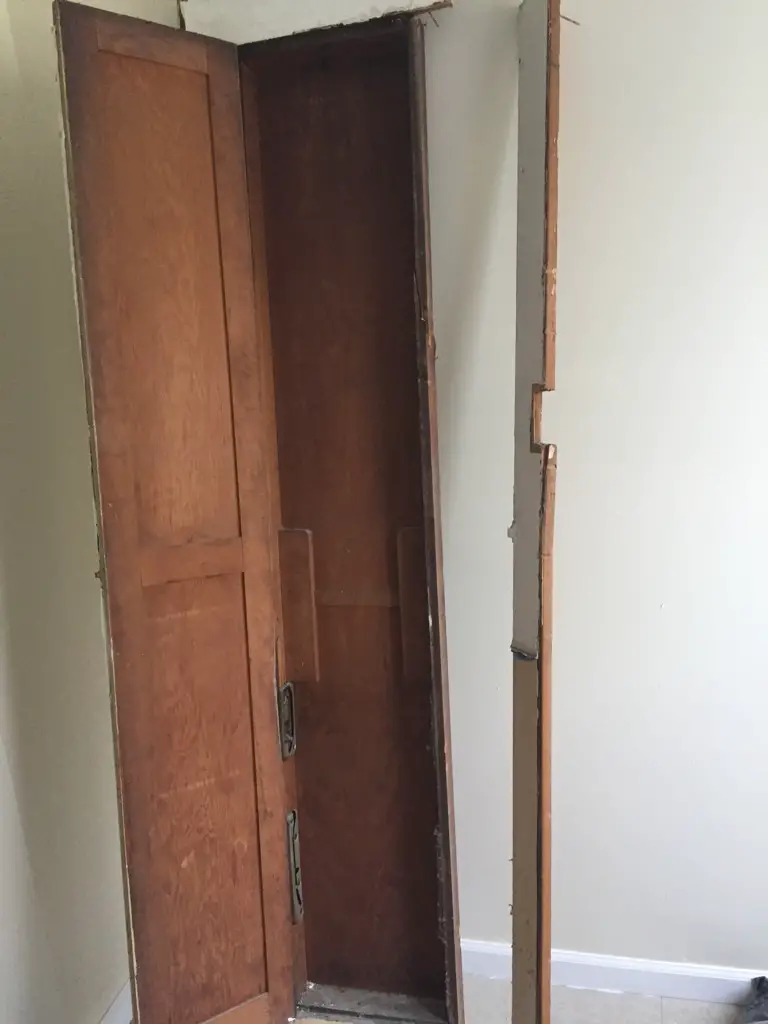

Here are more Things Found During Renovations – the weird stuff within our walls!
Fixing the Scary Stuff
One of our biggest motivators for gutting this kitchen was to update the electric. Just check out this O.G. outlet:
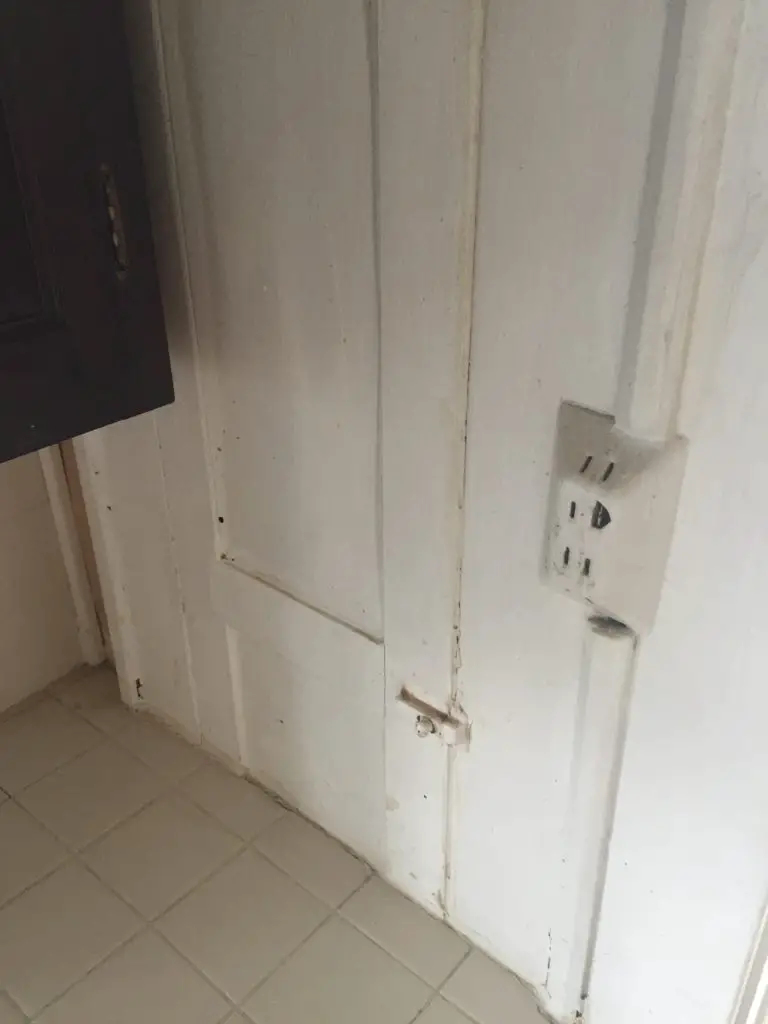
The worst part about that outlet?
It was still live. As in… until 2015, someone was still plugging something in and using it. Frightening!
We lined up an electrician to correct this seriously scary electric wiring, as well as to add a sub-panel for tenants’ ease.
We also planned on 6 can lights to brighten up the space, rather than the sad, singular, interrogation-room light hovering above the room.

Cabinets and Countertops
Here’s where things get especially interesting.
Kitchens… let’s just say… tend to cost a bit of money.
We happened to discover our local Habitat for Humanity Restore early on. Good thing, too! They have loads of wonderful lightly used furniture pieces, many of very high quality, at a significant discount. Back in 2017, they also carried kitchens.
As in, entire kitchens.
Like this:
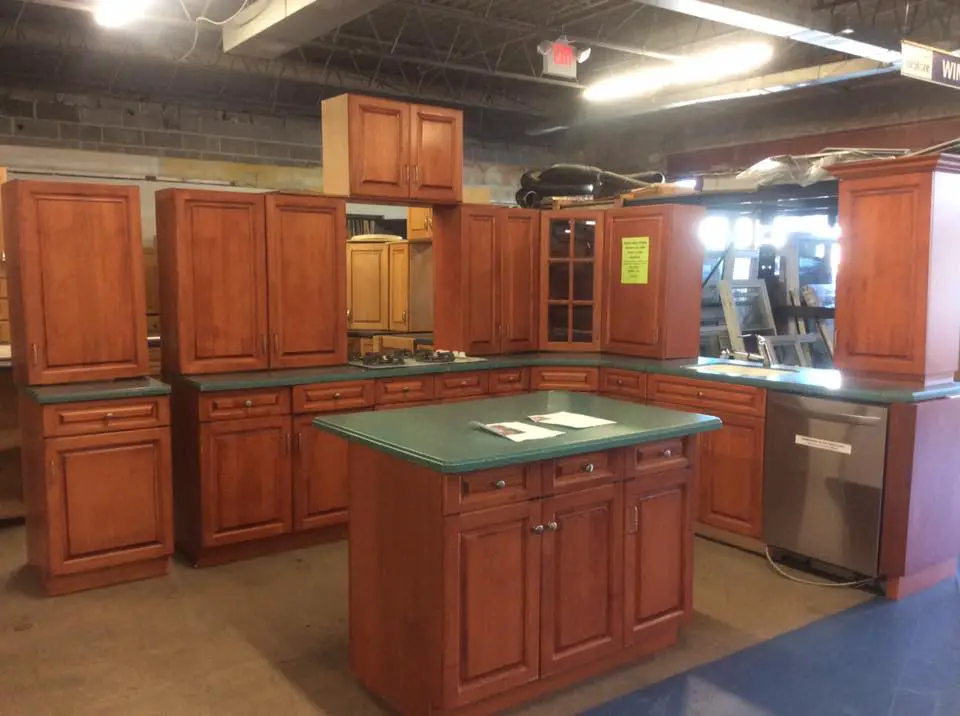
We had seen this entire kitchen on our first trip to Habitat, and casually thought, “hm… can you really take a kitchen and put it into another kitchen?”
The answer is yes.
We got smart and brought our measuring tape on our second trip to Habitat. These cabinets happened to be standard size and easy to work with. After many a text message with my incredibly talented father, who knew what the heck he was looking at, we concluded that yes indeed, we could reconfigure these cabinets to suit our space.
The manager at Habitat also clued us into the fact that they no longer planned to stock kitchens, and the store was trying to get rid of them.
…Oh?
…as in, there is an incentive for you, dear manager, to get this perfect kitchen off your showroom floor?
It is here that I mention that everyone on the planet should read Dale Carnegie’s How to Win Friends and Influence People. One of its many stand-out tenets is to understand another person’s point of view.
Here, for example: store manager wants rid of cabinets, and therefore might be open to some negotiation because of this incentive.
Asking price was $2500.
We said, hey, how about $2000?
The answer was yes.
Well, ba-da-bing! We arranged their very reasonable $200 delivery service, and away we went with a big kitchen purchase.
In the Meantime… Walls and Floors
Before installing our kitchen, we had to finish up the sheetrock, paint, and flooring. It’s always best to work “top-down,” so that your mess doesn’t ruin the work below.
We spent countless hours spiffing up our sheetrock skills, taping, and painting. Derek and I quickly learned how to install laminate flooring, too!
Our old house kitchen renovation was starting to come together. But of course, it needed cabinets.
Cabinet Cannibalism
Warning: do not attempt to reconfigure a kitchen unless you know what you’re doing.
The impressive challenge of re-creating this kitchen to suit our needs was that our supplies were limited. Avoiding mistakes was crucial. As in, don’t make any mistakes.
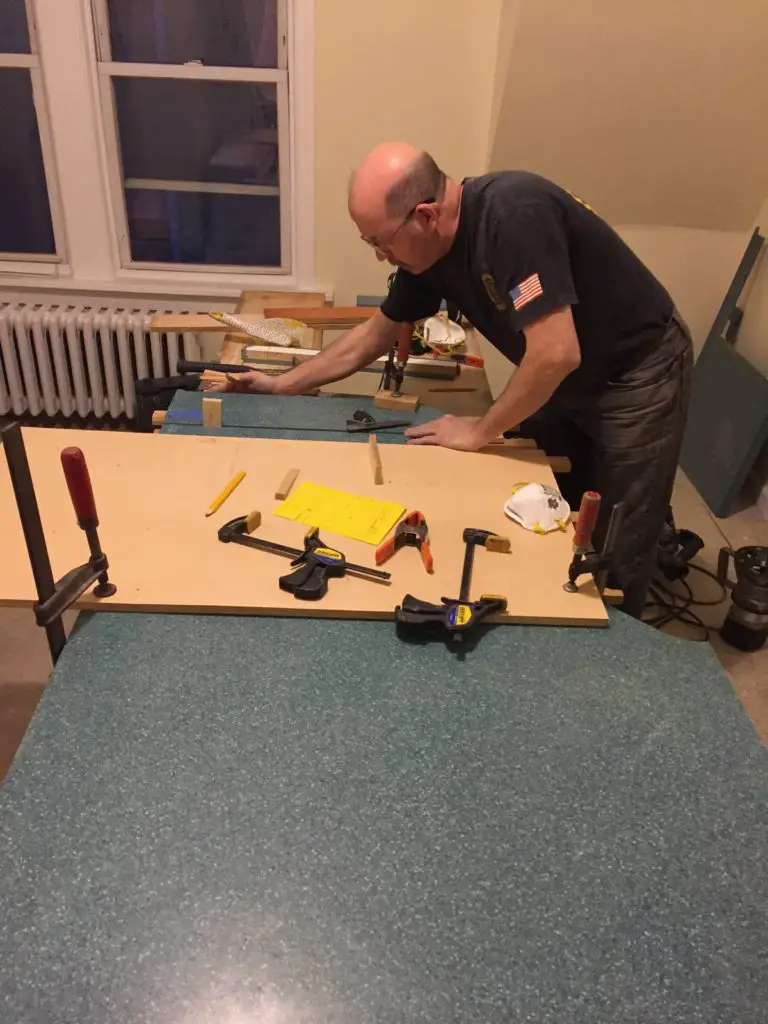
I now present to you: cabinet cannibalism with the wizard himself.
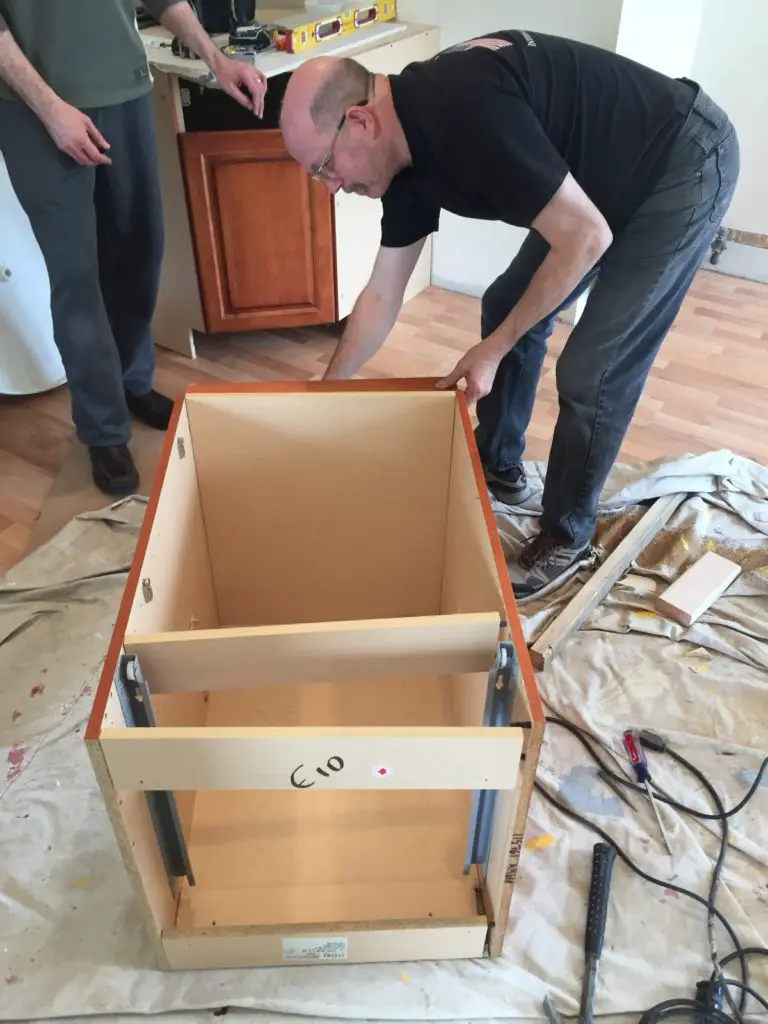
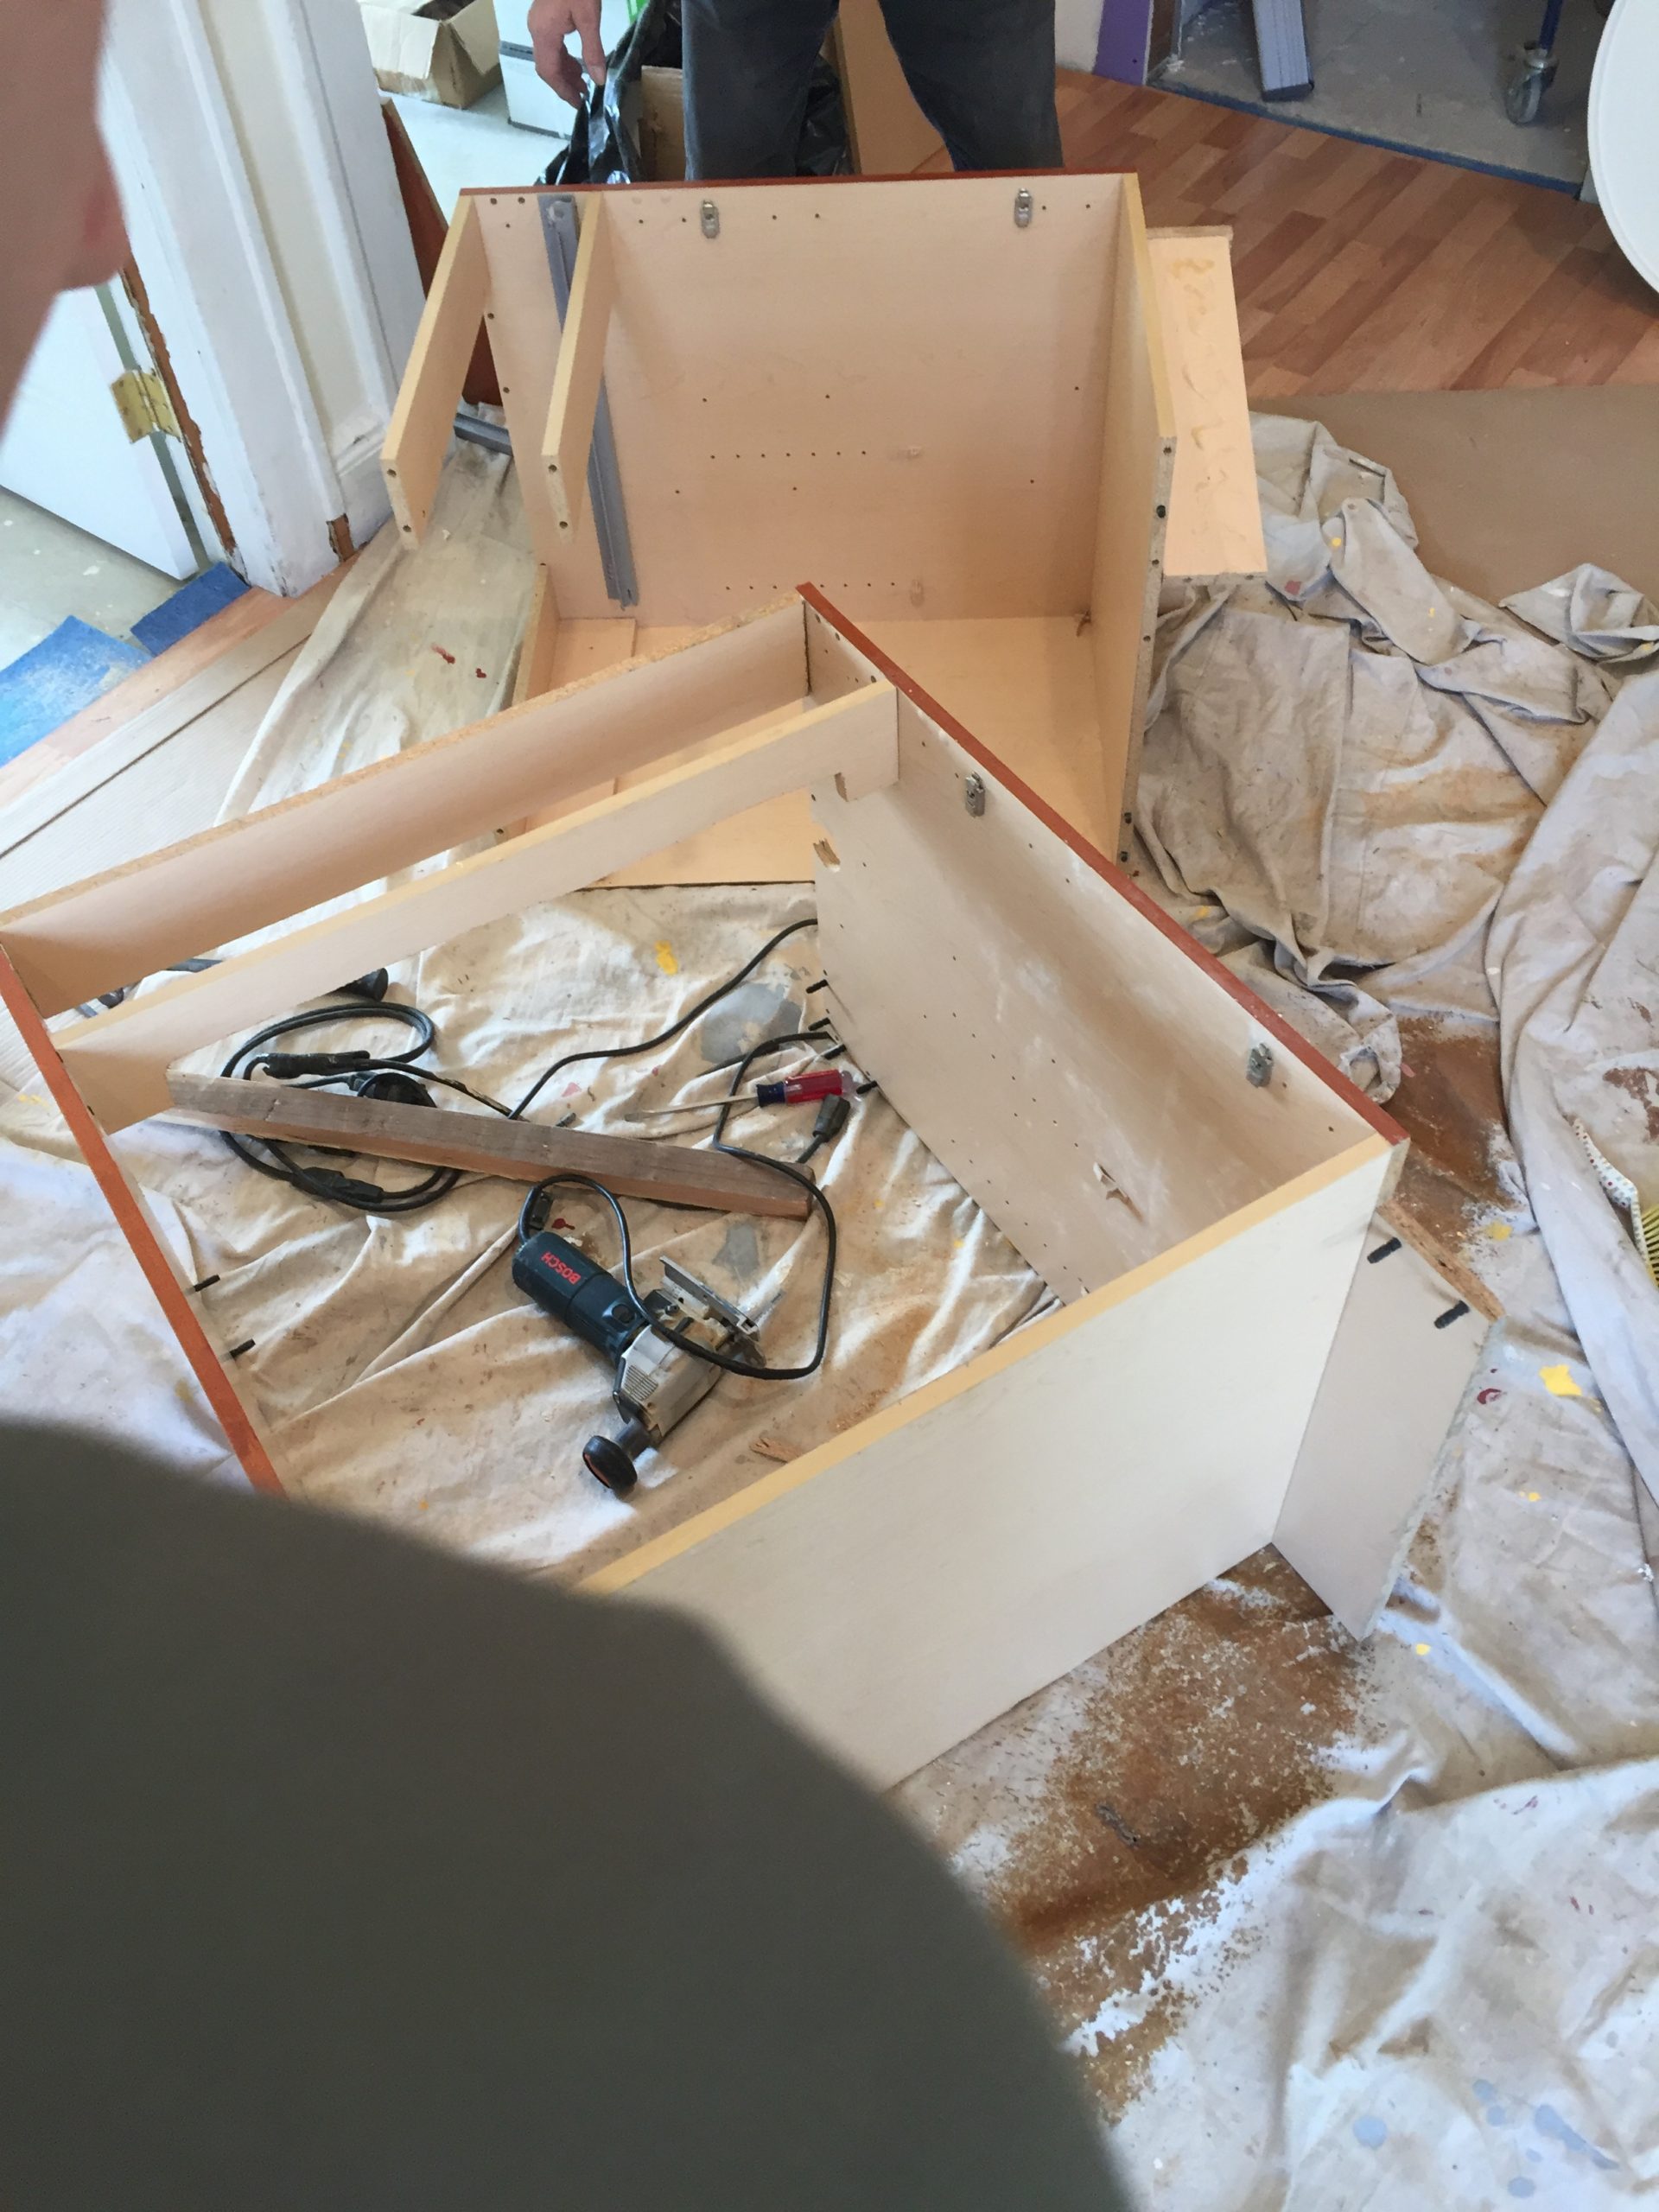
The challenge here was having a finished edge on the end of our peninsula. We had to carefully remove the side of one cabinet and attach it to the other. This happened on a set of uppers, too – amazing, right?
Countertops, Reconfigured
After cabinets, it was time to tackle these Corian countertops.
Corian?
Ah, I’m glad you asked!
Corian is a manufactured solid surface. It’s also non-porous – meaning it won’t absorb stains. (Take that, turmeric!). It’s super easy to clean and doesn’t require the maintenance like granite would. In other words, it’s perfect for a rental apartment.
We were quite pleased to have found these countertops at such a great price. While Corian’s popularity peaked in the 90s, it’s still relevant, kind of like Mariah Carey at Christmastime.
But uh… what about the layout?
Did you know? You can cut countertops and piece them back together. This is advised only under the leadership of a seasoned professional.
Let me take a moment here to praise the wizardry, the brilliance, the incredible skill of my father. He’s been a carpenter for almost 50 years. He’s worked on every building you can think of in New York, from Carnegie Hall to World Trade (yes, that World Trade). He’s literally written the training course on constructing storefronts in NYC. To say that he is a master woodworker would be a gross understatement.
Dad can fix anything – anything! – and took one look at this set of countertops, tilted his head in thought for a minute, and said, “If we can get the glue, we can do it.”
As head materials-obtaining-specialist (read: gofer), I then learned that Corian involves a lot of trade secrets. You can’t just roll into Home Depot or Lowes and say, “Hey guys, I need some corian glue, what aisle?”
Nope. Not even slightly.
Not the glue gun either.
All I can tell you is: check eBay for the glue.
The rest, I am sworn to secrecy, lest I cease forever with bricks tied to my shoes at the bottom of the Hudson.
Just know that we chopped up these countertops and glued them back together. Some clamps, a bit of sanding, and you’d never even see the seams.
My dad is a genius.
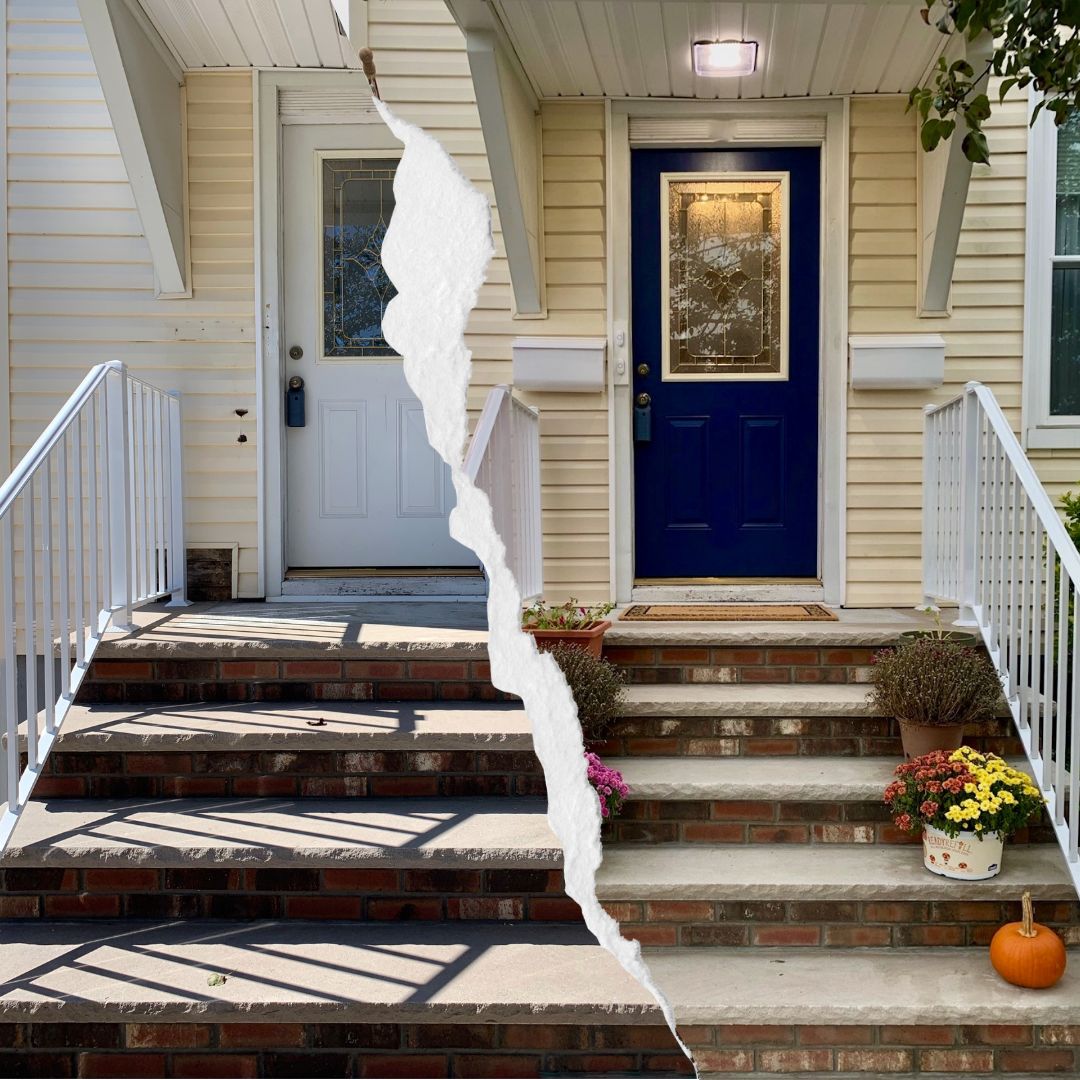
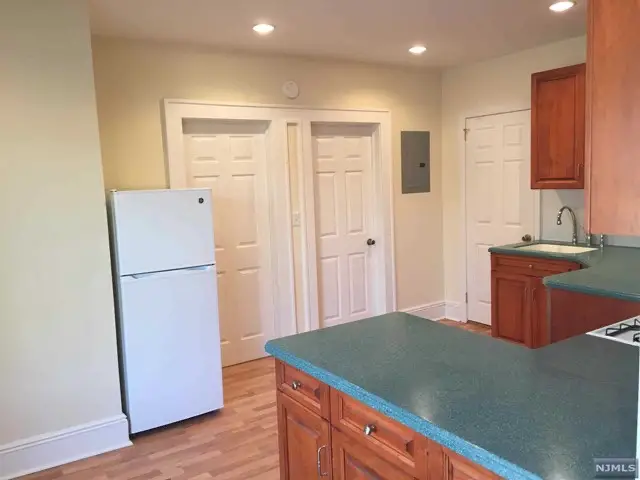
Before and After
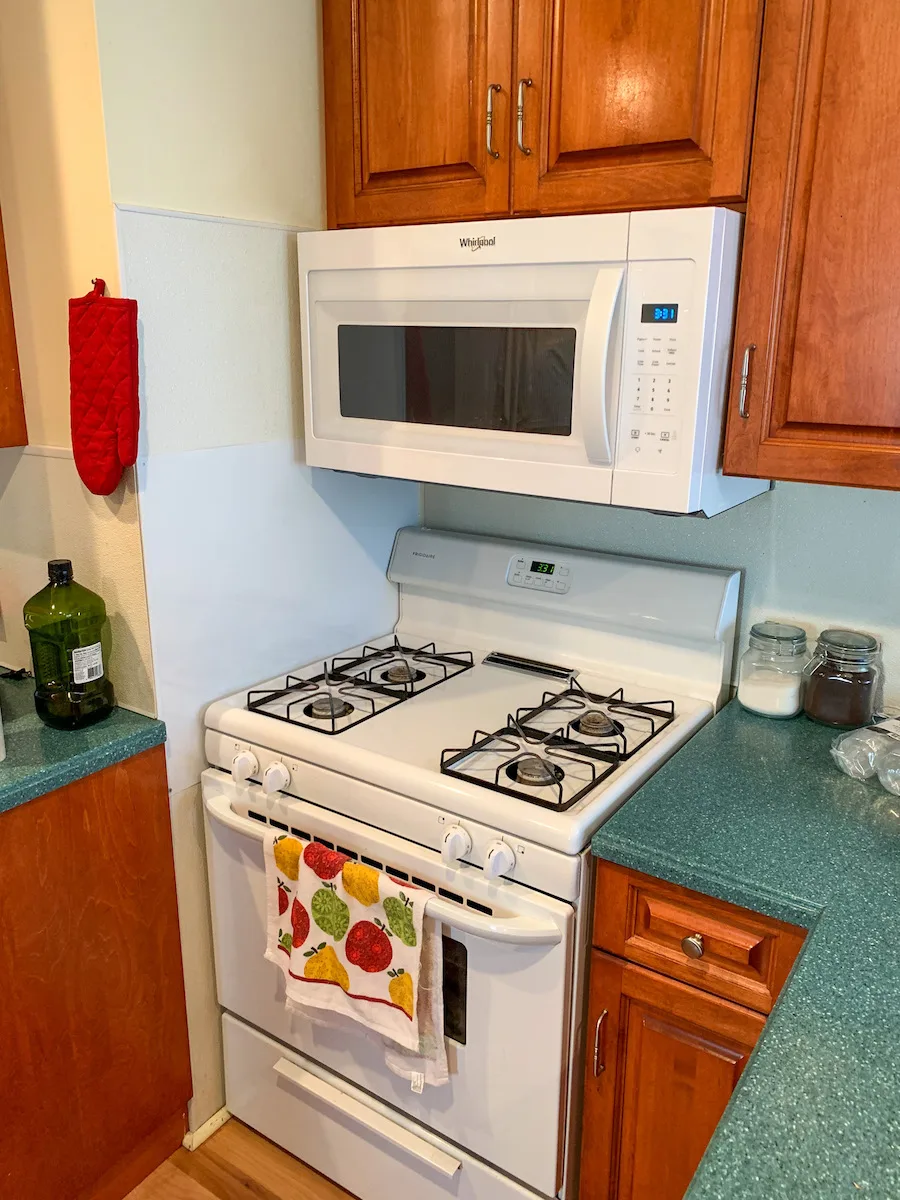
Well, here it is, looking fresh!
Paint is called Monogramme from Sherwin Williams.
The laminate floors were a sweet find at Lumber Liquidators for $0.69/sq. ft..
We also used a fabulous furniture polish called Olde English to get the cabinet doors looking spiffy.

Oh, and here’s a look at that cabinet magic:
What do you think about our old house kitchen renovation? Let us know in the comments!
You may also like:
- How Long Does a Kitchen Renovation take?
- Beautiful Open Concept Galley Kitchen – the first floor, part 2
- Perfect Makeshift Kitchen during Remodel