Beautiful Open Concept Galley Kitchen – Our First Floor Renovation, Part 2
This post may contain affiliate links. If you purchase a product through one of them, we will receive a commission at no additional cost to you. As Amazon Associates, we earn from qualifying purchases.
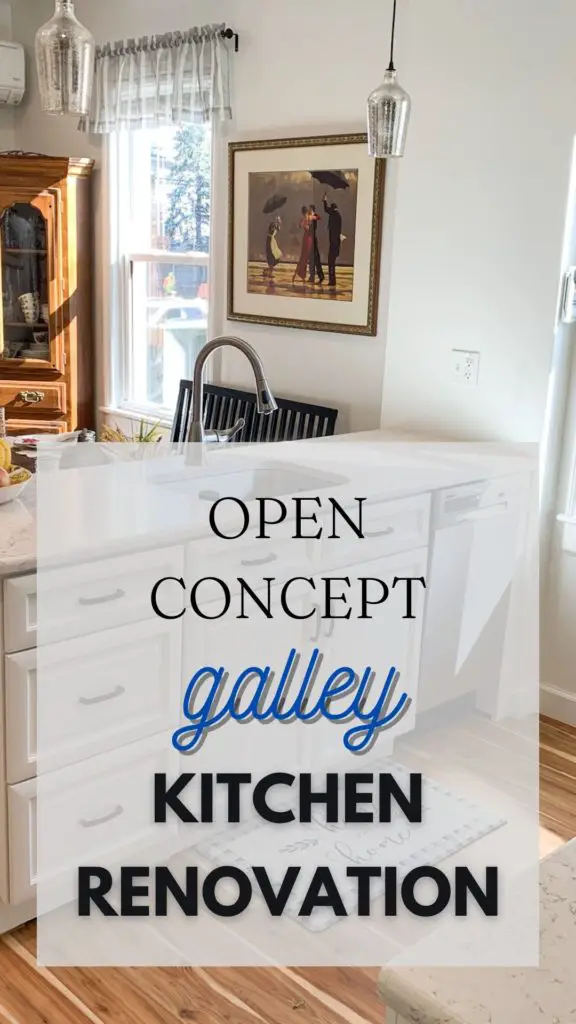
Welcome back! This week I’ll show you our open concept galley kitchen renovation, aka the first floor renovation part 2.
Hope you brought your workin’ clothes, kids, ‘cause we are gonna get the show on the road!
The Plan
If you ever take on an open concept galley kitchen renovation, please plan. Make a plan. Make more plans than we did. We flew by the seat of our pants more often than we should have. Order fixtures ahead of time, measure twice, get on your contractors’ schedules… you will never regret planning ahead!
This might be a good time to check out our post, The Ultimate Home Renovation Survival Guide, where we detail our best advice for any project ahead of you!
Oh, and be sure to order your town permits, dumpster, and safety gear like masks and gloves because the first thing you get to do is…
Demo Day
YES! Time to break stuff! We have an entire post dedicated to demo day – find our best tips for a safe and effective demo day here.
For our project, our first order of business was to pick a day. Deadlines make dreams come true, people.
It happened to be my birthday weekend, so we had a party! It was a SMASH!
(…you’re welcome.)
Ever want to brew up some excitement to get people to come help you? Invite them with a fun invitation! When you call it a party, it seems less like work and more like fun. (But honestly… it really is fun.)

Here’s a quick 90 second wrap up of the fabulous time we had, destroying the problems we faced during our first floor renovation. Special thanks to my family who attended my birthday party!
Problems 1, 2, 3 Plus Solutions
If you recall, we began this first floor renovation with five problems and their solutions in our first floor layout:
- Kitchen window
- Kitchen pipes
- Walk-in pantry & fridge
- Bathroom wall & master closet
- Master closet door + hallway
Let’s see how we did on the first three problems – the issues in the kitchen.
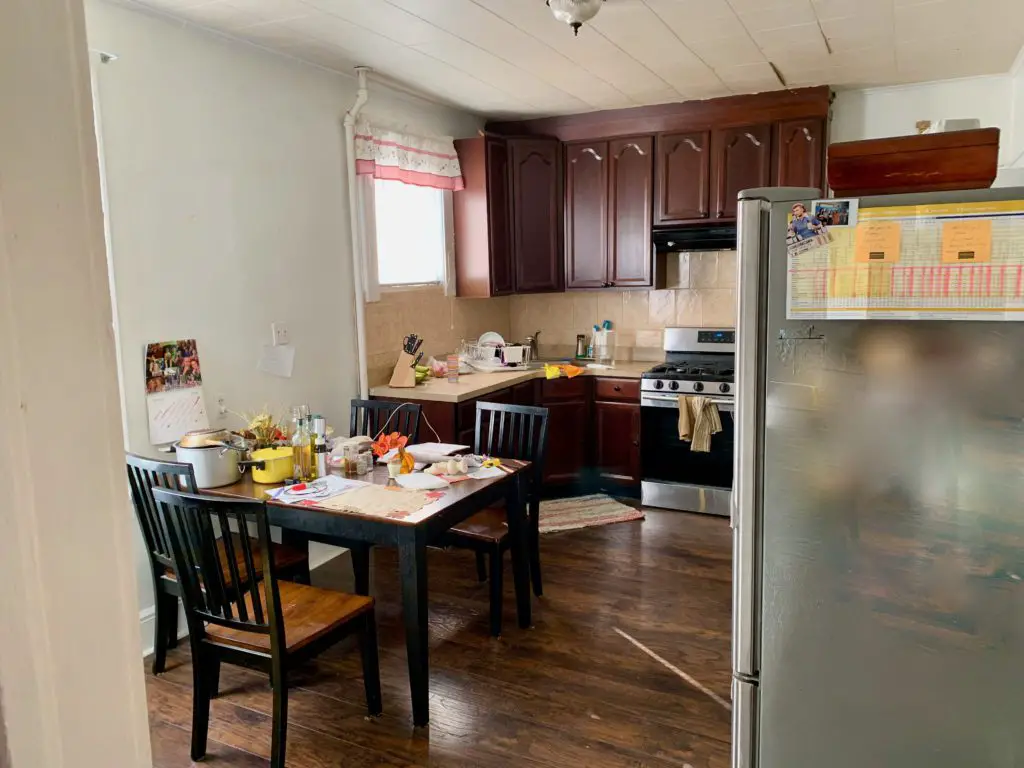
Problems #1 and #2: Kitchen Window and Kitchen Pipes
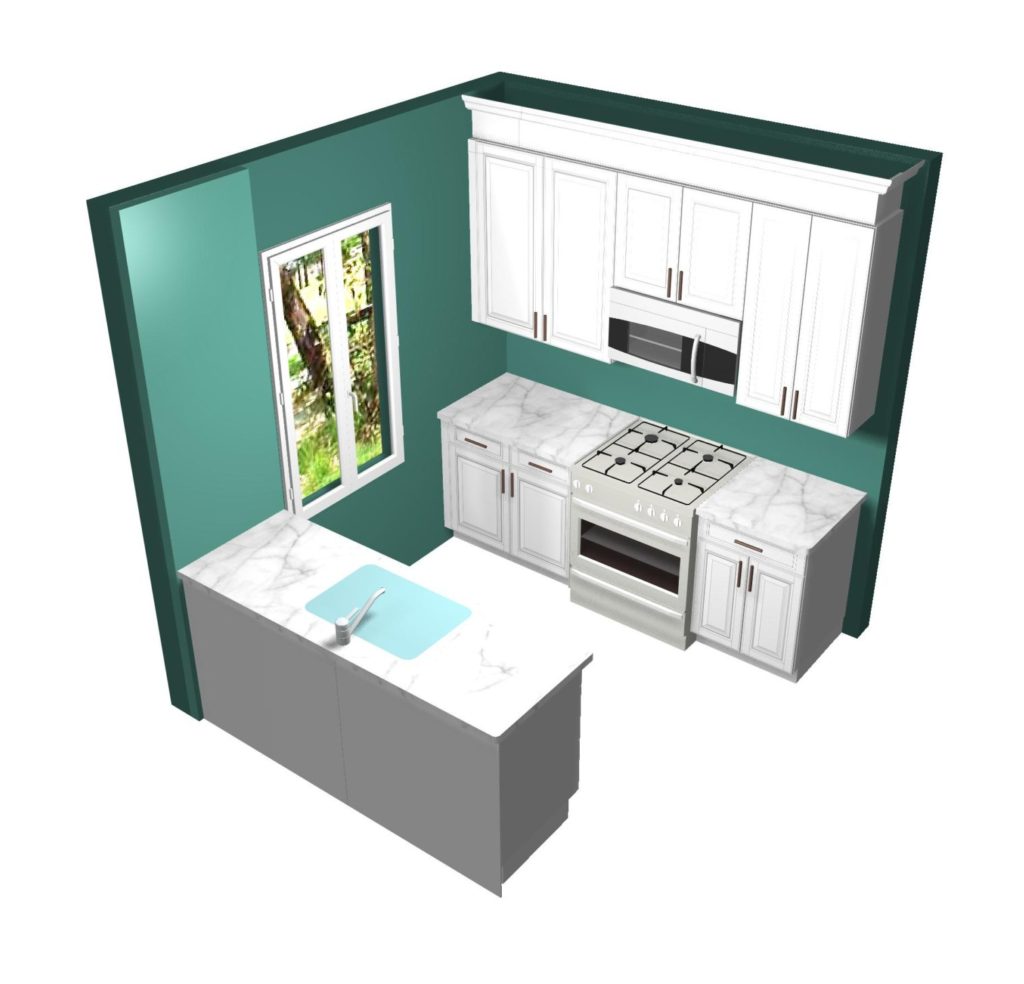
As we mentioned in part 1 of this first floor renovation, our solution to the kitchen window fiasco was to change the cabinet and sink layout. Here’s the rendering from our local supplier:
We also had several pipes to contend with. Thankfully, demo cured a bunch of those issues!
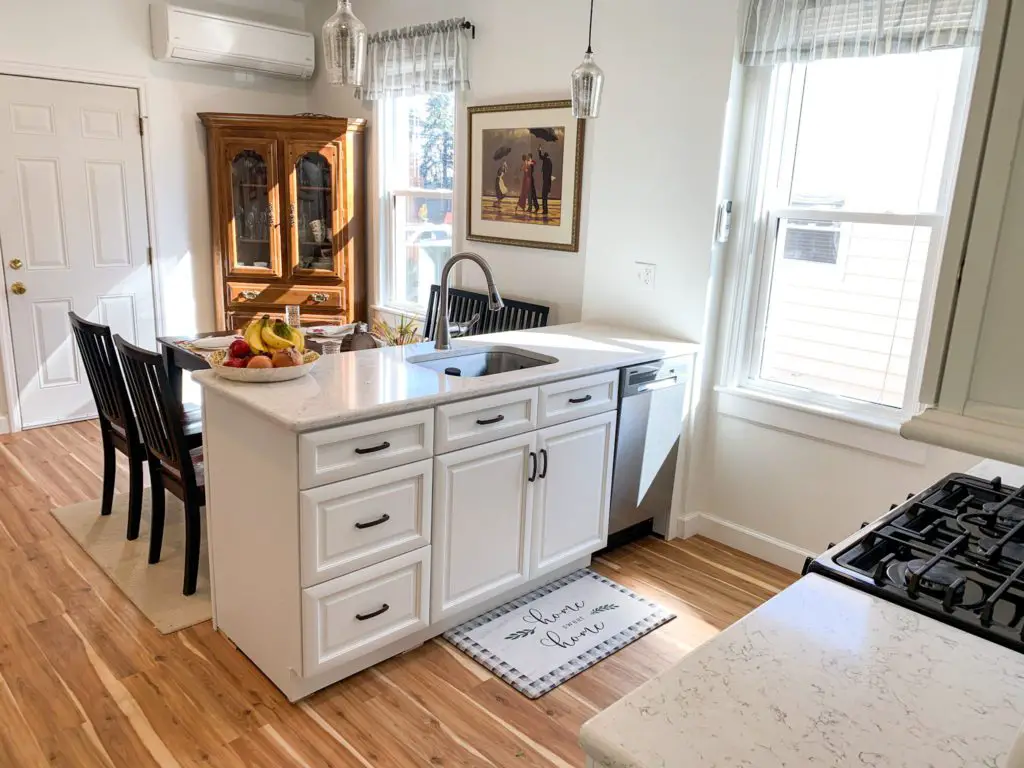
After demo, we had our plumber Dave come by to rough in the plumbing. We moved the sink from its dreary corner out into the peninsula in the middle of the room, and added a dishwasher next to it.
We also had our electricians come in to rough in the new outlets and lighting.
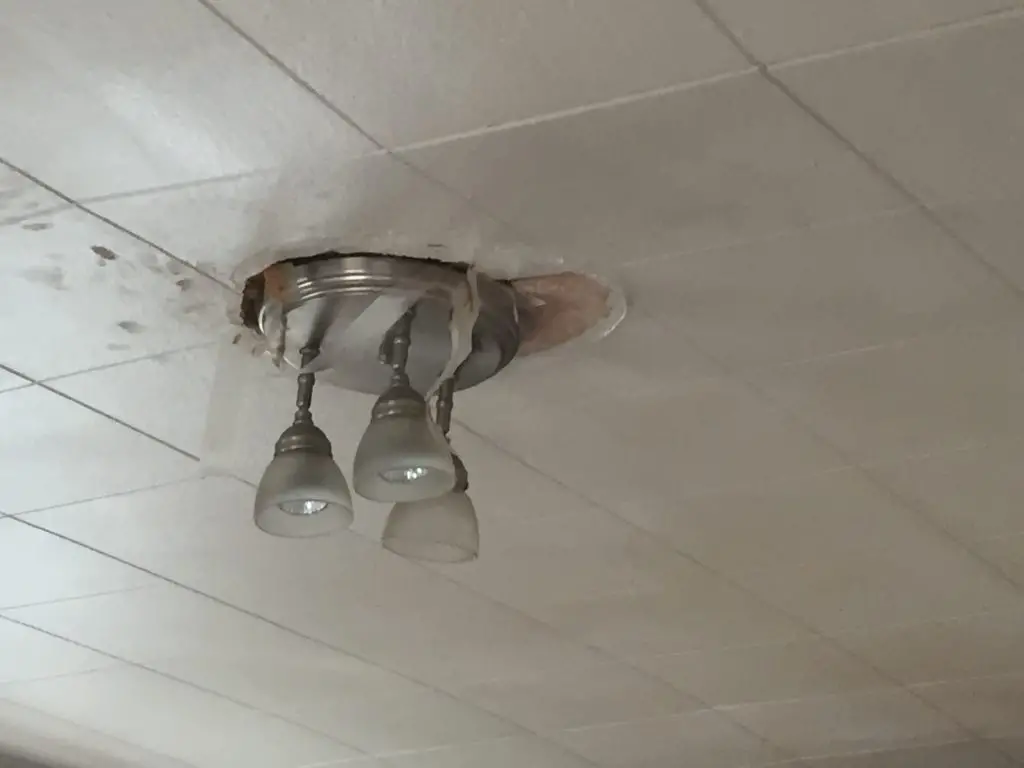
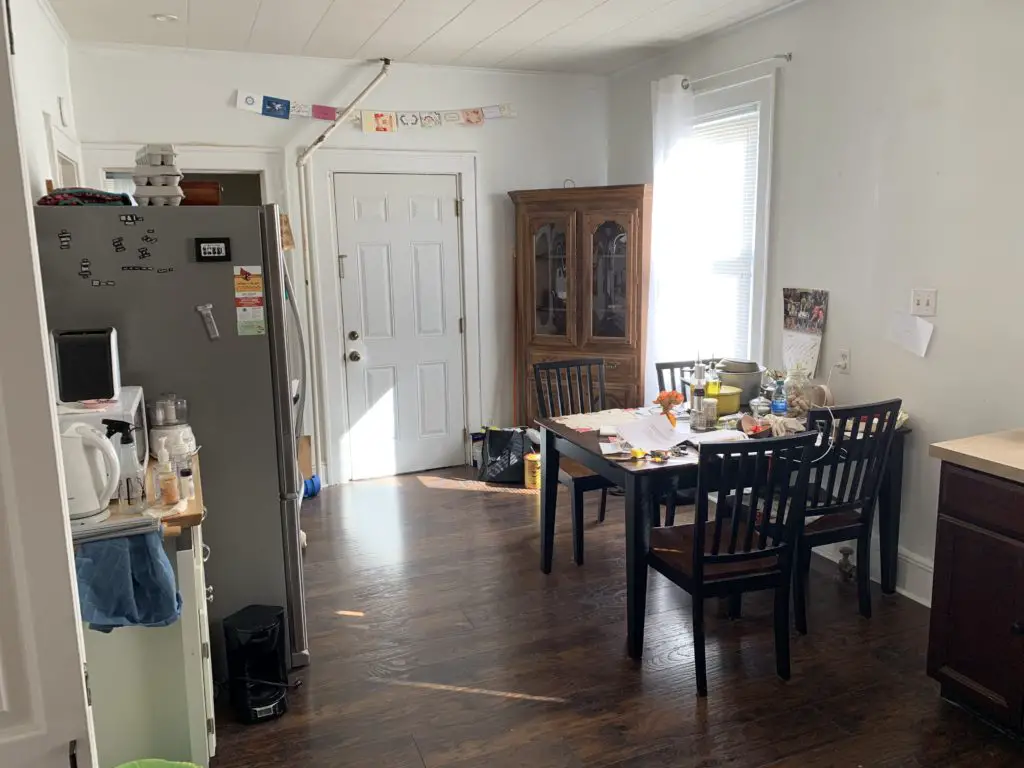
Our original kitchen possessed one sad, sorry light fixture meant to illuminate the entire 10’x17’ room. It also had a dismal three outlets – which is not up to code in 2021, by the way. We settled on 6 high hats (recessed lights) in the ceiling plus two hanging fixtures above the sink peninsula.
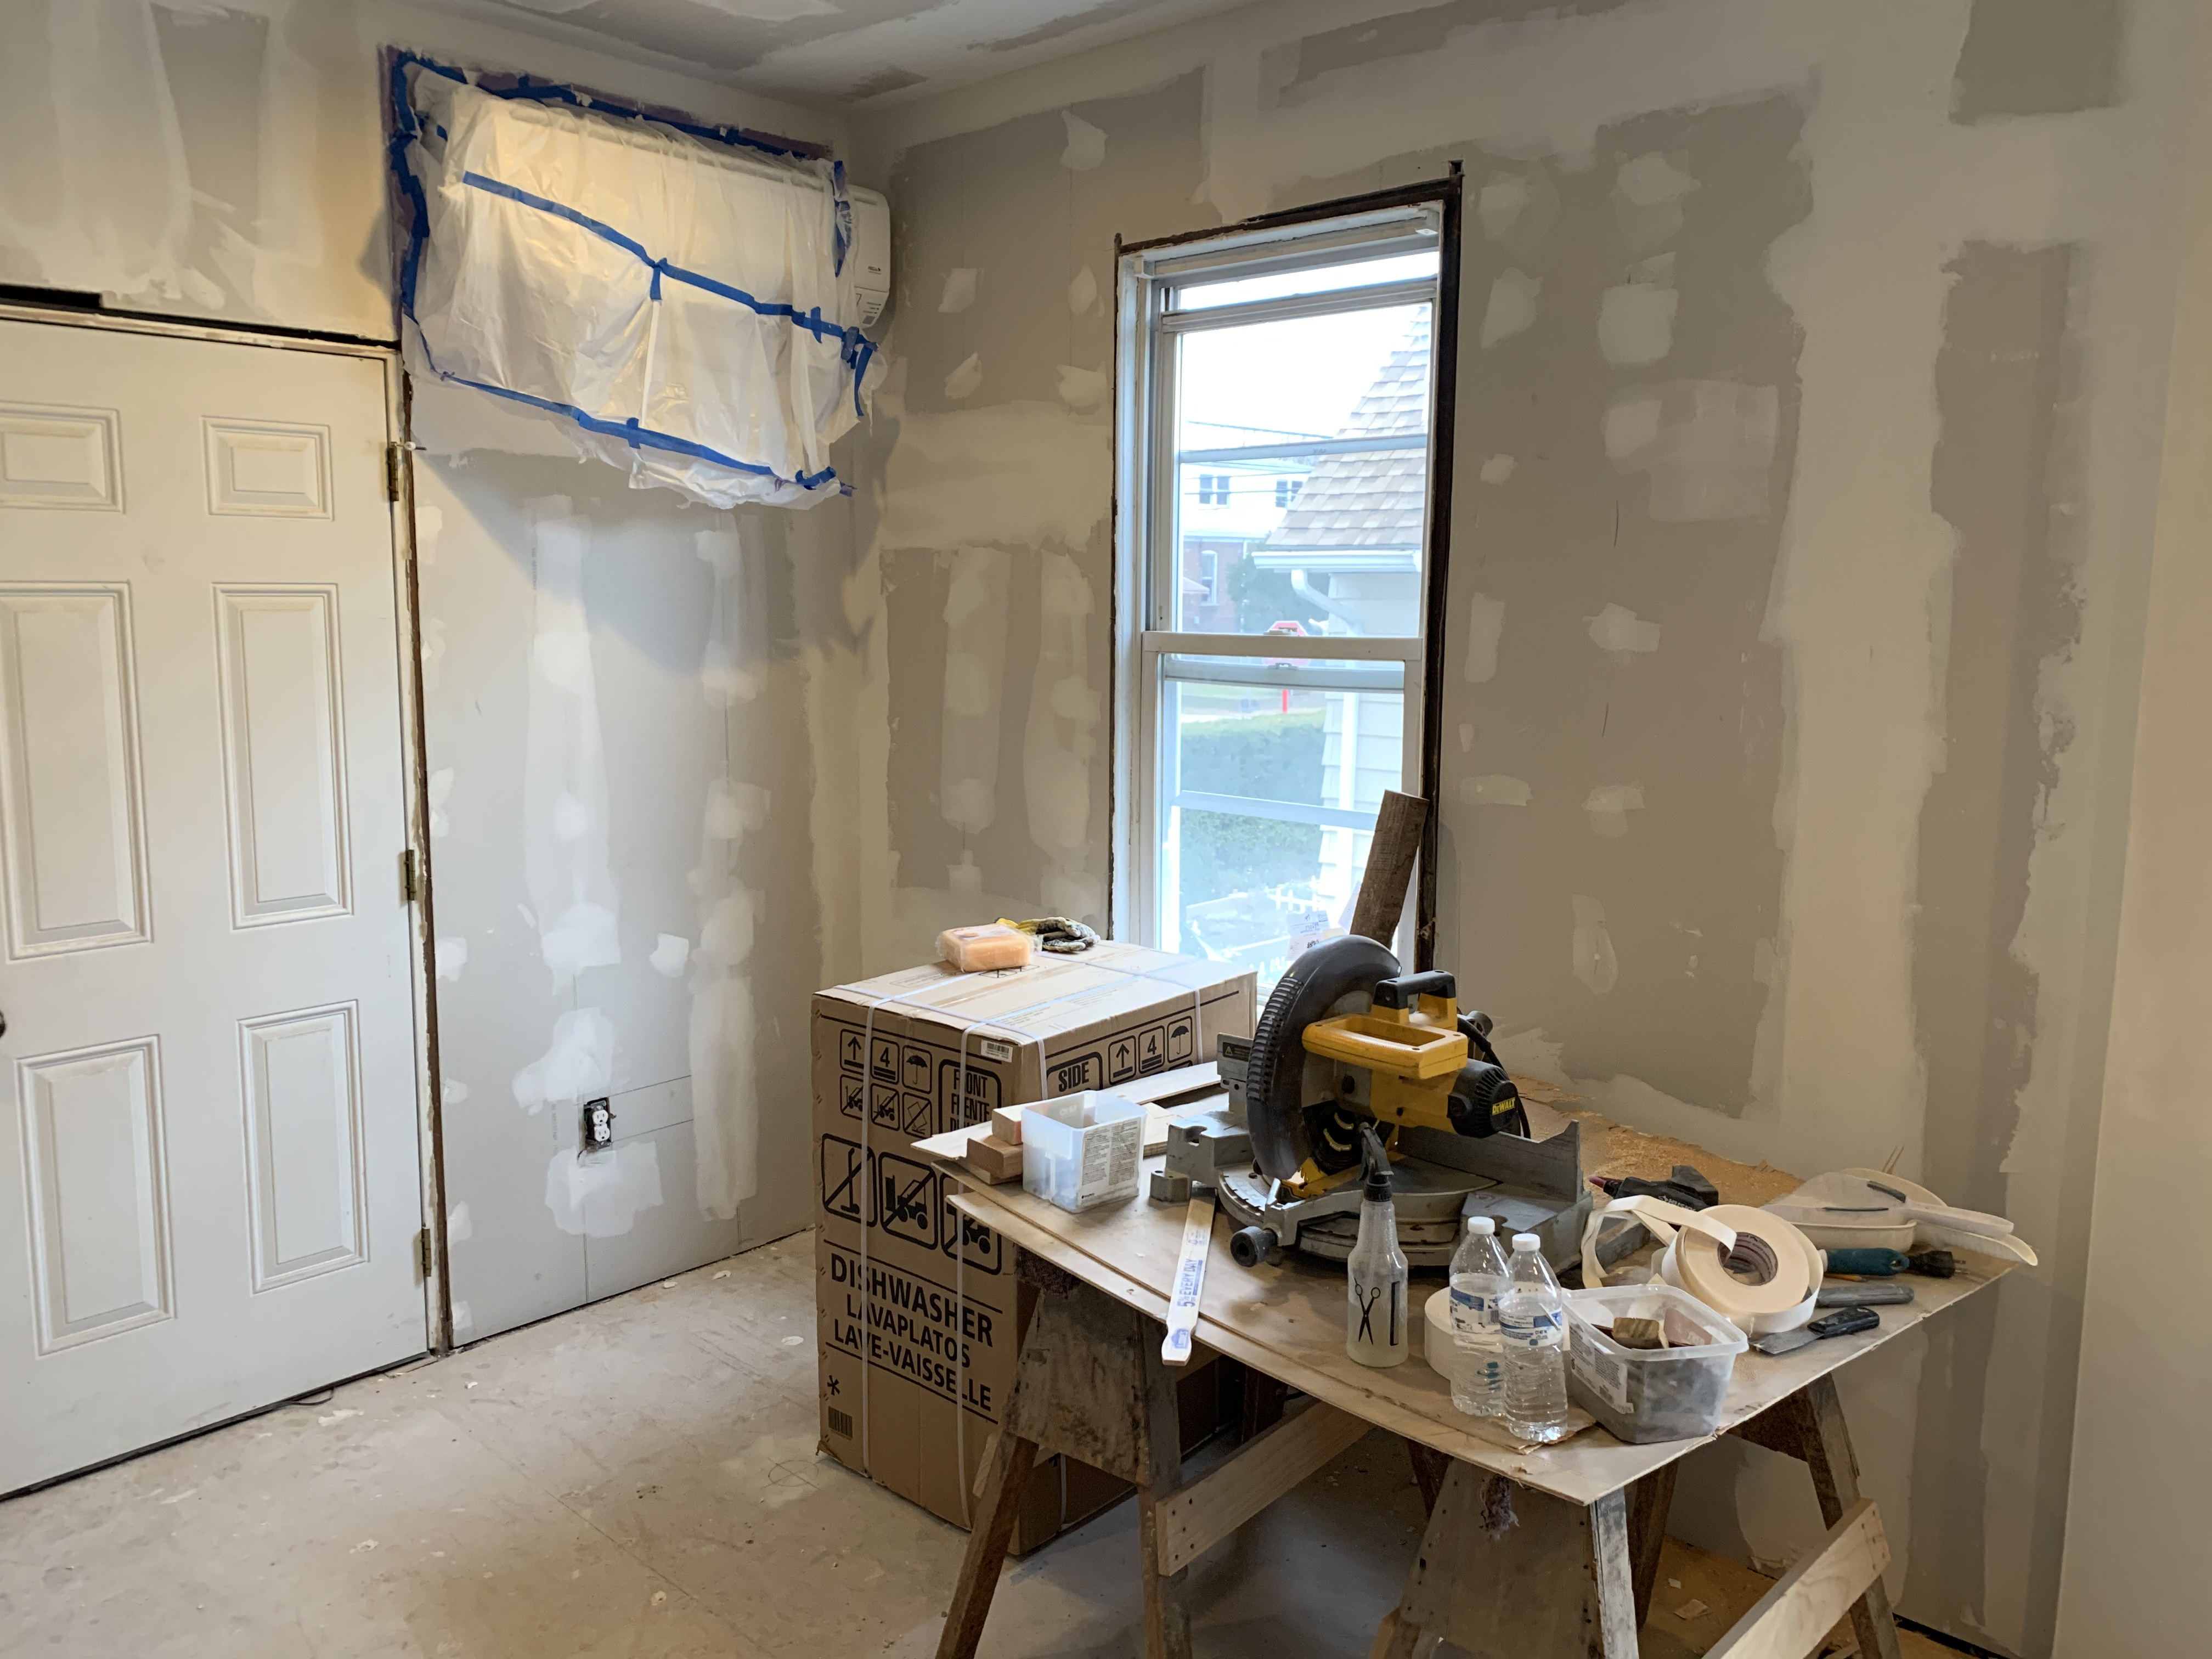
Final biggie – we took the plunge and had a ductless split A/C installed.
Since our house doesn’t have much attic or crawlspace, we were reluctant to get the whole enchilada, a central air conditioning system. The ductless doesn’t need tons of space with giant ducts to blow all the air into a vent in each room – it just hangs in its spot on the wall and does its thing.
The ductless split provides us just enough A/C to take the edge off of even the hottest days, while still playing nice in the sandbox with our budget.
Bonus – it has a “heat” setting for those transitional days when it’s just not worth it to turn on the boiler.
Check out our full review about our ductless mini-split : Fujitsu Ductless Air Conditioner Review.
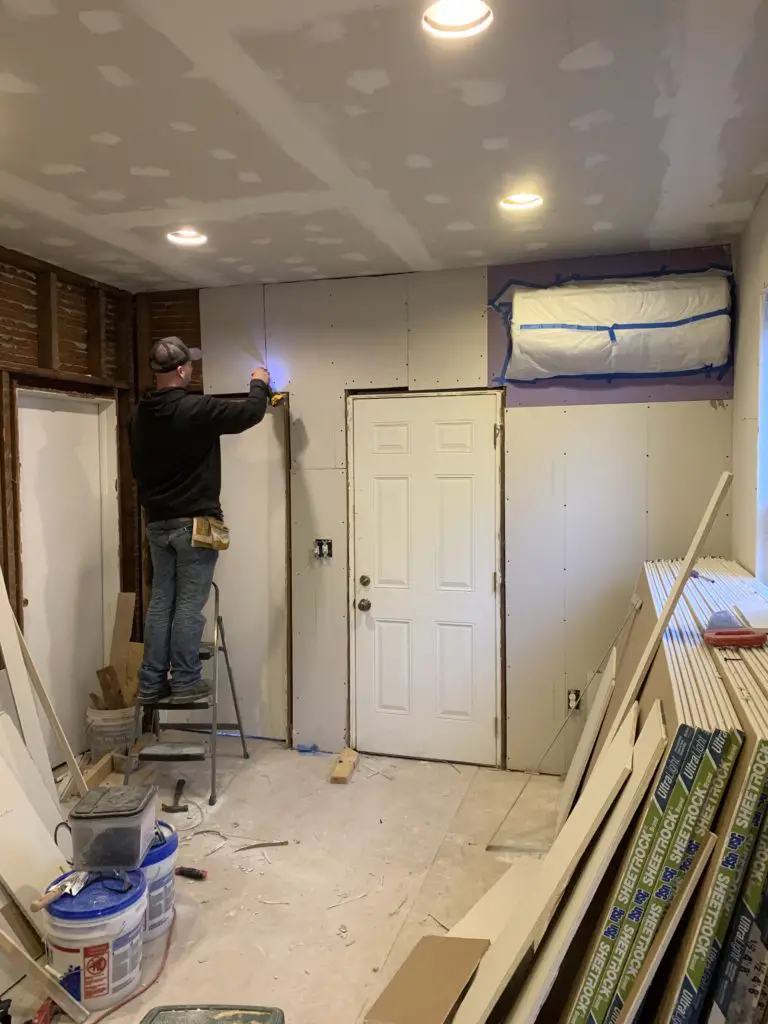
Once our contractors completed the rough in, it was time to sheetrock and roll! This one took a lot of effort, as we decided to do it ourselves.
God bless my dad, who, in the 60+ category, can still throw boards up like a champ.
We called in reinforcements like my cousin, of True Craftsman Building, to help keep the project moving before the holidays.
After tape and paint (which takes forever, might I add – all those coats of compound! GAH!) we went to town on the kitchen fixin’s.
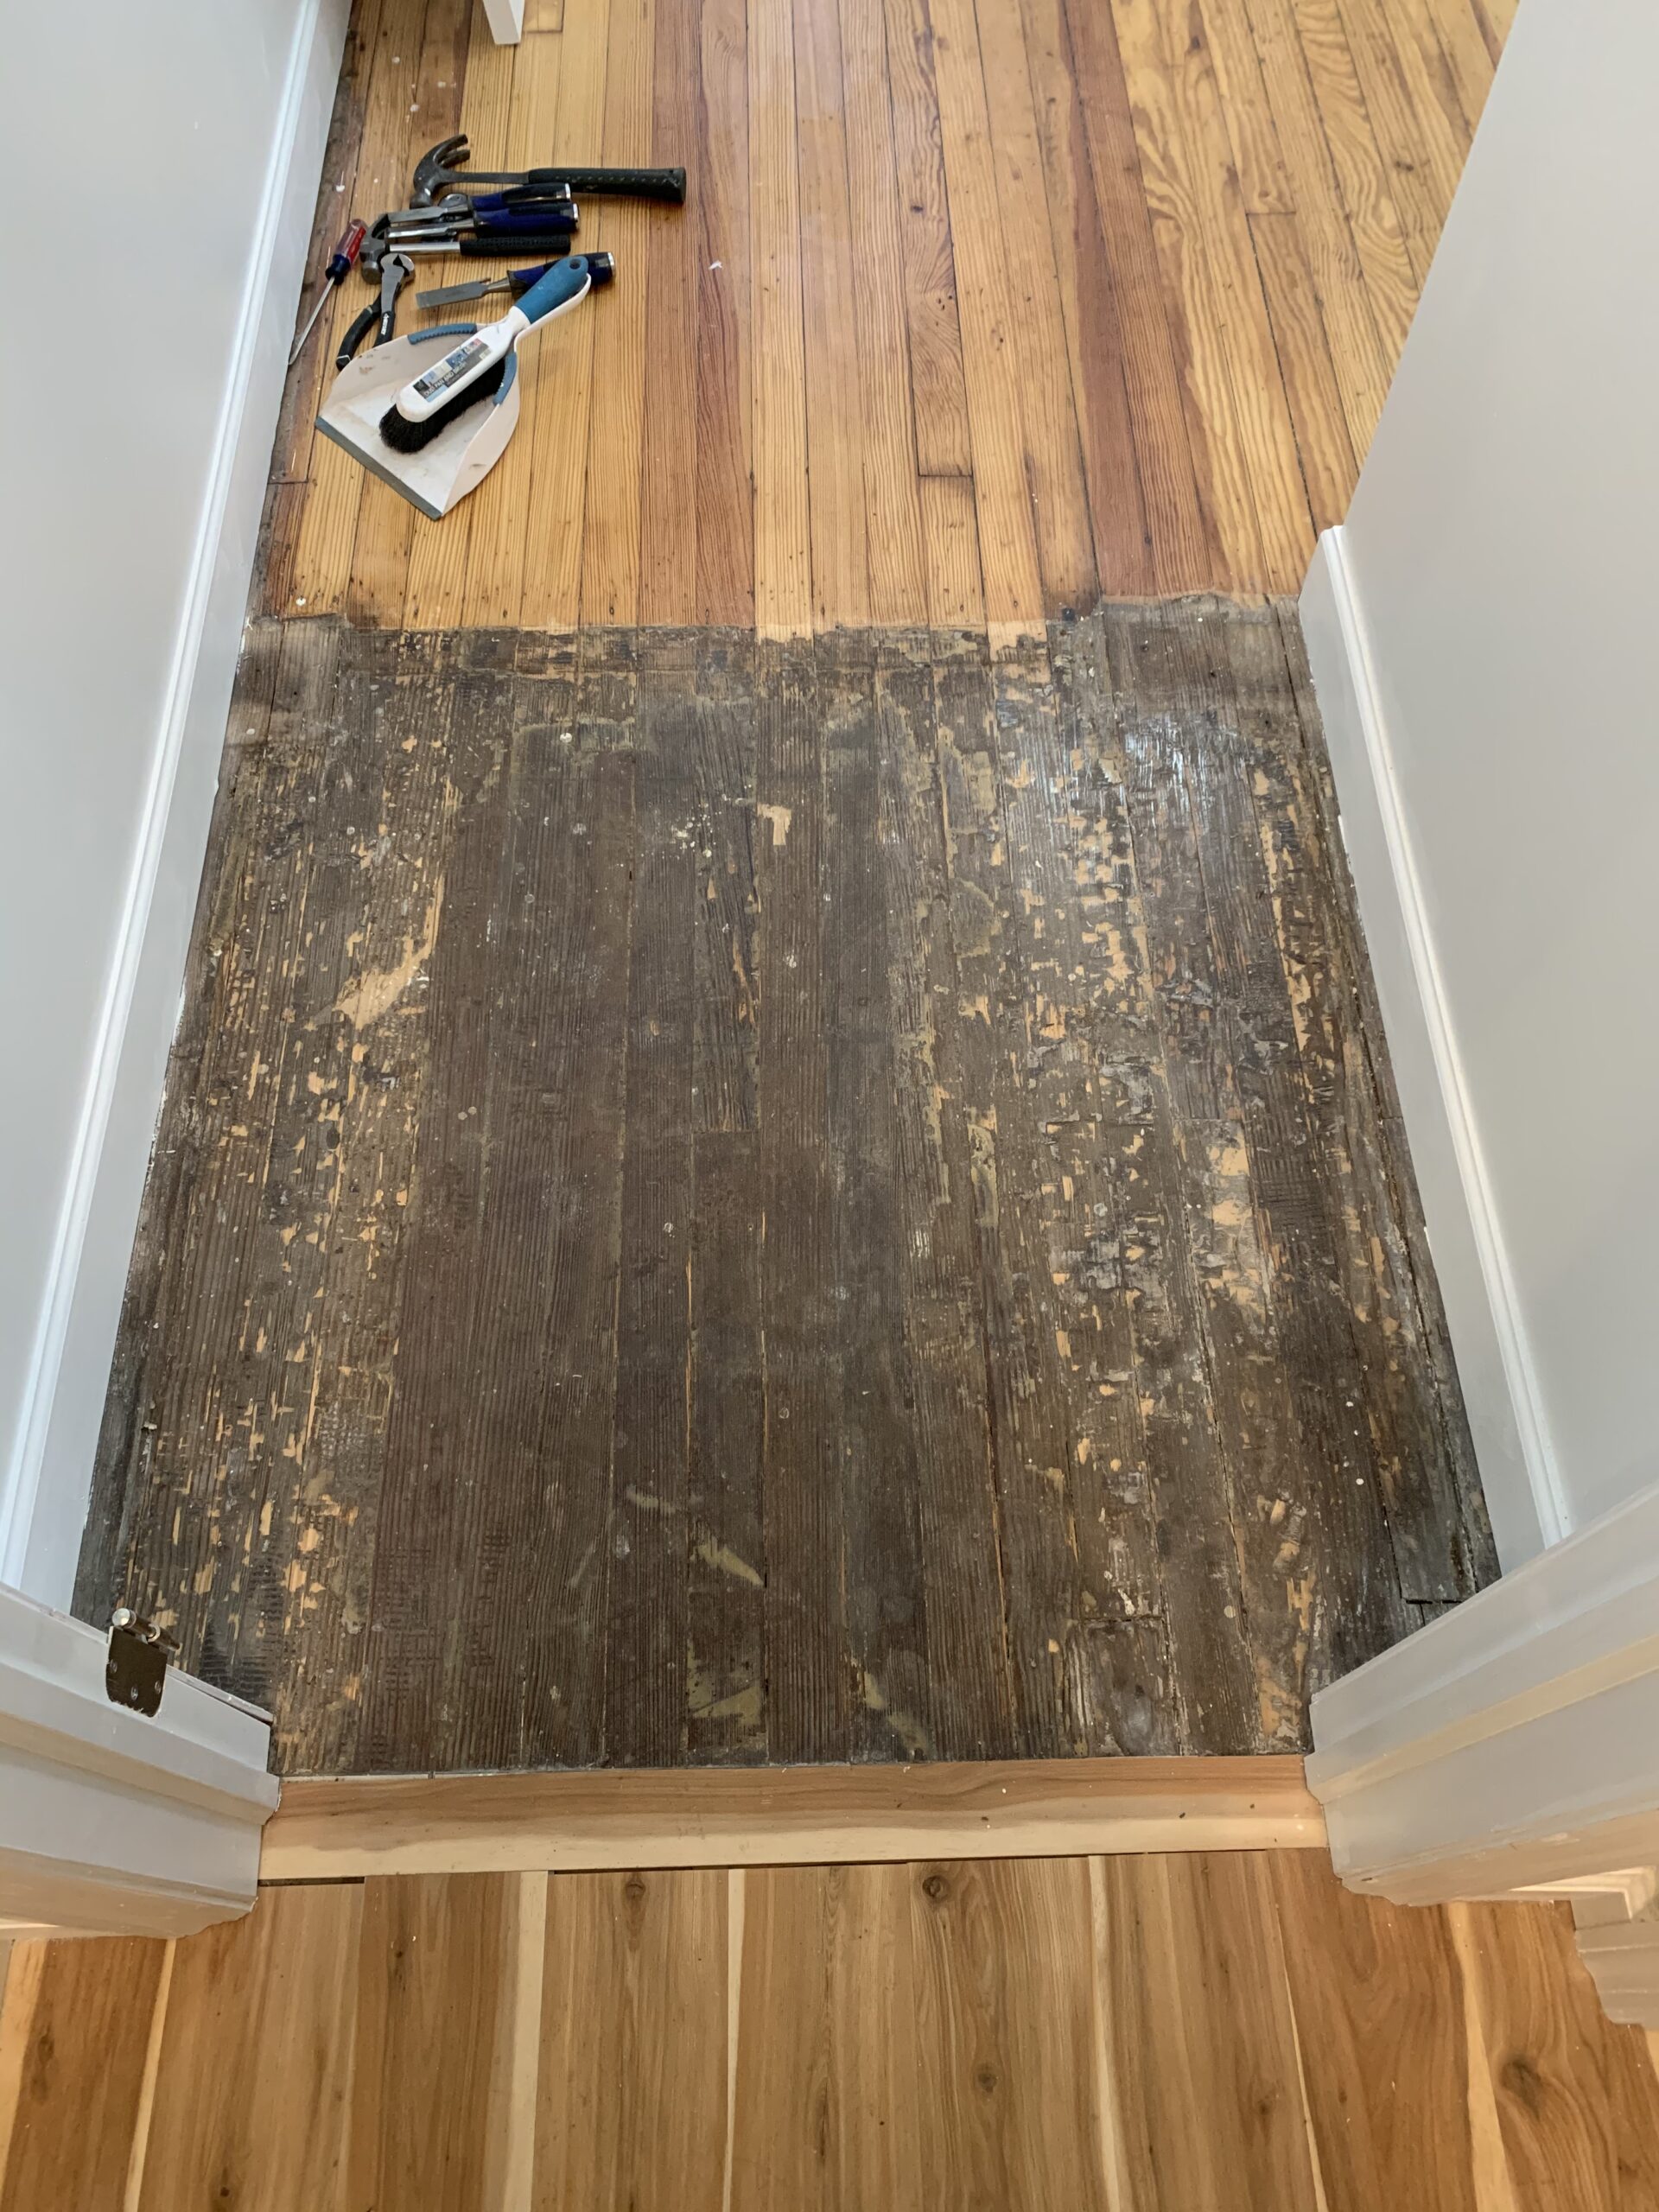
First up was flooring. We chose LVP – luxury vinyl plank – for its waterproof quality, affordability, and nice look.
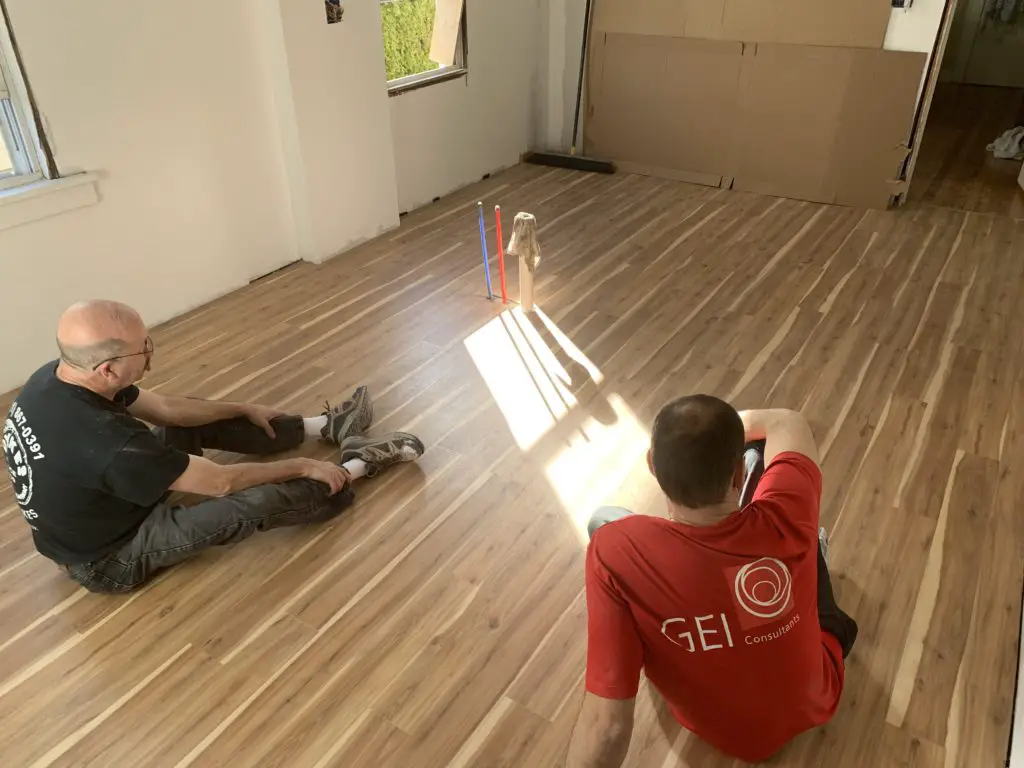
TIP: The day you install your flooring: sweep it, admire it, then cover it wall to wall with cardboard. This will prevent “”whoopsies” from ruining your nice new floors.

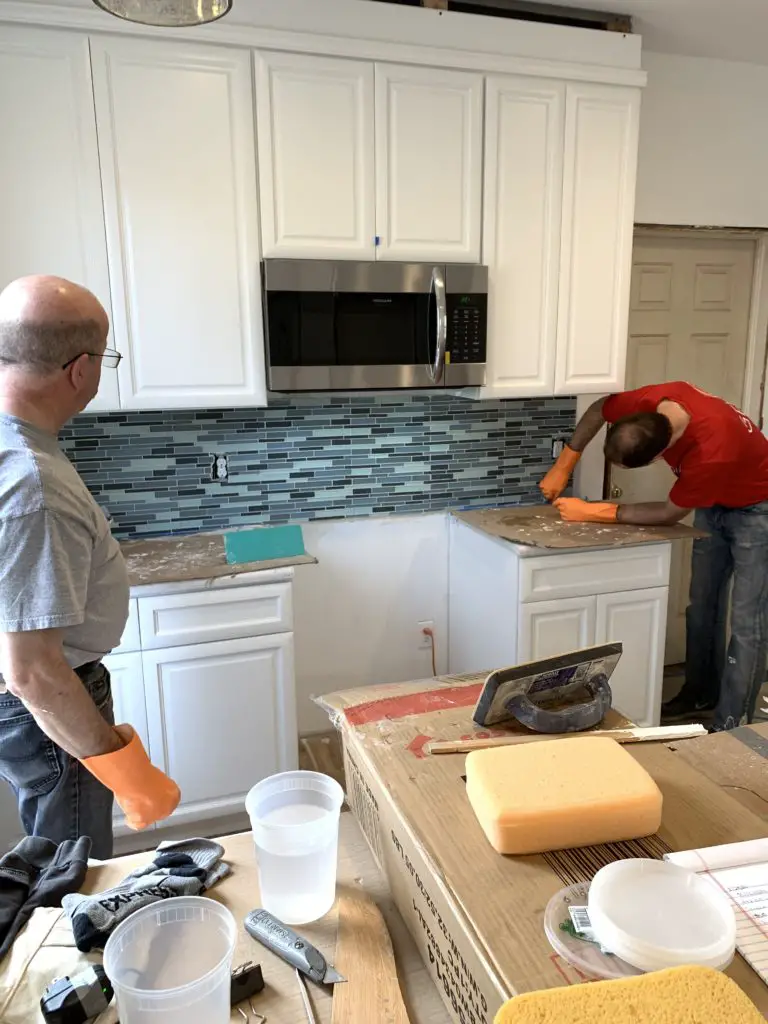
Next we hung cabinets, got countertops installed, and tossed in a backsplash.
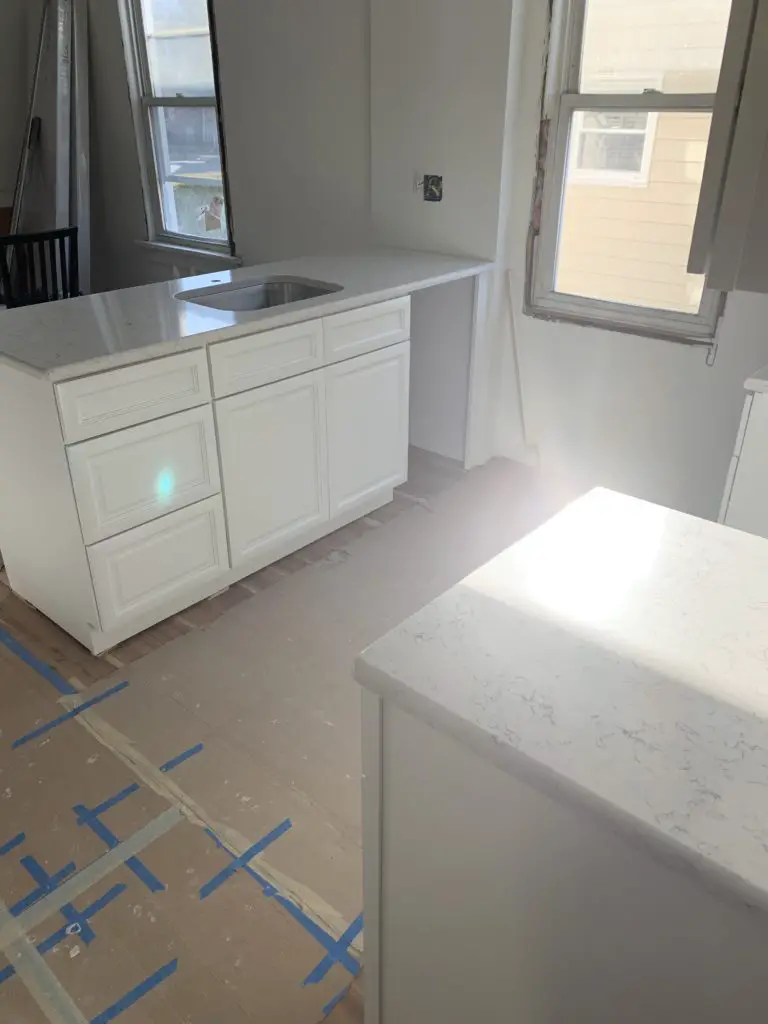
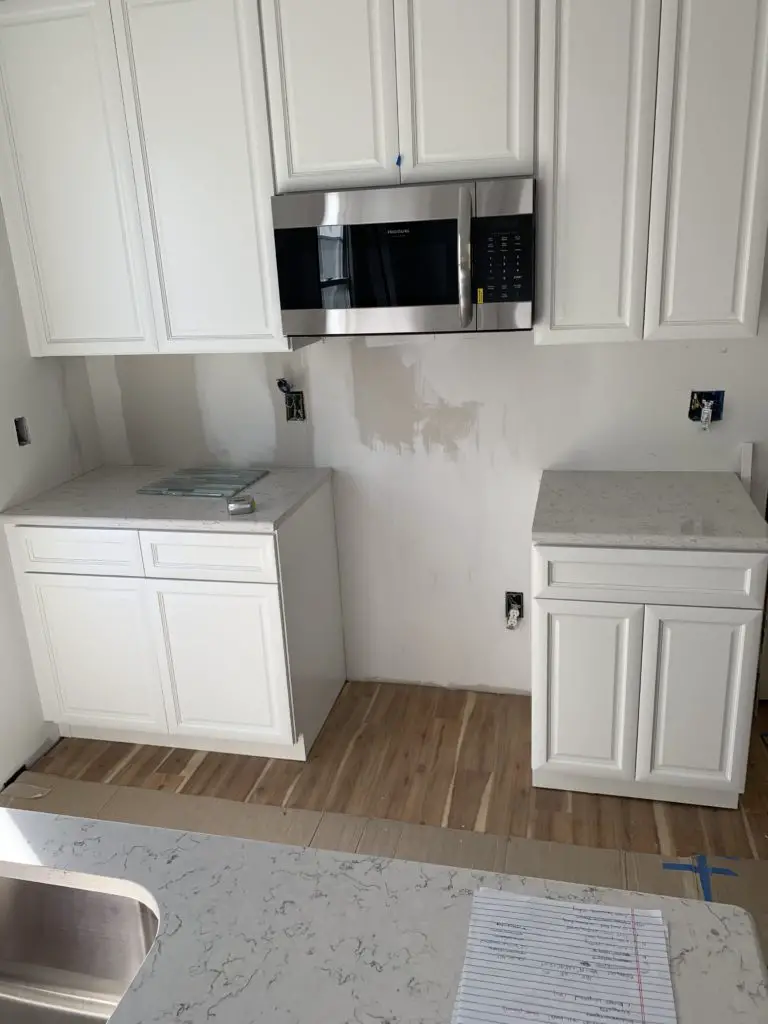
At this point, we had the electricians and our plumber back to hook everything up. Boy it felt nice to have the new appliances out of their giant boxes and into place!
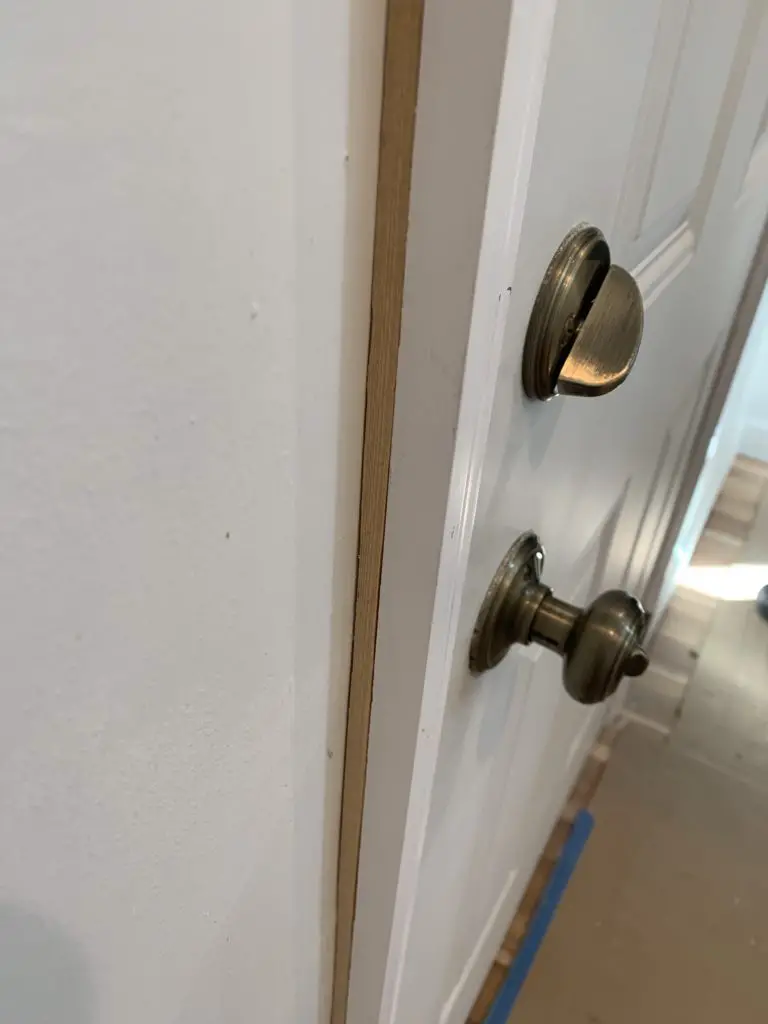
Finally, we had some magic to do with trim and finish work.
Our house being its lovely self, some of the doorways needed trim with bigger depth than others. My dad being the wizard that he is, ripped down (that’s on the table saw, long ways) some wood to make up the difference.
A picture will help understand this:
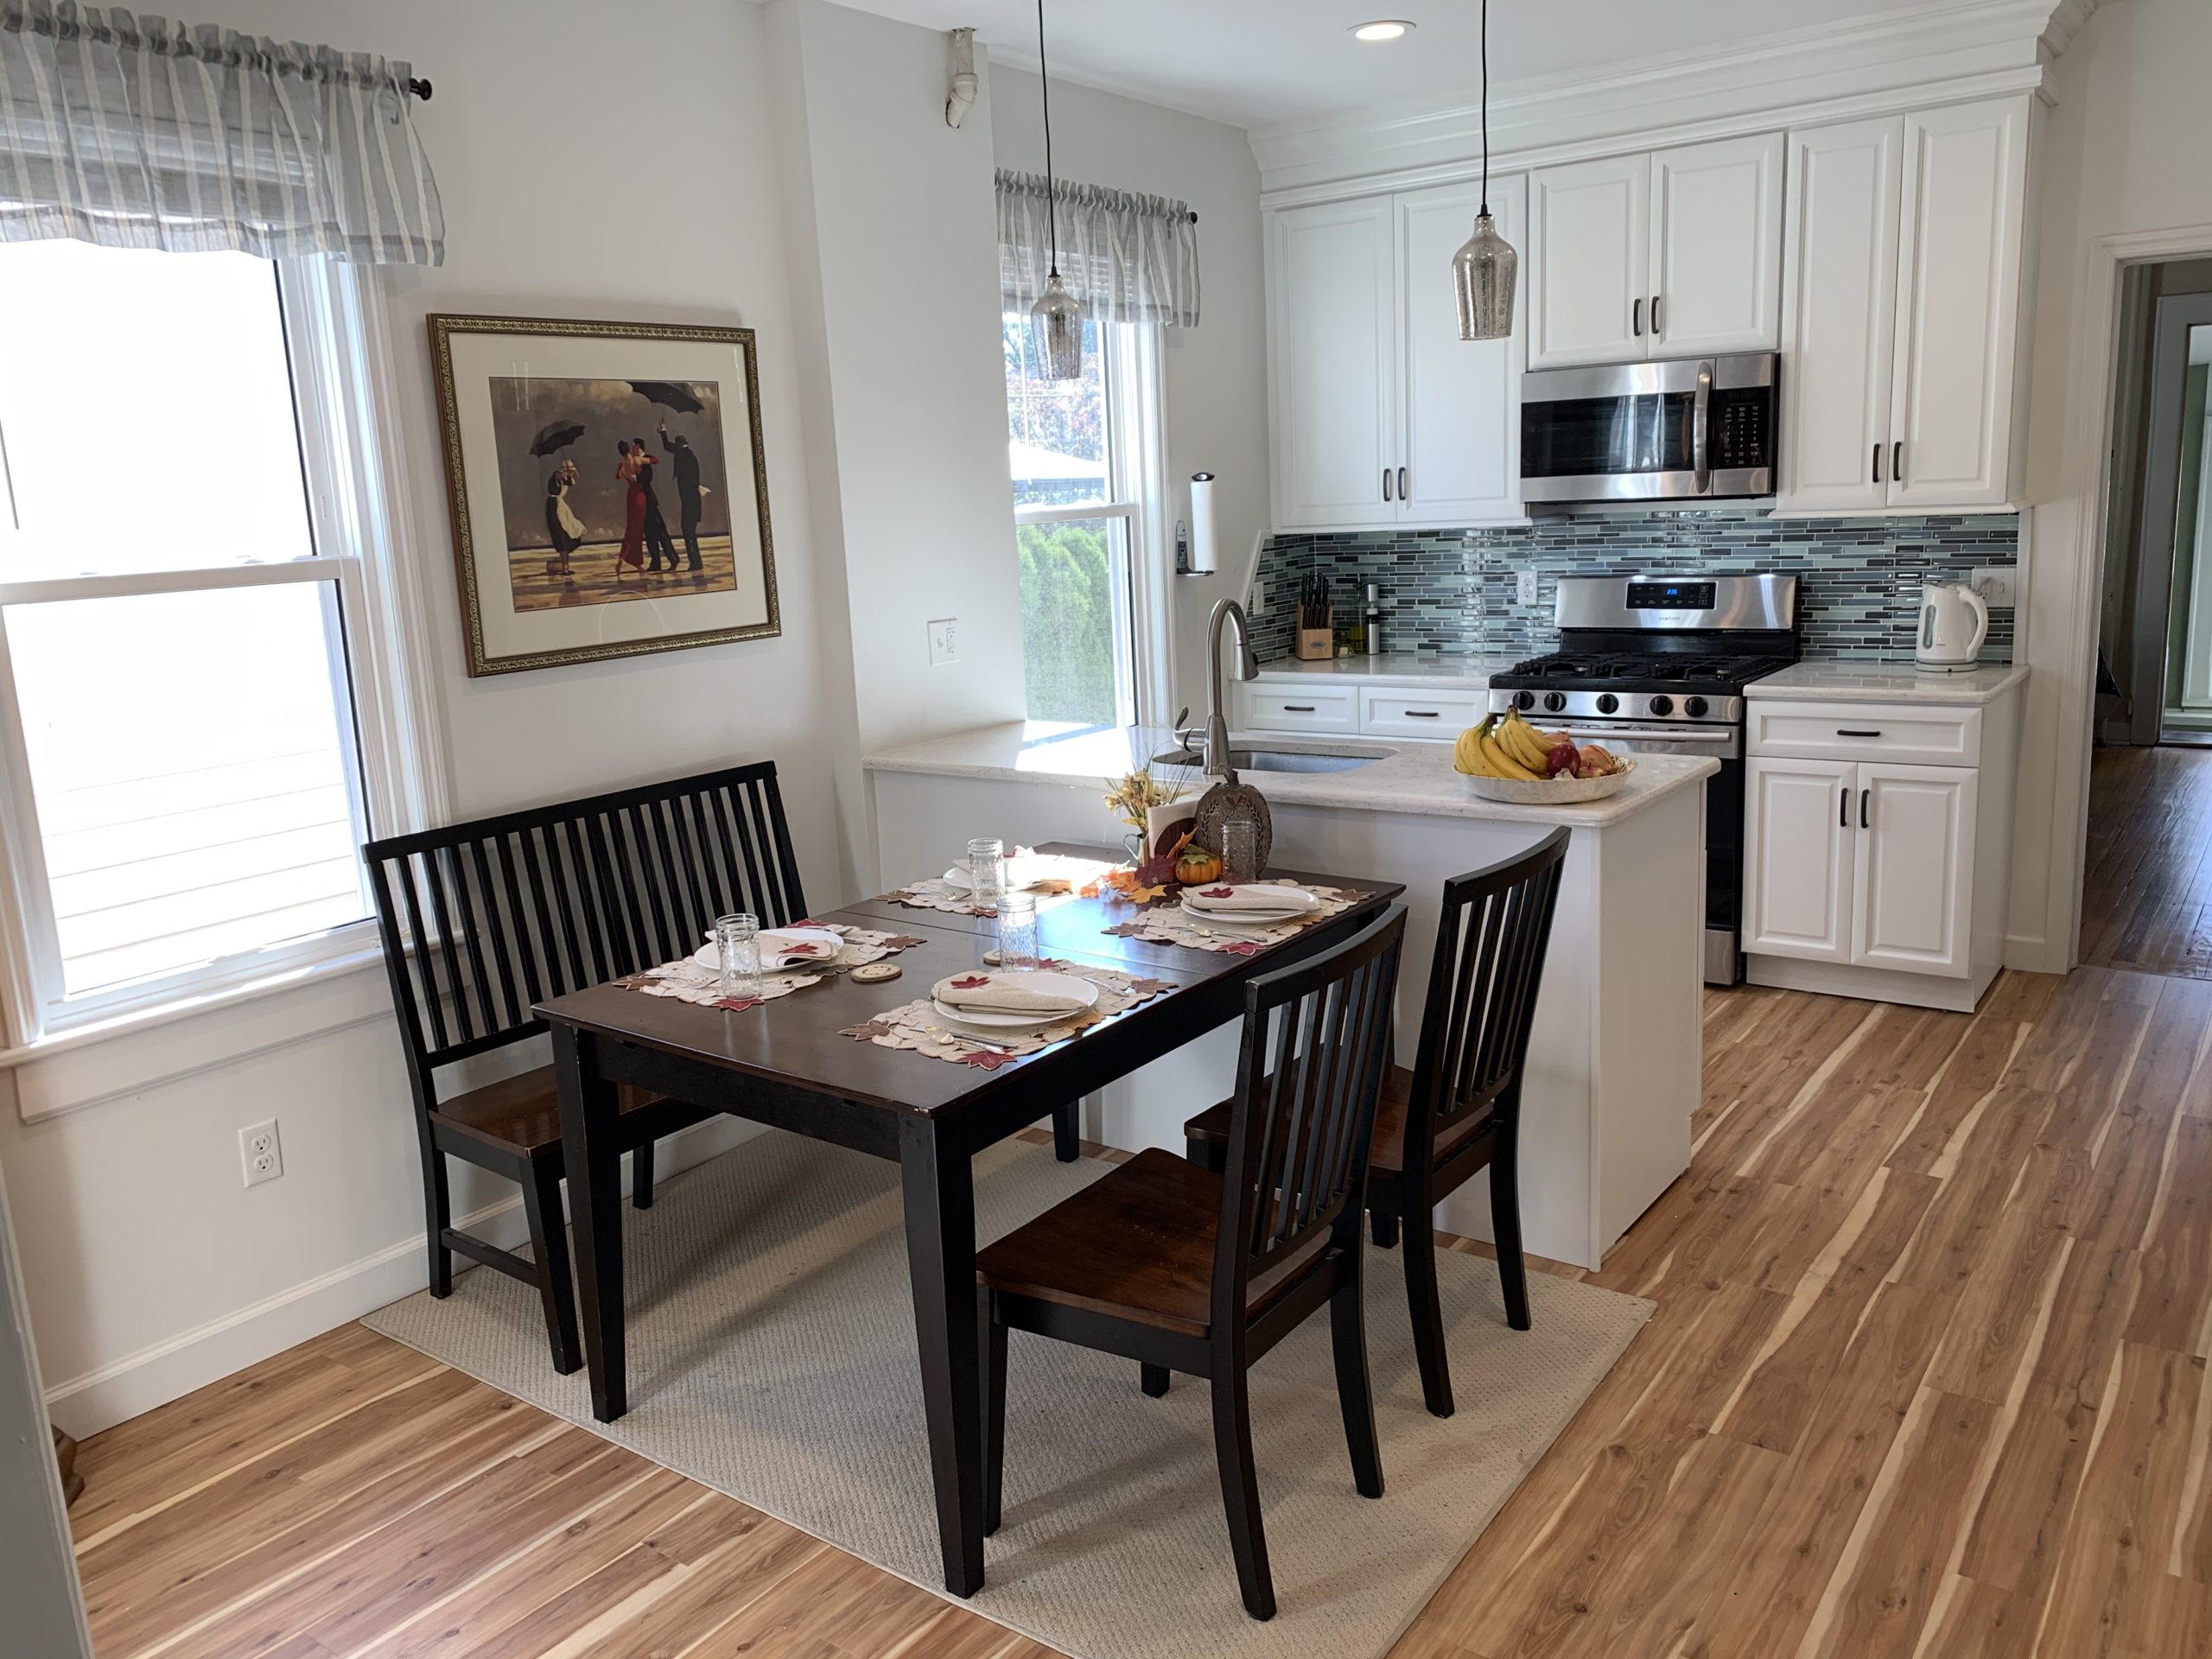
After that, it was painting and touch ups… boy do we love the refresh on this section of the kitchen. The lights! The flooring! The function of the open concept galley kitchen!

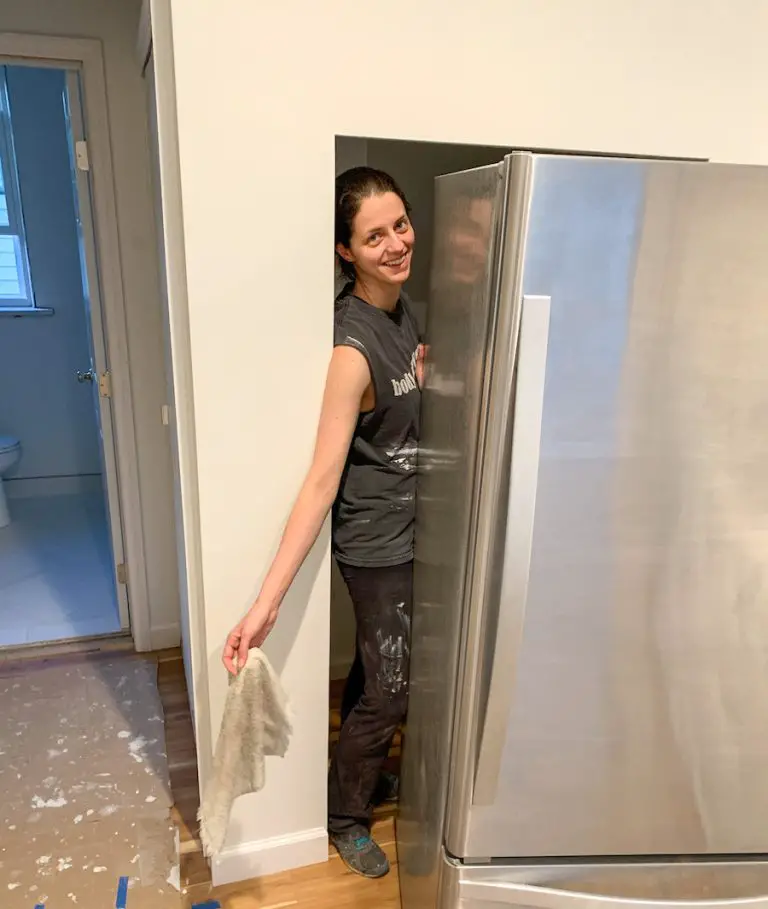
Problem # 3: The Walk-in Pantry and Fridge
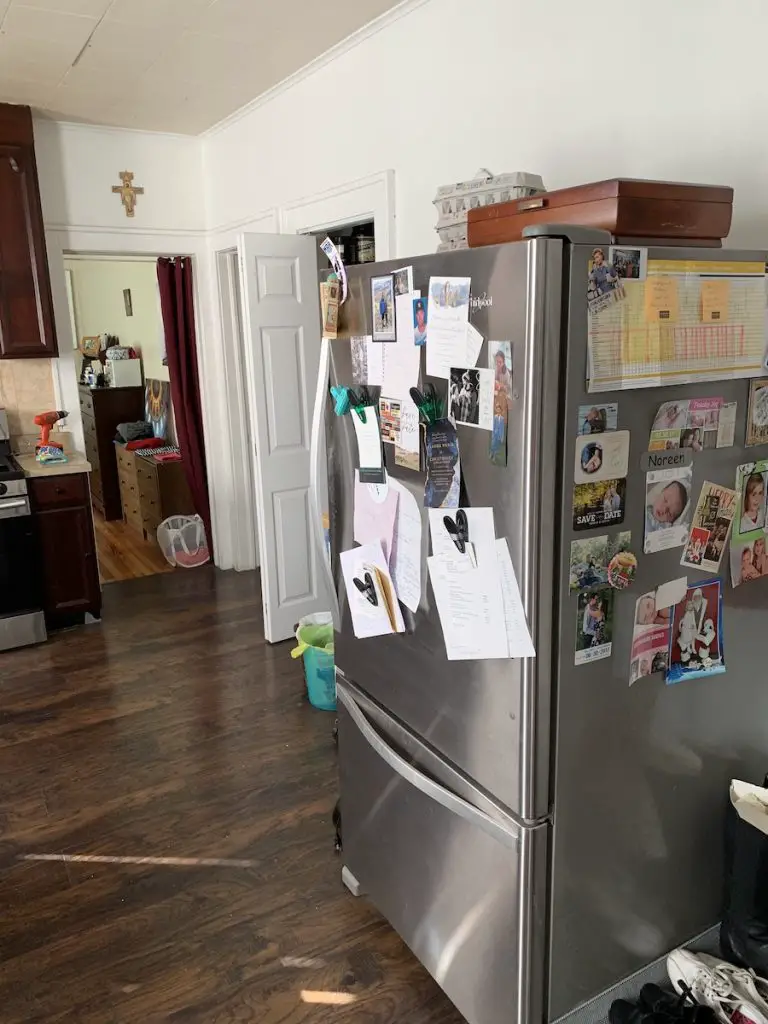
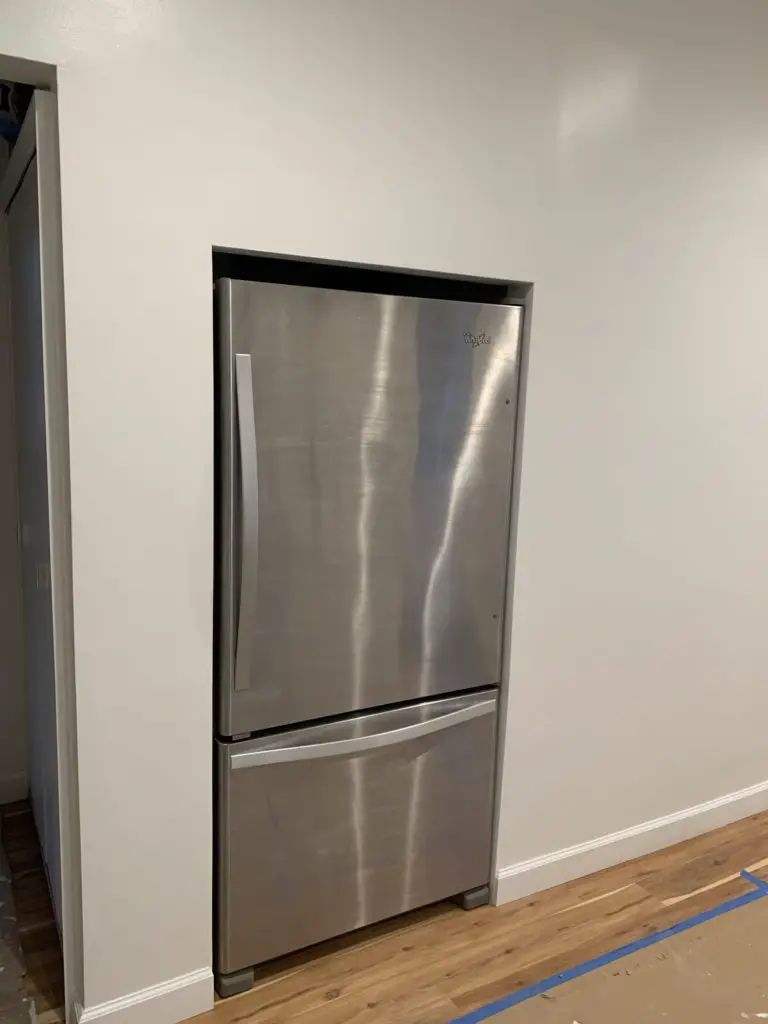
We had grand plans to recess our fridge into the way-too-big pantry space, and boy are we thrilled that it worked out!
I ADORE our refrigerator – the drawer freezer, the storage in the door, the stainless look – it’s a beaut! Whirlpool still carries it, by the way!
And… it took up quite a bit of space. We needed a new home for it.
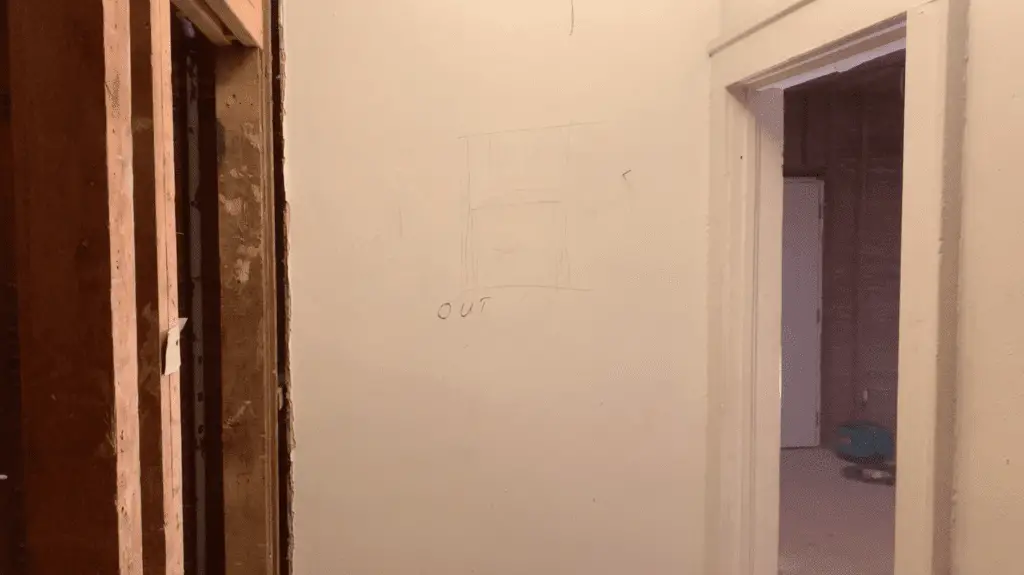
First, we measured very carefully. How embarrassing would it be to frame out an entire new pantry and then the fridge doesn’t fit?
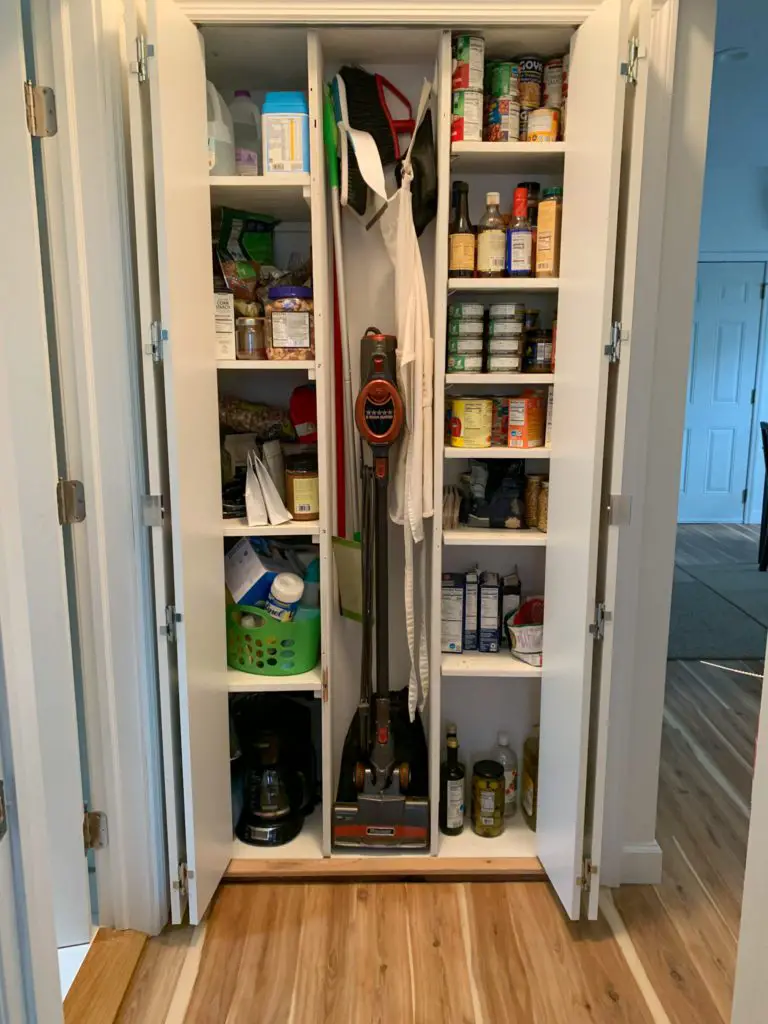
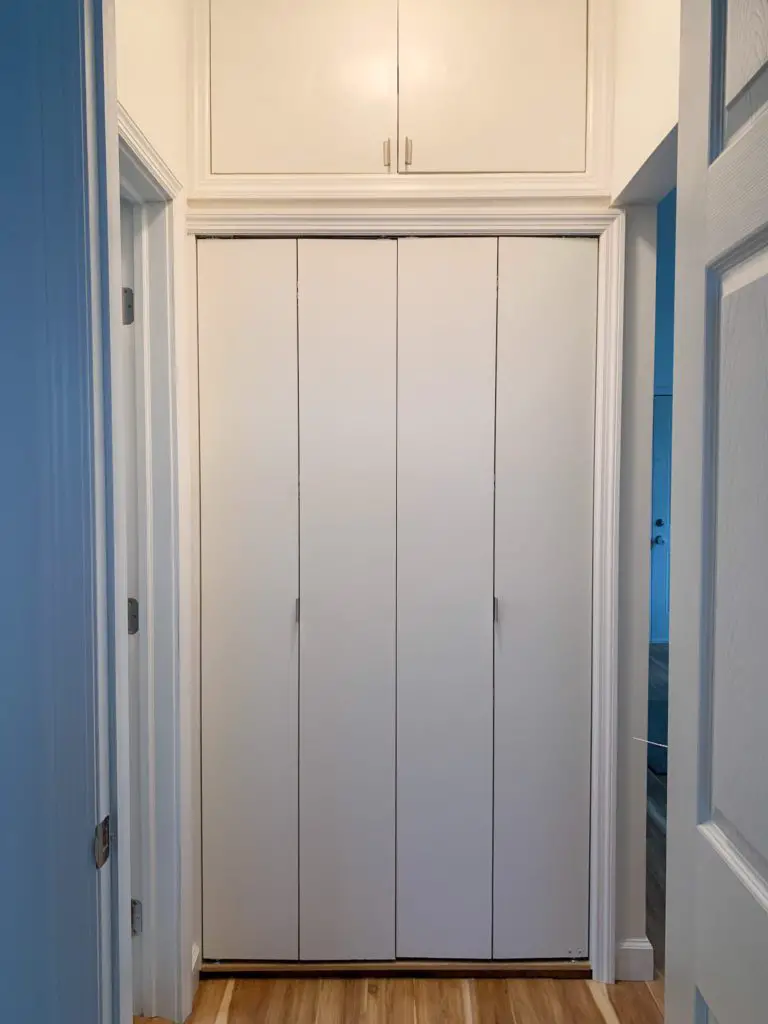
Then, we double checked our door options at our local big box store. Wide open shelving space was the goal. We settled on 48″ bifolds.
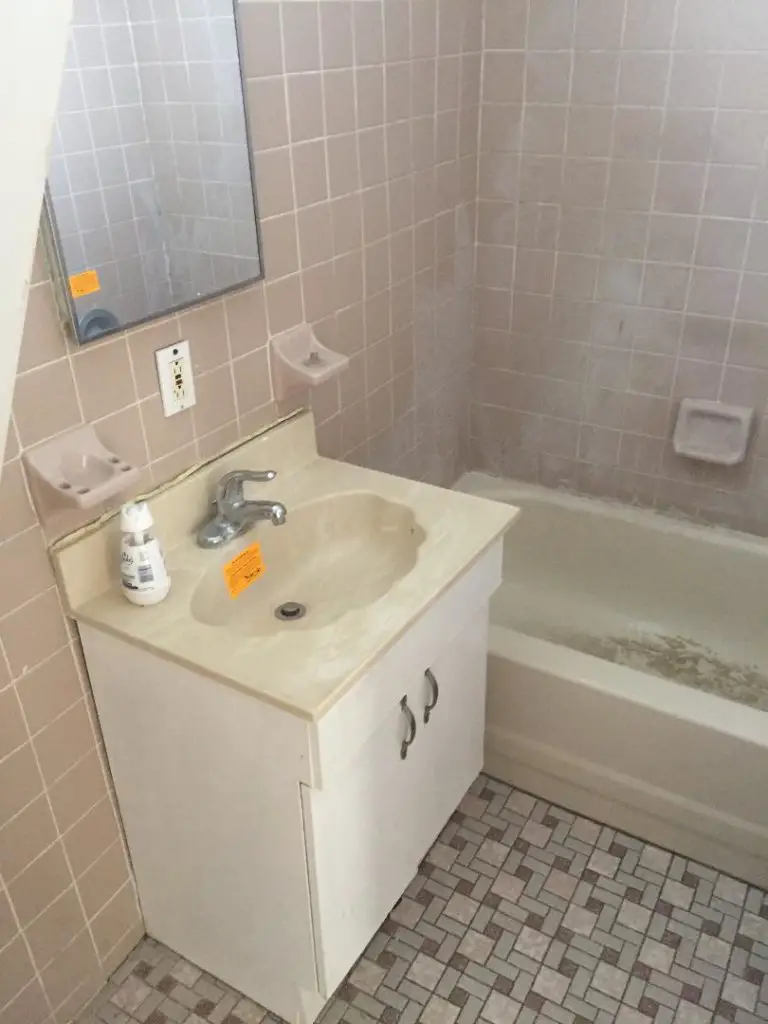
Framing took some time, as we were also flipping the shower head in the bathroom, which backs up to the pantry. (Check out the Bathroom Remodel Before & After!).
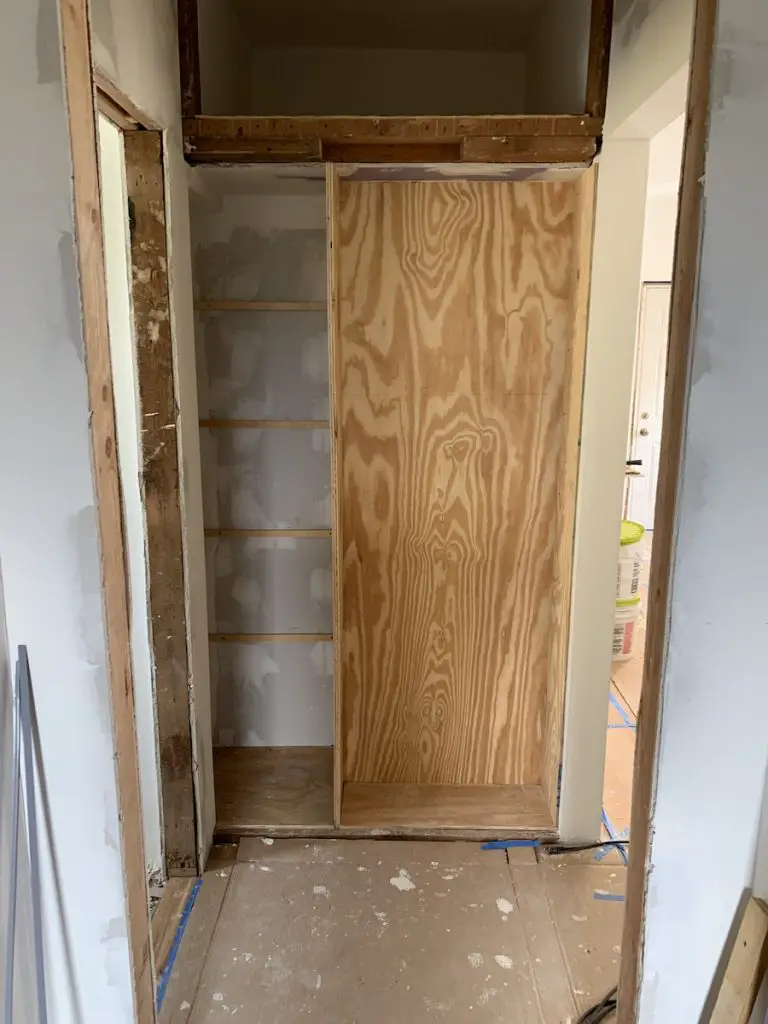
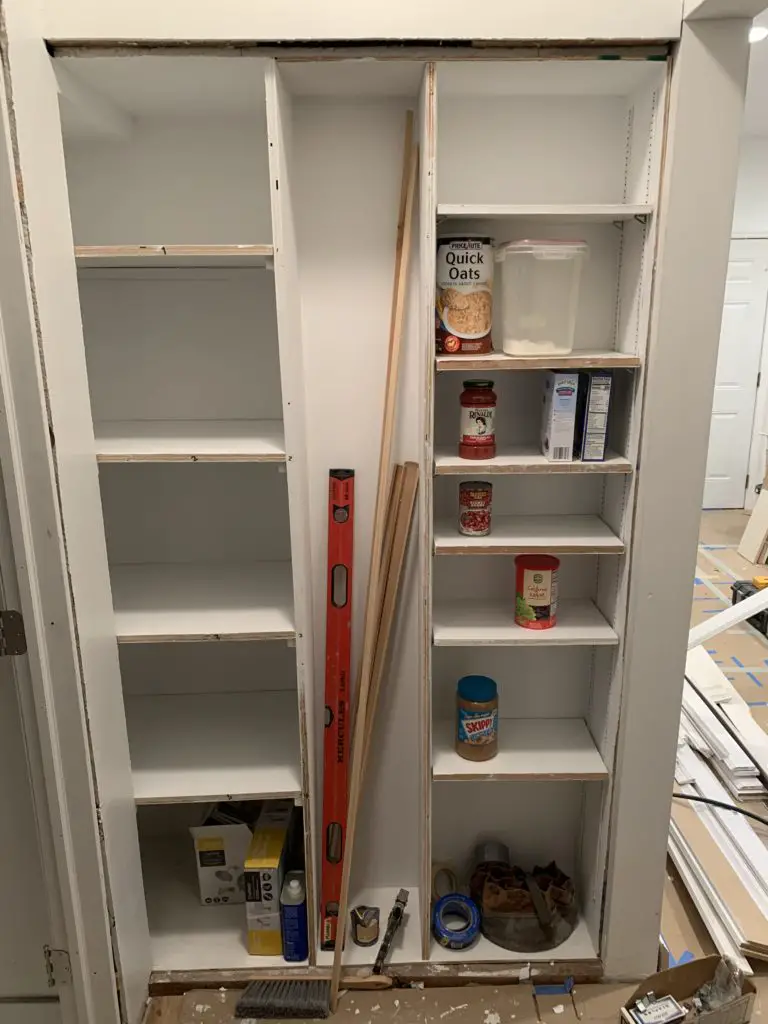
Once ready, we took a little shortcut to save a few inches and backed our little pantry with plywood instead of sheetrock and studs.
This would give us maximum storage capacity on both sides of that wall.
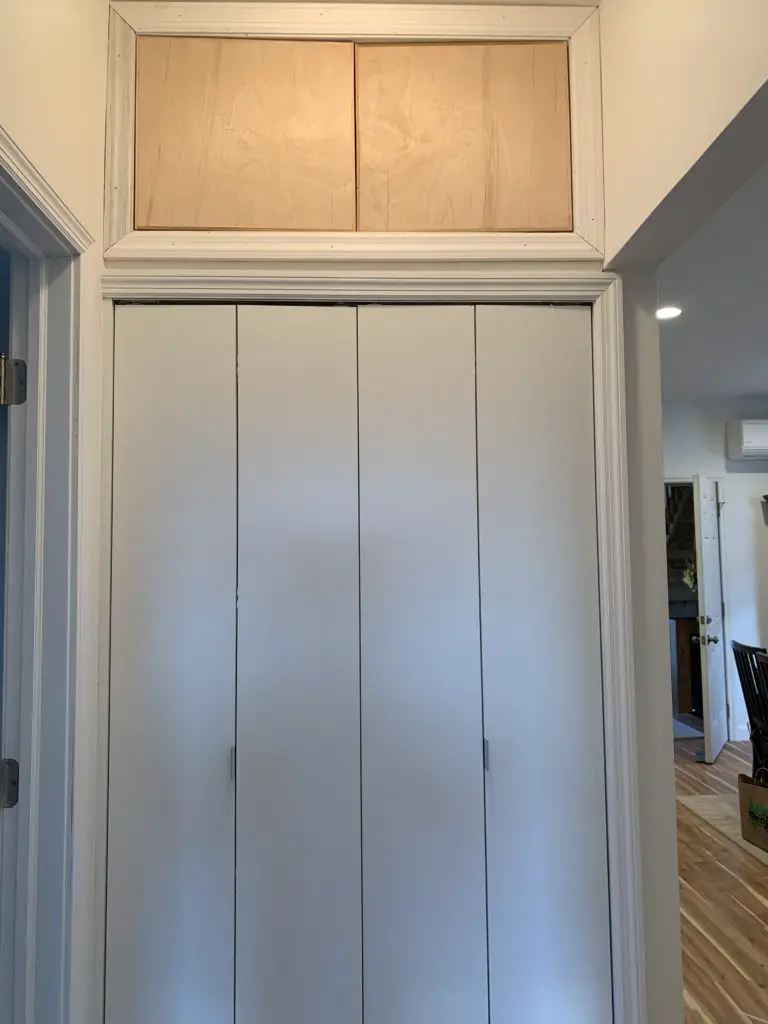
My dad, in another display of ingenuity, also created a big box of storage for us above the pantry and fridge. Another wise use of formerly wasted space!

After that, it was patch-prime-paint!
The before and after is a little tricky to follow on this one, but here is the photo gallery of the fridge journey:
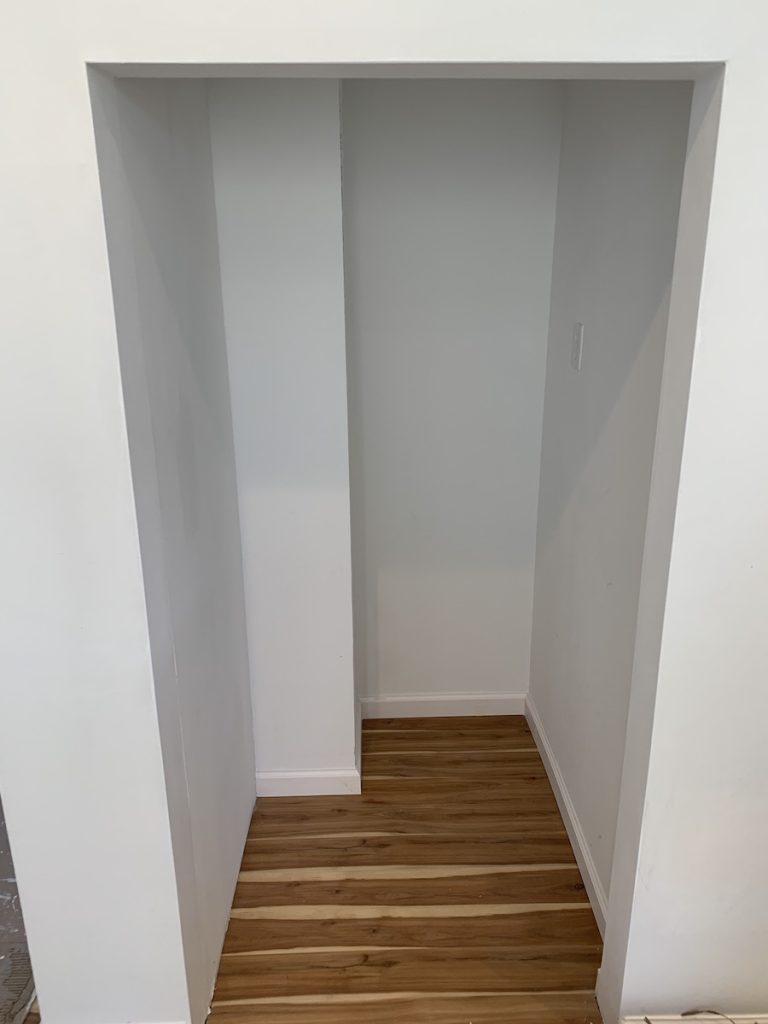
And here is the pantry journey.
Conclusion
Three problems down, two to go. As you can see, this open concept galley kitchen renovation was quite involved!
Stop by next week to see the before and after of our bathroom, hallway, and master bedroom.
You may also like:
- Old House Kitchen Renovation – the 2nd floor
- Creating a Perfect Makeshift Kitchen during a remodel
- Full Home Remodel Before and After – our house renovation round-up