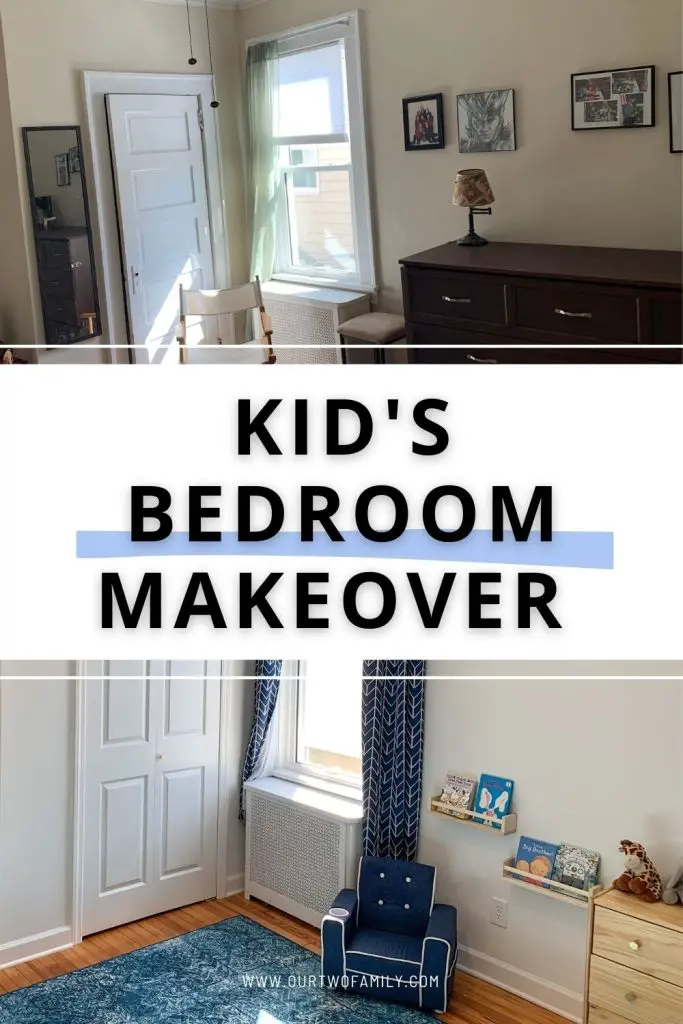
Kid’s Bedroom Makeover – Get Inspired for That Big Kid Room!
This post may contain affiliate links. If you purchase a product through one of them, we will receive a commission at no additional cost to you. As Amazon Associates, we earn from qualifying purchases.
Welcome to the final bedroom renovation in our 6-bedroom, two family house! Our home never relents in its challenging renovations, and this kid’s bedroom makeover was no different.
As usual, this room came with interesting problems and creative solutions. It was a gut renovation including closet re-frame, exterior door (…yes, you read that right) and more.
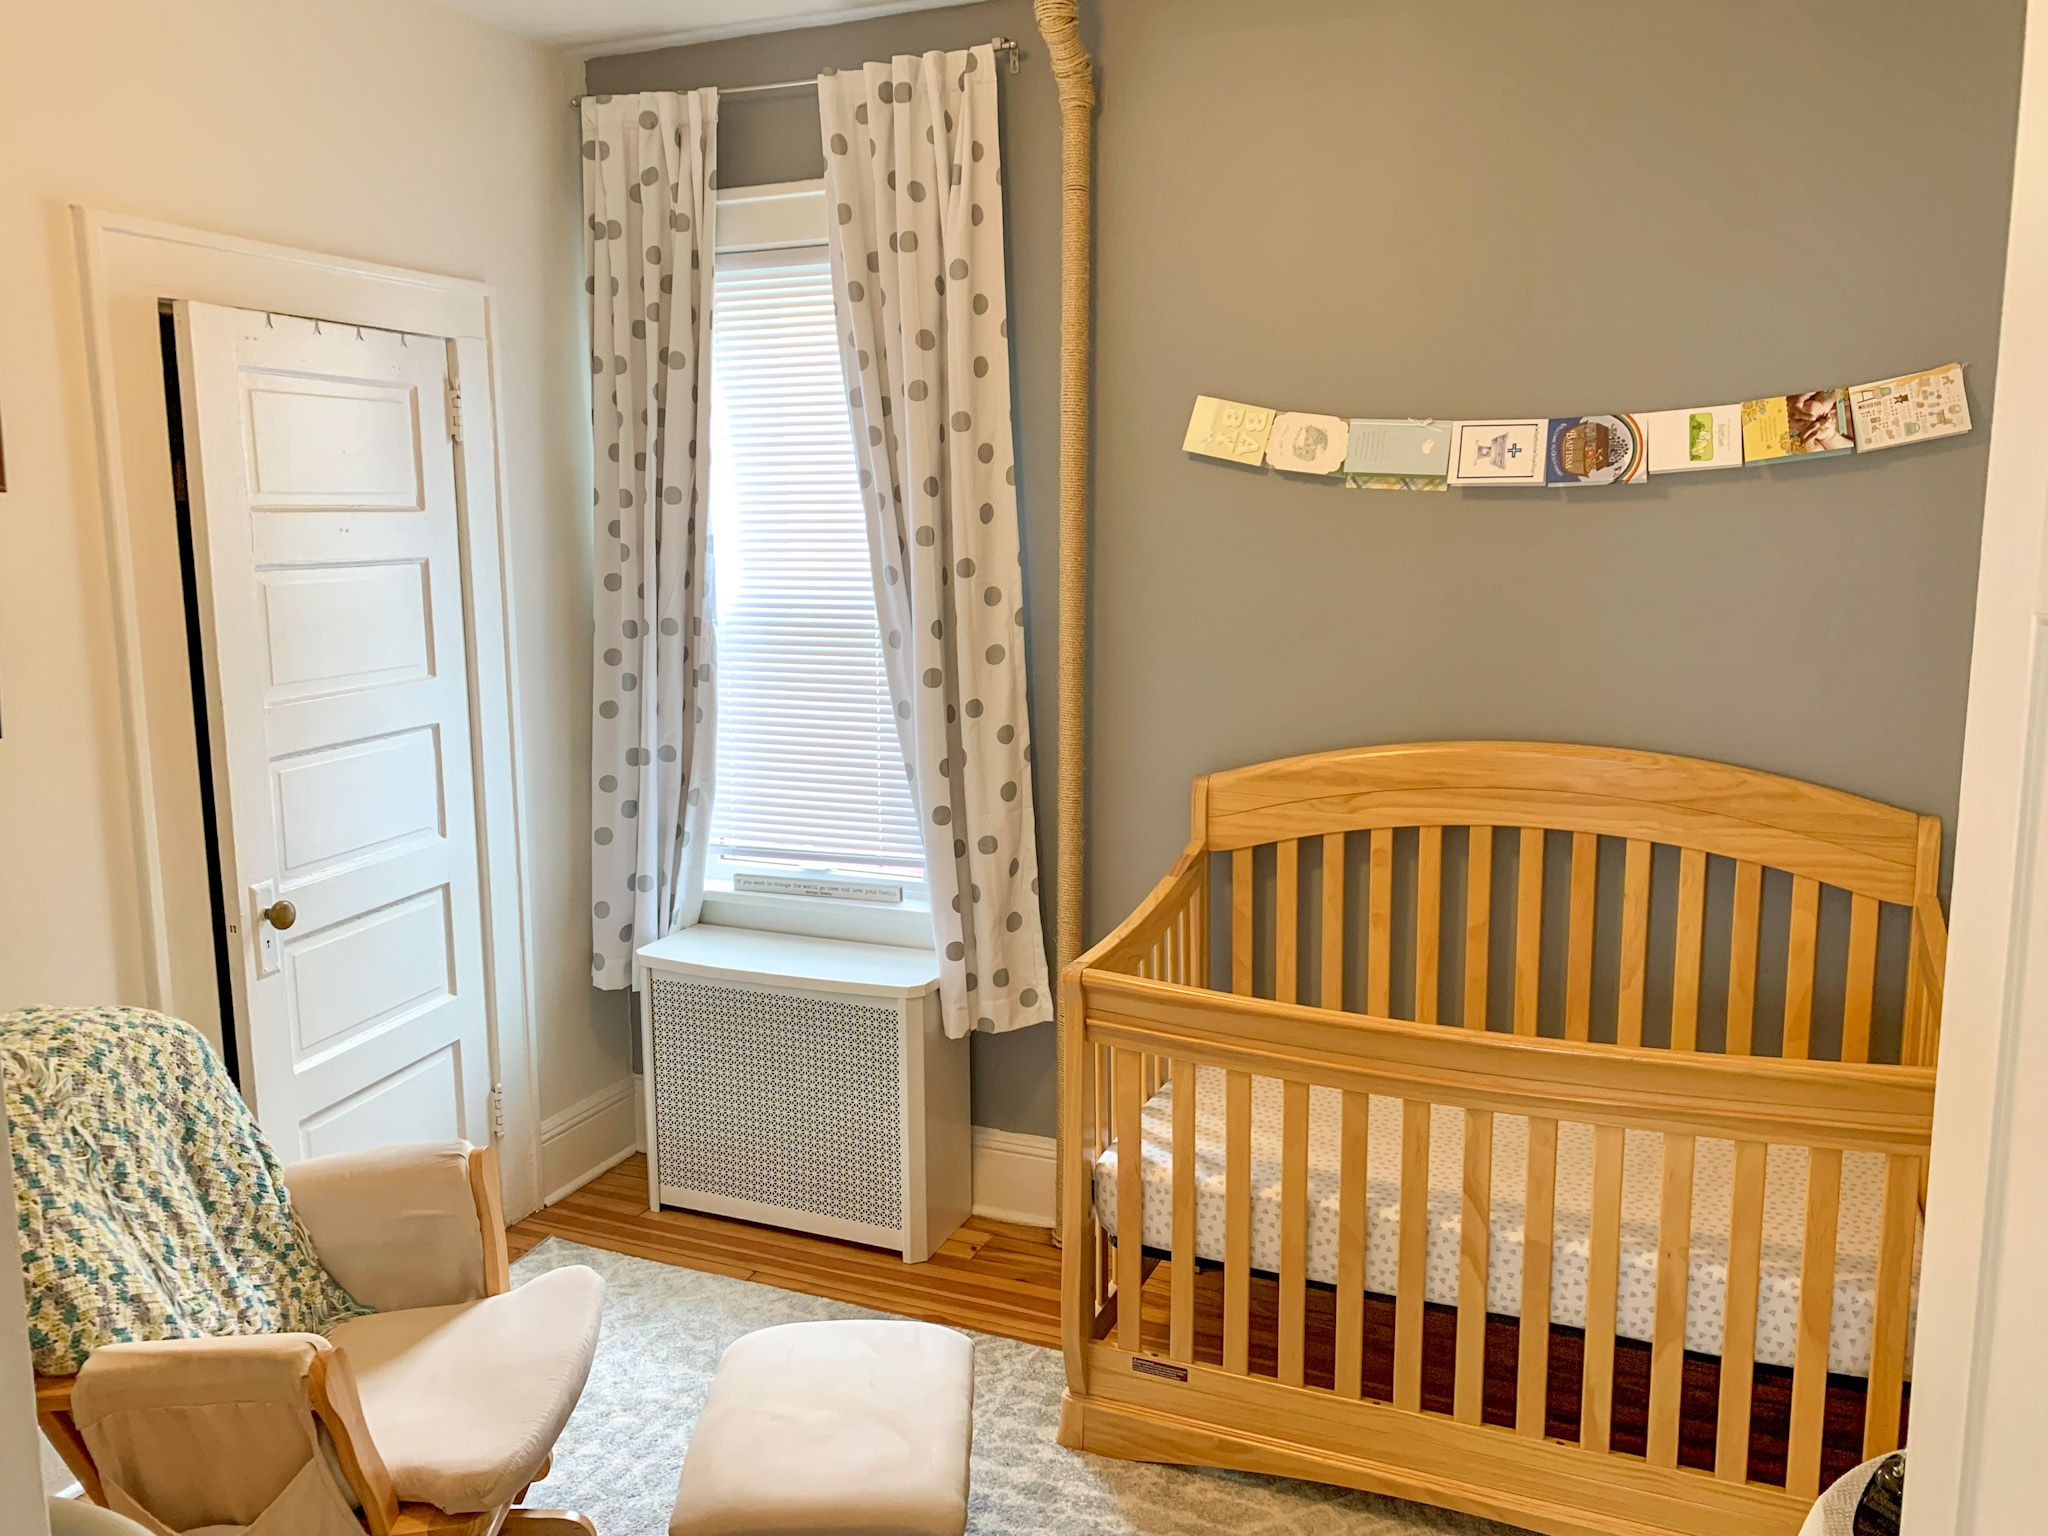
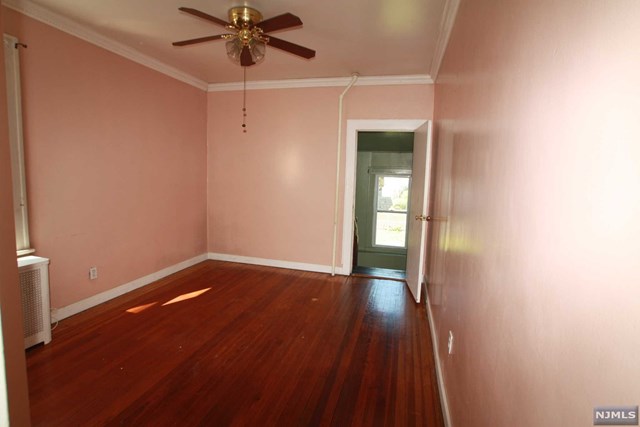
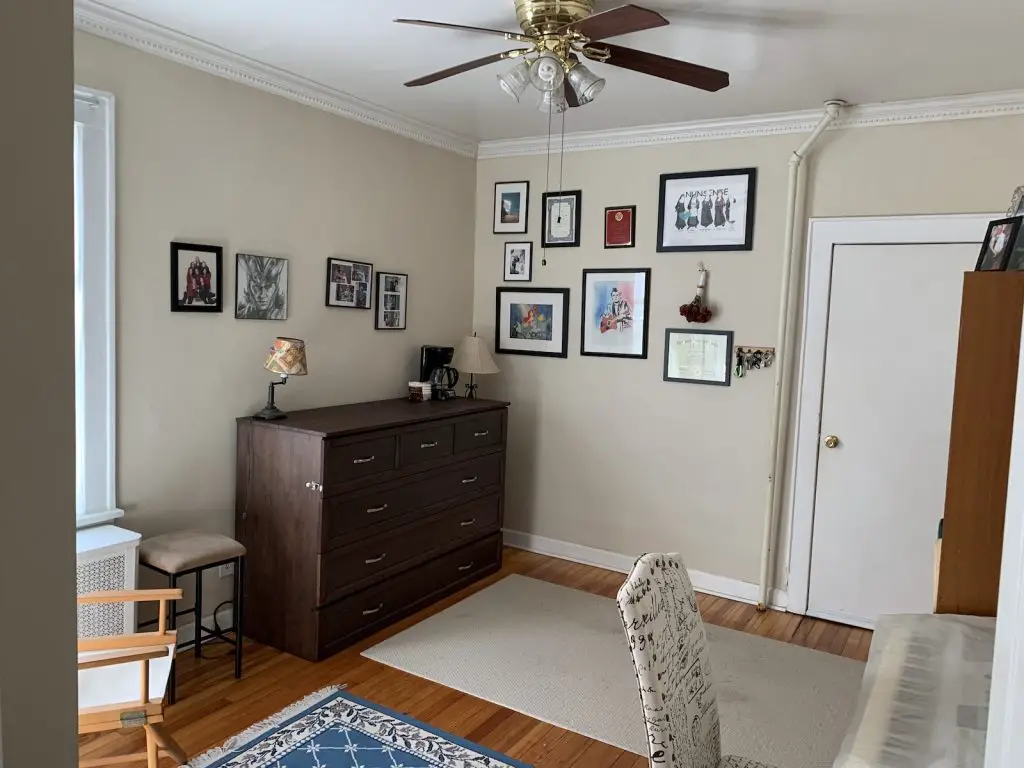
Here’s the original room, as it was when we bought the house:
And here’s the guest room setup we lived with for a few years, before this renovation:

The goal in this room was to create a “big kid room” for our two year old.
“Big kid room” was the positive spin – truth be told, there’s a sibling on the way, and our little man got the eviction notice from his old digs in the nursery. There’s nothing like a deadline to keep a remodel on track!
Let’s jump in!
Kid’s Bedroom Makeover: Problems to Solve
Problem #1: The Closet.
Our house having been built in 1912, this closet just screamed “I’m soooo oooooold!”.
Can you spot what the problem is?
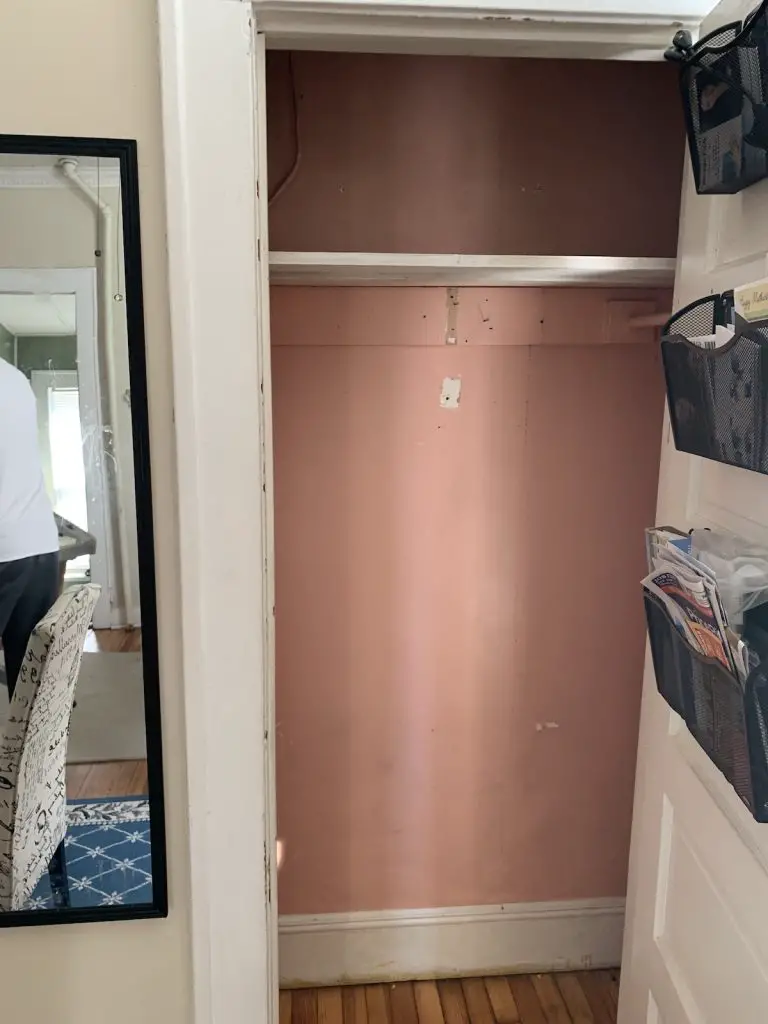
Ah! The closet is only 14” deep. Modern day closet specs require a standard depth of 24” (source: homedit)
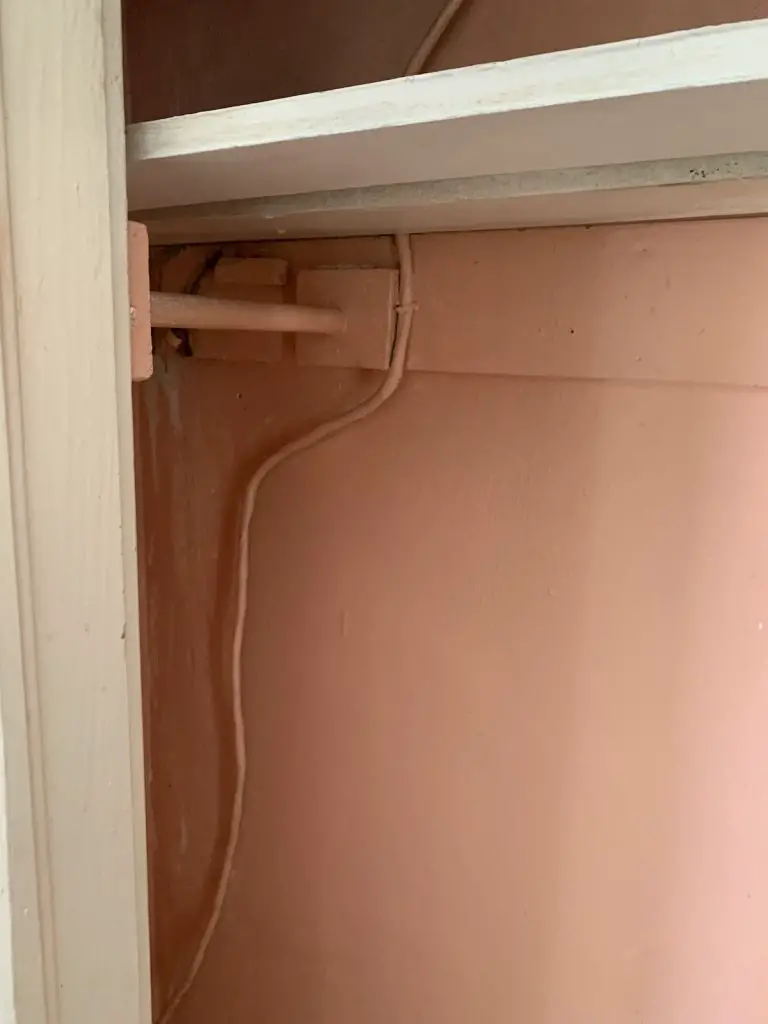
As you can see, this closet is so old that the hanger rods run front to back instead of side to side.
Seriously.
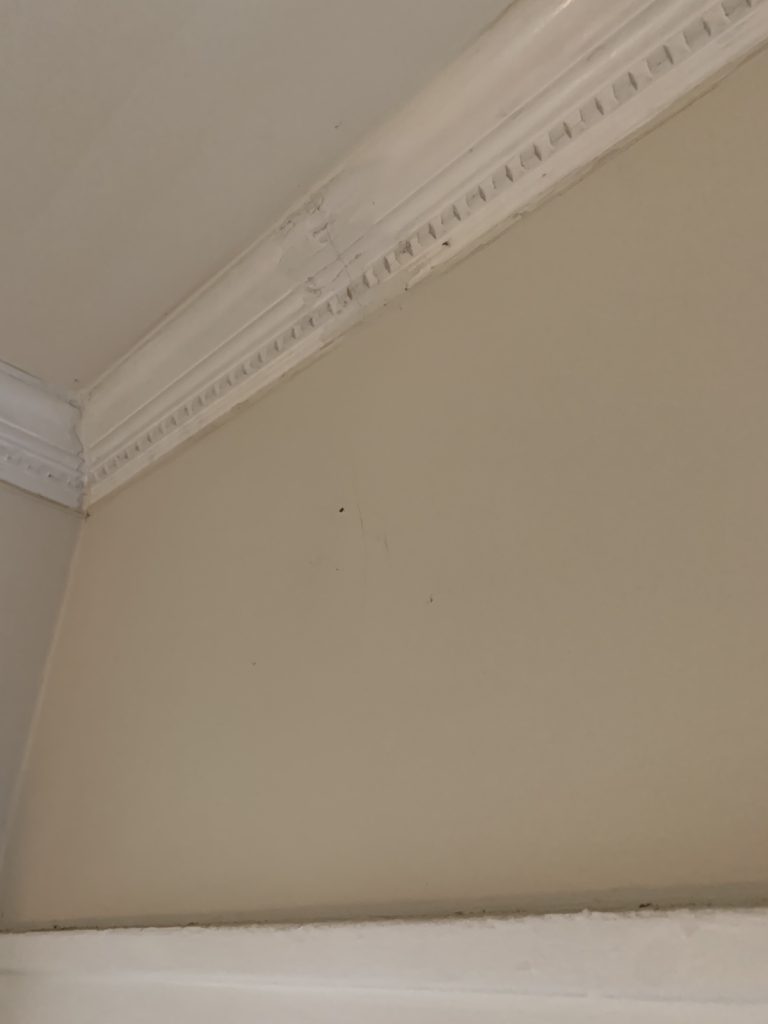
The other issue within this closet is that the plaster was falling from its walls & ceiling.
This was the protagonist which inspired us to gut the room and start over.
Sure, we could have simply replaced the closet… but with plaster, “once you pop, the fun don’t stop” – so you may as well keep going!
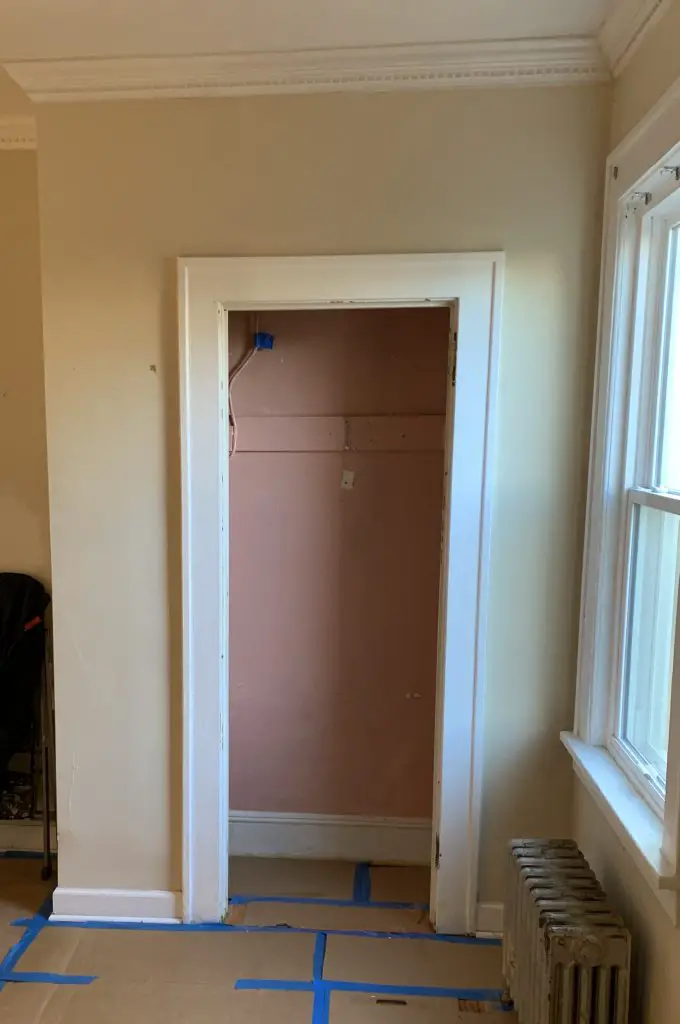
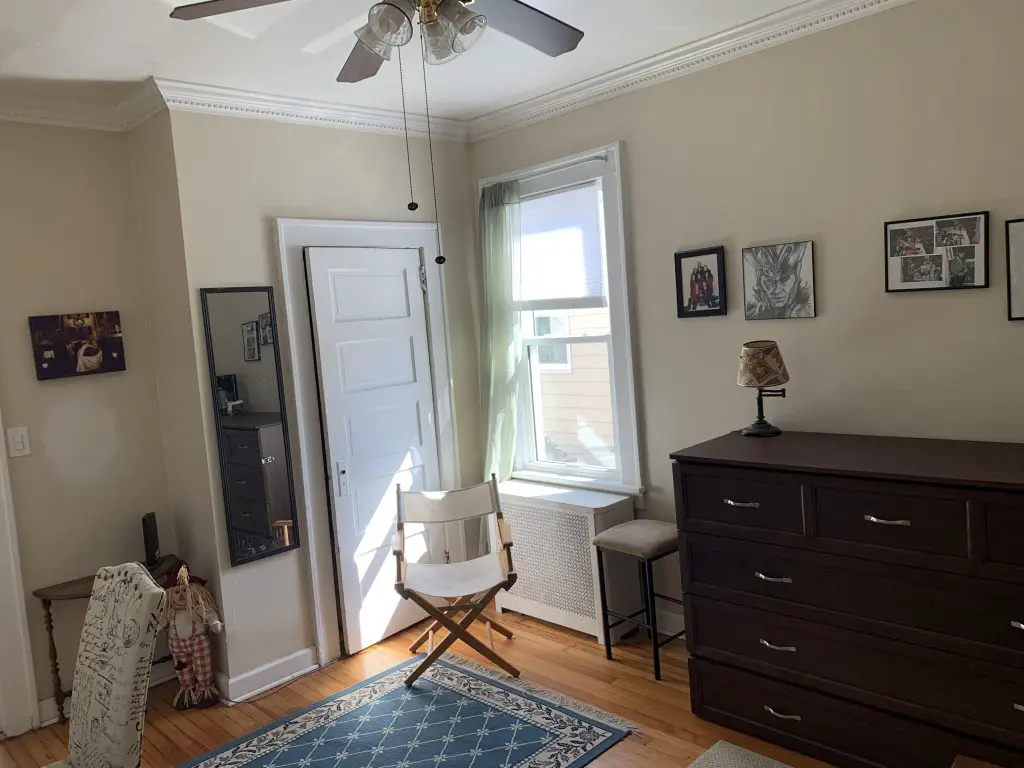
Problem #2: Light.
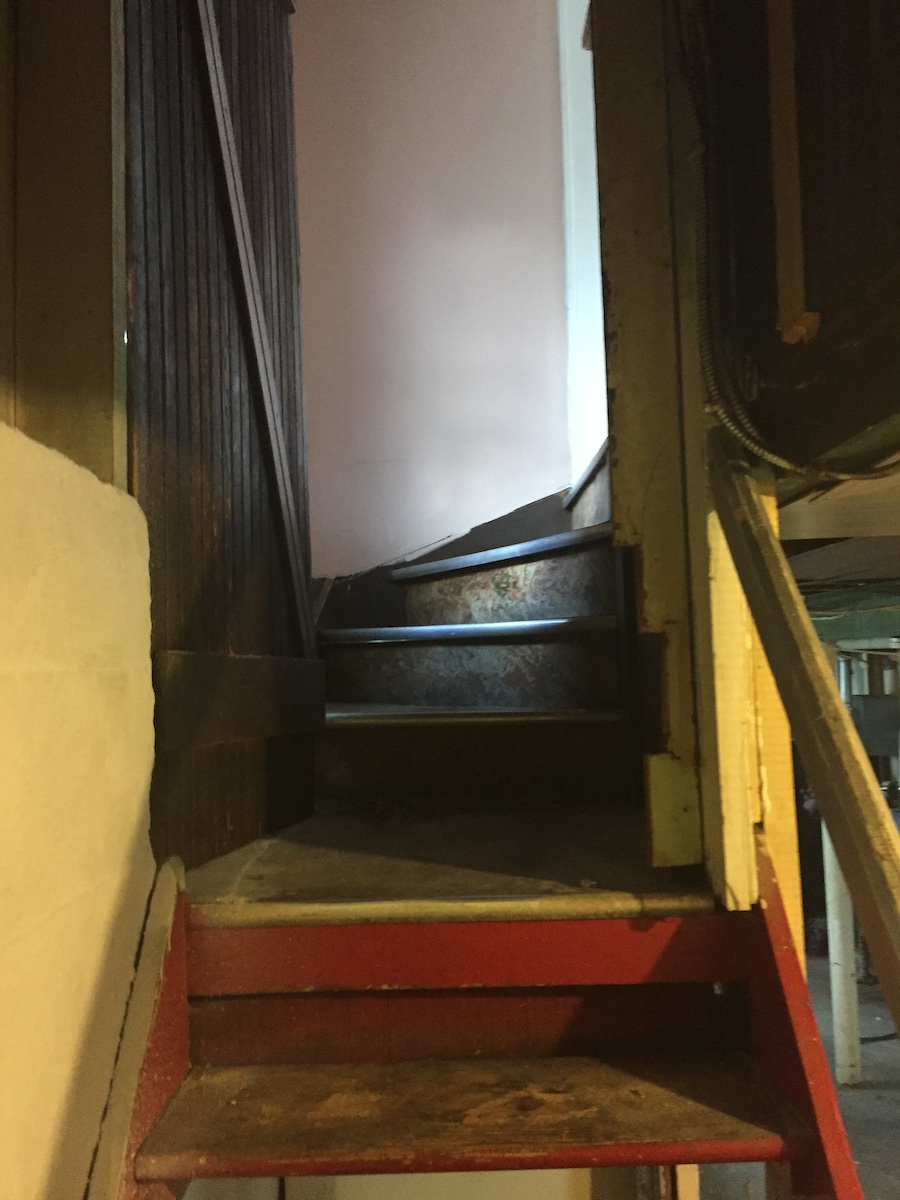
The most charming feature of this “before” picture is the old, ugly 32” door at the back of the room.
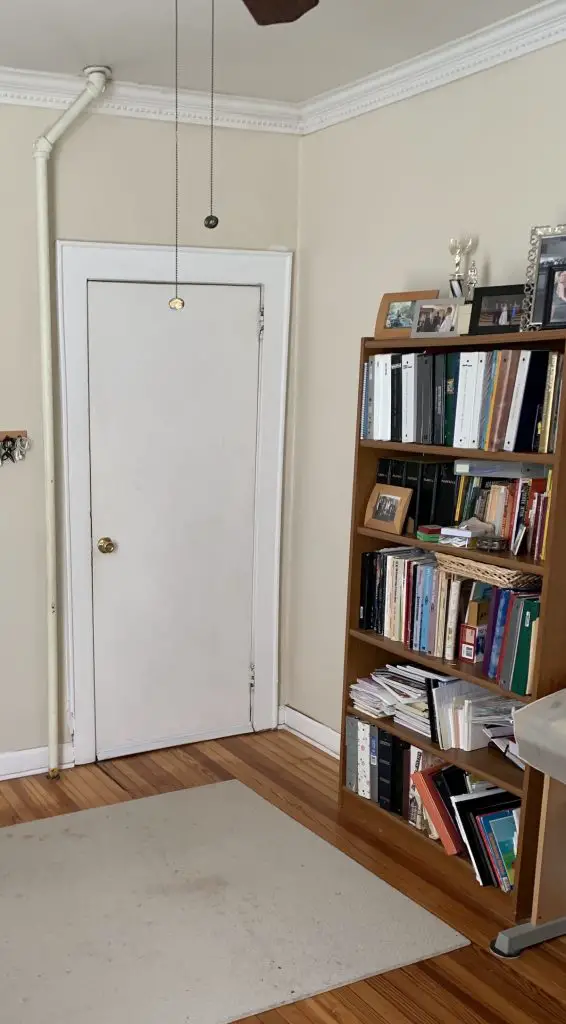
Yes, this room has two entrances – one from our kitchen and the other to our back porch stairwell, leading to our backyard.
Our back stairwell boasts the most glorious light during golden hour, 100% of which was blocked by this ugly old door.
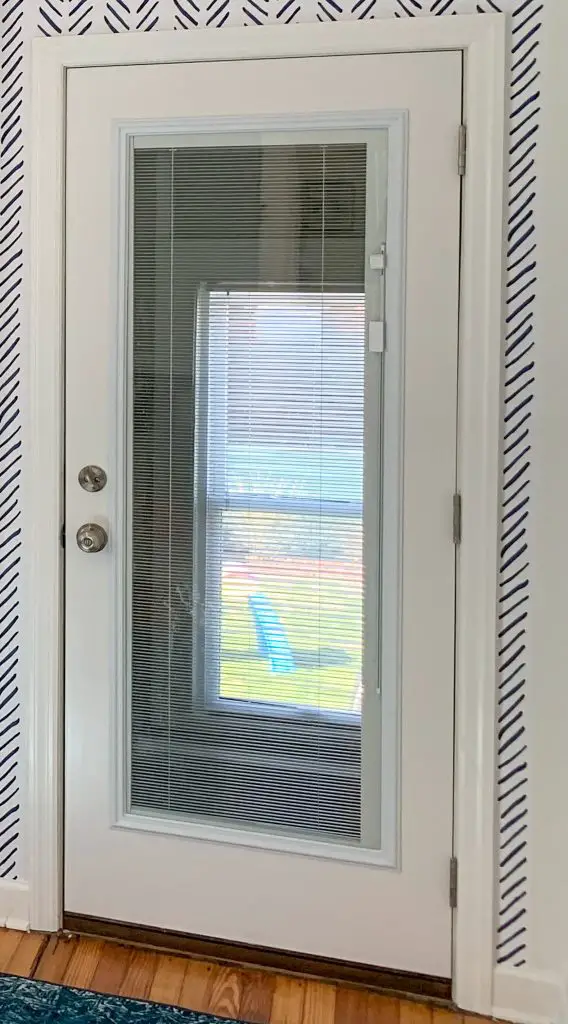
Our solution – instead of adding a window or messing with our home’s exterior – was to replace this back door.
We chose a full-window exterior door – the window to allow more light through our home, and the exterior grade to keep the room from becoming too hot or too cold.
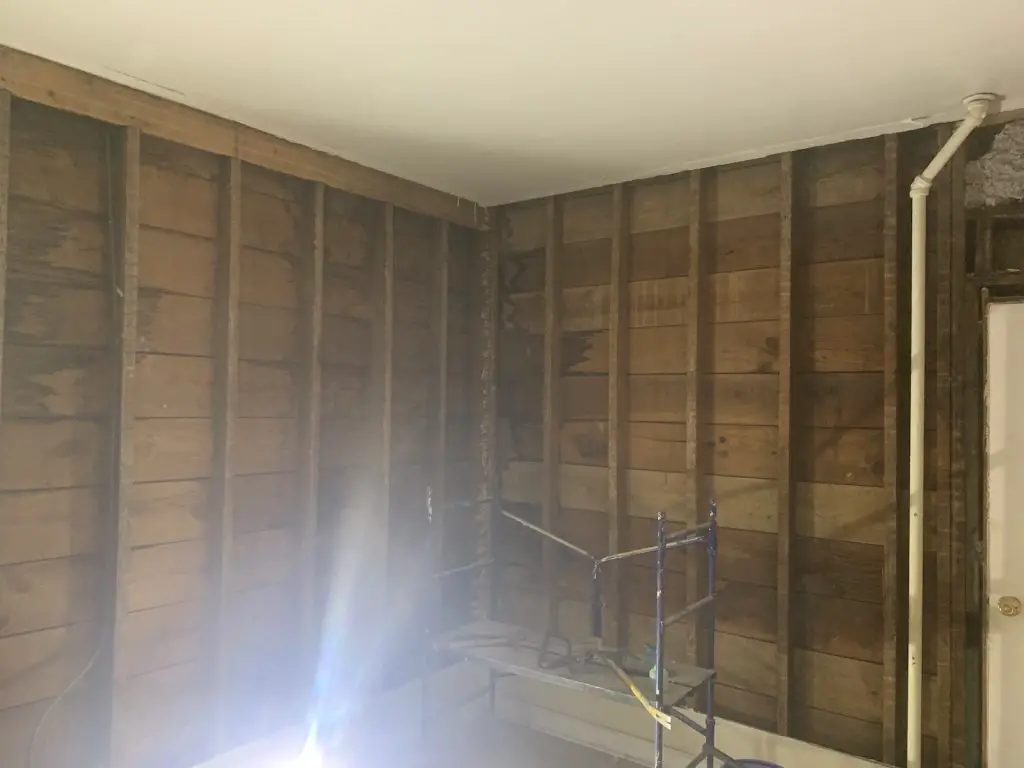
Problem #3: Insulation
As every other room in our home, there was no insulation in the walls. This room lies on the southwest corner of our house, facing the brunt of winter winds during our coldest months.
We took the time to check the temperature difference compared to the rest of the apartment, and it was a whopping 5 degrees colder!
If we had nothing else to do but insulate, perhaps we’d consider just blowing the insulation in. But with a closet to re-frame and a plaster mess already underway, we had another reason to gut it.
Problem #4: Cosmetics.
Just… who installed this ceiling fan?
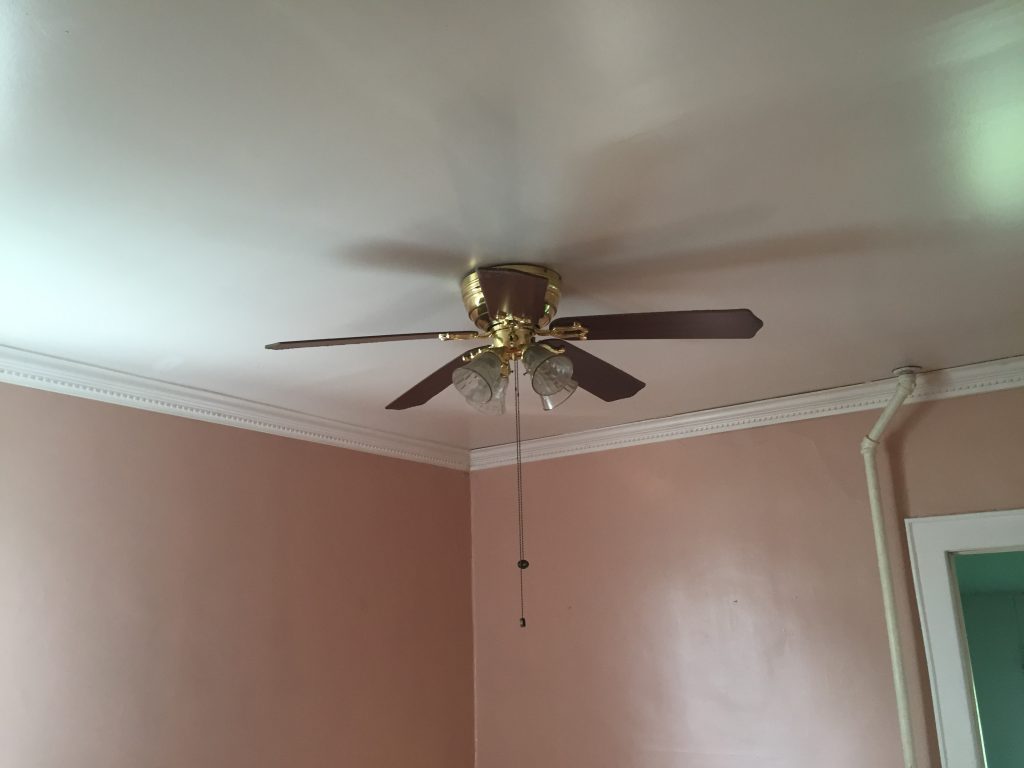
Was it the same person who did the crown moulding?
Or the same person who painted it pink before we bought the house?
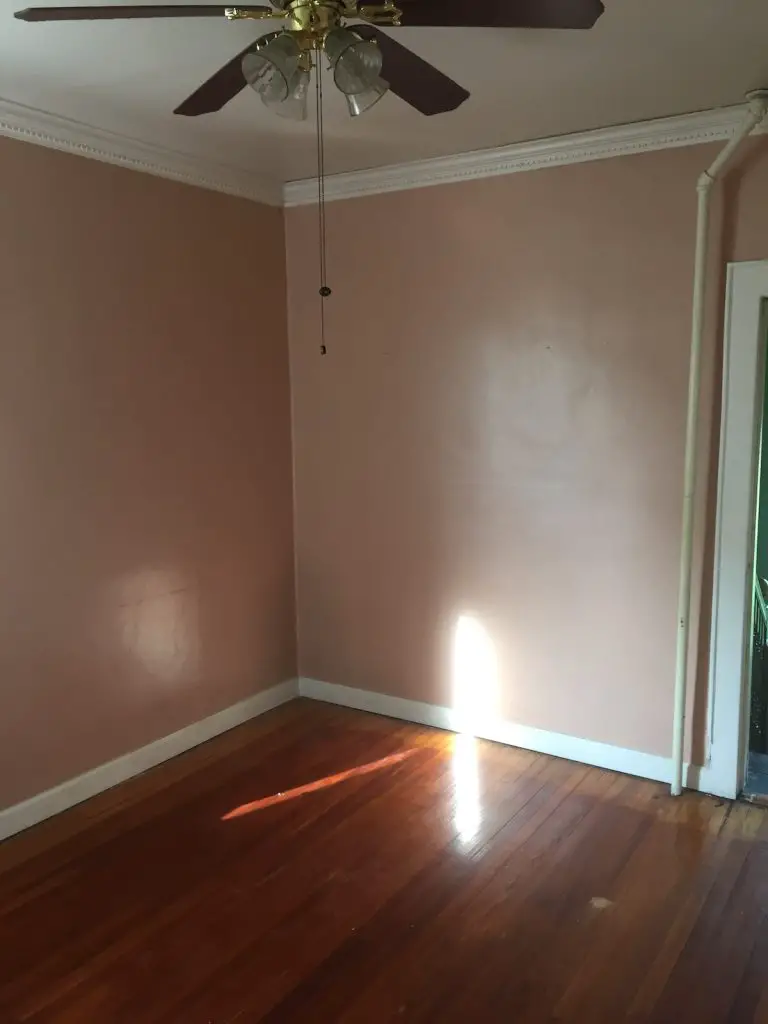
She needs a face lift.
Demo Day & Rough-in
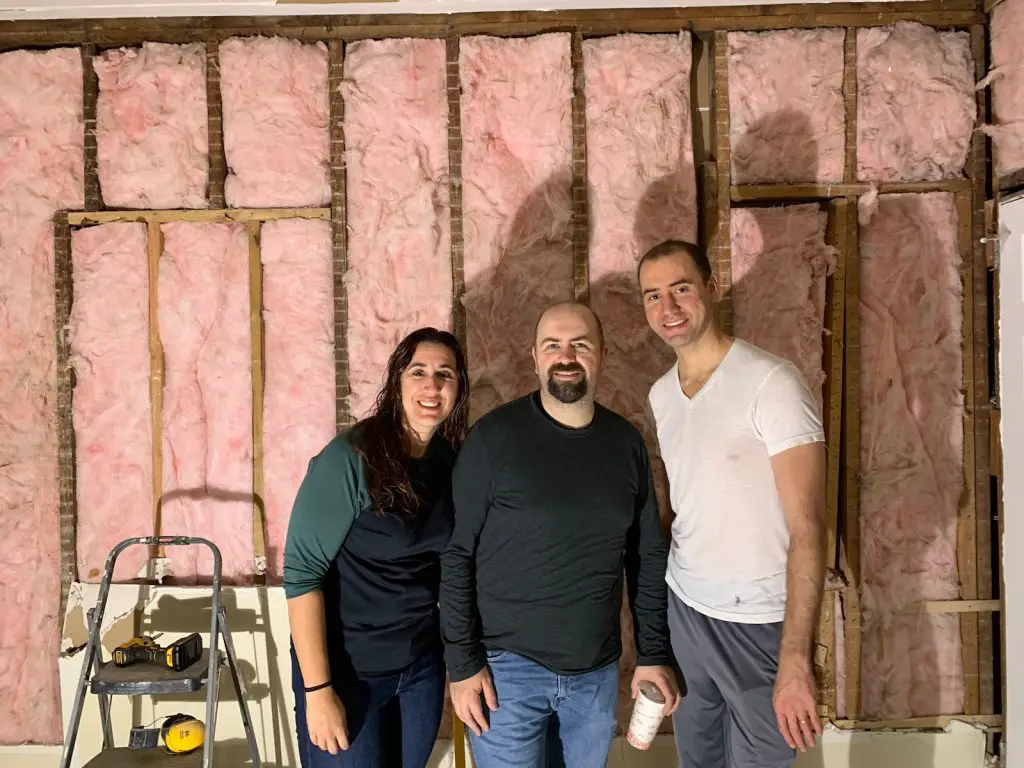
Our incredible family came to help us rock the demolition derby in this room! Out went the plaster and lathe, along with the wretched closet.
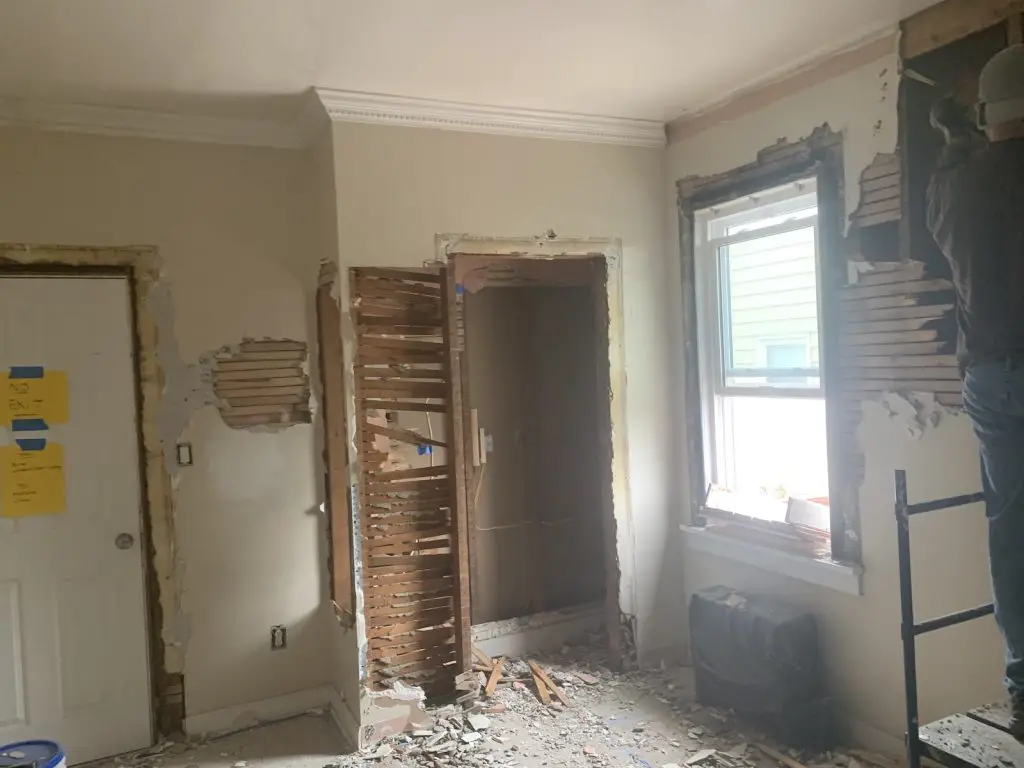
By the way, check out our best renovation demolition day advice.
With all the generous help we received, this room was down to the studs in 24 hours.
Unforeseen Challenges
Rotting Wood
Along the way, we discovered a rotting piece of shiplap in the corner of our home. Take a look at Derek’s quick replacement work.
He simply cut out the bad stuff…
…and replaced it with similarly-sized good wood from our scrap stash.
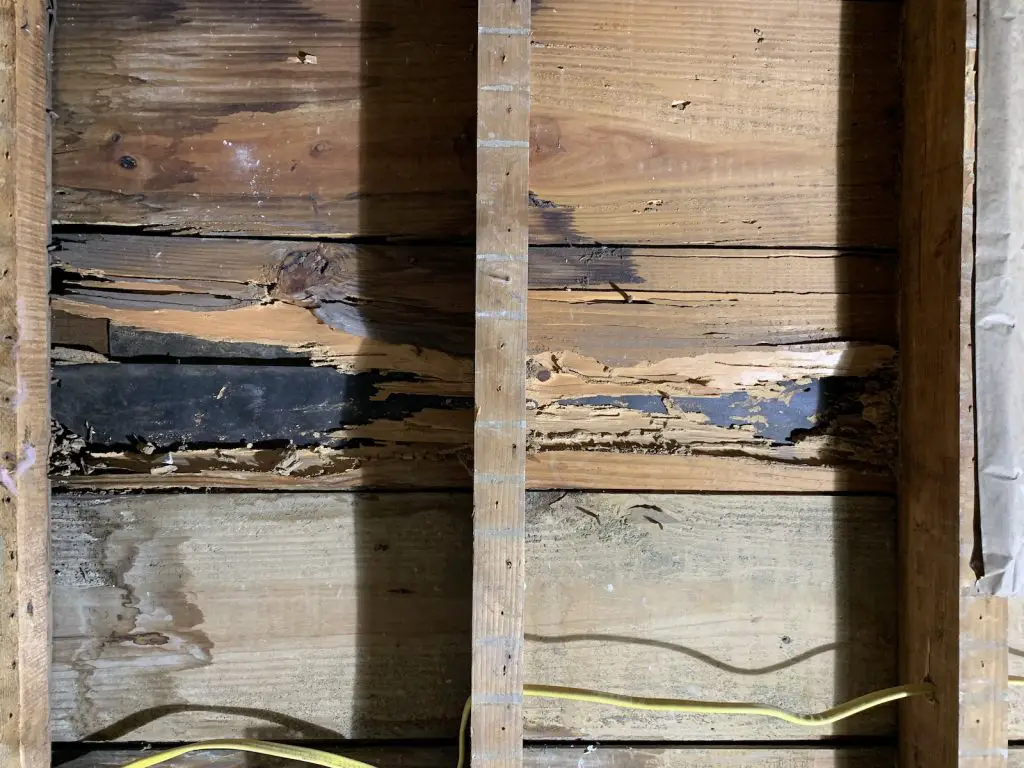
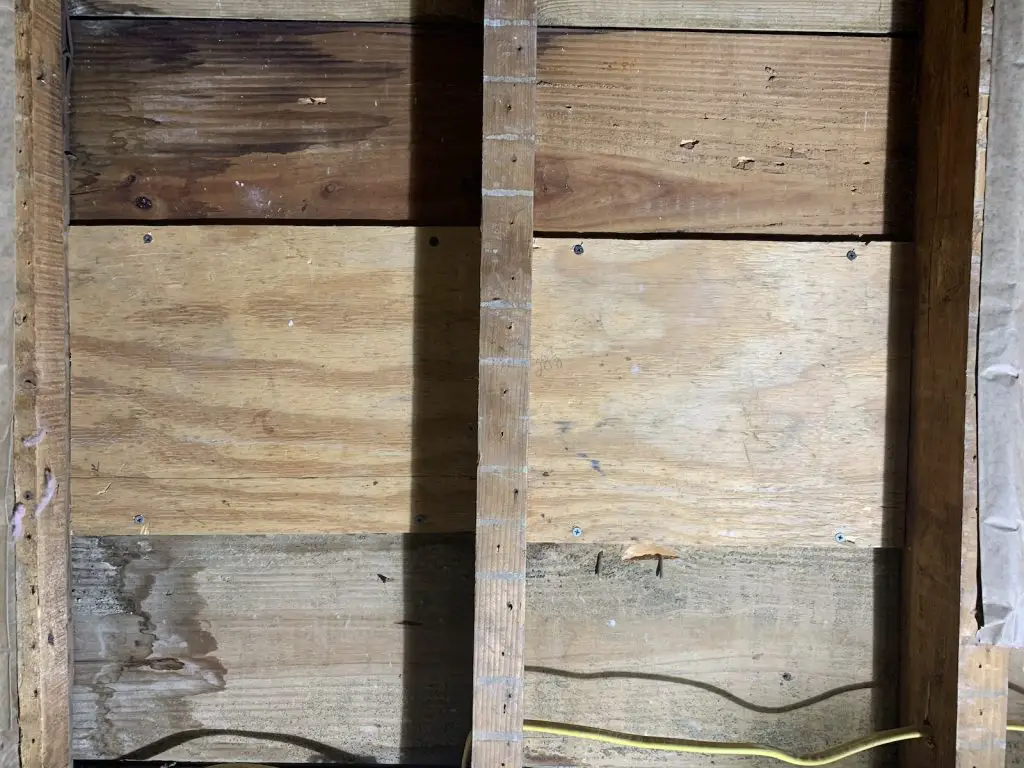
Right behind this wall is our back porch, not our home’s exterior. So we felt this fix was enough to call it good.
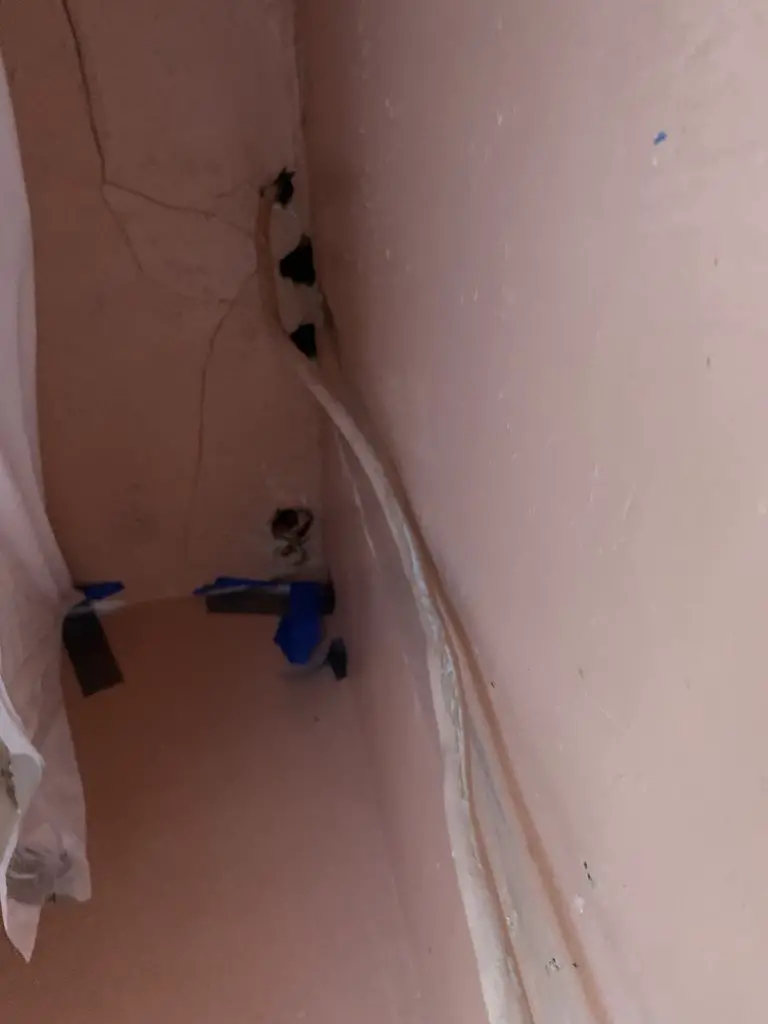
Electrical
One of our favorite things about buying a foreclosure home is the horrific work you can find on safety measures. Take this electrical wire running through the closet, for example.
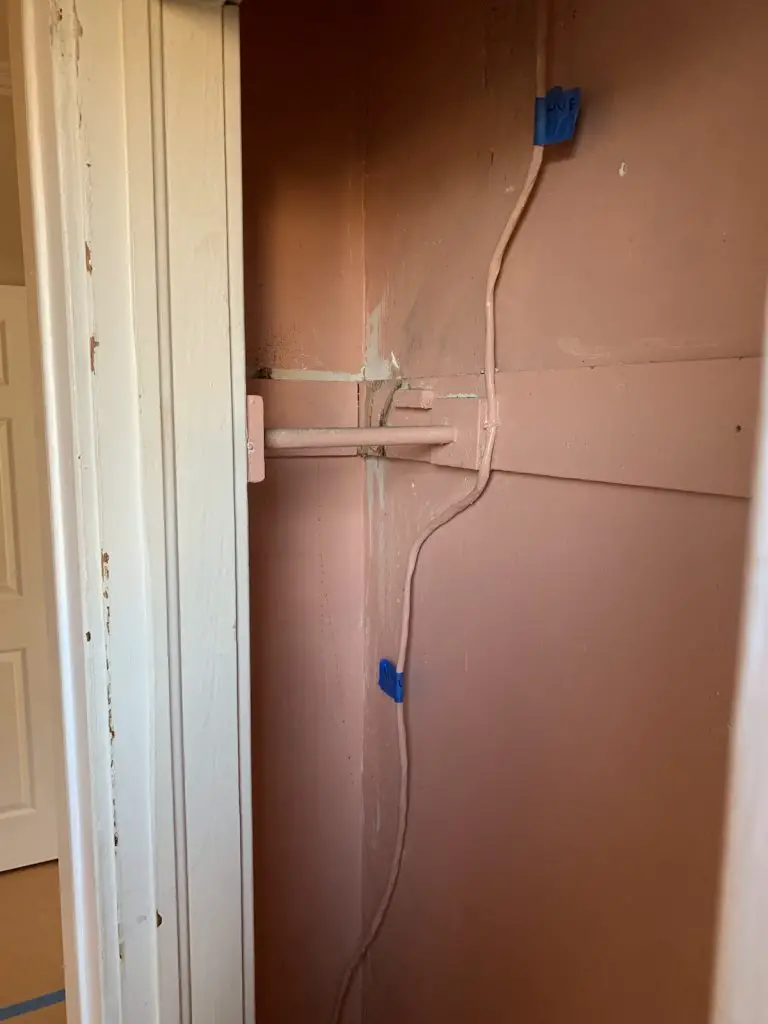
We had to be extra careful during demo day because this wire was still live! And, naturally, it belonged to our 2nd floor rental apartment’s refrigerator. No mercy, amiright?
(Side note: WHO PAINTED IT PINK!?!)
It took a couple hours, but we re-routed its journey into the wall (ahem, where it belongs) and brought this bad boy up to code.
With the walls wide open, we also took the chance to add as many outlets as possible.
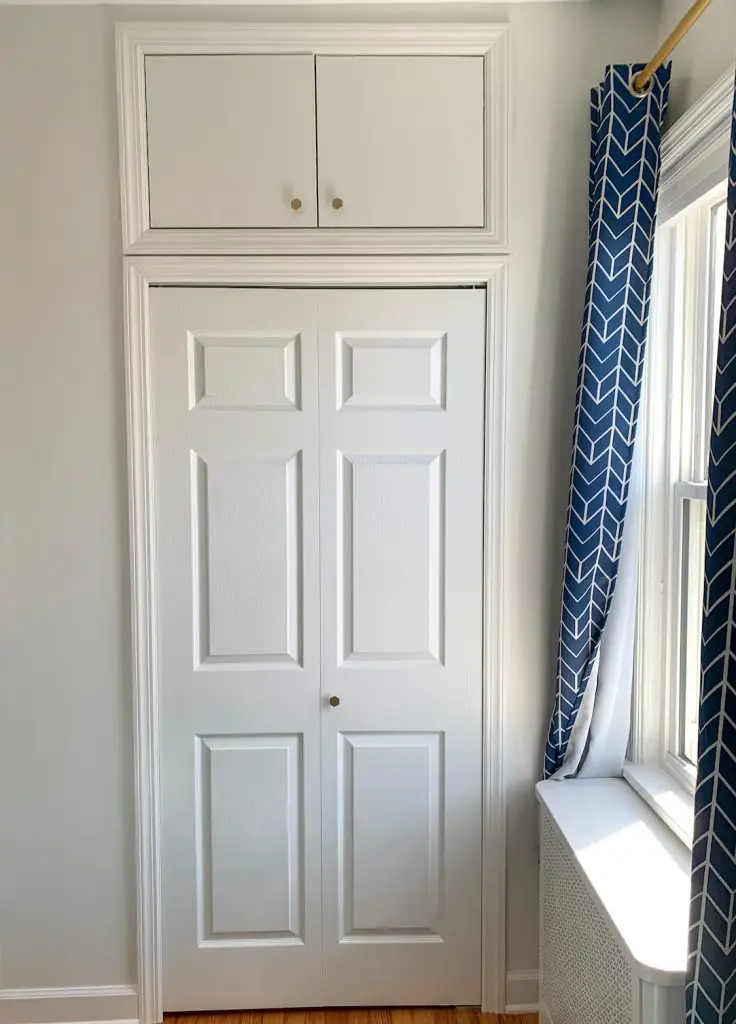
Framing & Doors
The bulk of the work in this kid’s bedroom makeover came with, as you guessed it – the closet and the exterior door.
My dad, being the genius master carpenter that he is, created an upper storage cabinet for us. With 9 foot ceilings (aren’t old houses awesome?!) we are so grateful to take advantage of the storage space.
And, with the closet butting right up to the window, we decided on a bifold closet door to keep things simple. This one is a basic 6-panel 36″ from our local big box.
We also are pleased as punch with the back door replacement – just look at the difference!
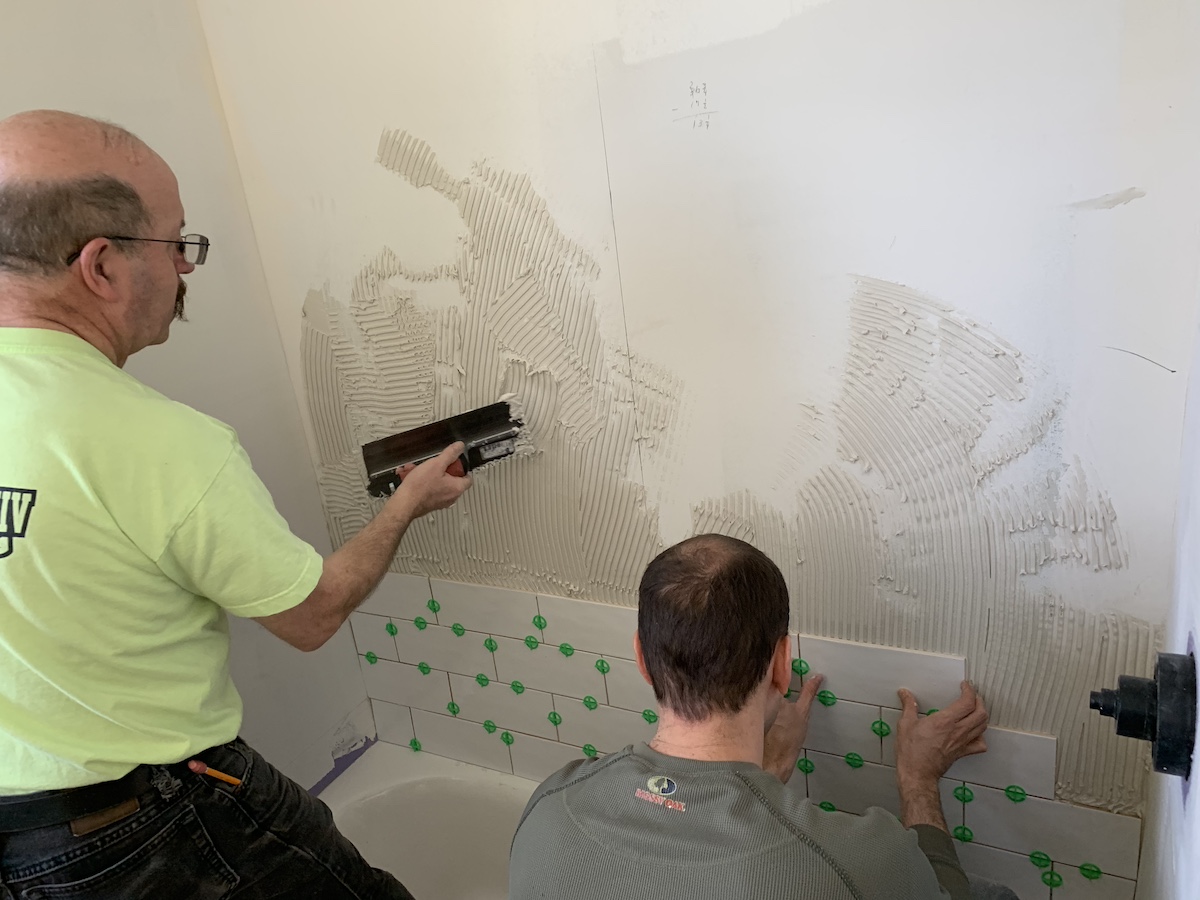
Walls & Paint
With the room getting brighter by the second, sheetrock flew up on the walls in a few days. Derek patiently took on the task of taping on nights and weekends after work.
I took the reins on most of the painting – white, of course, with visions of an accent wall.
My theory with choosing white paint is that the room is finished for now, and if we want to repaint down the road, we can do so easily.
Thankfully this room did not require a new ceiling, so we just repainted that, too, and of course replaced the lighting fixture.

Kid’s Bedroom Makeover Cost
All total, this room cost about $3k to gut and makeover.
If you’re curious about the minutia of this renovation budget, here are a couple of points to note.
One third of the total budget was our beautiful exterior door. We splurged on the built-in blinds in the door window since regular blinds stand no chance of survival in a kid’s bedroom!
Had we gone with a basic window in the door and stuck a curtain on it, it would have saved us $400 or so.
Two other huge chunks of this room’s budget were the rug ($500ish from Ruggable… TBD if it was worth it or not) and the dumpster ($500 all-in, which is as affordable as it gets in our area).
The remaining $1k included all supplies like sheetrock, 2x4s, paint, and hardware.
This was our first big project since finishing our first floor kitchen, bathroom, and primary bedroom in 2020, and I will be honest – we had some sticker shock!!
To anyone renovating these days, we feel your pain, and will be taking our own advice on how to save money on home renovations!
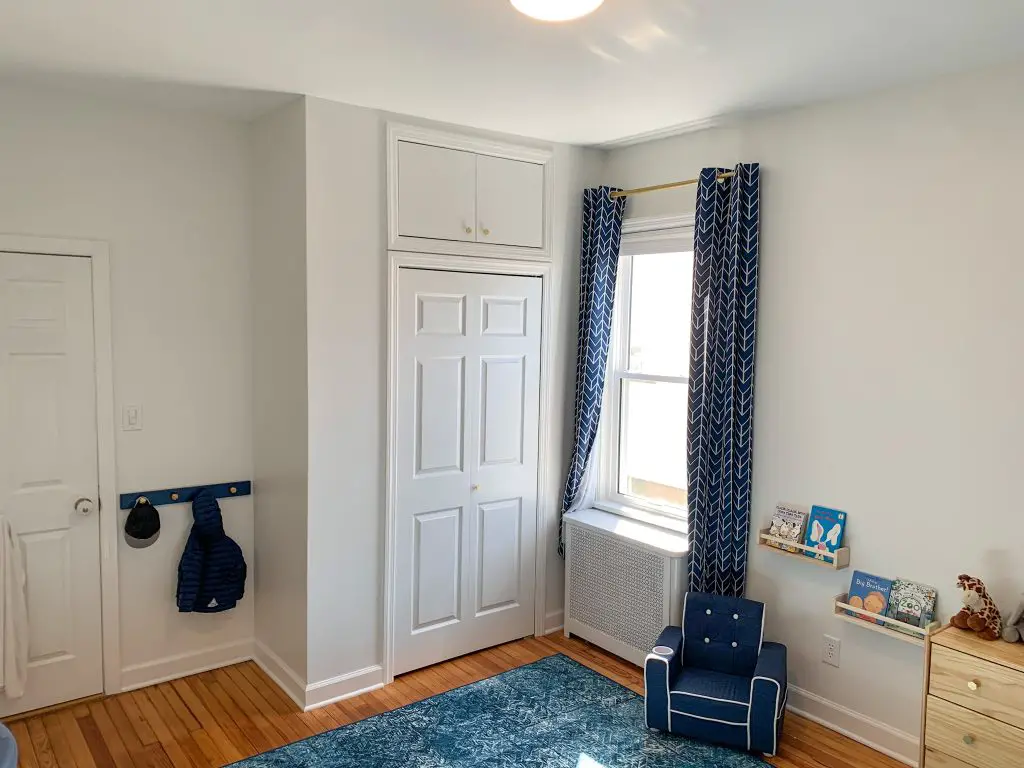
Kid’s Bedroom Makeover Before & After
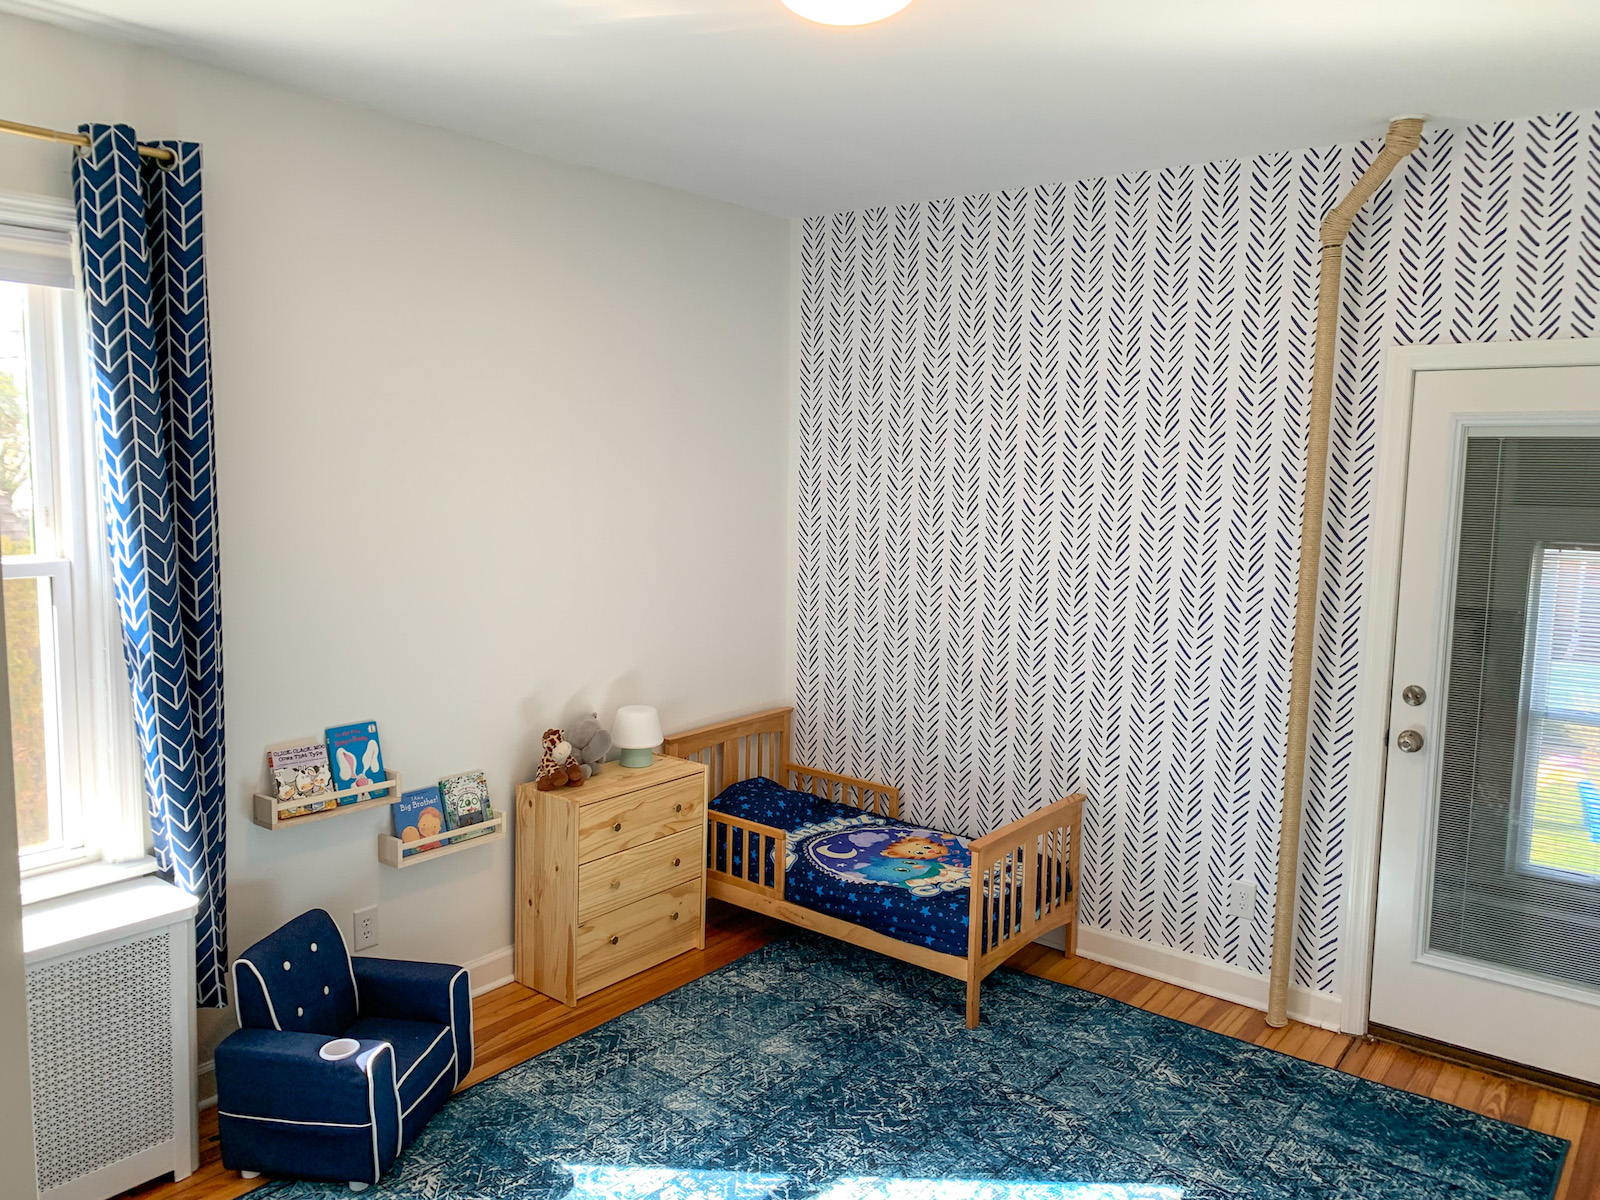
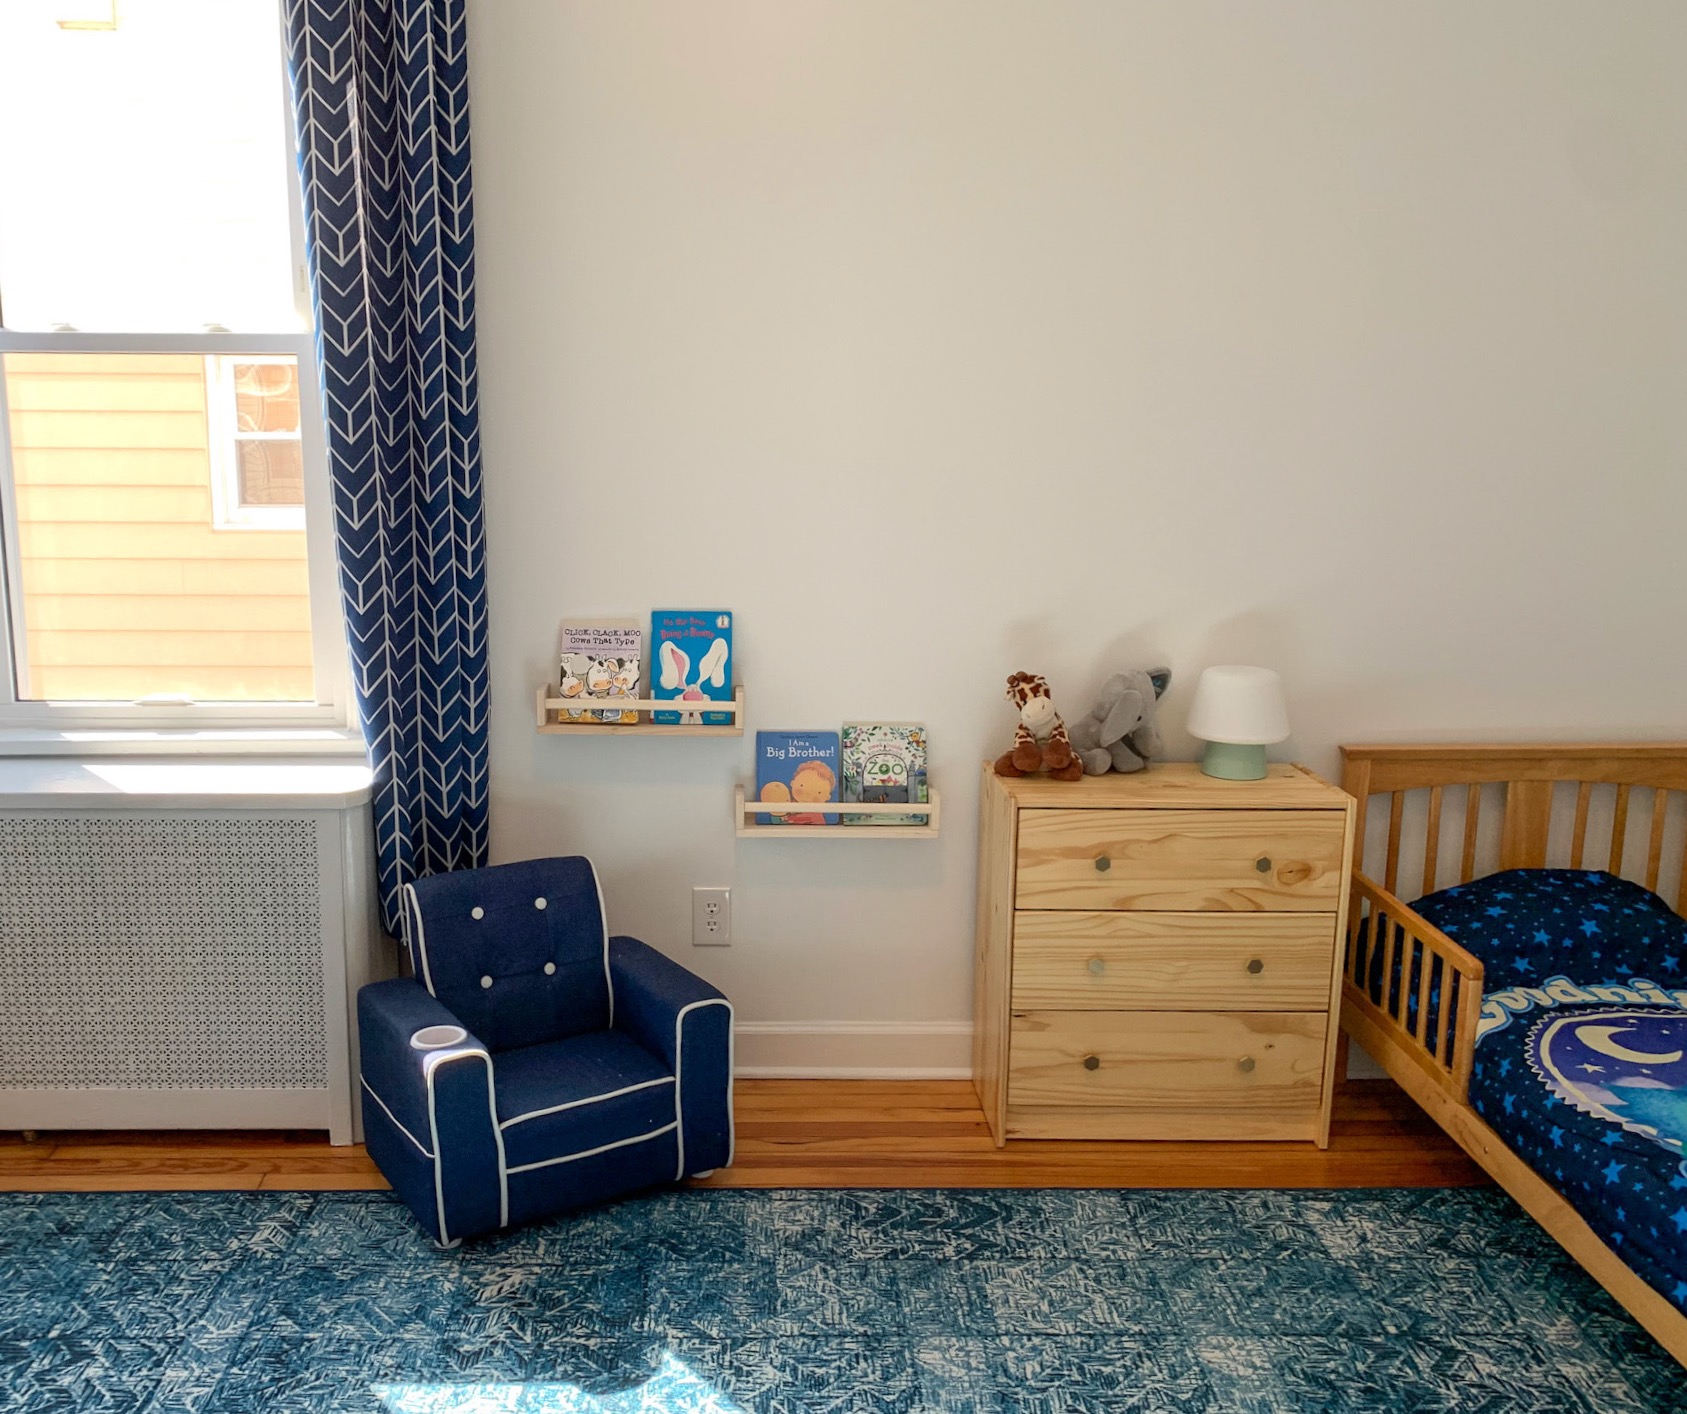
Well here they are! Check out the final photos for our kid’s bedroom makeover.
You’ll notice a steam pipe cover, wallpaper, reading nook, and DIY coat rack – we will detail all these decor choices in our next post.
We also try to live a pretty minimalist lifestyle, so if it looks bare – that’s on purpose! Not to mention – we’ve kept things simple because keeping our young toddler in his bed is a huge challenge, especially if there are distractions (aka anything not attached to a wall) in the room.

Shop this room: wallpaper | sisal rope | bedding | curtains | curtain rod | dresser | drawer pulls | bookshelves | chair
Shop this room: curtains | curtain rod | drawer pulls | bookshelves | chair
Final Thoughts on Kid’s Bedroom Makeover
We hope you’ve enjoyed this spin around our kid’s bedroom makeover!
We have come a long way from ripping out the plaster walls, reframing the closet, installing a new door, sheetrock, taping, painting, and finally, putting on the finishing touches.
Hopefully it will inspire you, too, to create a fun new space for your child to grow!
You may also like:
Nursery Makeover – How We “Made Do” without “Brand New”
Easy Home Improvement Projects you can do THIS WEEKEND!