Simple Small Master Bedroom Remodel – First Floor, Part 4
This post may contain affiliate links. If you purchase a product through one of them, we will receive a commission at no additional cost to you. As Amazon Associates, we earn from qualifying purchases.
Welcome back! Today we present the final installment of our first floor renovation: our simple, small master bedroom remodel
If you are just catching up, I invite you to check out the first three parts of our first floor renovation:
- Part 1: five problems and their solutions for a better home layout
- Part 2: demolishing the old, beautifying the new
- Part 3: how to transform the bathroom
We left off last week with a beautiful new bathroom, which backs up to the master bedroom closet. Let’s have a look at how the reframed wall affects the master bedroom and closet.
Closet Door + Hallway
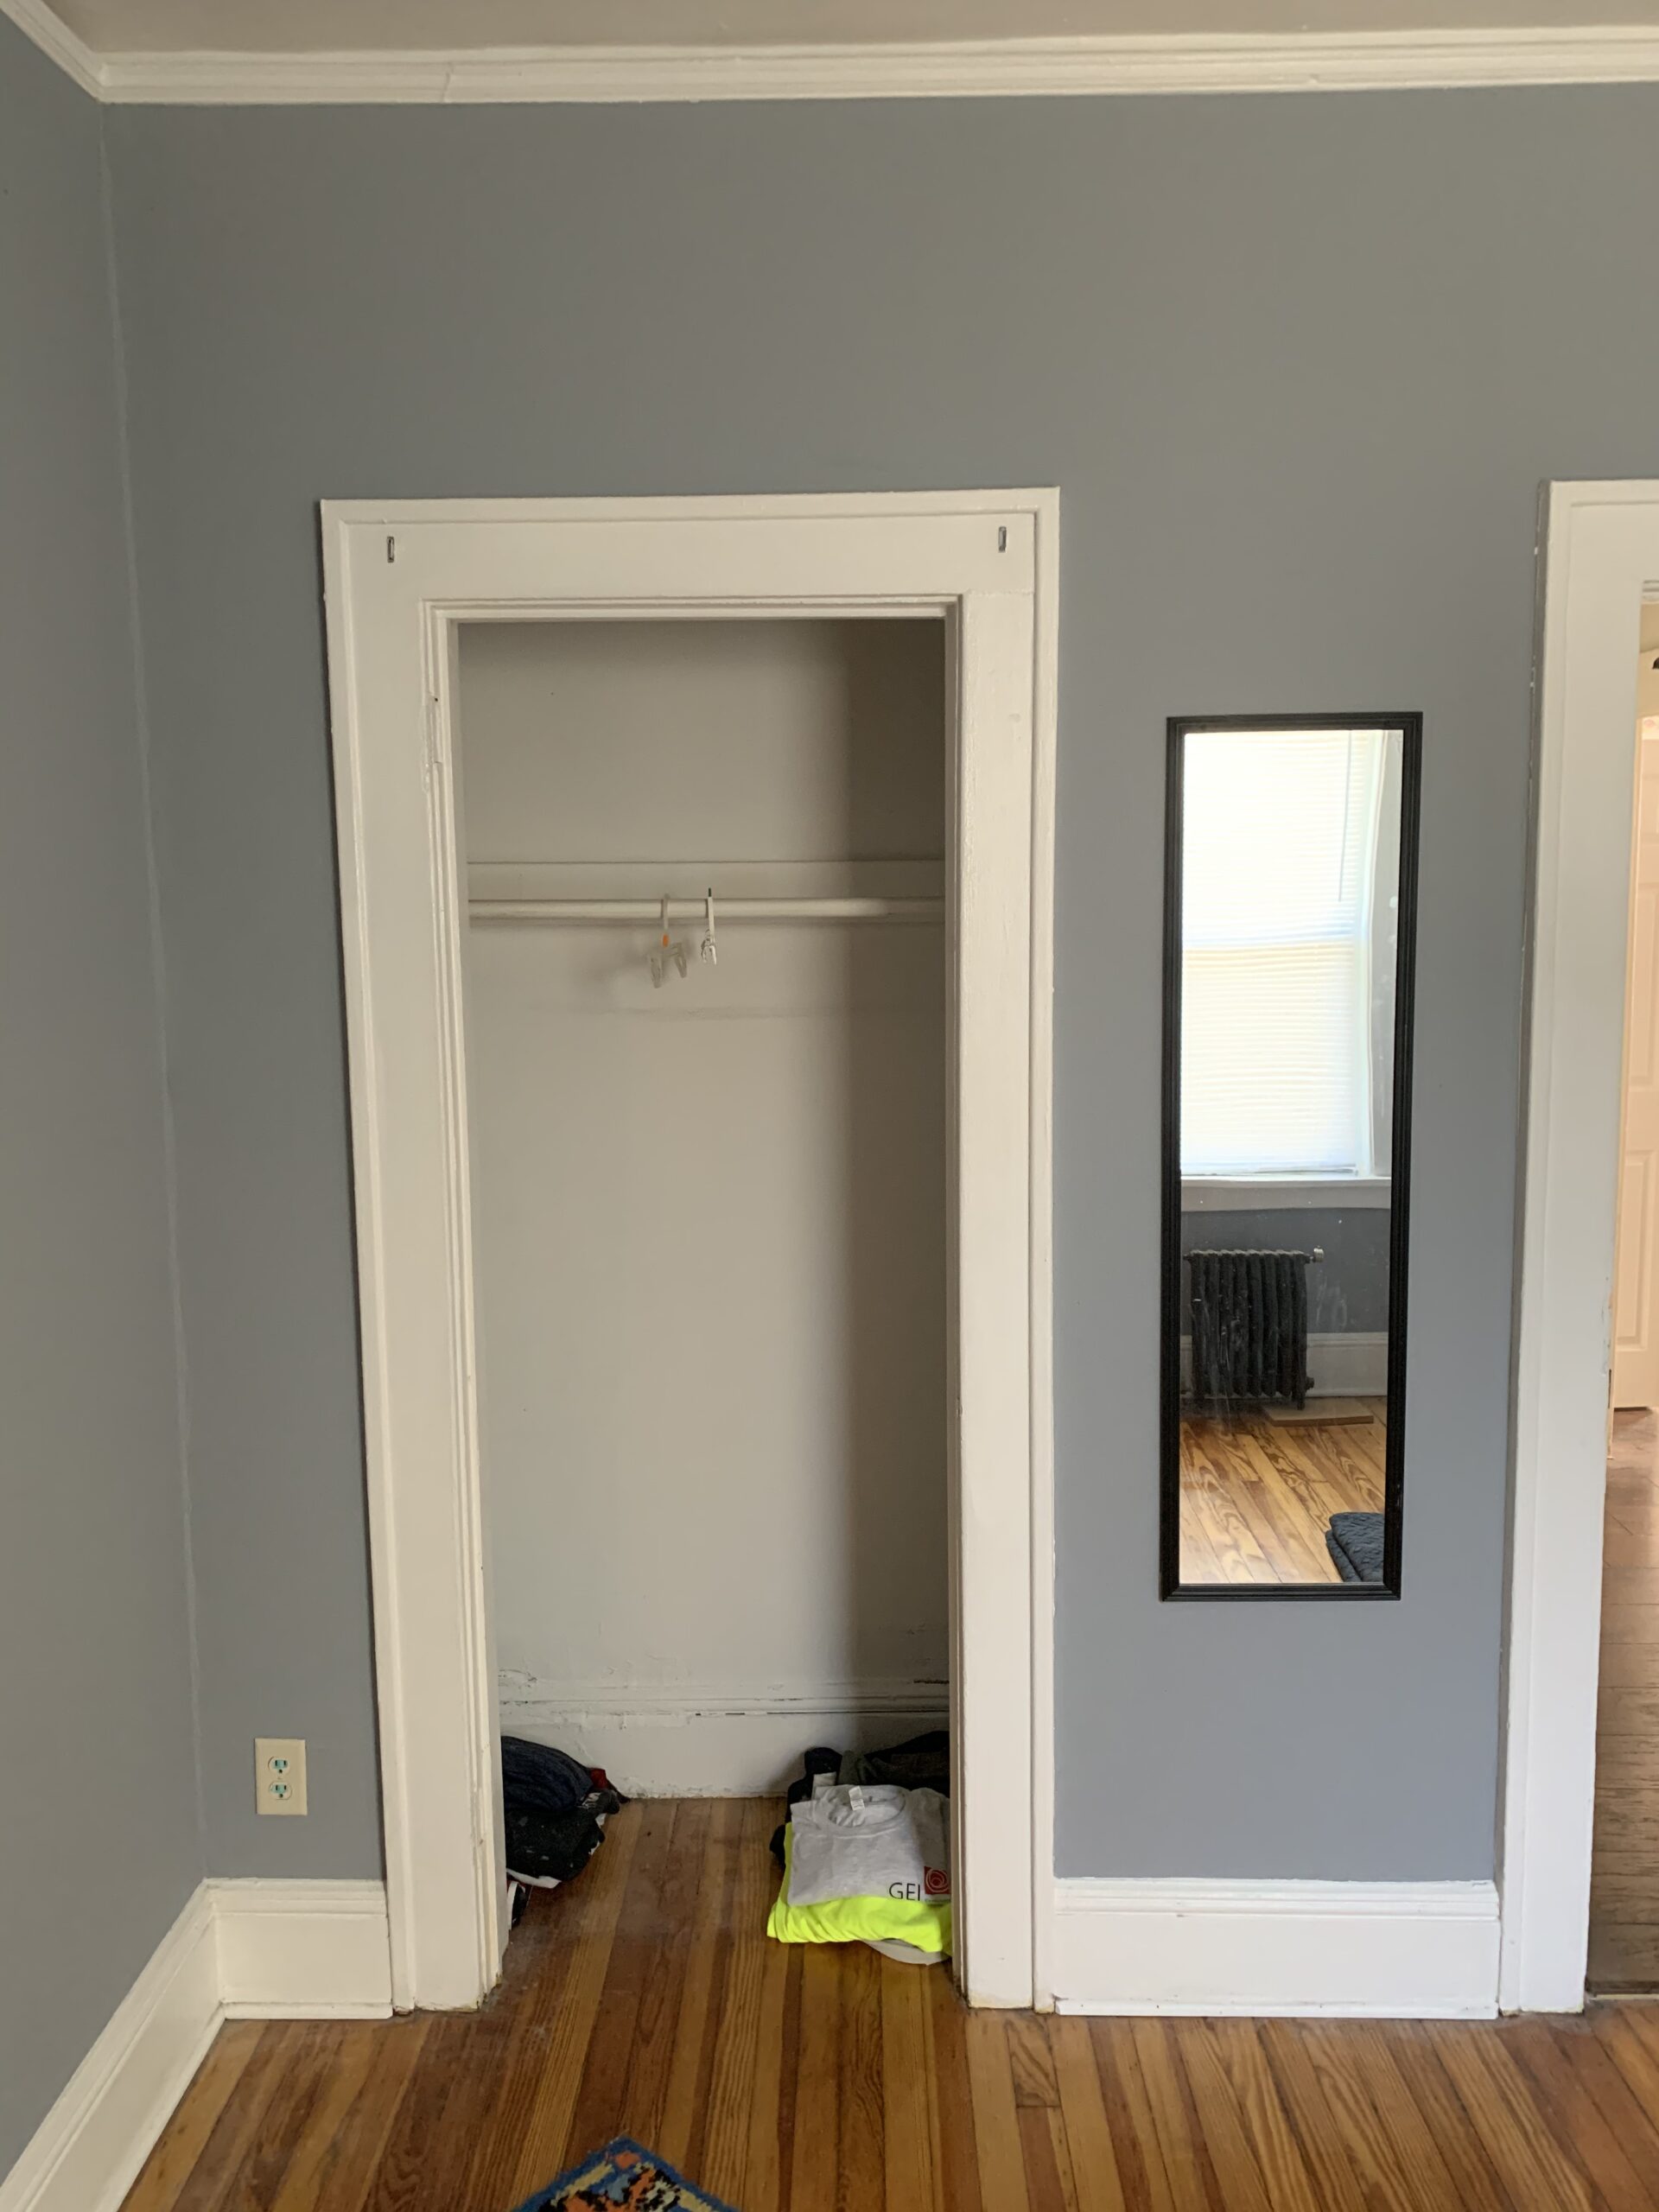
Our problems to solve during the master bedroom remodel included:
- The closet was not deep enough for a modern-day hanger – this issue was solved when we reframed the bathroom wall.
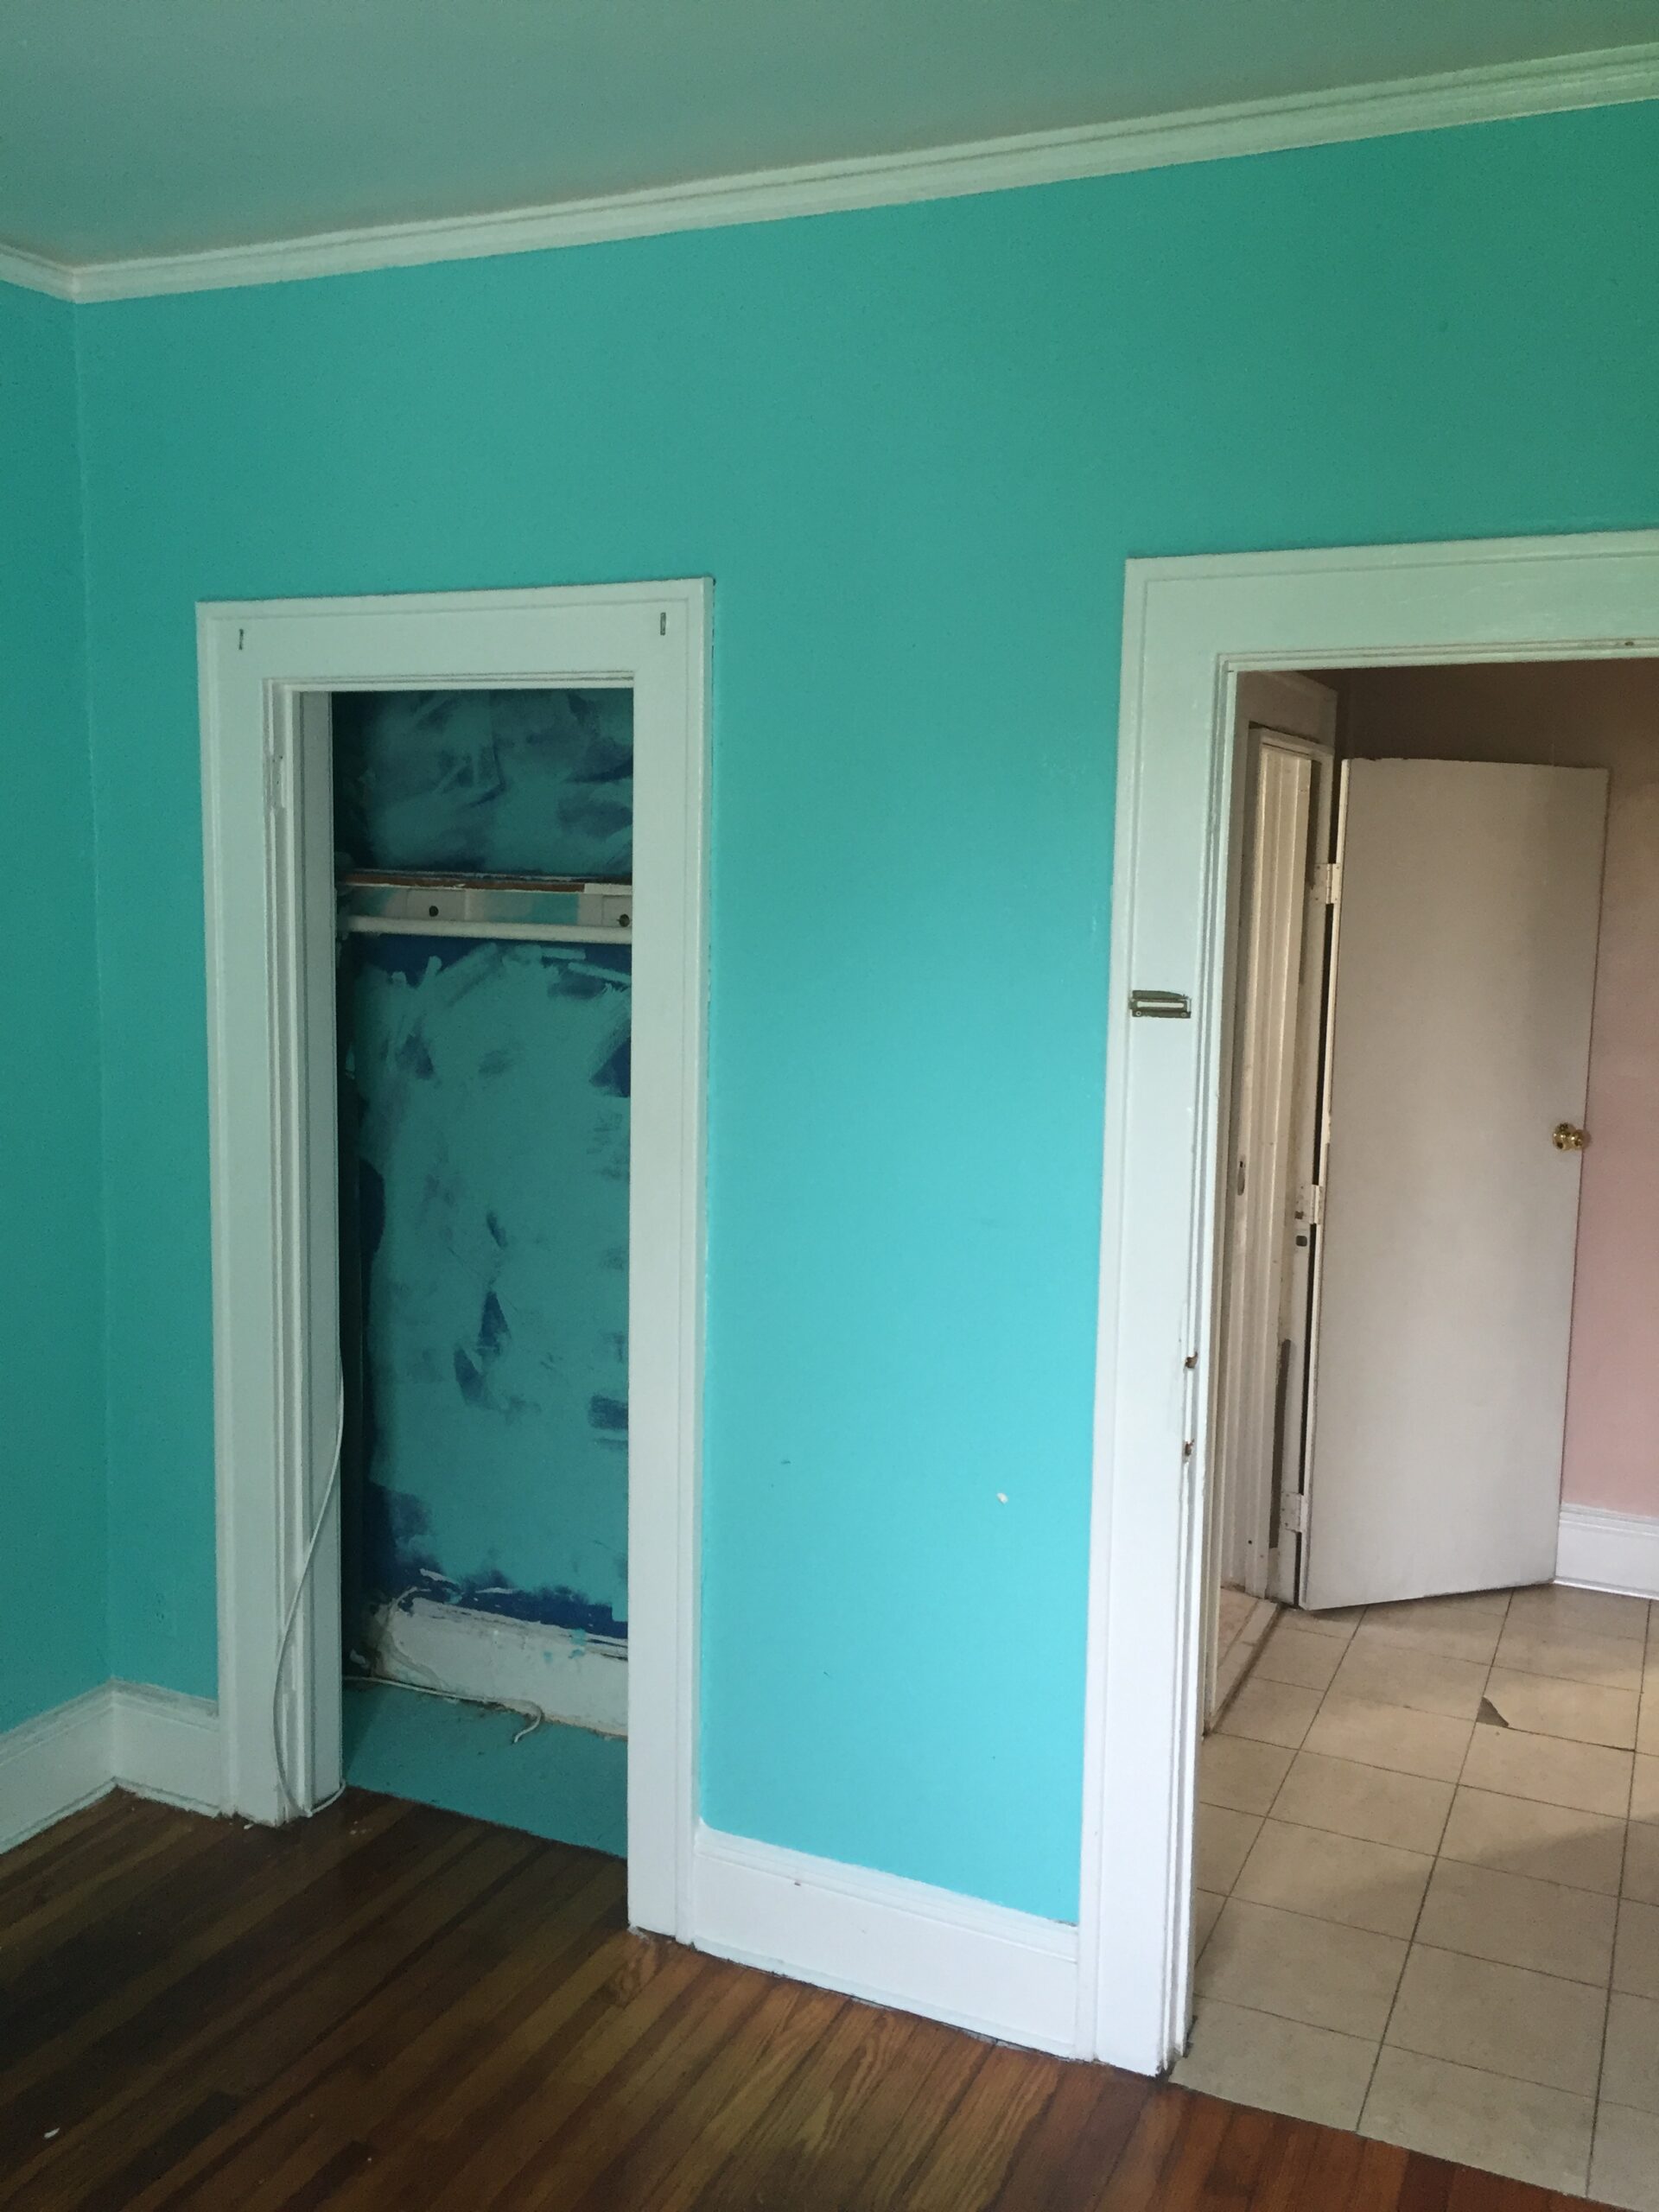
- The closet door was too narrow for comfort, so we chose to widen it. Meanwhile, since we were already reframing in that corner, we encompassed the good-for-nothing hallway into the bedroom, allowing for a more comfortable door swing.
By now I’m sure I sound like a broken record… we re-framed the inside of the master closet, re-framed the hallway and bedroom door…
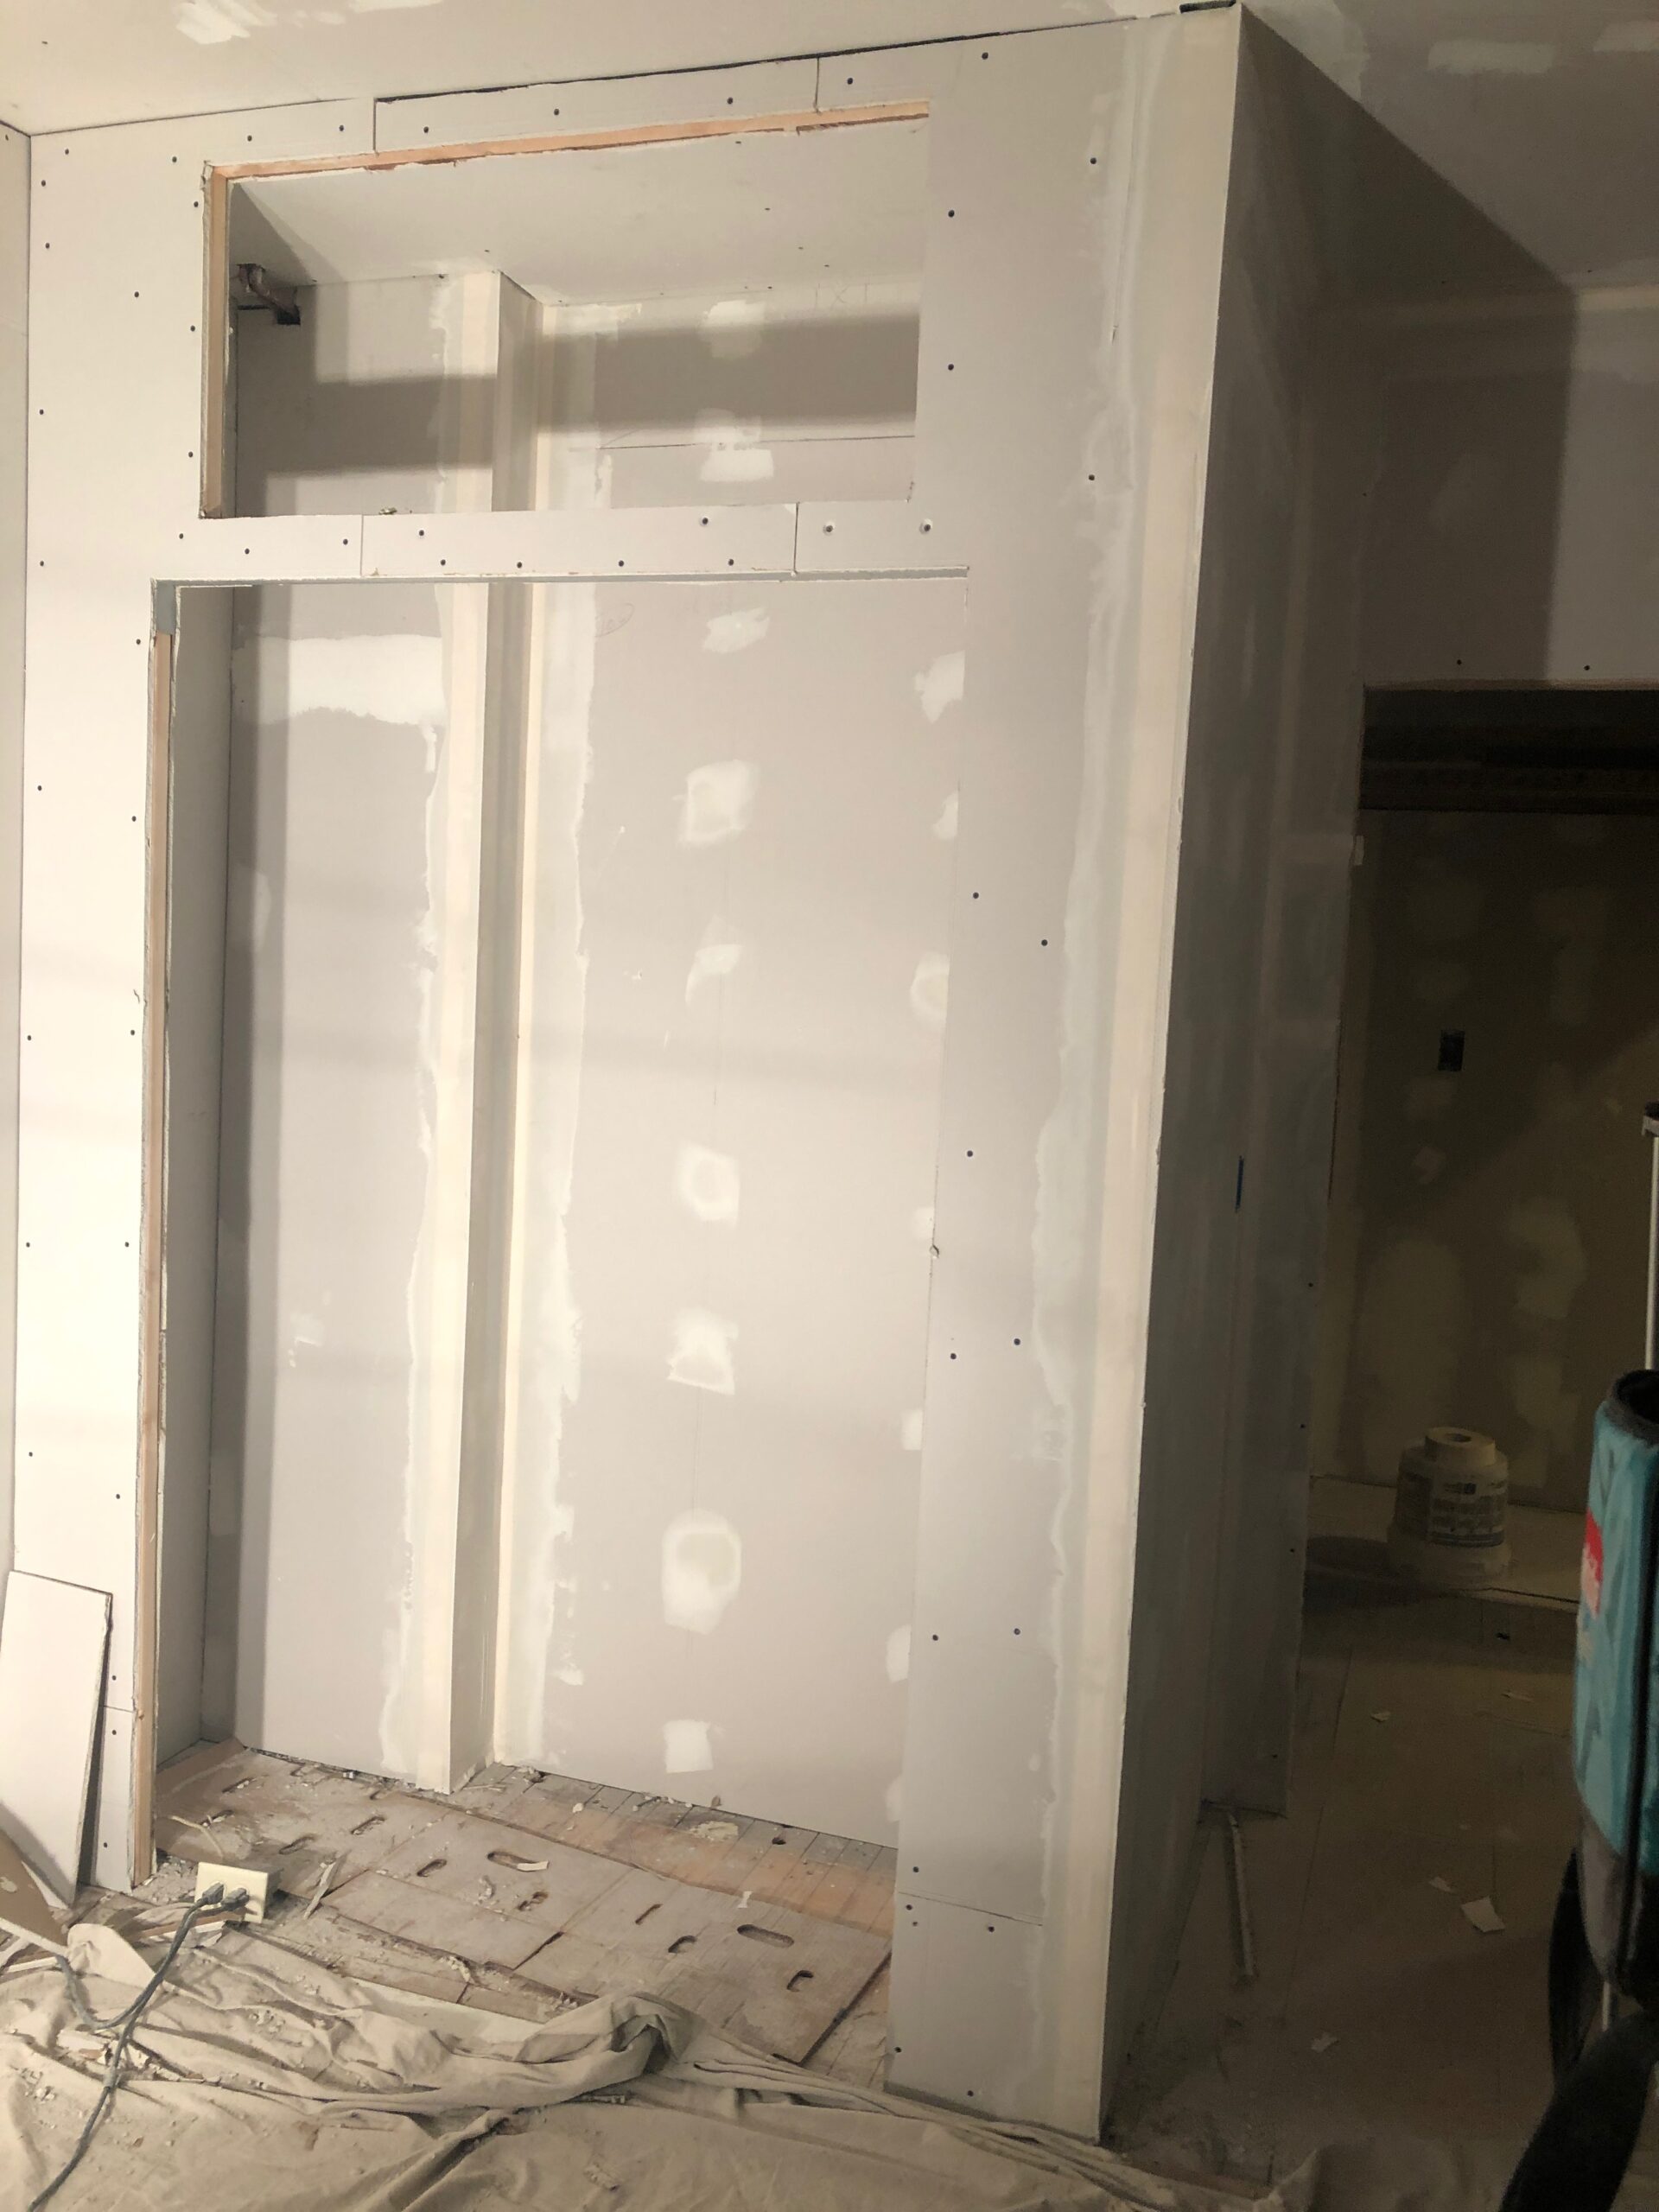
We got the closet sorted out – complete with another clever high-ceiling storage, thanks to my dad, who once again proved he’s a house genius. (See that big hole we framed on the top? That’s where we’ll put the doors.).
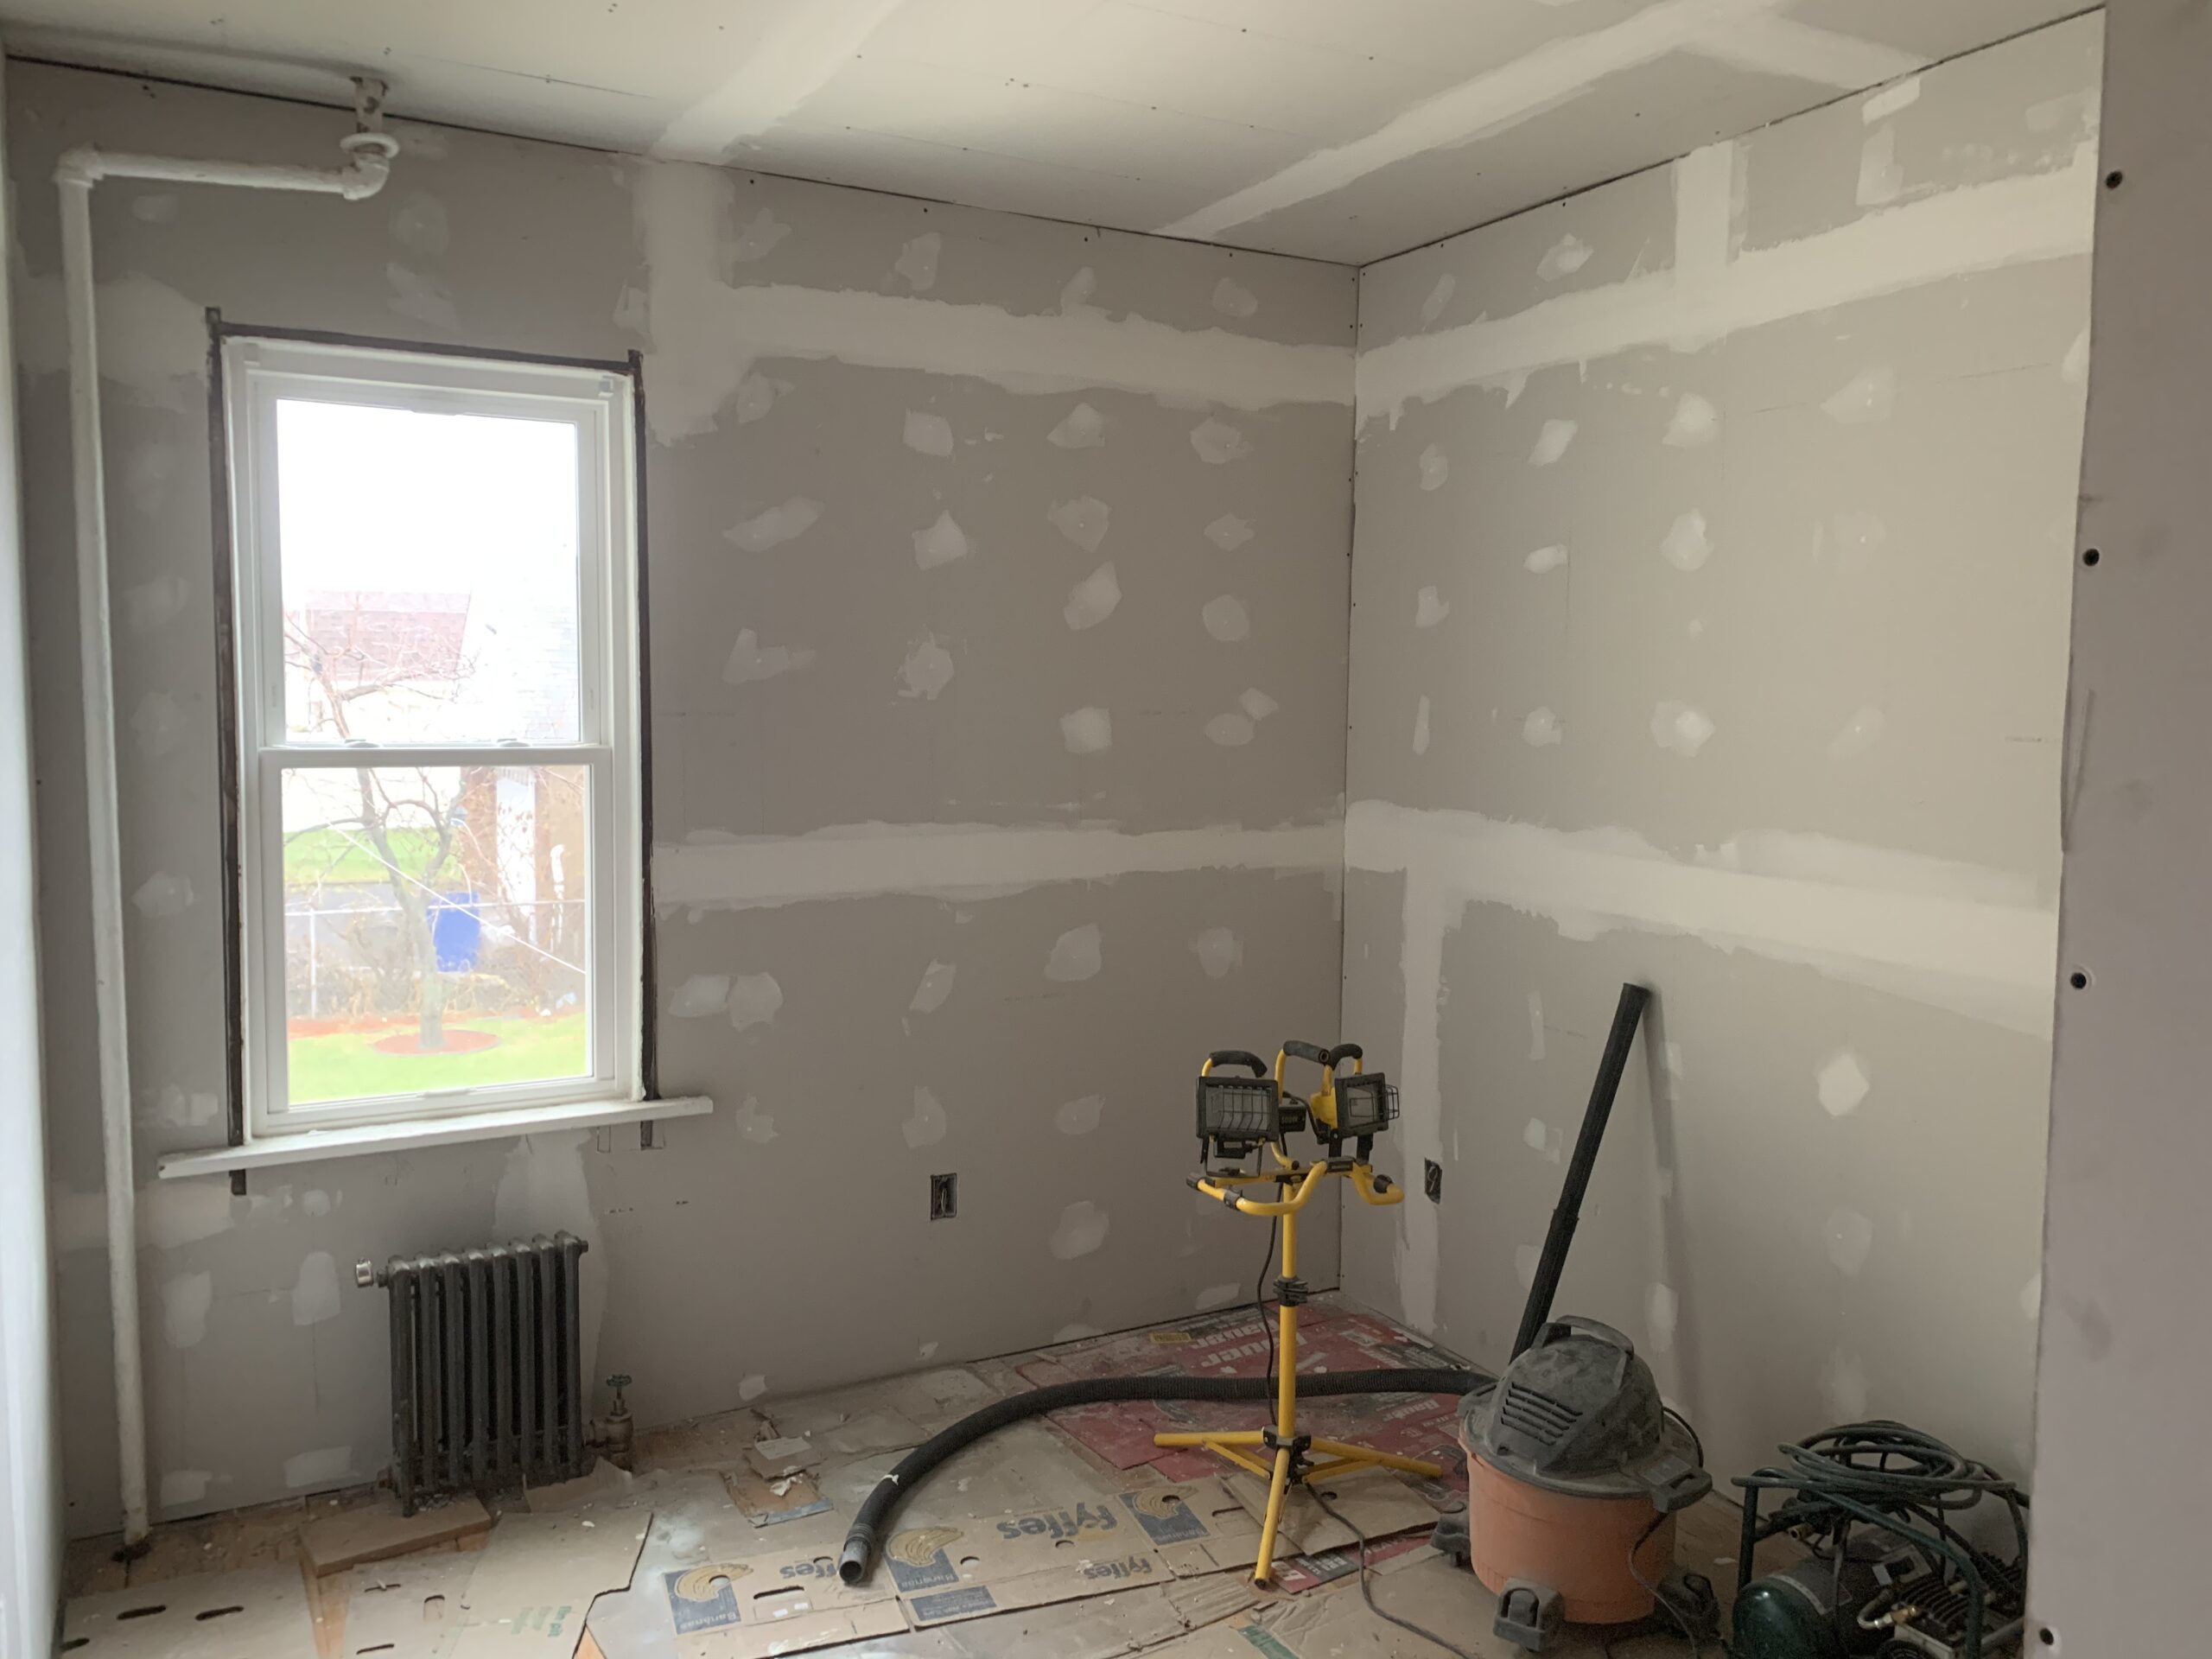
We also had gutted the entire bedroom, both to address some serious electrical issues as well as throw some insulation between the studs. Since our house was built in 1912 (woohoo, party like the Titanic hasn’t sunk yet!), it was not insulated. Anywhere.
Fellow new homeowners! If I may: don’t be afraid of sheetrock.
Derek and I did this entire room together, by ourselves. No, it wasn’t pretty, but by golly, this 5’10” buck thirty rolled up her sleeves and helped get that ish done (even the ceiling!). Turns out I’m pretty accurate with a sheetrock knife.
Once you know the ropes, it’s not too hard. I encourage you to give it a whirl!

A Hallway Hiccup
Oh… and the hallway.
There was one little hiccup with the reframed hallway.
The floor.
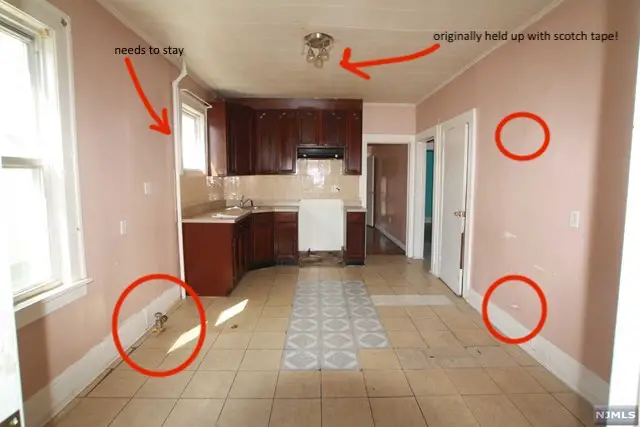
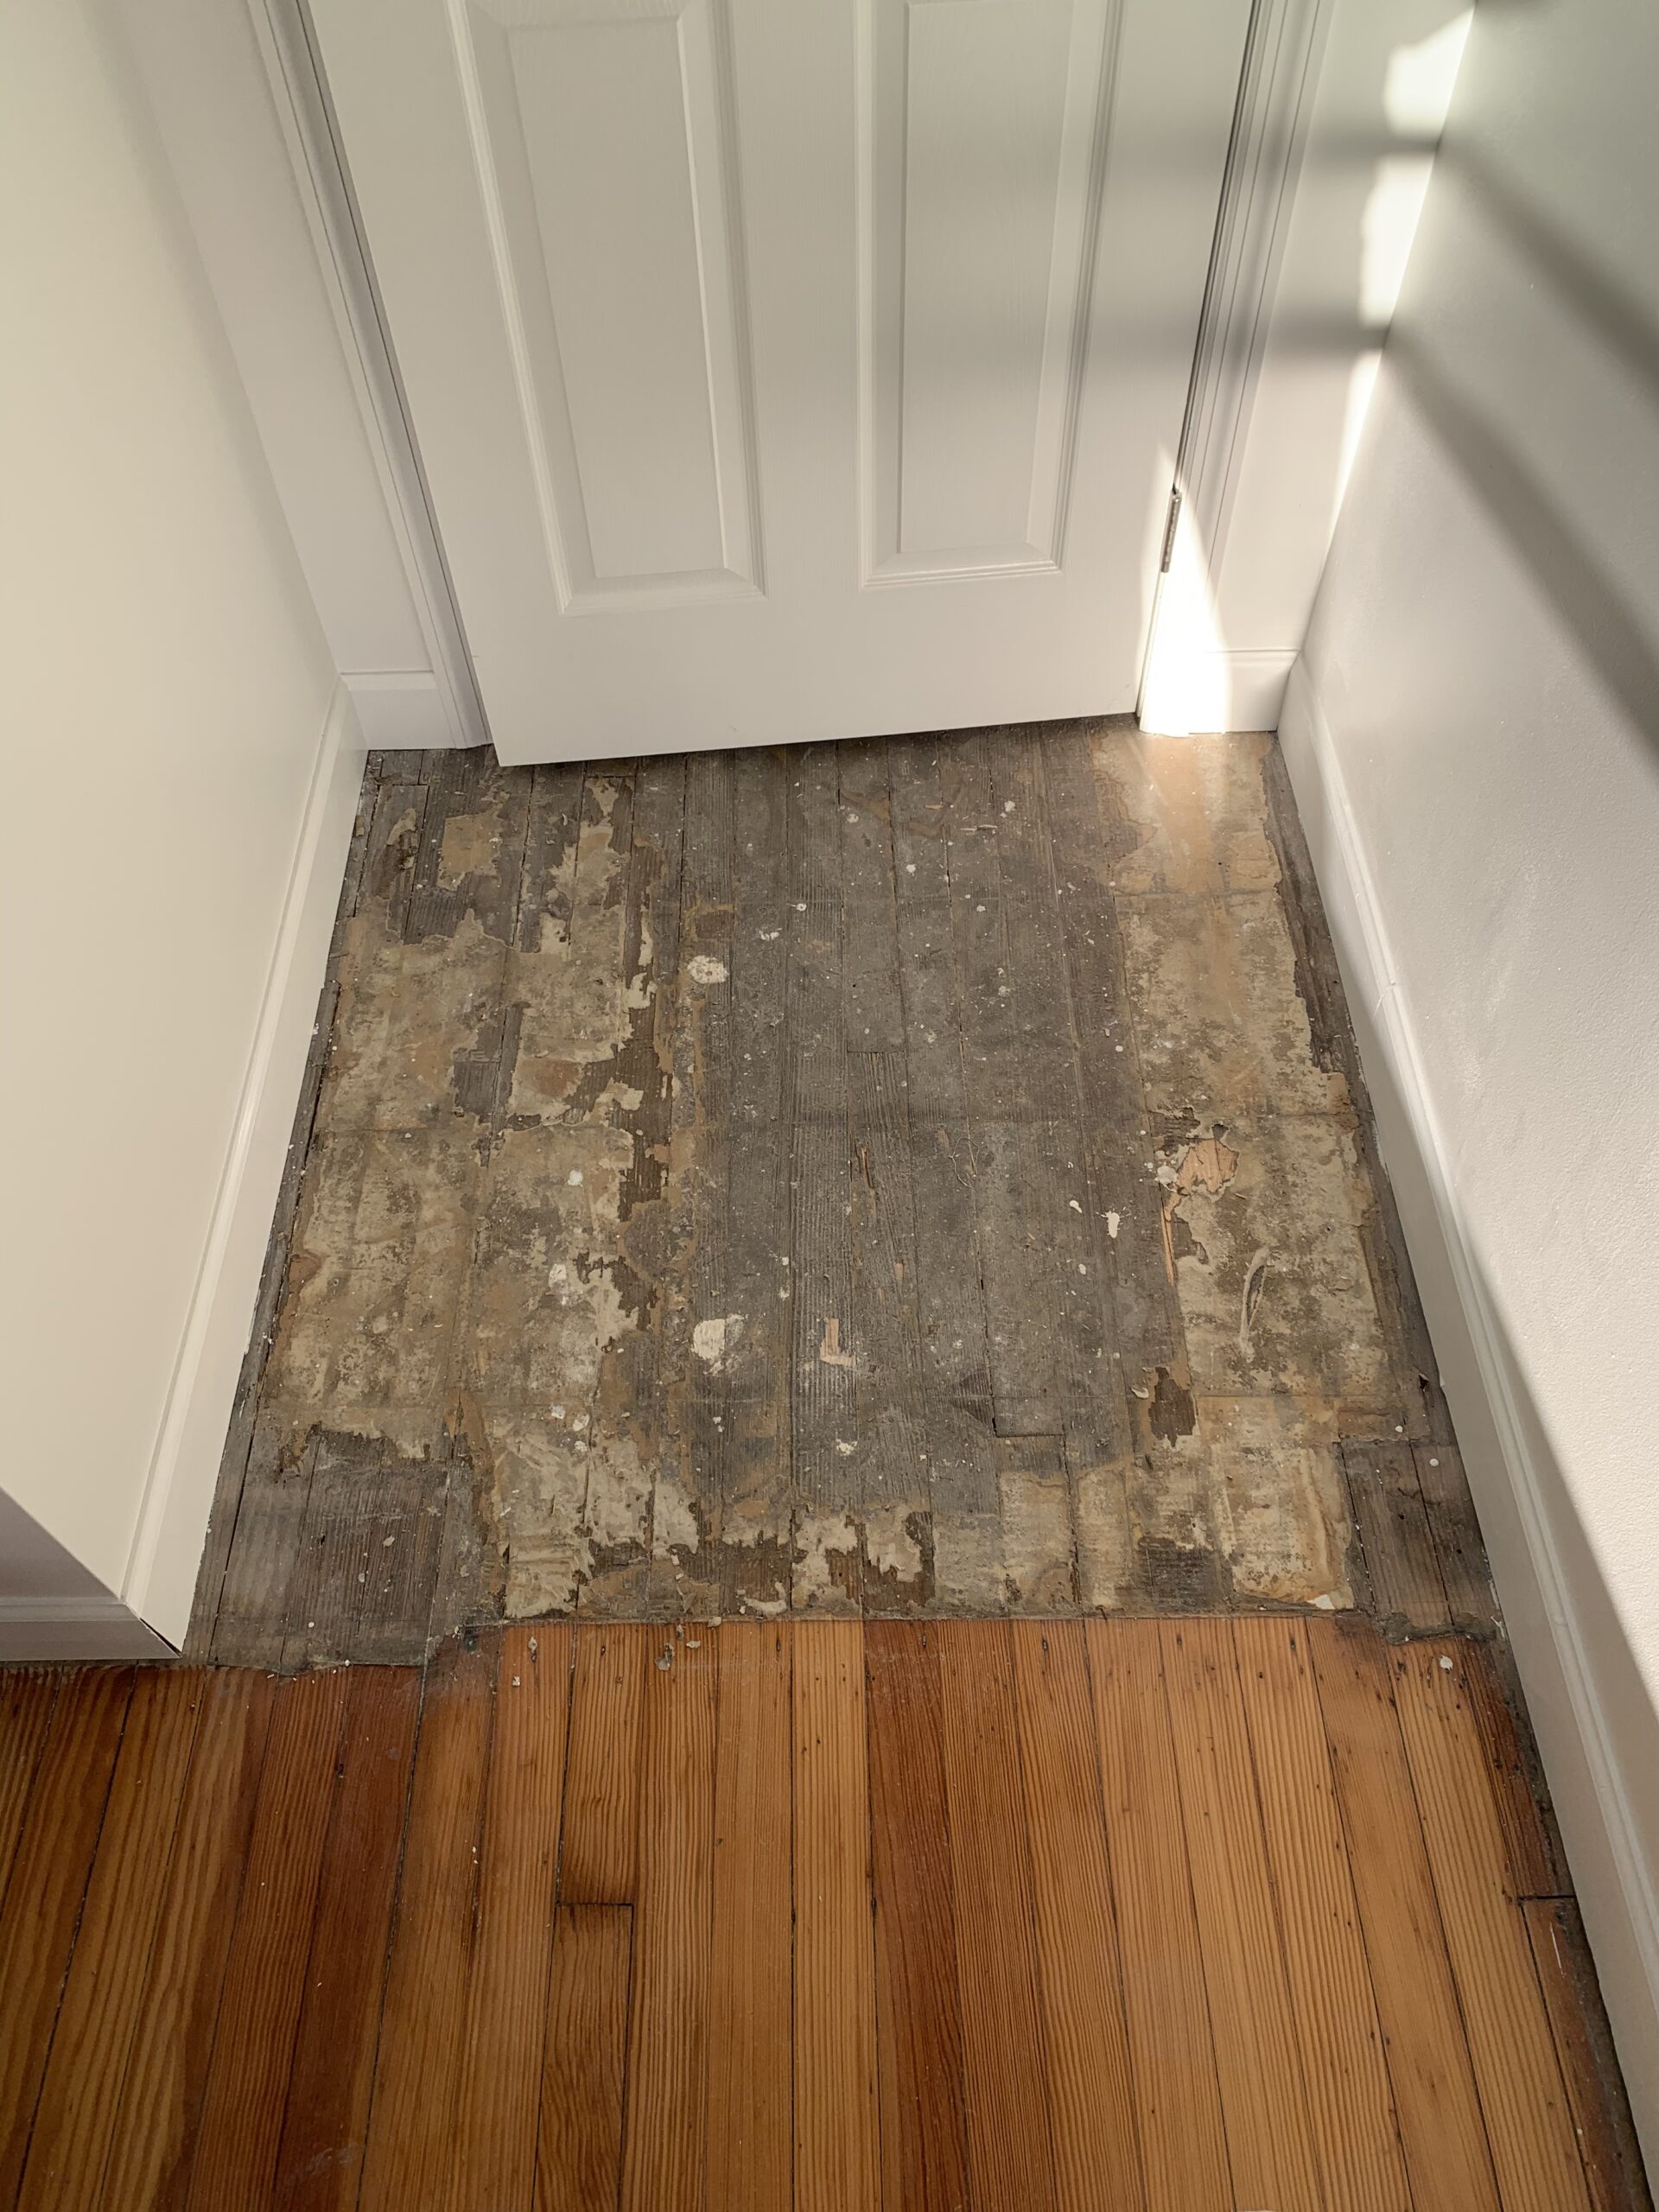
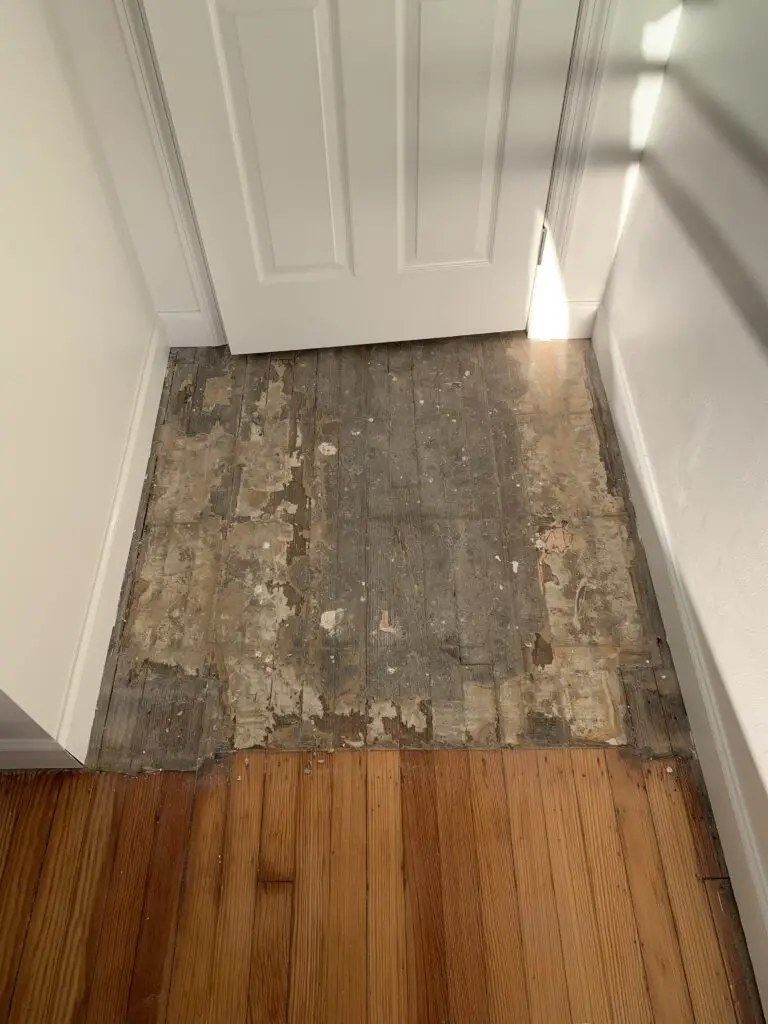
The previous hallway flooring possessed these ugly peel and stick tiles, to match the previous ugly kitchen floor. (I mean, you have to give them a badge for consistency, right?).

CURSED BE THE HOMEOWNER WHO ATTACHED THESE PEEL AND STICK TILES.
How do you rid your poor home from the adhesive of peel and stick tiles?
Well, if you’d like a full tutorial, check out How to Refinish Hardwood Floors – Basic DIY Tutorial.
But the basics are:
First you use your bare hands to rip up the tiles.
Then, you use a chisel and razor to get the chunks up.
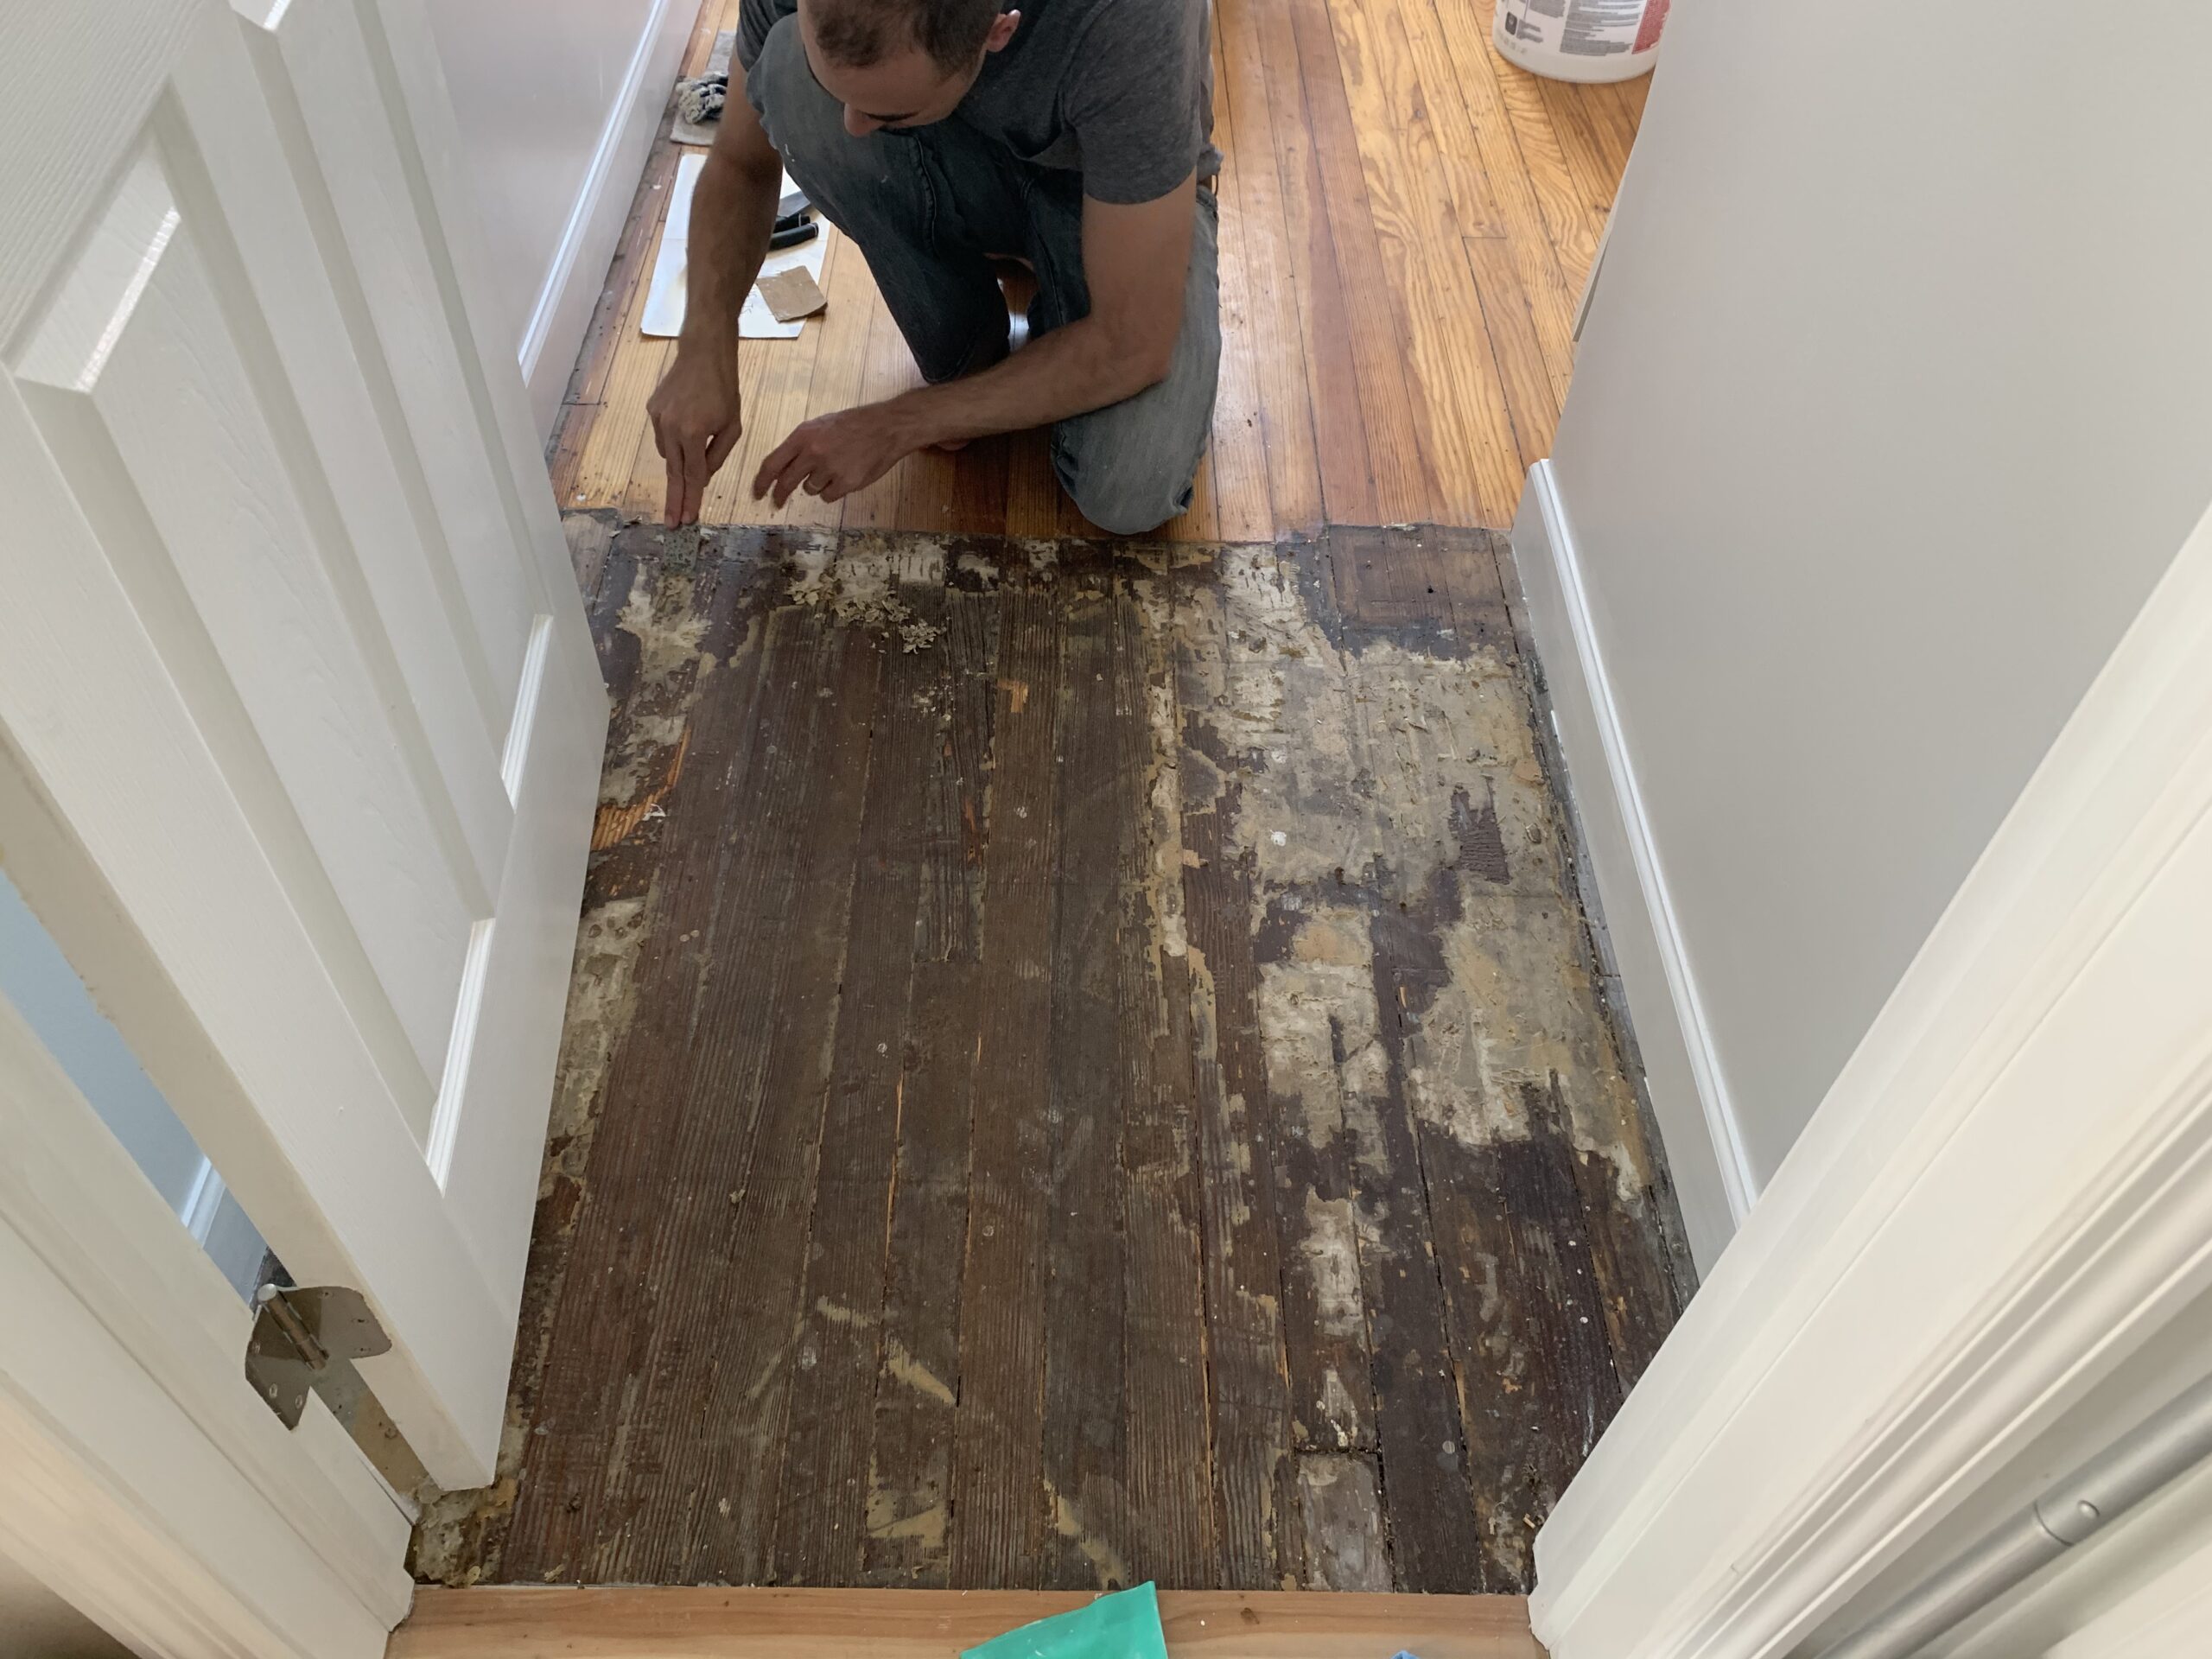
Then, you sand.
Over
And
Over
And
Over
And
Over.
For the love of everything holy, do yourself a favor and invest in an orbital sander:

Bless my husband, he worked on this floor for probably two weeks in the evenings after work, while I, at four months pregnant, ran for cover from the dust.
Once the flooring looked smooth enough, we varnished.
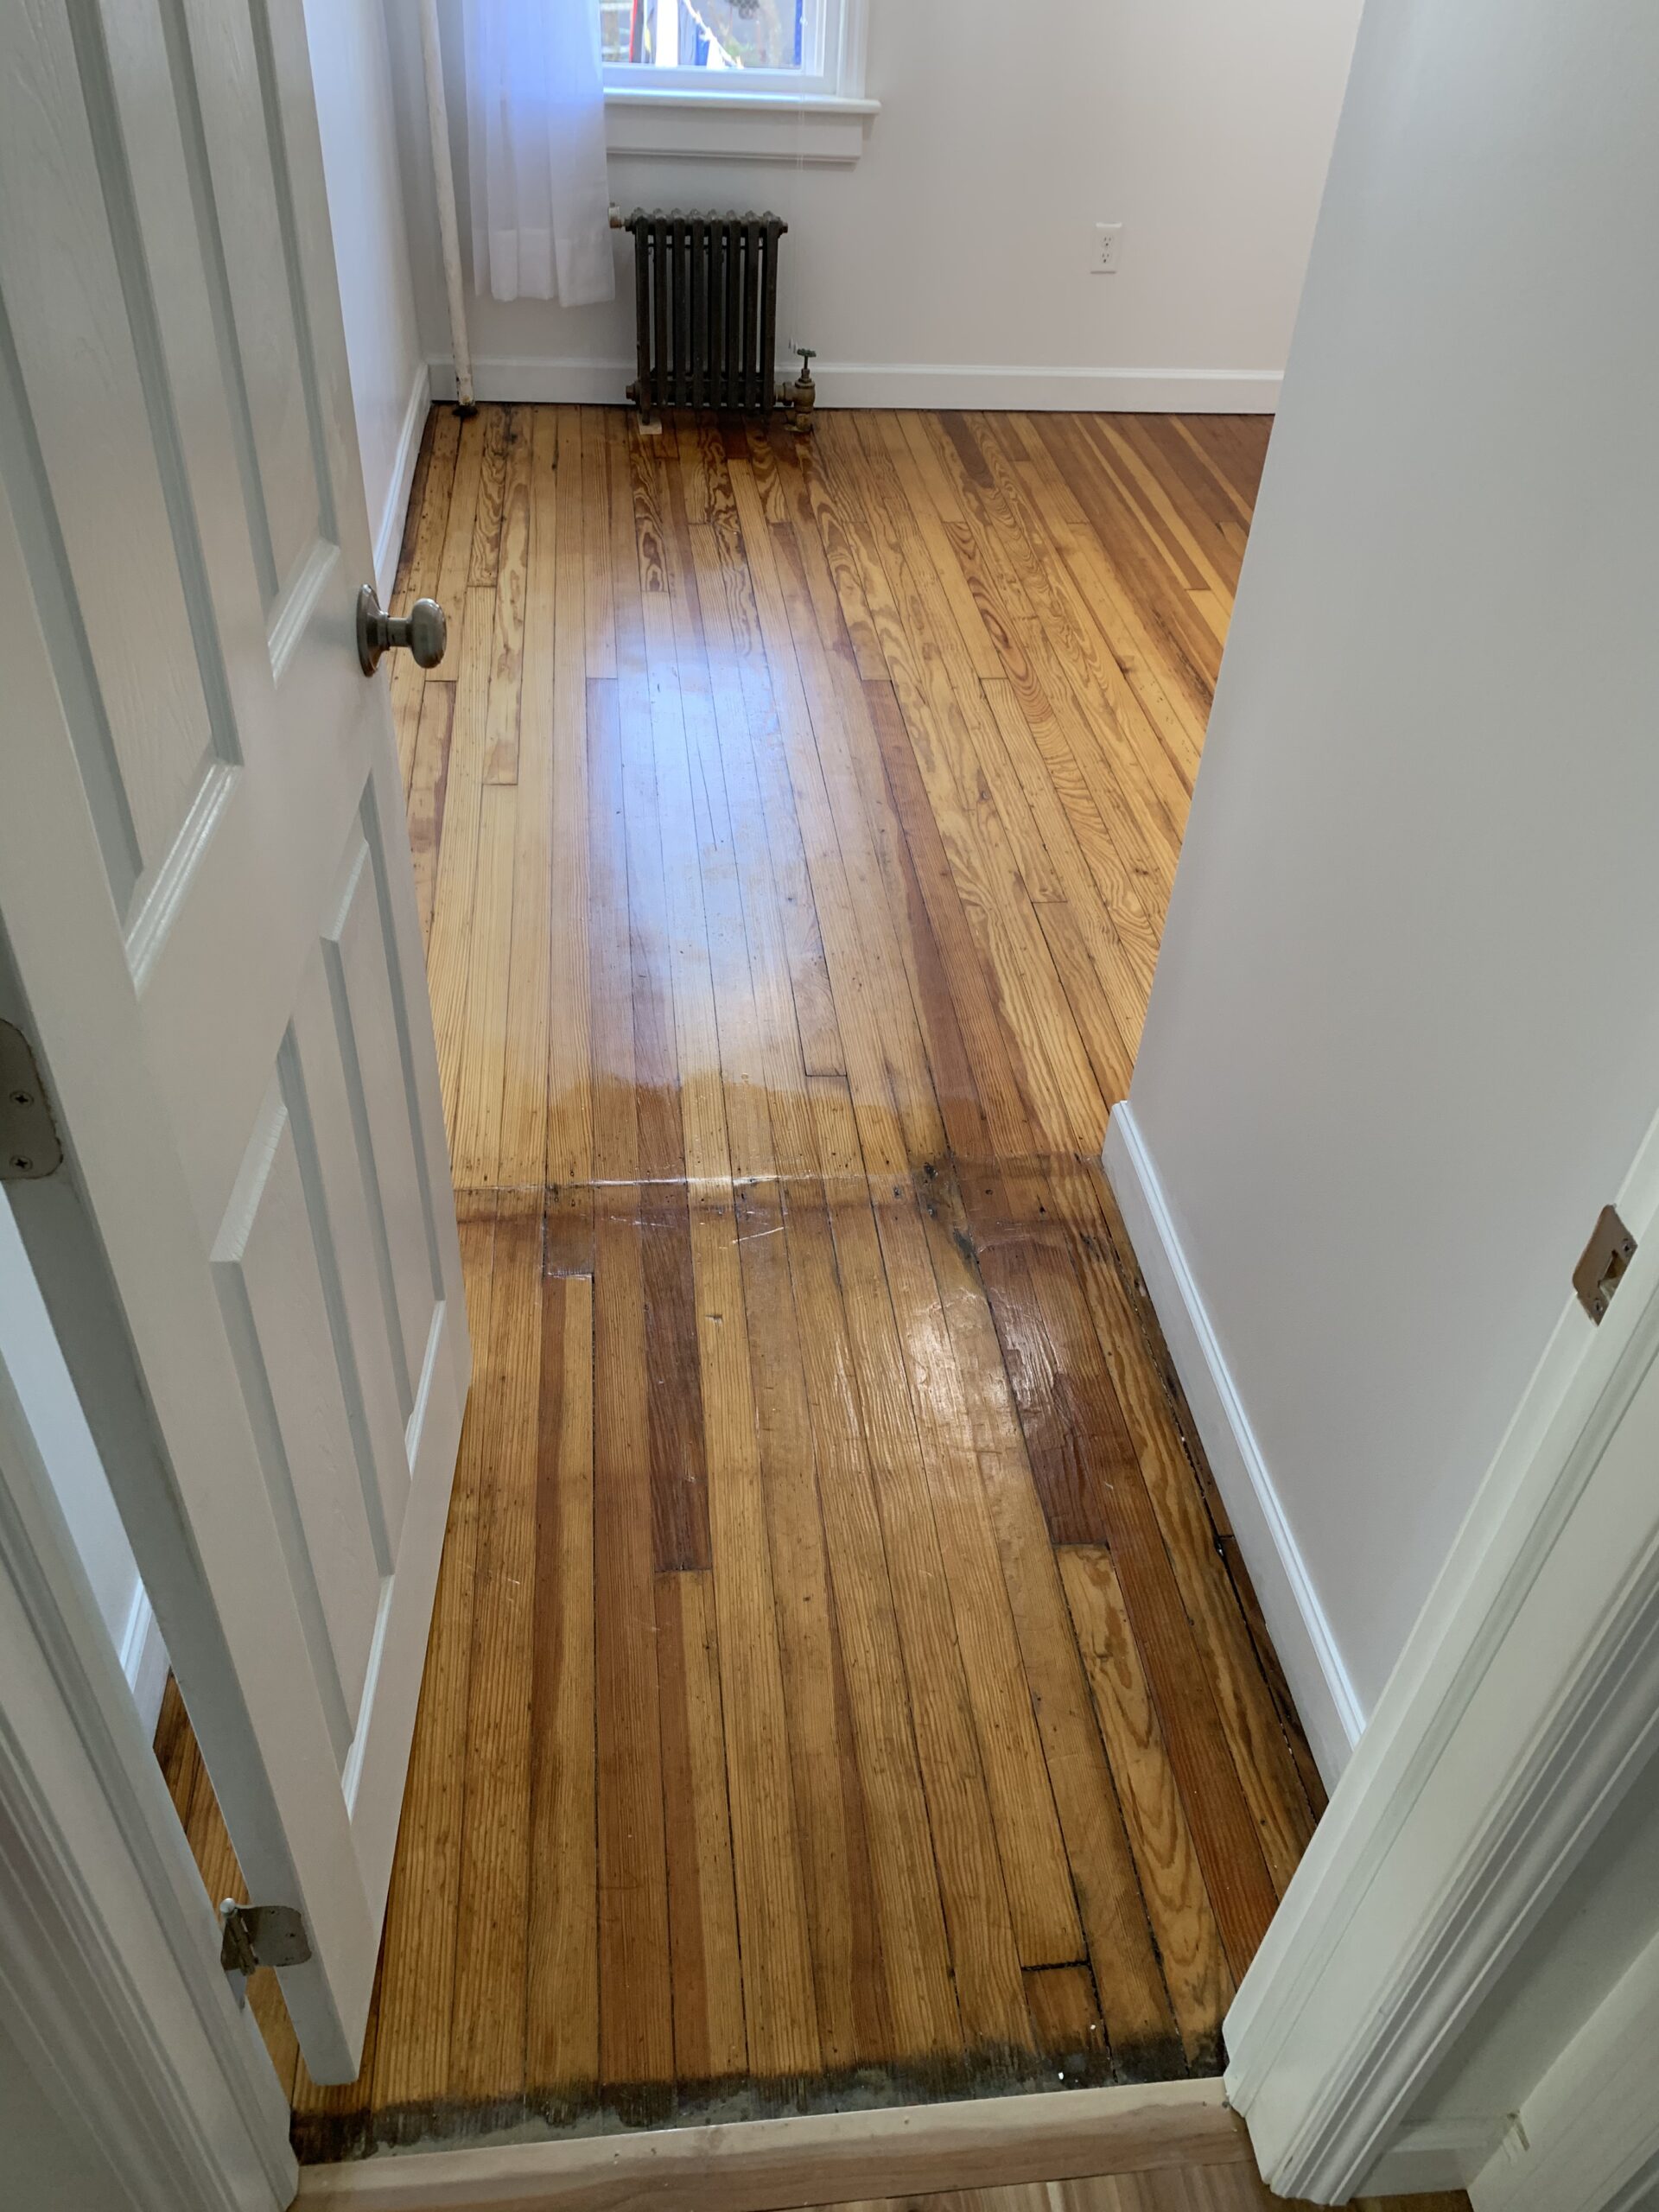
Oh baby! Look at the difference!


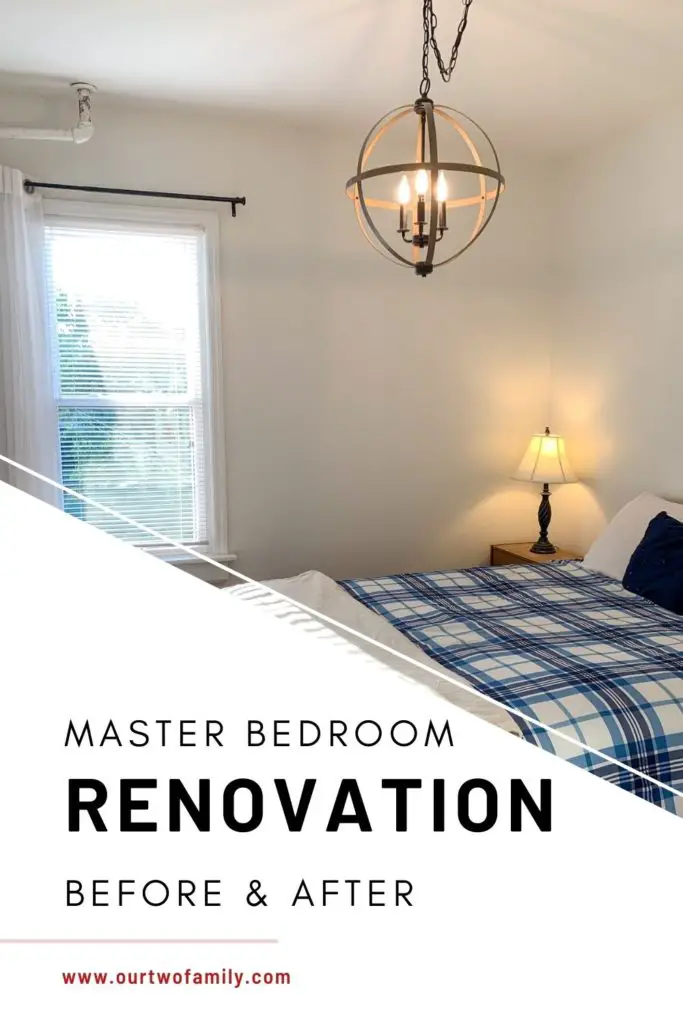
Final Before and After
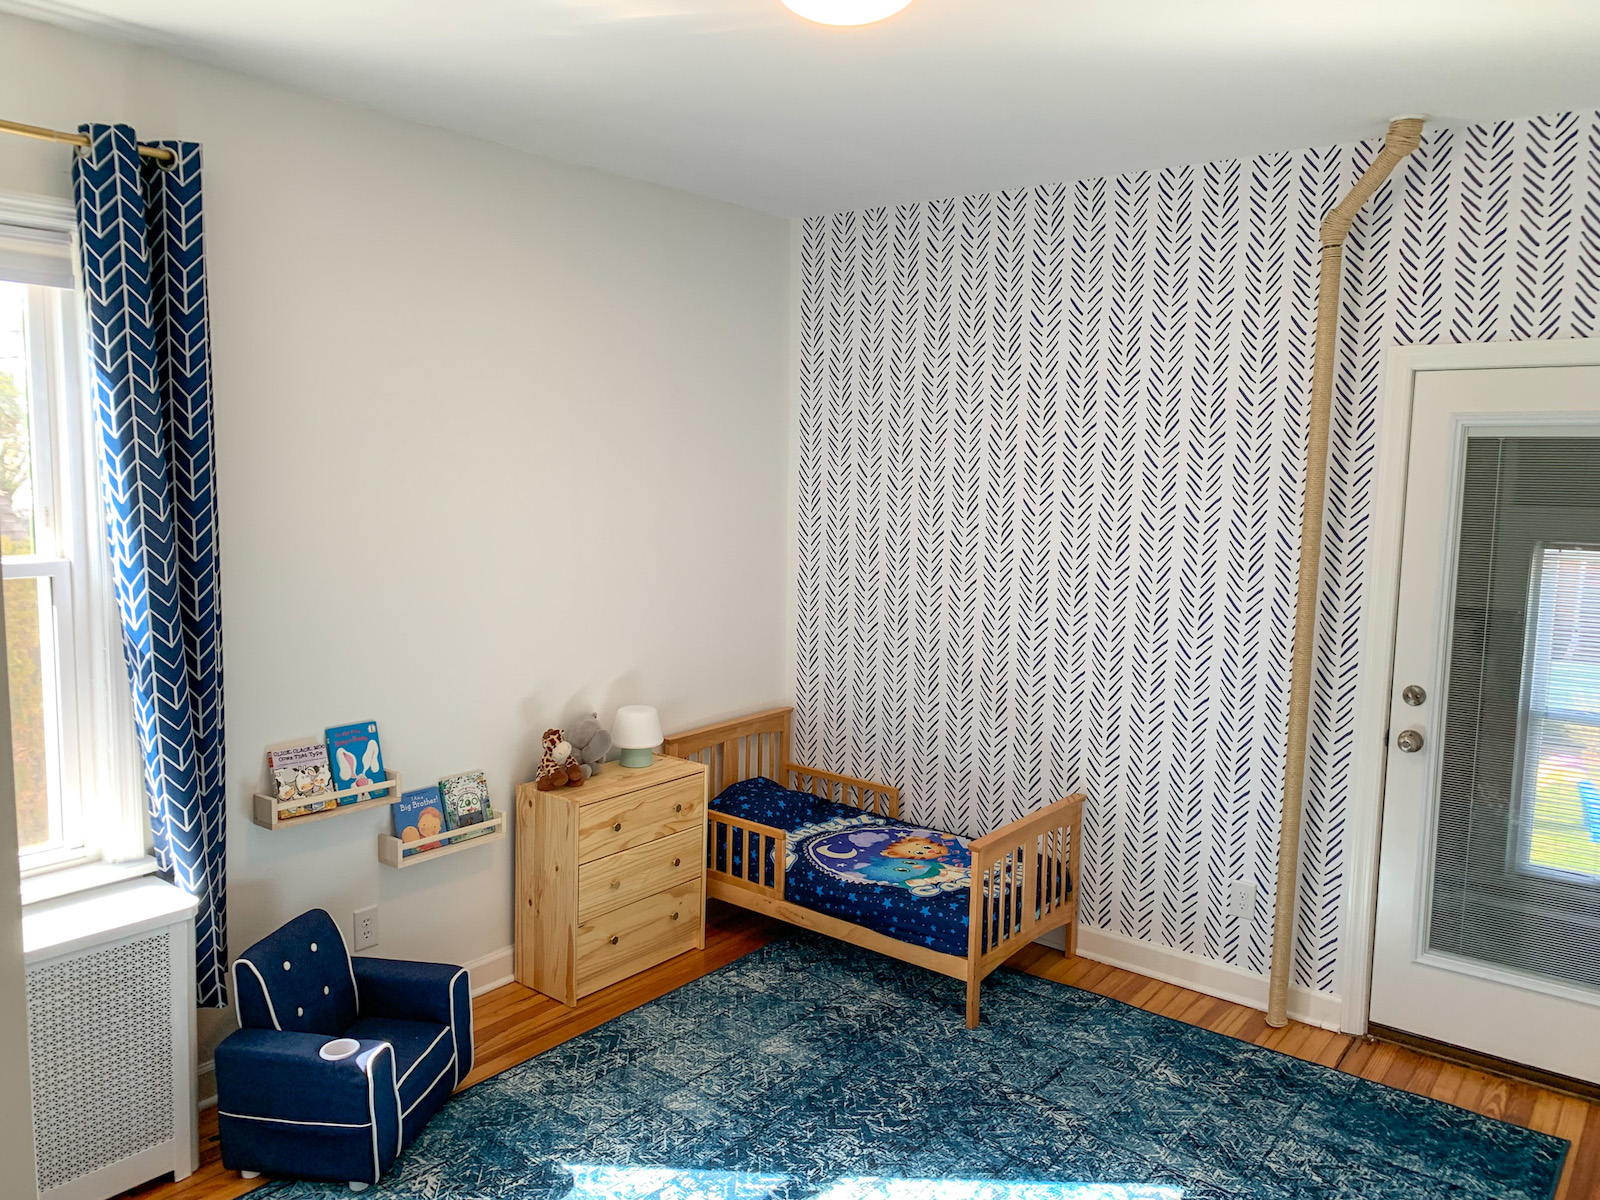
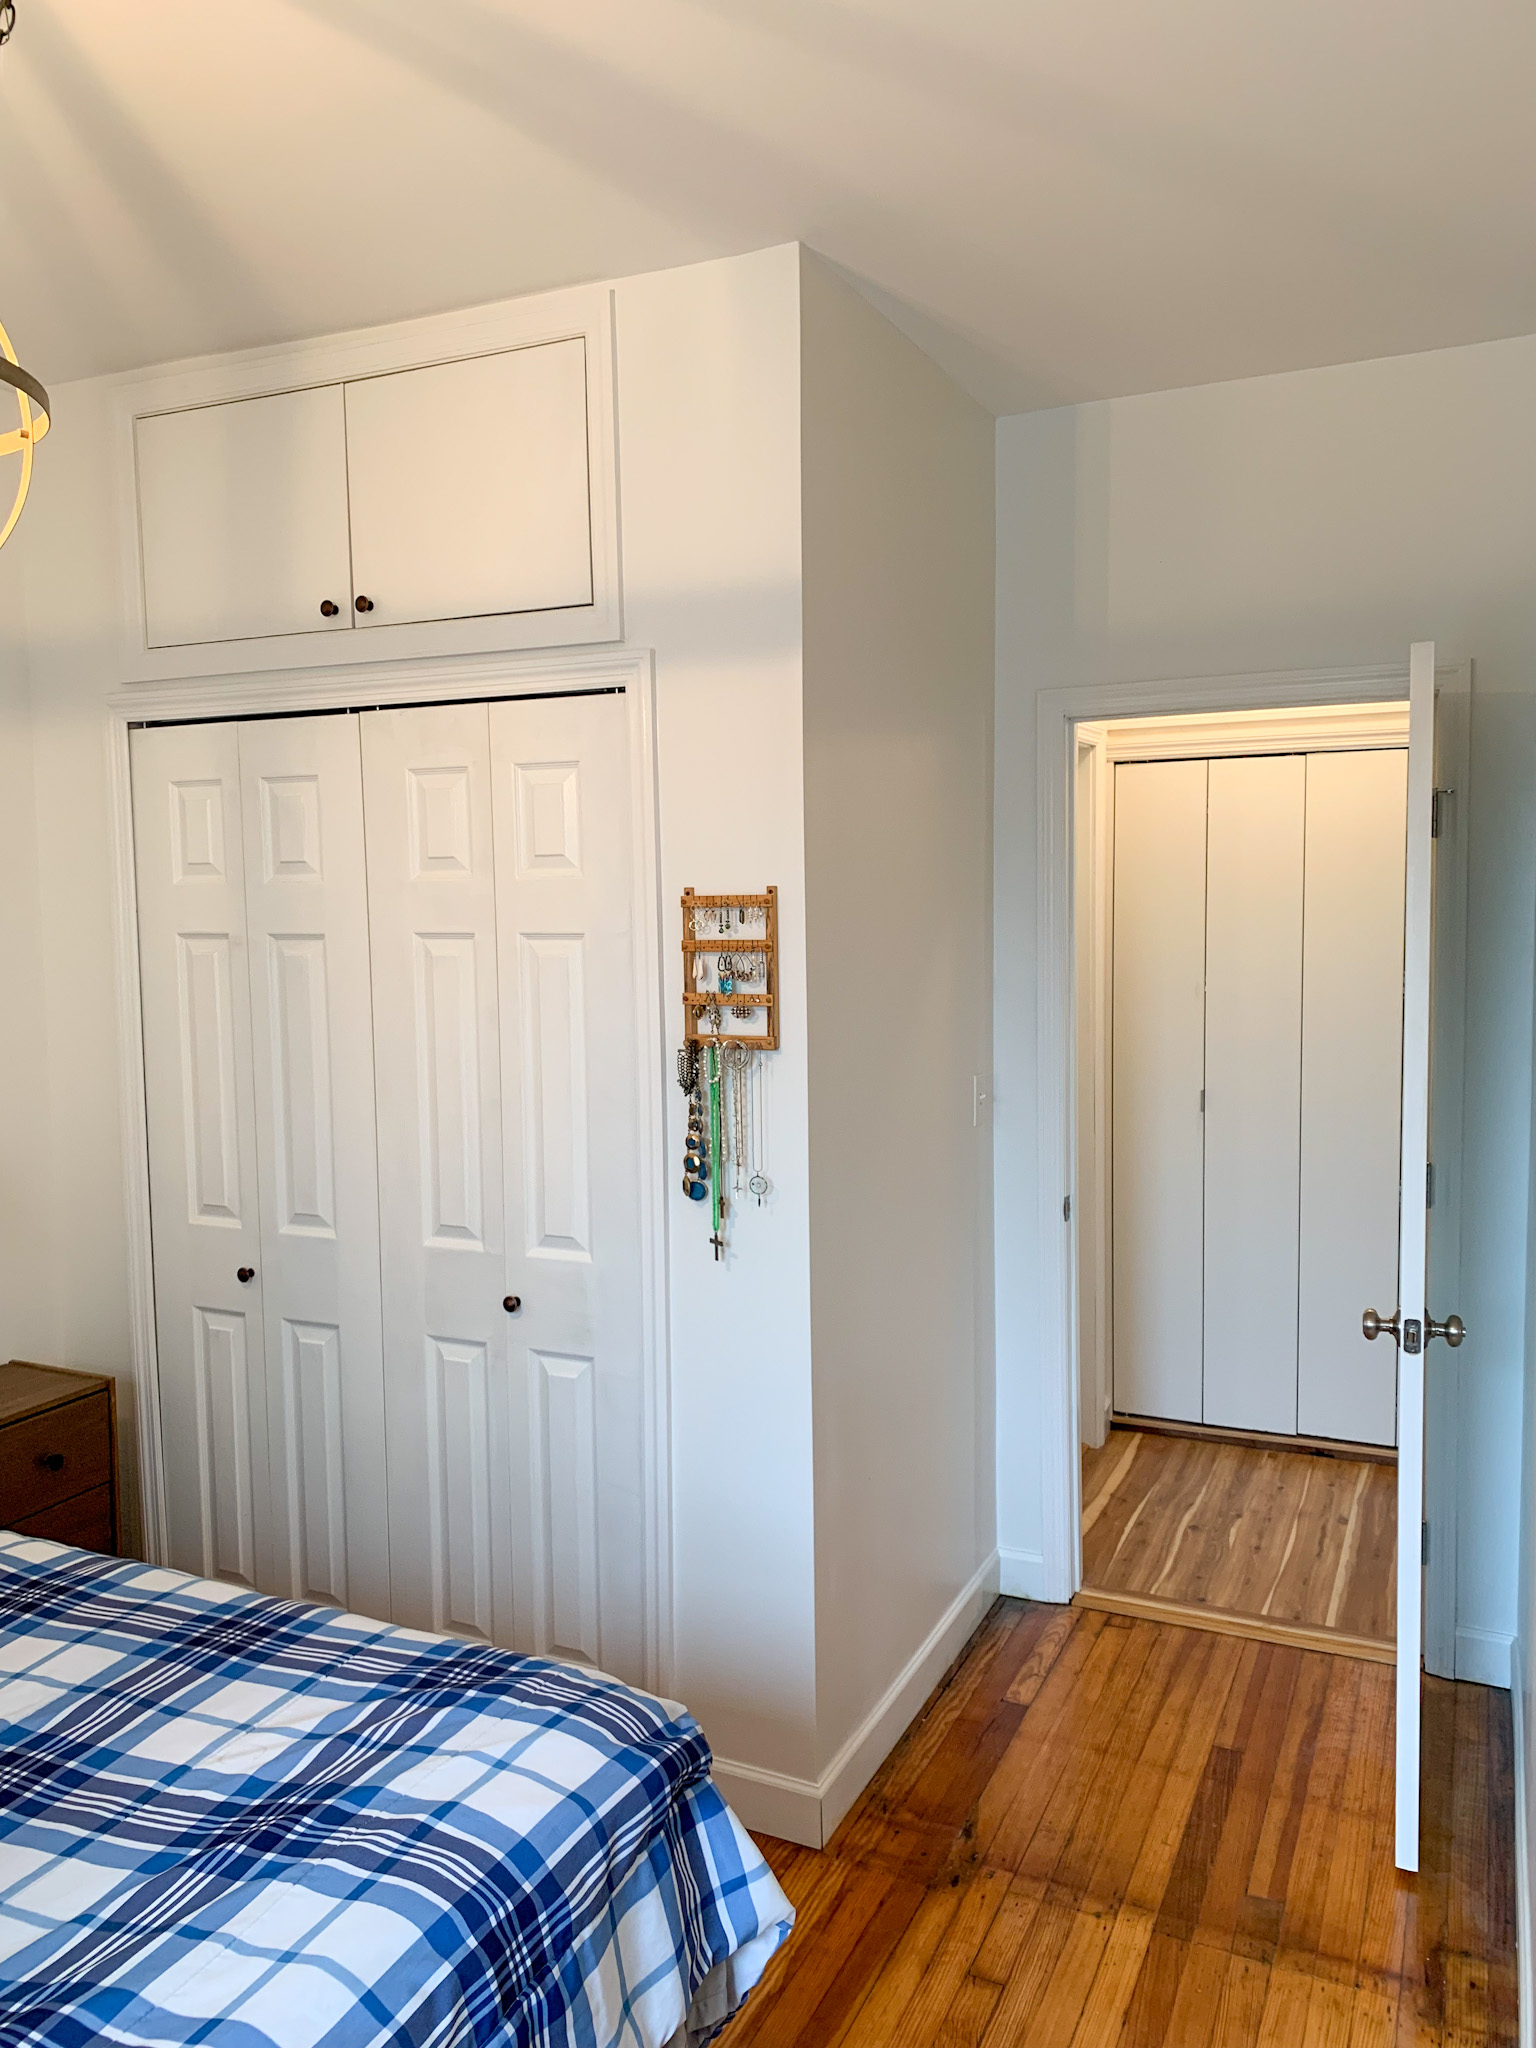
Here’s the view of the entire small master bedroom remodel.
We just love the wide bifold closet doors, giving us better access to both sides of the closet. The upper storage section is perfect for off-season clothing and coats (hey, it’s Jersey, we experience all four seasons!).
The door swing in the bedroom is SO much more comfortable than that useless hallway was! Before, the bedroom door would graze our bed when opening it because the room was so small. Now the door swings happily into our master with room to spare.
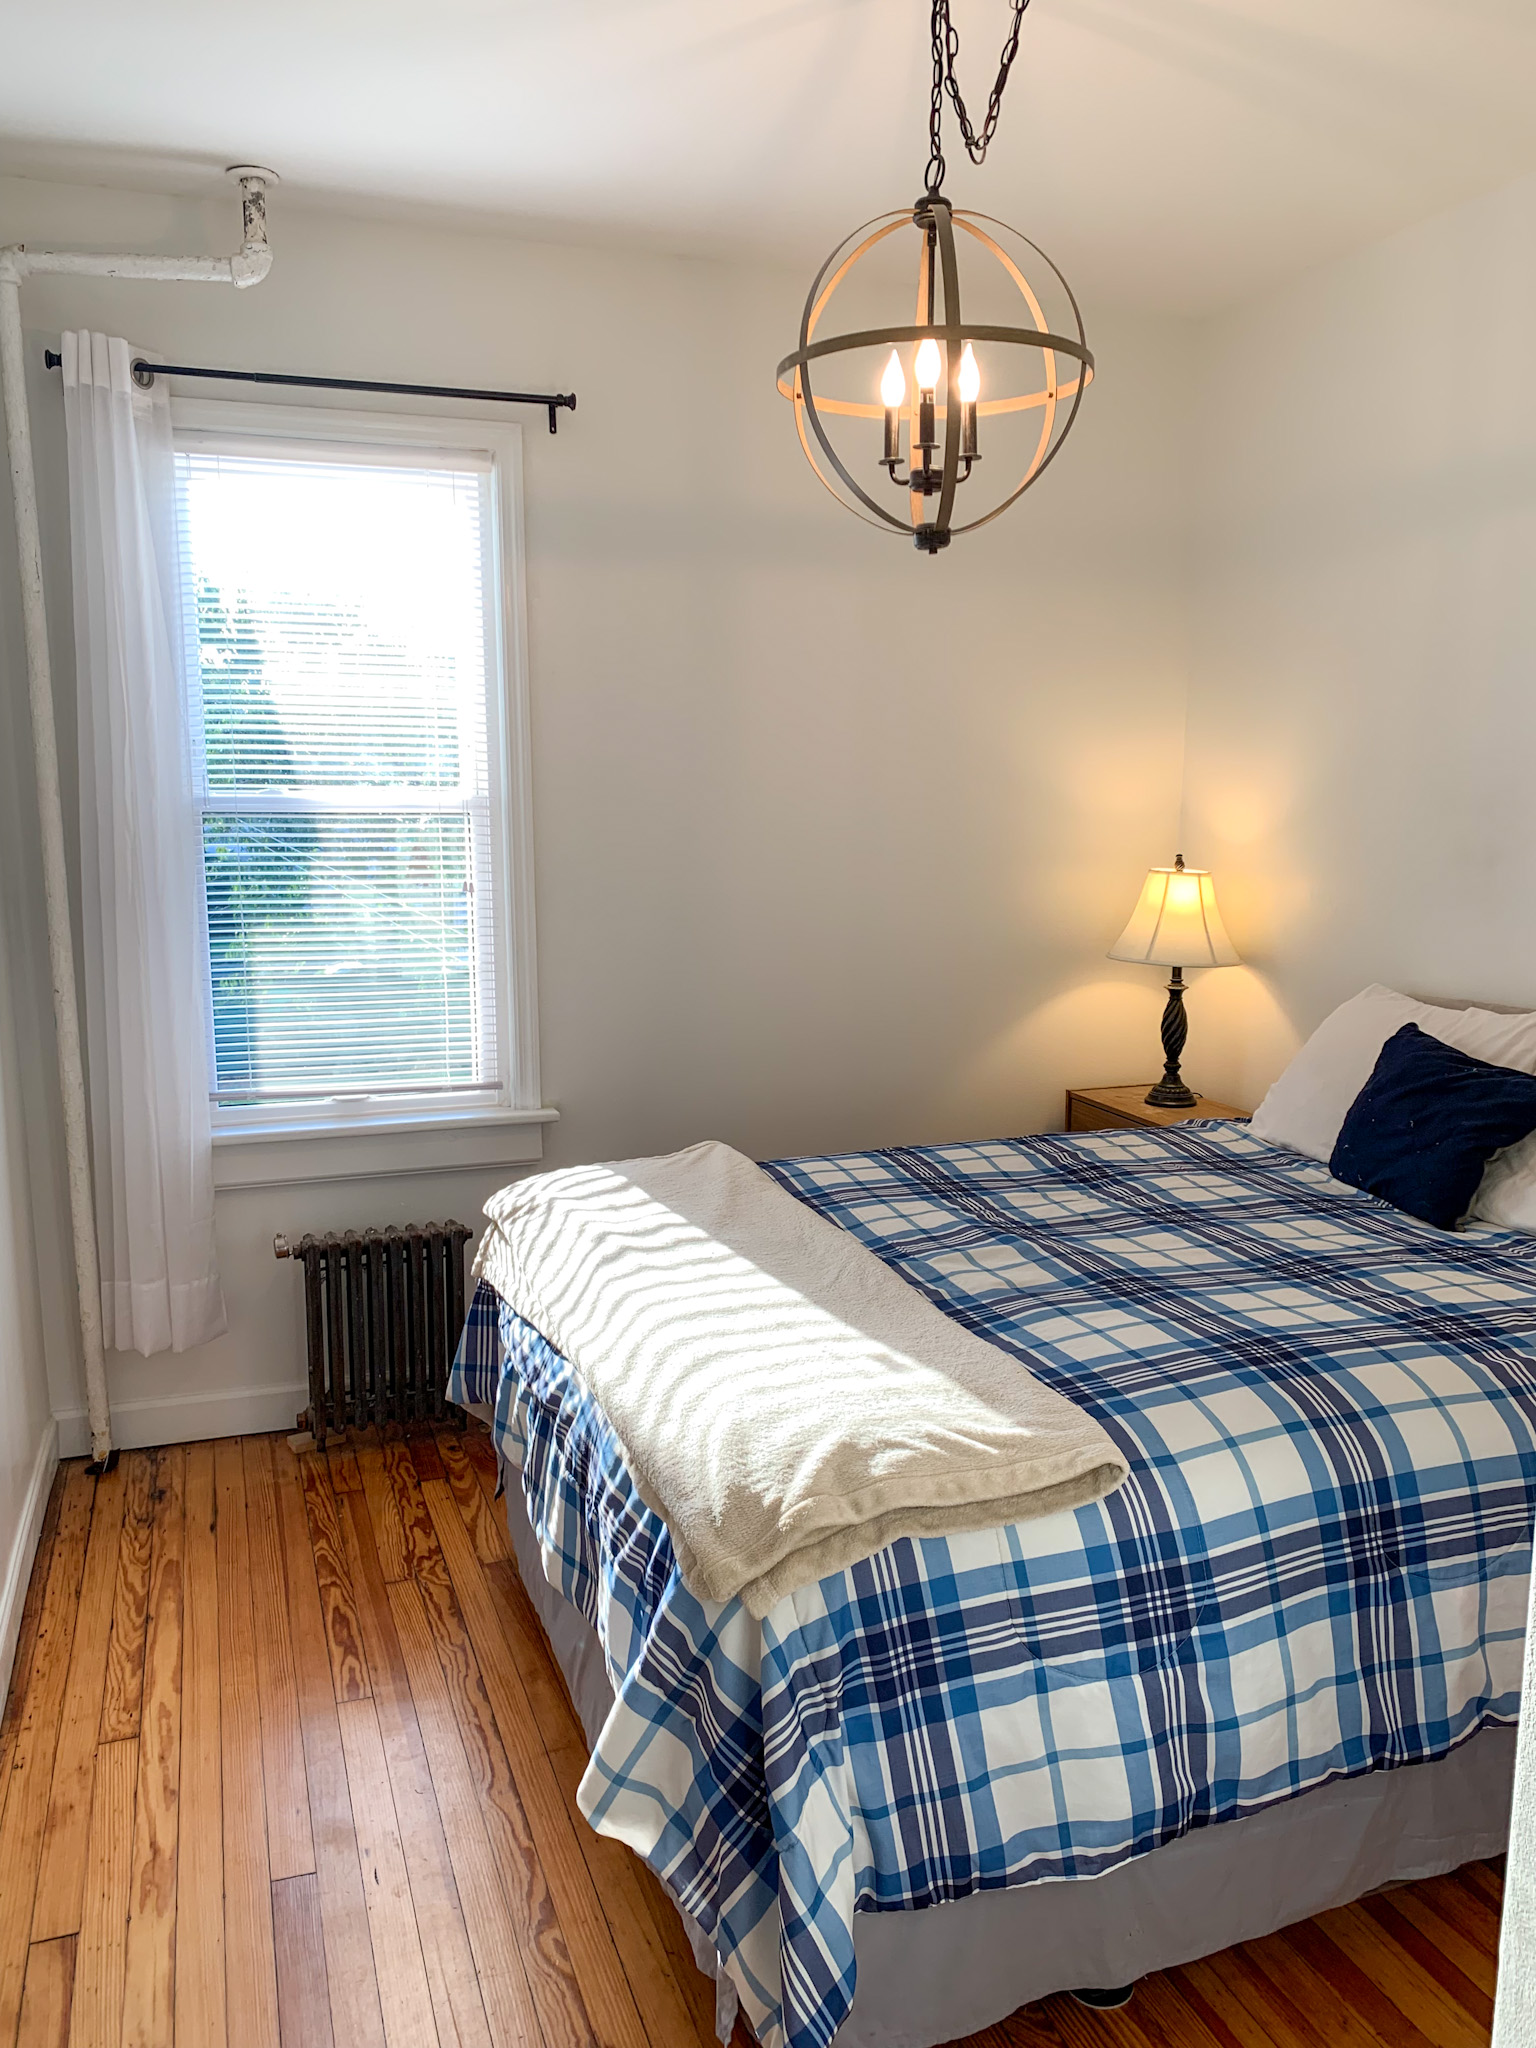
As for the rest of the room, we once again chose a warm white for the walls. I find that a basic white wall is easier in the long run, just like my basic white bathroom tiles: the room is more easily malleable with linen and furniture changes.
The light white brightens the room, and it truly does make it feel bigger.
You’ll notice this white is the exact same color as the bathroom and kitchen. It’s called Pure White by Sherwin Williams. Did I purchase a five-gallon bucket of this color for our entire first floor? Why, yes. Yes I did.
We also chose a big fat chandelier to add some dimension to the room. (Who needs another nipple light? No one, that’s who.).
The “metals” in the room are all a version of oil-rubbed bronze: the curtain rod, the chandelier, the lamps.
Why?
We already owned darker lamps, and concluded it would be easier & cheaper to choose more fixtures based on what we already own. They also add an layer of continuity from the kitchen through to the master, as our cabinet hardware is also oil-rubbed bronze.
Someday, I plan to create a headboard out of all the gorgeous pine trim we rescued from the first floor, but for now, we are satisfied with our newly insulated, freshly painted, happily re-framed, cozy master bedroom remodel.
Lessons Learned
After renovation our entire first floor from top to bottom, I’d like to briefly reflect on what worked and what didn’t.
Time
Do not be disillusioned that this was a quick endeavor. No…. no, sadly, definitely no. This took us a year. It probably would have taken about seven months, but we were rudely interrupted by a global pandemic.
Living in NJ, we saw the brunt of the pandemic in March of 2020, right when we were installing fixtures like the bathroom vanity and lights.
We were so, so lucky that we had our plumber turn everything back on literally the week before “the shutdown.”
We were doubly lucky because as I (Noreen) got really, really sick and had to isolate for two weeks, and we were so fortunate we had the space back to do so.
Winter
If I could do this all over again, I’d have started in April and not in October.
Why?
Well, when you rip out your electricity, you have no lights. The sun sets at about 4:30pm in the wintertime around here. When you have no outlets (save for one) and you’re slaving away with only a work light, you end up working in your shadow a lot. It was a pain in the tuckus.
I also prefer to snuggle in bed after 7pm in the winter, not work-work-work until past 9pm, but that’s life if you want your property to improve.
ANYWAY.
Order Ahead
I thought I’d done a decent job of ordering fixtures and appliances ahead of time, but there was still a bit of lag on some items. Some were due to backorders and the like, and some were due to my not staying ahead of the game.
Our challenge here was having somewhere to put the items before we needed them. We didn’t want to order things too early and then run out of space.
For example, where exactly does a person store a bathroom vanity or a dishwasher before they have a bathroom or a kitchen to put it in? Moving giant boxes from room to room as you work gets old quickly.
We will revisit this topic before our next reno, but for now, just…. do better than I did, and plan your orders well in advance.
Conclusion
If you’re still reading, I hope you’ve poured yourself an adult beverage by now. I certainly need one after rehashing our entire first floor remodel.
During this renovation, we’ve solved the layout problems, liberated the kitchen, revived the bathroom, and beautified the master bedroom to enjoy for years to come.
I hope this has inspired you to take on your own crazy renovation project, and empowered you to solve a few problems in your home as well! Until next time…