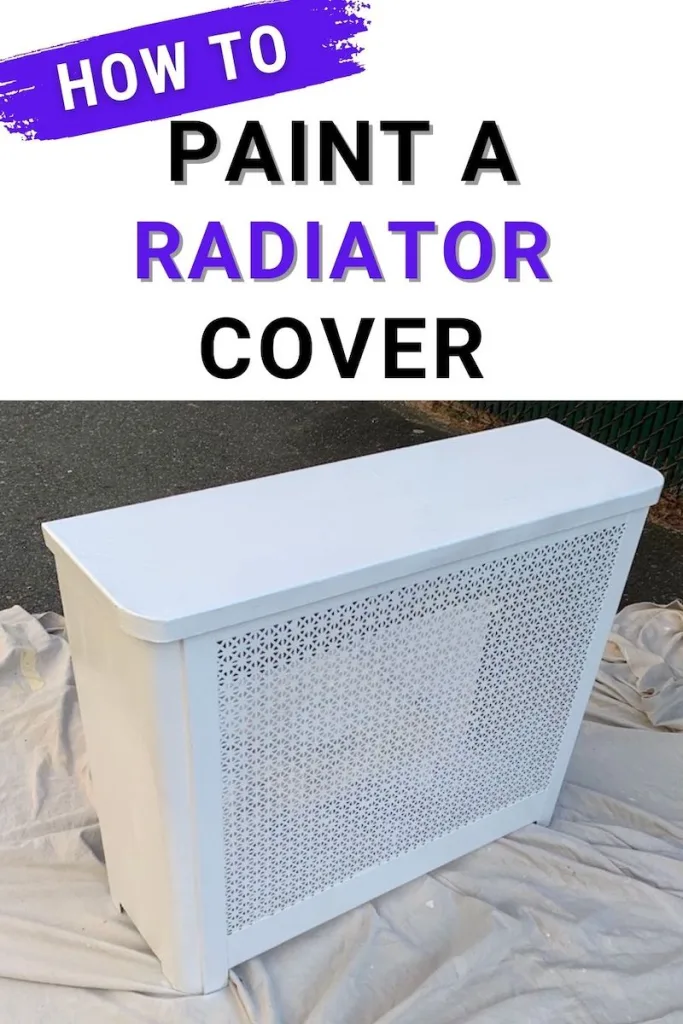
How to Paint a Metal Radiator Cover – Easy DIY!
This post may contain affiliate links. If you purchase a product through one of them, we will receive a commission at no additional cost to you. As Amazon Associates, we earn from qualifying purchases.
Welcome back to Our Two Family! Today we’ve got a fun little DIY project – how to paint a metal radiator cover.
If you own an older home, you’re probably familiar with the “click click tssssss” steam heat of a radiator doing its thing in the dead of winter.
Big ol’ metal radiators aren’t the prettiest addition to a living space, but come the coldest months, they’re my favorite furniture piece because they keep us warm.
Many people use metal covers for their radiators – their purpose two-fold: it looks nicer and prevents inadvertent burns. Some say the radiator covers help distribute heat more efficiently.
However, even the radiator covers can downgrade the appearance of a room. Fortunately, there’s much to do to spruce up their look. Namely, painting them.
This post will show you how to paint a metal radiator cover.
Can You Paint Over a Radiator Cover?
Yes, you can paint over a radiator cover.
Check what kind of material you have and choose your paint accordingly. A general rule of thumb is to use oil-based paint for metal and latex paint for wood.

What Kind of Paint Do You Use on Radiator Covers?
Use an oil-based paint like this one for metal surfaces.

Should You Paint Radiator Covers?
That’s up to you.
You don’t have to. They’re perfectly functional without being painted, but I personally think they look nicer with a fresh coat.
It’s also a chance to work in your home’s design.
Paint Radiator Cover – You Will Need
Sandpaper
It’s always good to have a pack of sandpaper in various grit sizes around the house for DIY projects.

Cleaning Agent
Any multi-purpose cleaner will do here. We like the ol’ bald fella in “Meadows and Rain.”

A Friend to Help You
While it’s not impossible to move your radiator cover away from the wall by yourself, depending on its size, you might want some help.
Radiator covers are bulky and surprisingly delicate in their own right.
A Nice Day Outside
This project is best accomplished outdoors on a day with low wind.
Spray paint and wind make for a rough combination. Also, if it’s too windy, your project could get knocked over, and that would be very sad.
Obviously, don’t do this in the rain or snow, etc. We don’t want anything sticking to your wet paint!
If you can’t bring your radiator cover outside, at the very least, open the windows!
And, if you’re working inside, you may want to opt for a brush and bucket approach. (Remember – oil based paint is NOT cleaned with water, but rather with oil. Like, olive oil. Consider a disposable brush to make your life easier).
Oil-Based Paint
To paint a radiator cover that’s metal, you’ll need oil-based paint.
We use spray paint. You can certainly torture yourself with a brush and bucket, but spray paint will work best here.
We chose Gloss White – gloss because it’s easier to clean, just like painting trim.
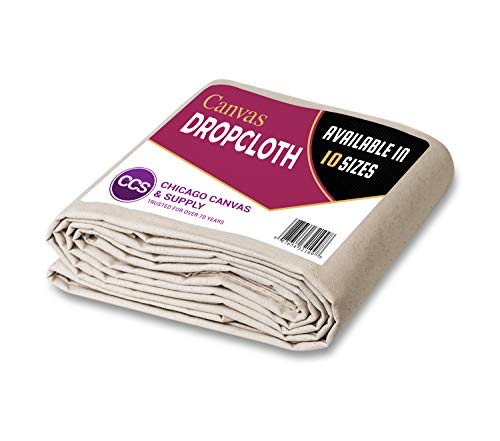
Drop Cloth
Unless you want your driveway to match your radiator cover, be sure to work on a dropcloth or large piece of cardboard.
Also, be mindful of your surroundings, namely cars and plants.
How to Paint a Metal Radiator Cover, Step by Step
Step 1: Sand & Clean
The first thing you should do when you paint a radiator cover is to prep your surface.
If you’re like we are, and working with a cover that was already painted once, it might have chips and cracks. Do your best to scrape or sand away any rough spots.
Then, clean the surface of your radiator cover. This will help the paint stick better. Let it dry fully!
Step 2: Let It Dry
Let it dry! Cleaning agents and oil based paint don’t mix!
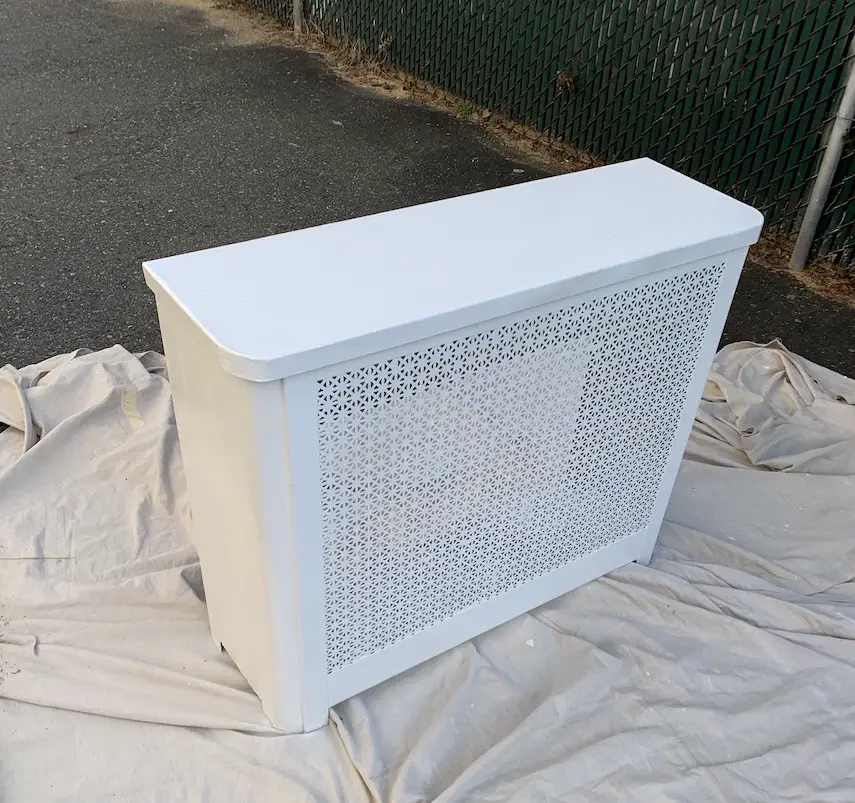
Step 3: Spray the Paint
Working in even strokes left to right, spray the paint on your radiator cover. Work like a typewriter, line by line, back and forth.
You might need to work in sections and wait for the paint to dry – in the case, for example, if your radiator cover has a lid, and you didn’t bother to take it off (talking to myself here).
Take your time to paint each section thoroughly. You won’t regret it.
Step 4: Let It Dry
Once again, be patient. Let it dry.
Also, the longer you leave the radiator cover outdoors, the less it will stink when you bring it back inside.
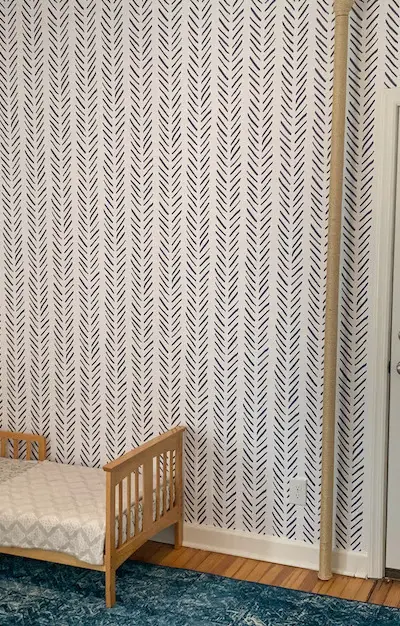
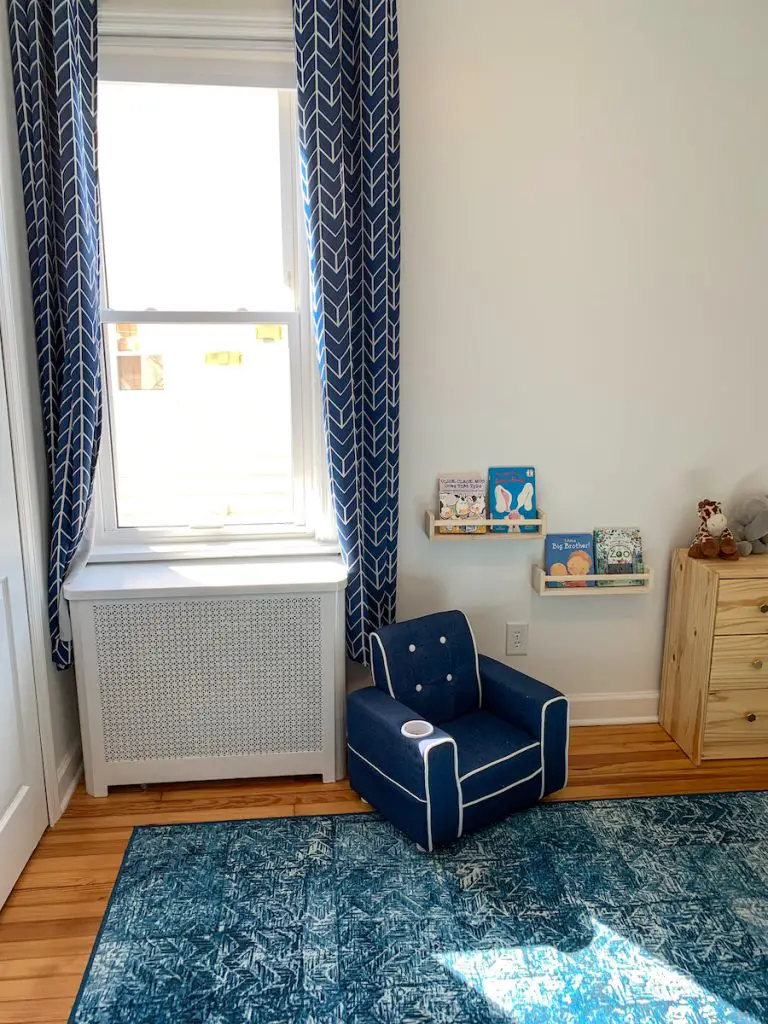
Step 5: Bask in the Glory
…of a freshly painted radiator cover! It always feels good to improve a space, am I right?
Here’s the “after” of the radiator in our son’s room. Check out Toddler Boy Room Decor for more details on his big-kid space!
Final Thoughts on Painting Radiator Cover
Well, we hope this post has been helpful to you in painting your radiator cover.
Sand, clean, fresh air, paint, wait, enjoy!
Don’t forget to check out our Etsy shop for more home renovation help!
You may also like:
- How to Cover Heating Pipes with Sisal Rope
- Living Room Makeover (under $320!)
- Easy Home Improvement Projects you can do THIS WEEKEND!