Living Room Makeover – How We Made This Easily Under $320
This post may contain affiliate links. If you purchase a product through one of them, we will receive a commission at no additional cost to you. As Amazon Associates, we earn from qualifying purchases.
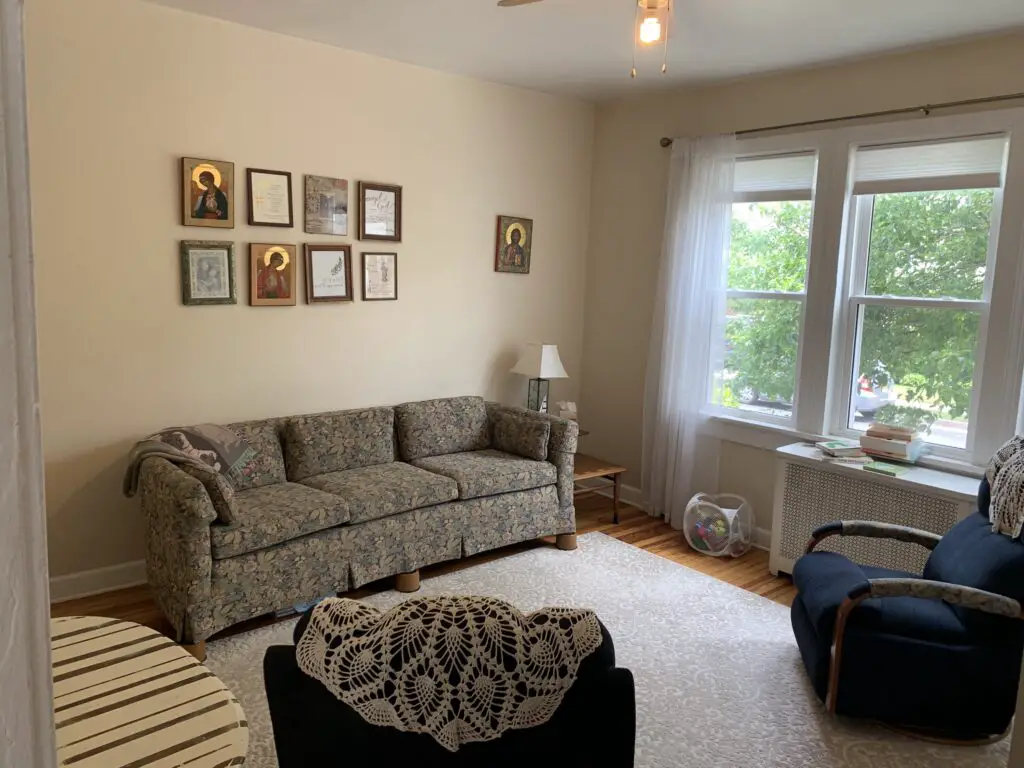
Welcome to our living room makeover.
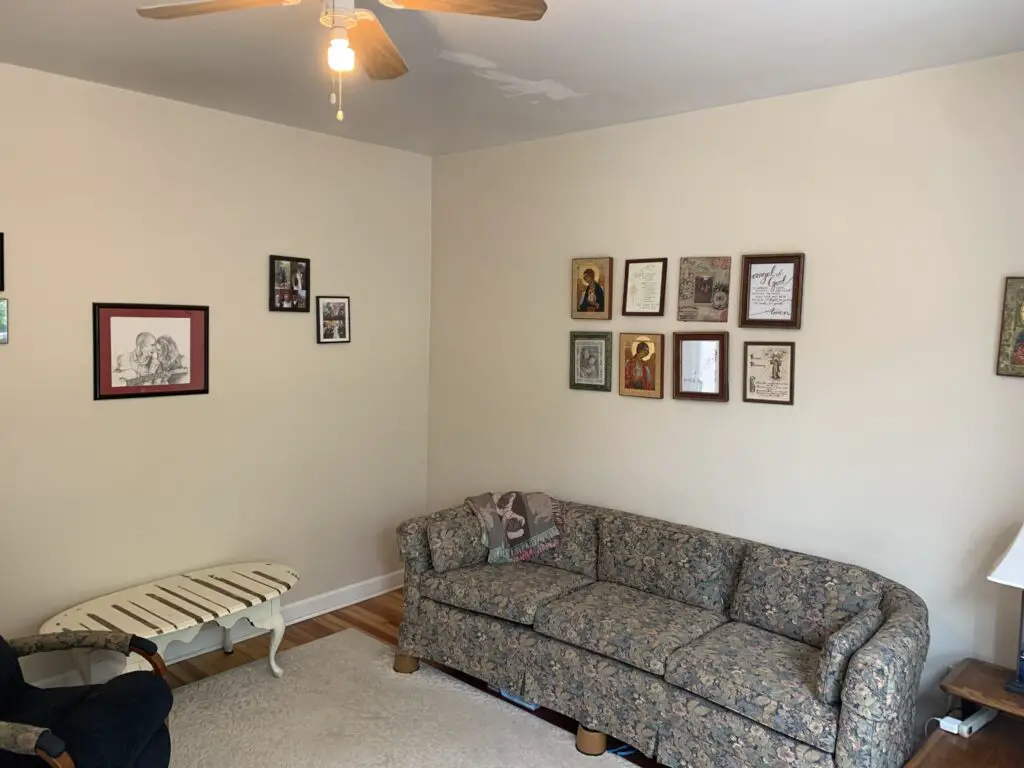
In 2016 when first purchasing our home, this living area was one of two rooms that we simply moved in to. Here’s the original, before we moved in:
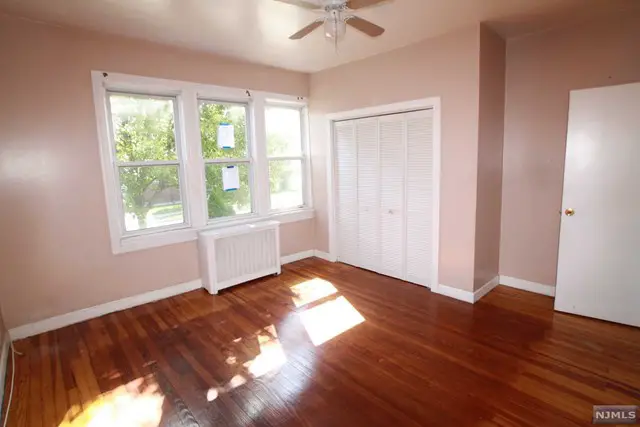
This room had no broken windows and no plumbing or electrical problems. For our house, that meant luxury! We scrubbed it twice, threw a coat of paint on the walls (Lawdy that pink was awful), and called it good.
While there were minor corrections waiting for us here, we had bigger fish to fry, like kitchens (on the second floor and first floor) and bathrooms (see also: the second floor, the first floor, and the basement bathroom).
After correcting all the “more important” rooms in the house, we finally looked at the living room and went, “…eh.”
With a pile of inherited furniture, older style frames on the walls, and little stylistic direction, our living room felt… tired.
Sure, it was comfortable, and would “do,” but I personally wanted our living space to reflect who we are – a fun couple with a young kid – not two retirees!
This summer 2022, we finally decided to give our living room a makeover.
Living Room Makeover: Corrections
Our living room boasted two small headaches to correct during this small remodel.
1. The Ceiling.
First: Tape
Fact: the previous owners of our home had terrible taping skills. Take a look:
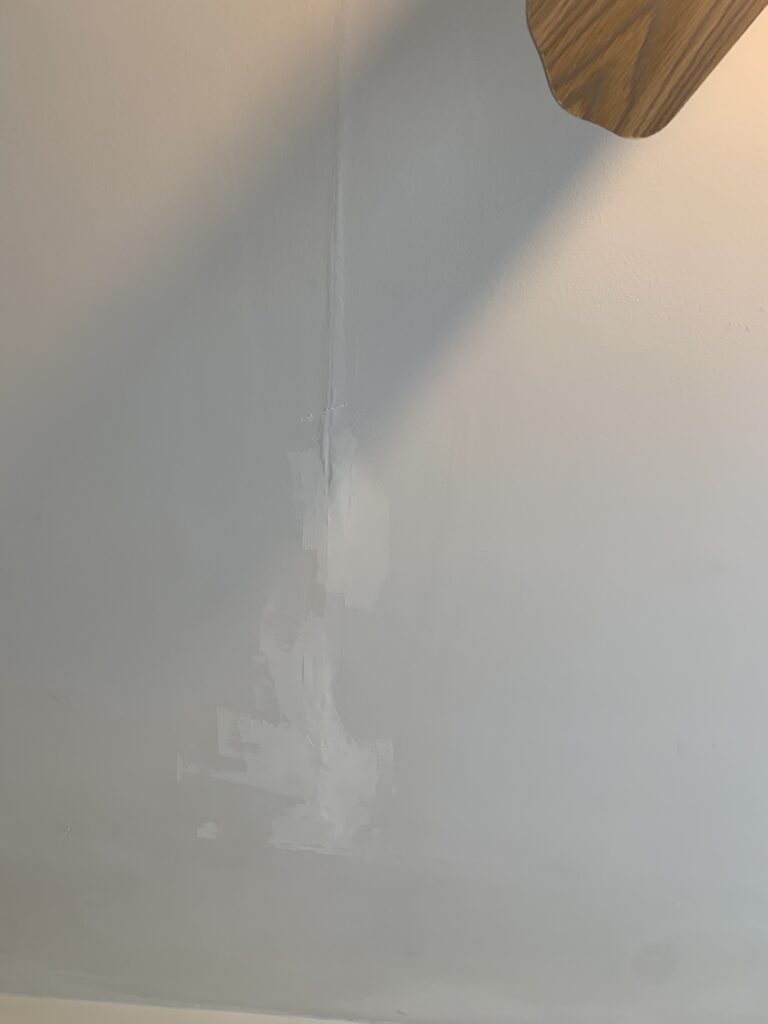
They very clearly did not put joint compound on the joint before trying to get the tape to stick.
The correct way is like this: muck, tape, muck. Then, more muck until it’s smooth.
Unfortunately, they only did: tape, muck. That makes for no stick!
Thus, the joint tape loosened from the ceiling. As my ol’ man would say: “The world sucks, gravity exists.”
To correct the bad tape job, Derek used a sheetrock knife to cut out the bad tape, then started over to retape it properly.
Second: Gloss paint
For some unknown reason, the previous owners of this house habitually painting ceilings in a gloss finish.
WHY?! Why.
No one needs a glossy ceiling. Good grief, people! Paint it flat white and call it done.
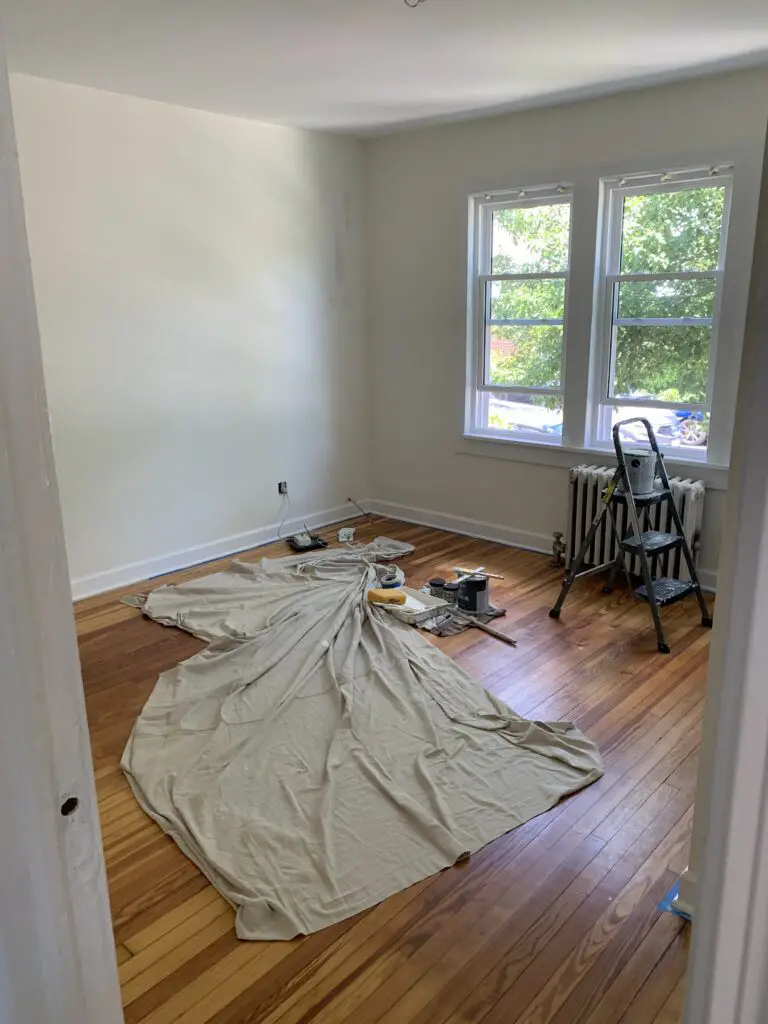
Thankfully, this is an easy fix. Once my taping hero had finished his work, I took some flat white and went to town.
Ahh…. Fresh paint.
2. Drafty Window.
This one came as a surprise.
Having replaced all the windows on our floor in 2019, we couldn’t figure out why, every time I sat down on the floor to play with our son, I felt a breeze. An uncomfortably cold, wintry breeze.
To solve the draft mystery, Derek took a lighter and held it up near the window frames and trim to see where the bits of air might be entering.
Sure enough, the draft was originating in the space behind our radiator at the bottom of the window trim.
It seems whoever installed that trim got lazy with the caulk and didn’t find a way to seal the bottom.
O-ho, good homeowners. Even 1/8 of an inch draft can cause your home to hemorrhage heat!
We removed the radiator cover and, instead of trying to fit a caulk gun behind a cast iron radiator, Derek just put some caulk on his finger and carefully reached behind it to get the job done.
Related: Easy Home Improvement Projects you can do THIS WEEKEND!
Living Room Makeover: Paint
We loved the idea of a neutral on the walls, but the light taupe we had chosen back in 2016 looked quite dark, particularly at night.
This time around, we took our time choosing a paint color. Wanting to avoid white (which, there’s no secret that I love a white room, see also: every other room before and after in our house), we grabbed a handful of off-white chips from SW at Lowes.
Then, we held them up to the wall at different times of day.
I cannot emphasize how important this was in choosing the best color!
Our living room gets bright sunlight from about 7am-10am, but nothing after 4pm. We wanted a color we’d love at all times of day.
Behold, “Citilite” from Sherwin Williams.
Living Room Décor
Alright, I’ll admit it: I’m décor averse.
For me, especially living in a small space, if it ain’t functional, it’s got to go. Derek is a heartless ruthless minimalist. We work well together.
But we had to ask ourselves: How do we brighten up this space while maintaining function?
And, how do we blend our inherited (free) older furniture into an updated look?
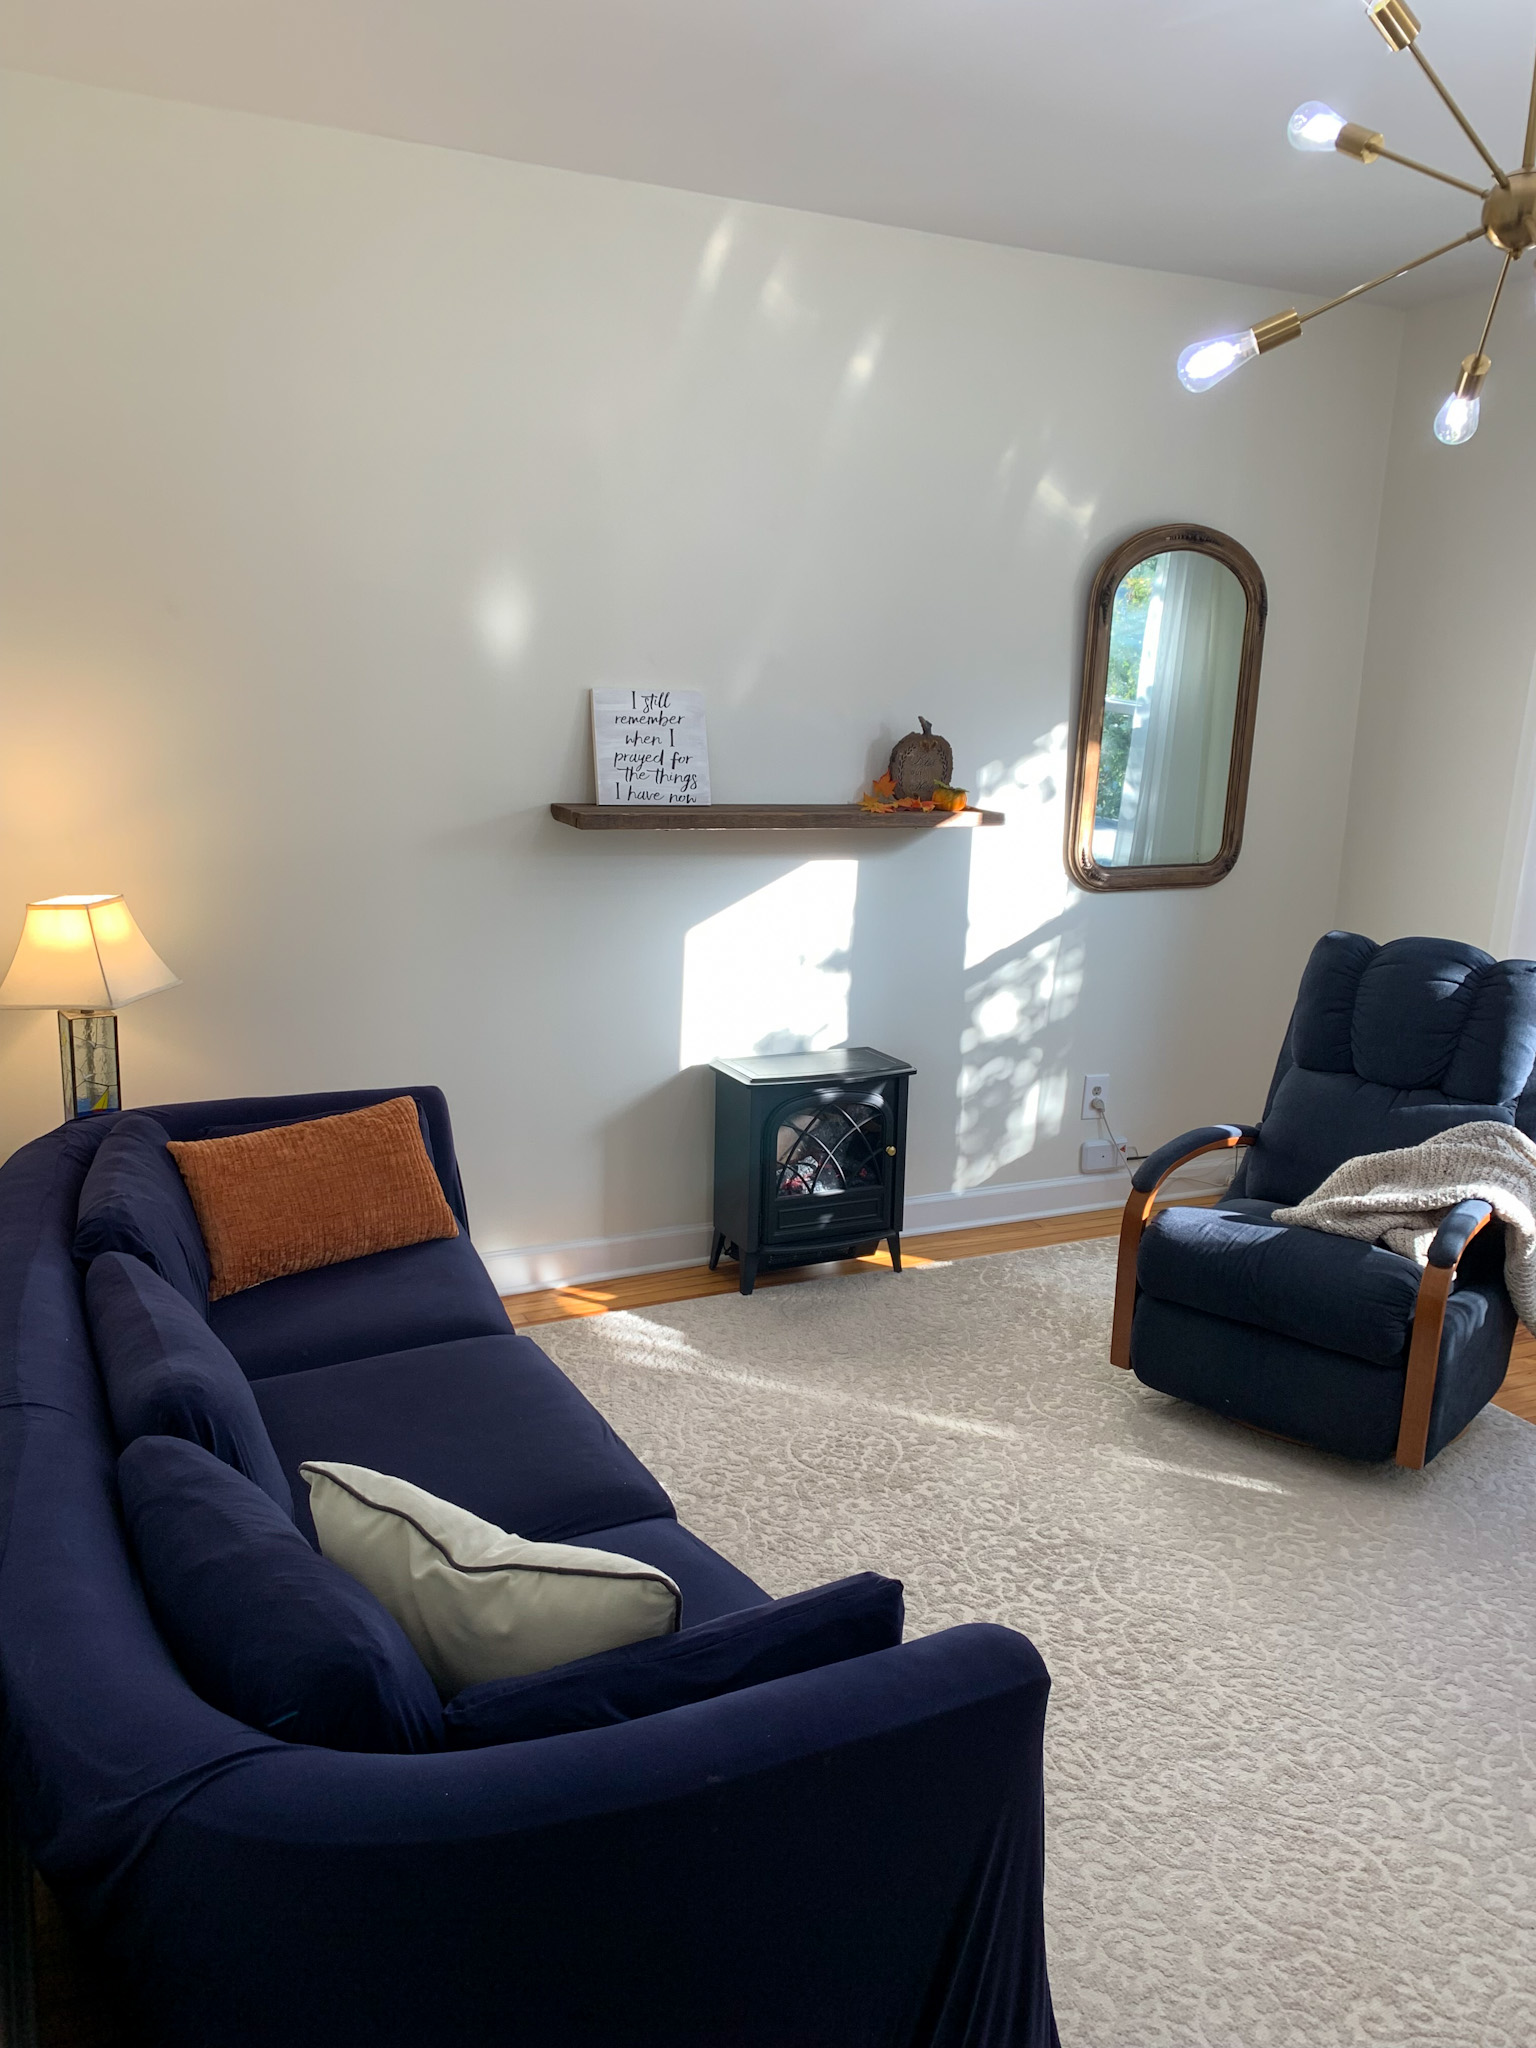
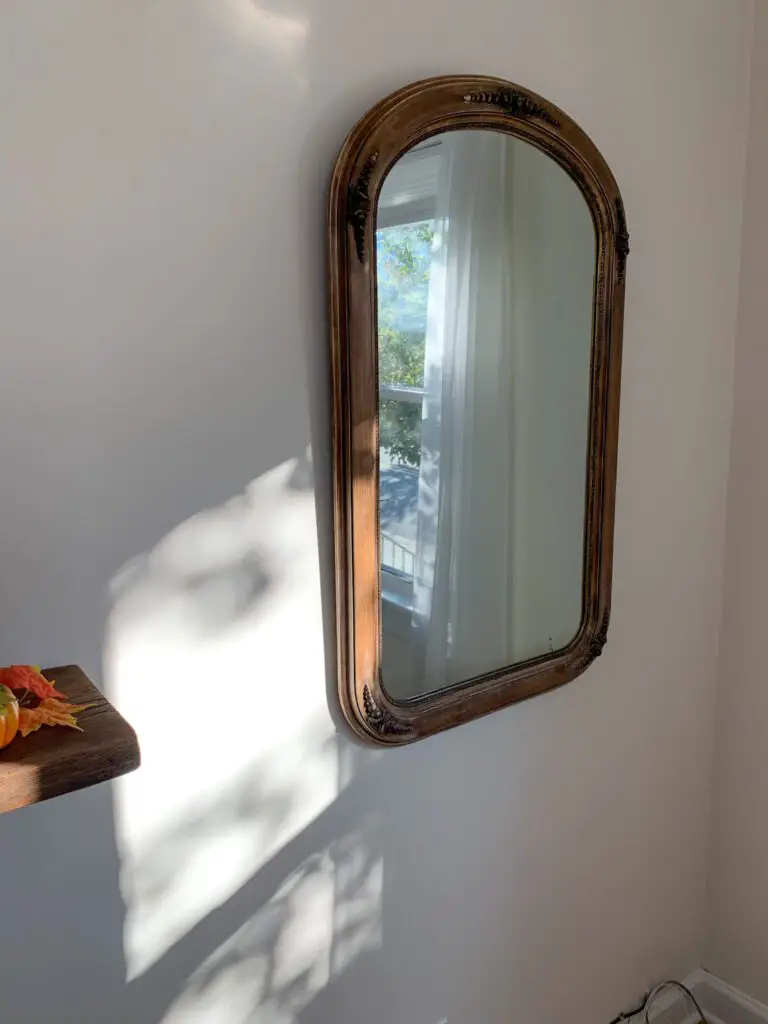
Antique Mirror
We started with an old mirror. Derek’s great-grandmother’s mirror, to be specific. Mirrors make small spaces look bigger (kind of like a window!).
We placed it near to our only exterior windows in order to reflect as much natural light as possible.
Isn’t it beautiful?

Couch
One of the biggest “dated” pieces in our living room is our couch. It’s truly an antique – purchased by Derek’s folks back in the 70s. It’s incredible in terms of quality and comfort. (The don’t make ’em like they used to!).
But the floral pattern…. meh. I wasn’t into it.
We decided to go the slipcover route.
I know, I know – it’s a design faux-pas, but honestly, we have a toddler who thinks it’s fun to dump everything upside down and turn around to smile about it, so a slipcover makes things easy to clean. No upholstery steaming here!
We found this from Couch Skins. I admit, it’s not perfect, and required a few sewing skills to make it lay right on our tuxedo couch, but we love the color and soft material. And, for the $131 we spent, it provides a cheerful new look without spending hundreds more on a new sofa.

Lighting
Lighting makes a room, right? (Well, floors make a room, and paint makes a room, depending whom you ask, but… lighting makes a room, too).
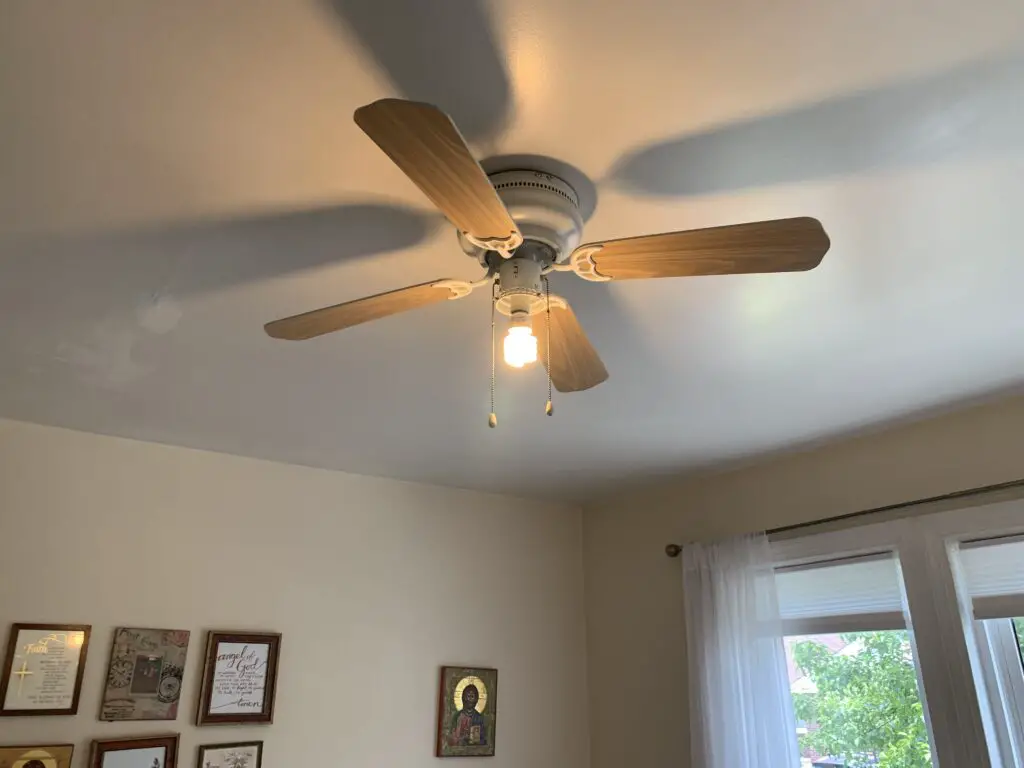
Here’s what the house came with:
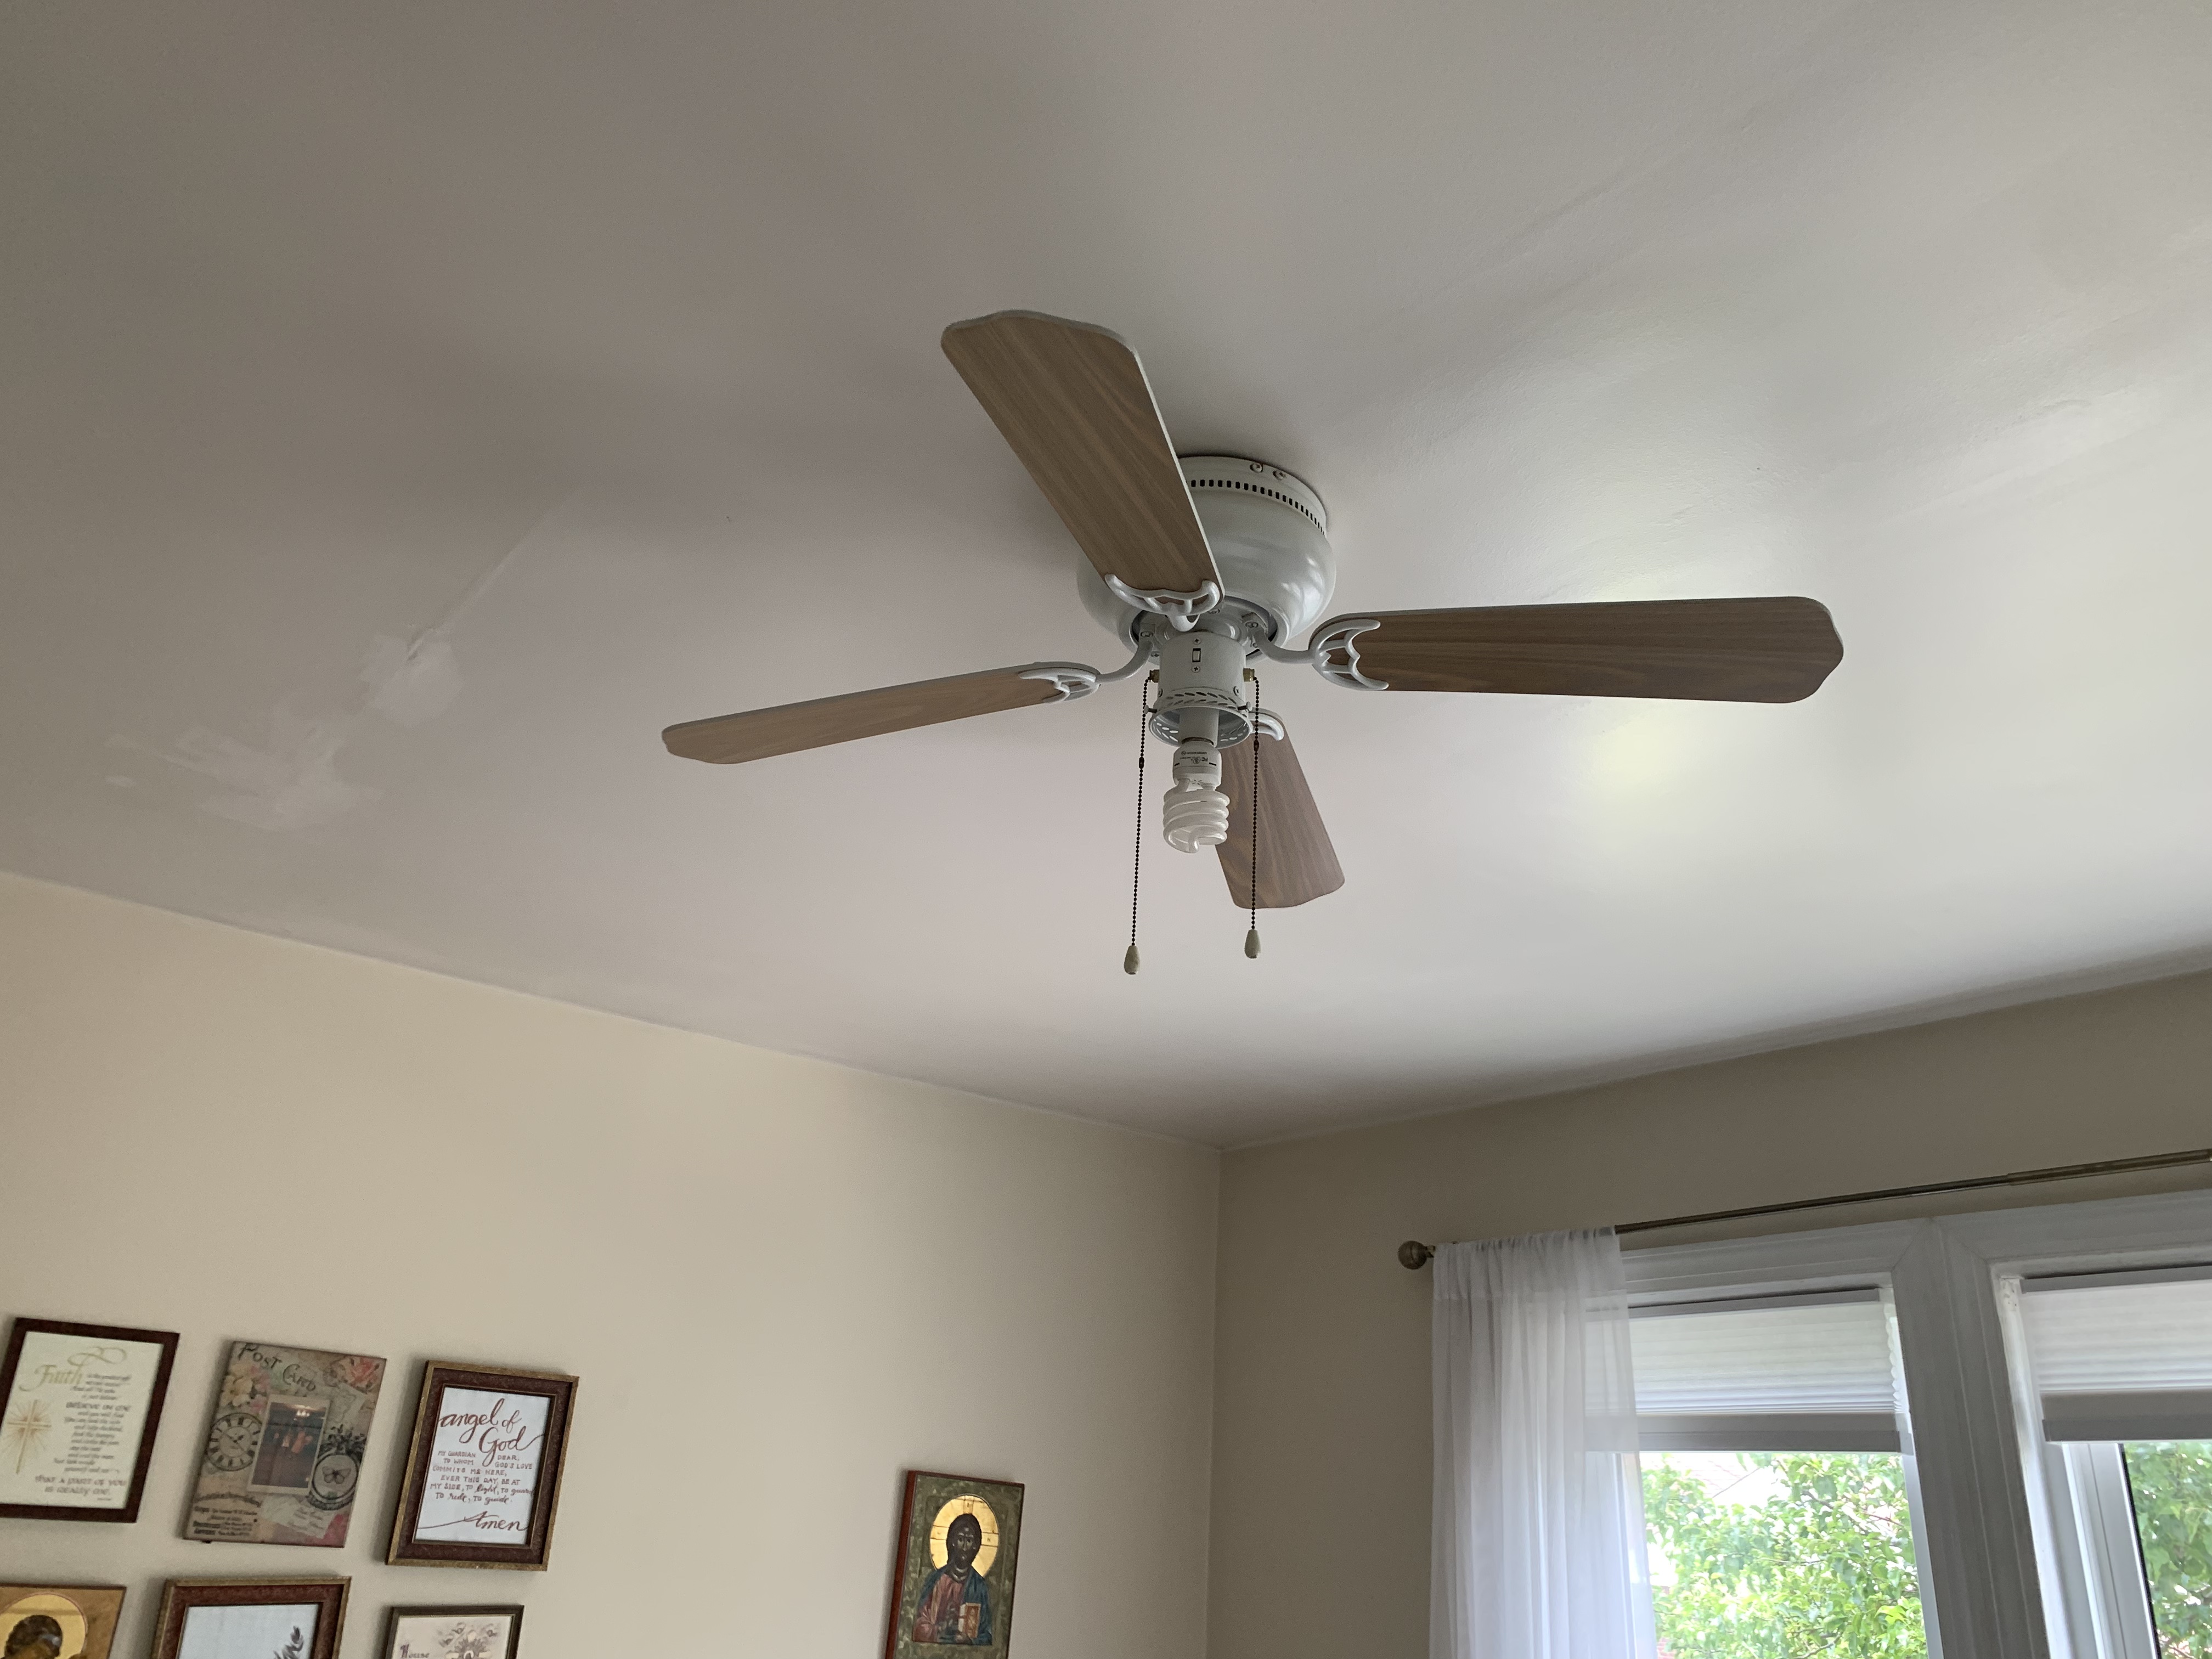
I personally just cannot stand a ceiling fan. We never even used it!
This fixture reminded me of my girly adolescent room when I was about 7. Couple that with the limits on wattage and bulb style (notice – we couldn’t use the bulb cover on an LED), and this puppy had to go. (Why yes, we did sell it for $30 on FB Marketplace, thank you for asking! Boy do I love reselling online for extra cash.)
I wanted to take advantage of the 9-foot ceilings in our house to add a bit of style.
Enter: the chandelier, just like in our Master Bedroom Remodel.
Take a look at this sweet fixture from Amazon! It’s incredibly versatile, with several height options plus the ability to hang from a sloped ceiling as with a staircase, for example.

It also checks in well below a hundred bucks. Ba-da-bing!
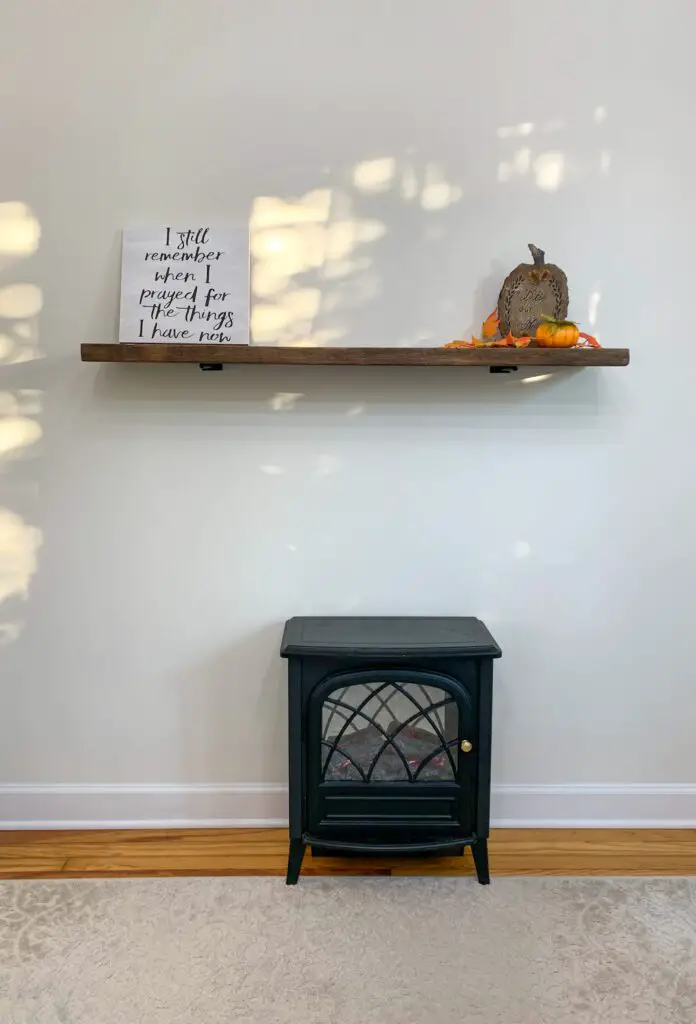
Upcycled Floating Shelf
And now for my pride and joy – our upcycled, reclaimed, floating wood shelf. I could squeak with delight that this worked out!
We had this old piece of wood from our old house remodel staircase renovation sitting around for years. Years, I tell you!
For 5 years I have protected this poor piece of lumber from being cannibalized into a structural stud behind a bathroom wall. Call me a Fixer Upper fan, but I believed this ol’ thing had a some character and deserved a second chance.
Enter: the floating shelf. Sand, sand again, varnish, et voila! A lovely floating shelf.
We purchased some floating shelf hardware and are here to say, it worked out just fine (note: you need a long drill bit). Full tutorial coming soon!

Fireplace
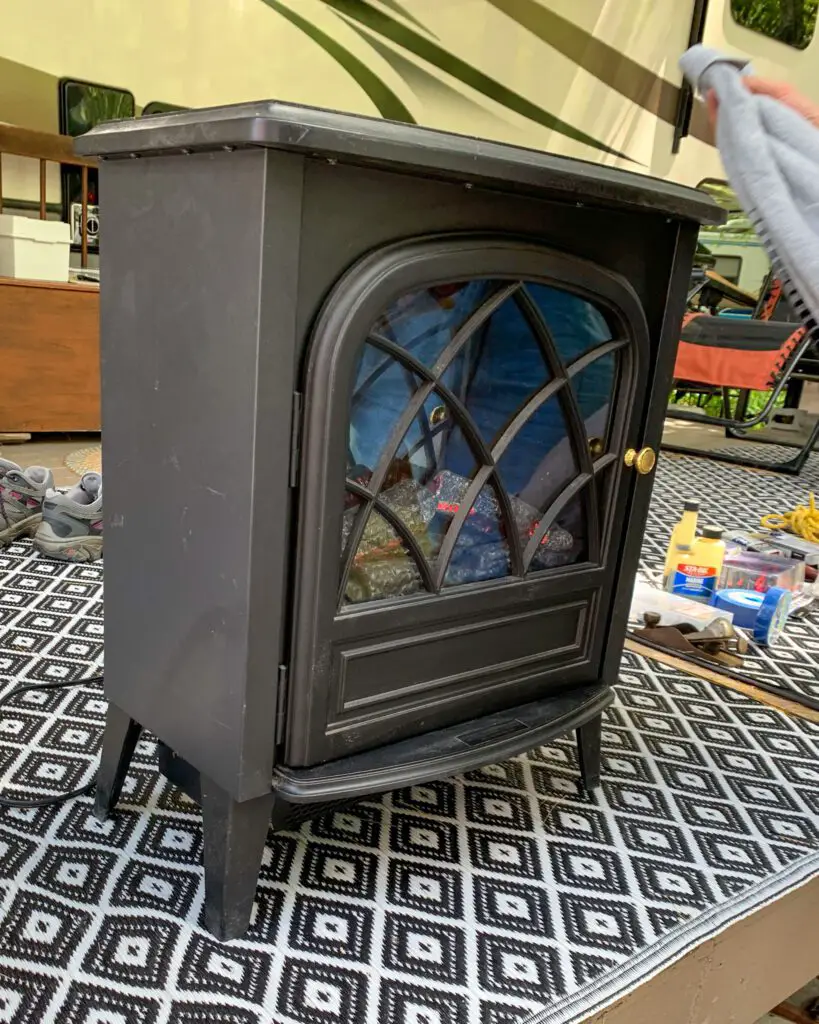
Never in my wildest imagination did I think of putting an electric fireplace in this living room.
But there we were, vacationing in rural Maine, tag sale hopping to our heart’s content – when our eyes locked across the old musty garage – yes, kismet! A fireplace! Just the focal point we needed to ground this room.
Now, I admit, a non-built-in is also a semi-faux pas.
I don’t care.
It’s cute, it’s portable, and it cost us about $3. Come Christmastime, you can bet your eggnog that I will be hanging stockings from our faux-mantle over our faux-pas fireplace, relishing in yuletide to the max.
The best part about this little spot in our room is that it is totally portable. Someday, when we move out, we can take both our fireplace and our floating shelf with us to bring a piece of our first home wherever we go.
Living Room Makeover Budget
So, how much did this living room makeover cost?
Here are the details:
| Wall paint | $45 |
| Spray paint (radiator cover) | $7 |
| New electrical box | $3 |
| Light fixture | $55.99 |
| New lightbulbs (2 packs of 5 LEDs) | $37.98 |
| Shelf hardware | $16.95 |
| Fireplace | $3 |
| Couch Skins slipcover | $131.41 |
| Throw pillows | $18 |
| Peach of mind + mountain of joy just looking at it | priceless |
Our grand total came to $318.33. Not bad! After the small fortune we spent on every other remodel in our home, we were quite pleased with our total budget for this room.
Related: Home Renovation Budget: How to Make your Un-sexy Remodel Roadmap
Living Room Makeover Before and After
Here are our final living room makeover before and after pictures.
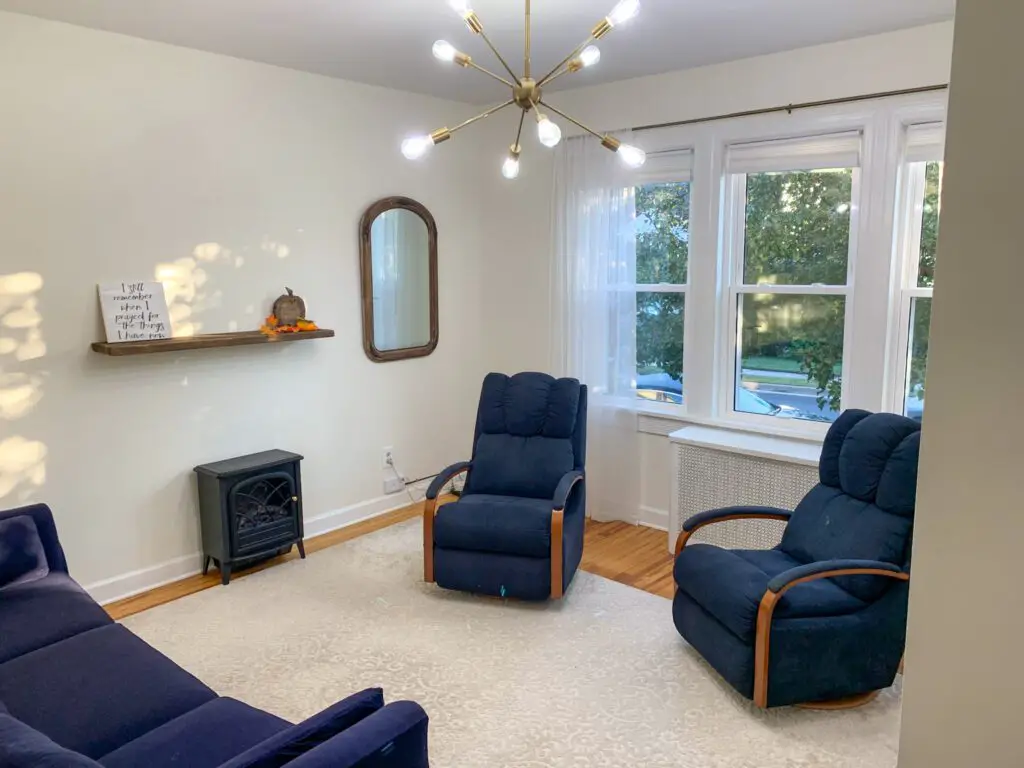

We hope you’ve enjoyed this tour of our new and improved living space!