A Simple Bathroom Remodel Before & After – First Floor, Part 3
This post may contain affiliate links. If you purchase a product through one of them, we will receive a commission at no additional cost to you. As Amazon Associates, we earn from qualifying purchases.
Welcome back to the insanity! Today we’ll dive into our first floor renovation part 3: the bathroom remodel before and after.
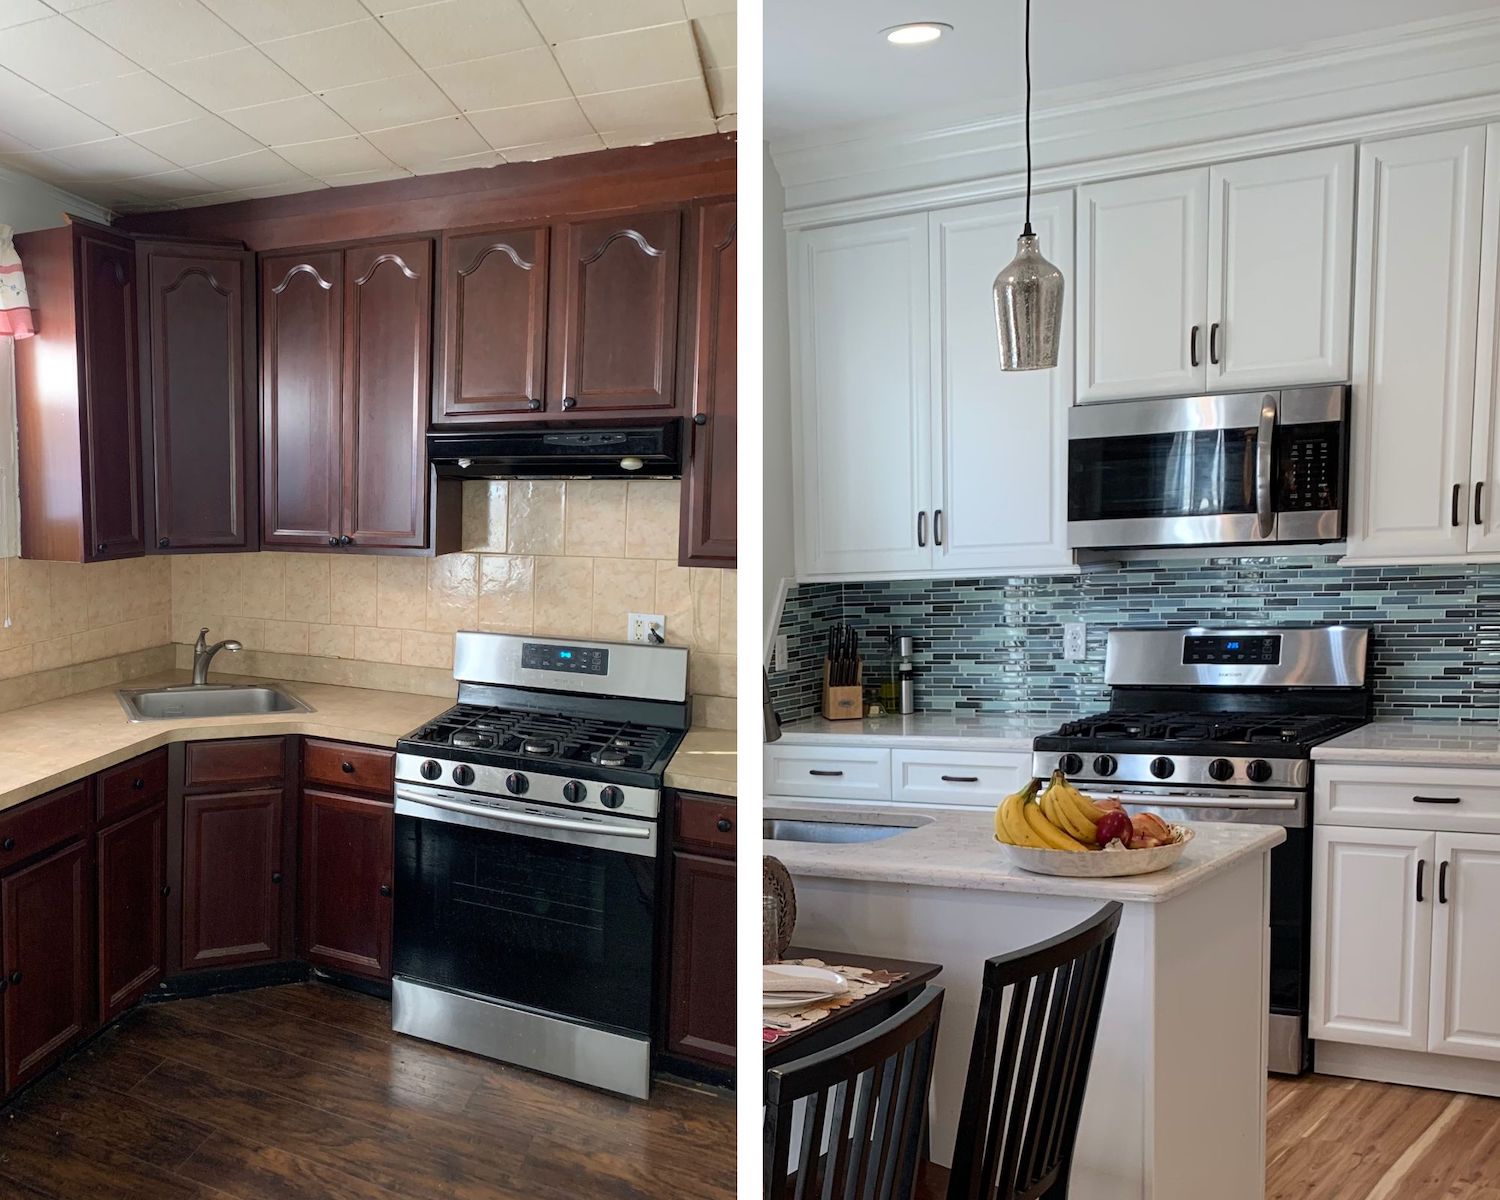
If you’re just joining the circus that’s been our first floor renovation, I invite you to check out part 1: Kitchen and Pantry Layout Correction, where we address all the issues facing our original first floor layout, and part 2: Beautiful Open Concept Galley Kitchen, where we break down the kitchen renovation.
Today we’re off to correcting the bathroom.
Oyyyy, the bathroom.
Let’s take a look.
Demo
To start this bathroom remodel, we went to town on demo day!
If you recall, we had a blast demolishing our first floor, as detailed in last week’s post.
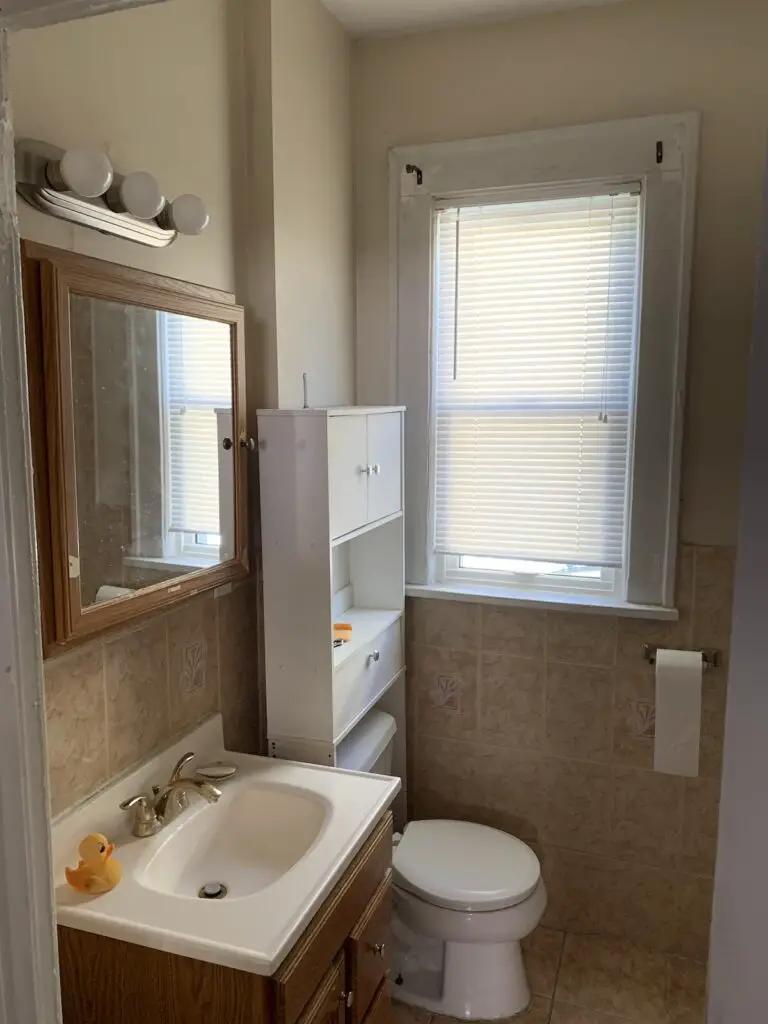
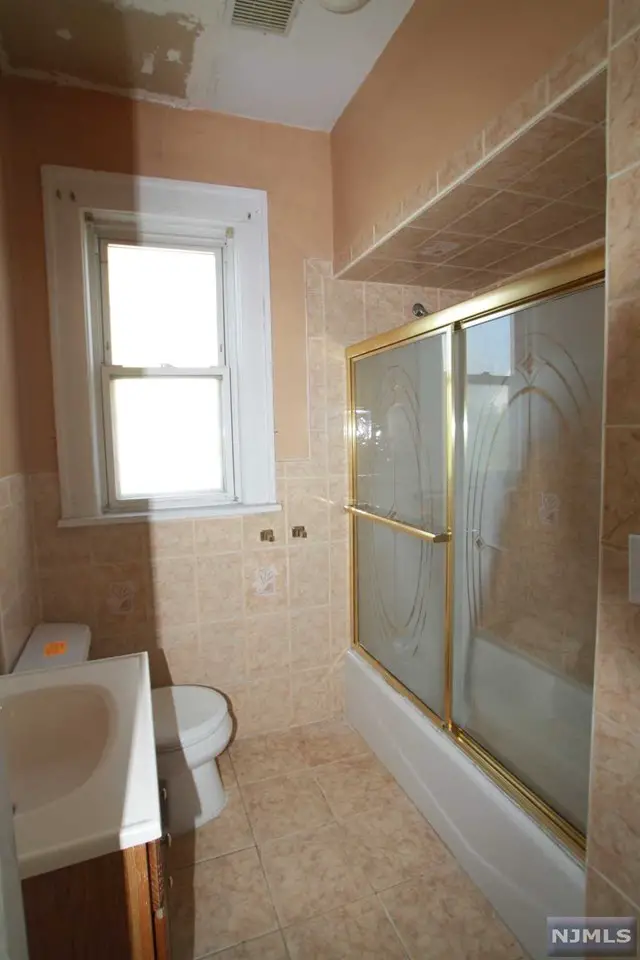
Saying goodbye to this salmon tile was so easy, it was alarming.
Check out that awful ceiling patch, brought to you by our previous homeowners!
Also… what were they storing in that giant soffit above the shower…?
Answer: Nothing. Utterly nothing.
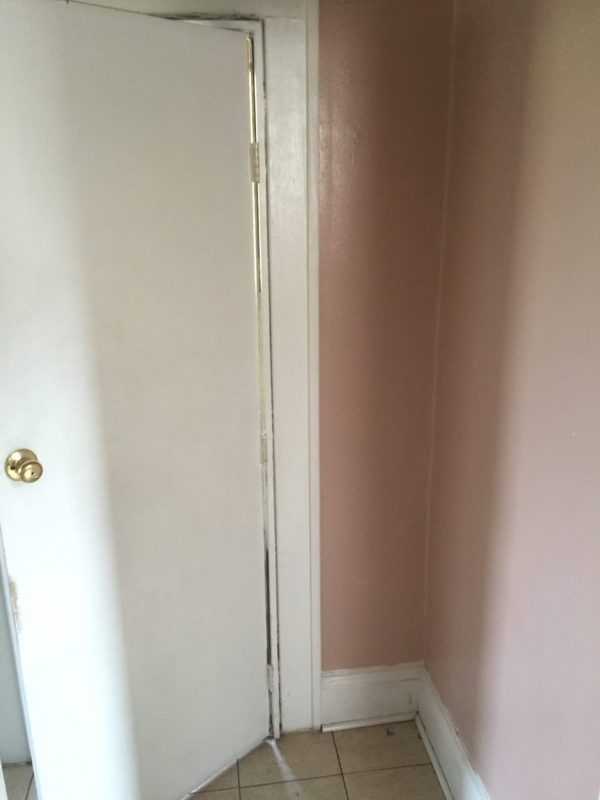
One of my favorite features of the original bathroom was our door. Looks like a regular door, no?
Spoiler: this door is actually upside down.
Face palm.
The handle was abnormally high from the floor. So we took a look at the hinges… sure enough, instead of getting a new frame for the door when desiring to flip its orientation… the previous homeowners just… flipped it.
Sigh.
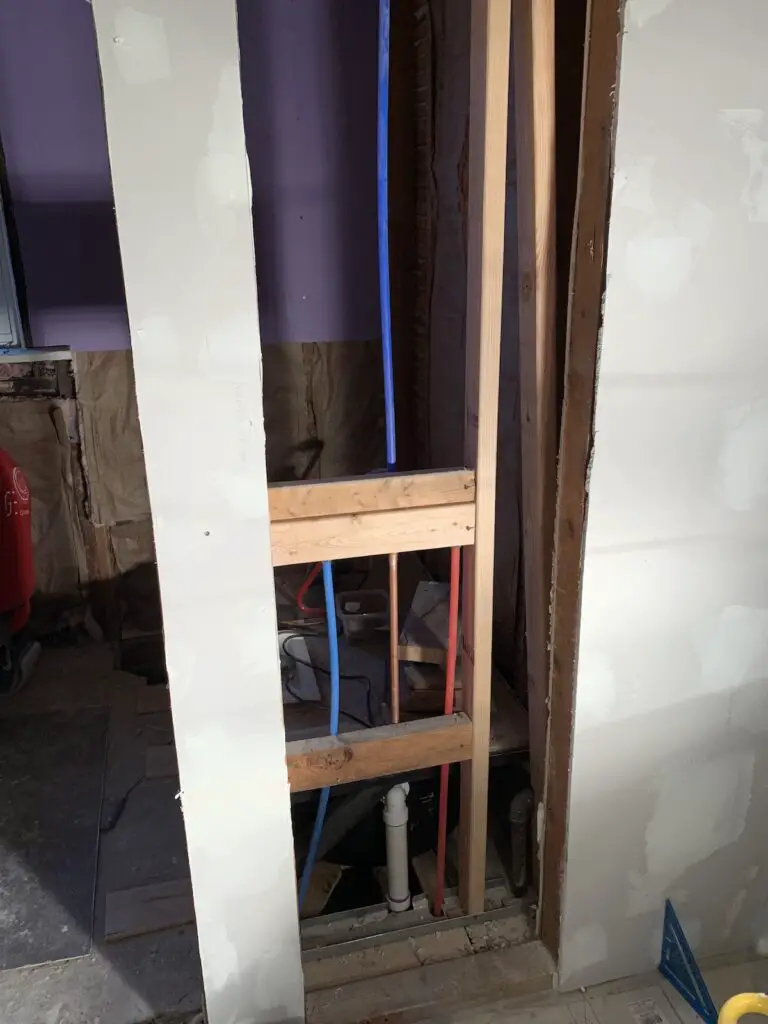
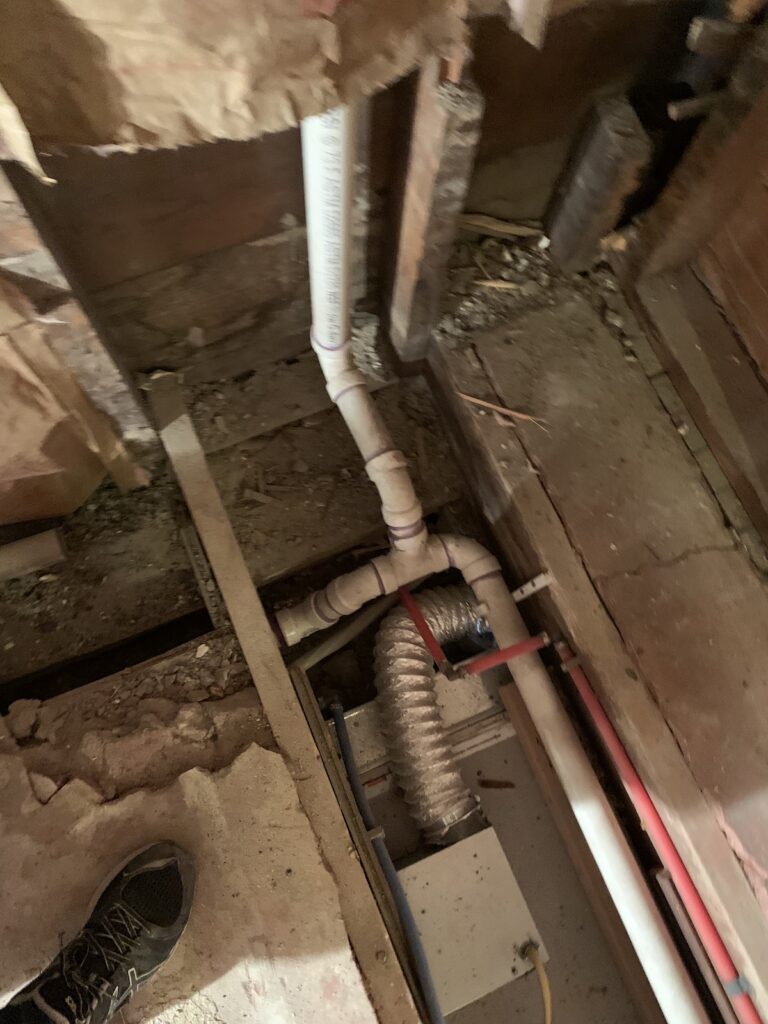
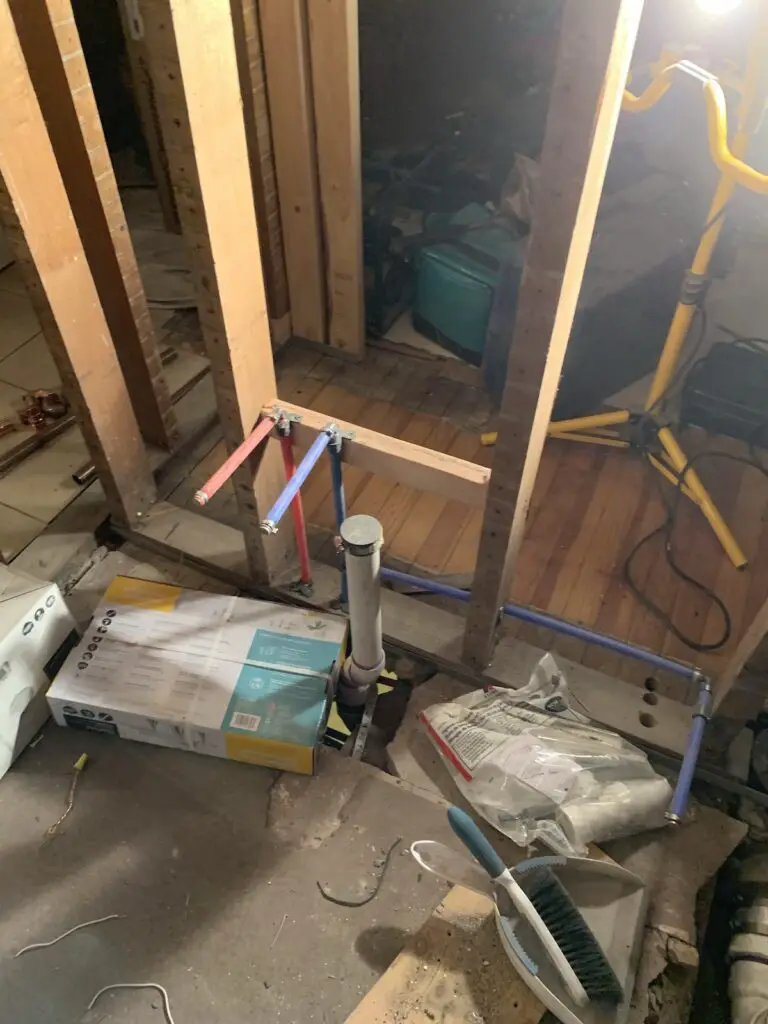
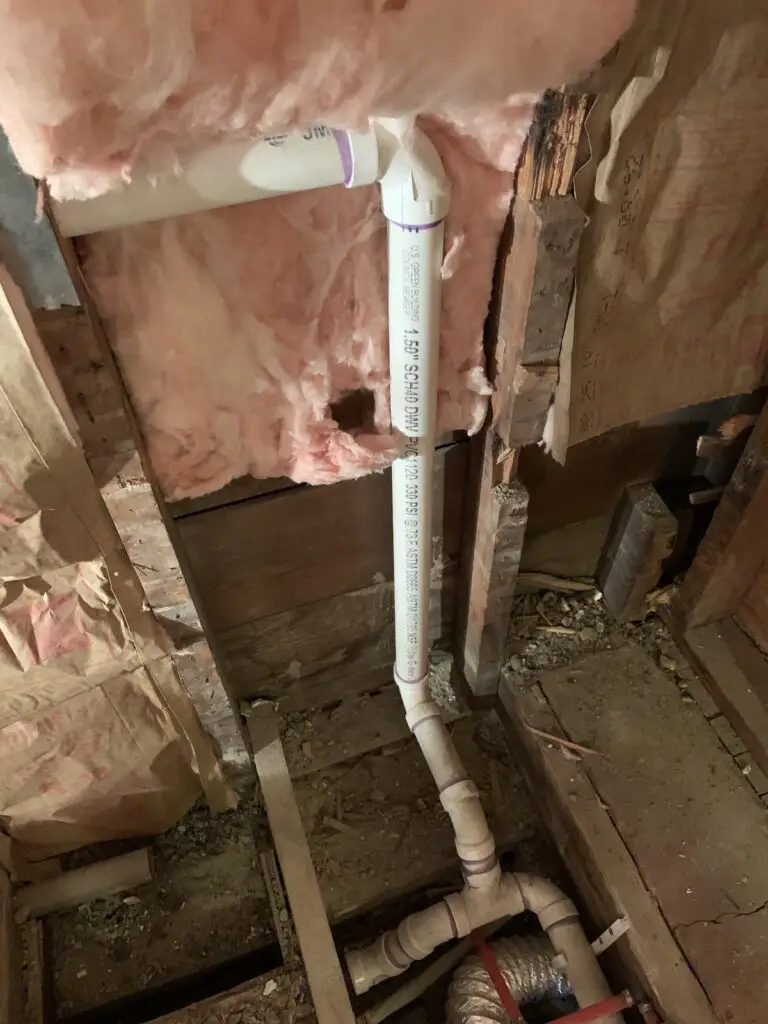
Reframing and Rough-in
Goals for getting this bathroom remodel from “before” to “after” included:
- Flipping the shower head to an interior wall, to keep our pipes nice and warm during the winter time
- Flattening out the wall behind the toilet – not only for better aesthetic but also for more depth in the master closet backing up to that wall.
Off we go for more reframing, rough-in and sheet rock…
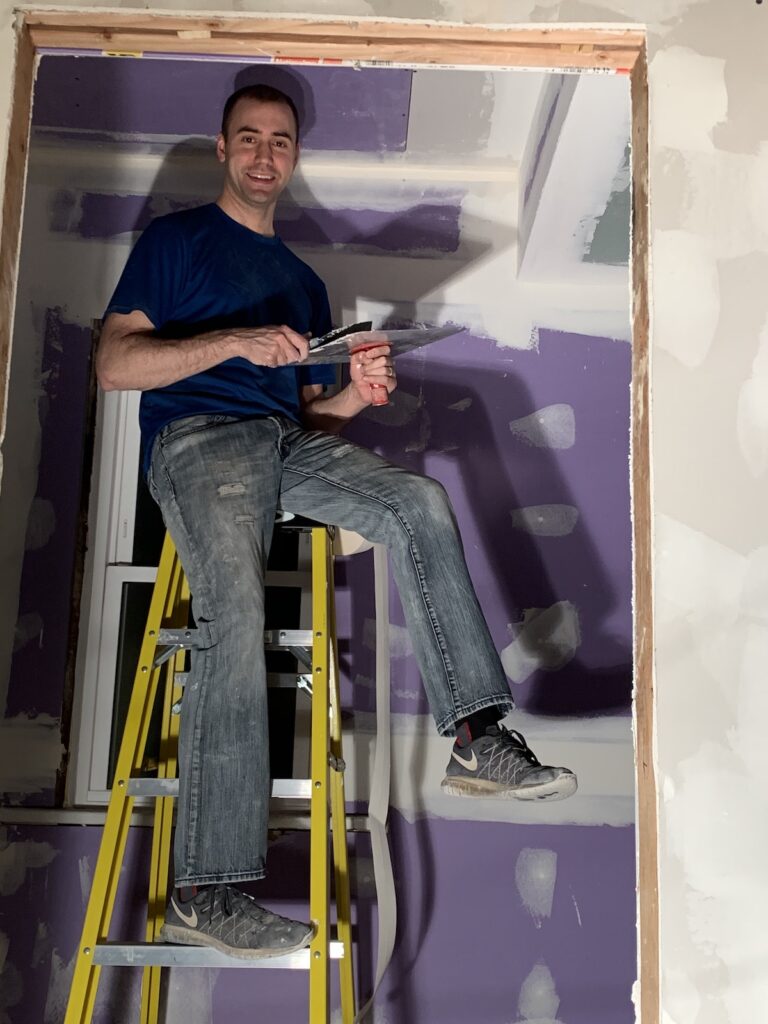
Rock and Roll
After the tedious layout, framing, and rough in, we got to work with insulation, sheetrock and taping.
We also took advantage of the open walls to add some fiberglass insulation. Our house is so old that it had no insulation in the walls, anywhere.
We added this not only to keep the bathroom pipes warm, but to keep us warm, too. (Am I the only one who dreads undressing for a shower in the winter time?)
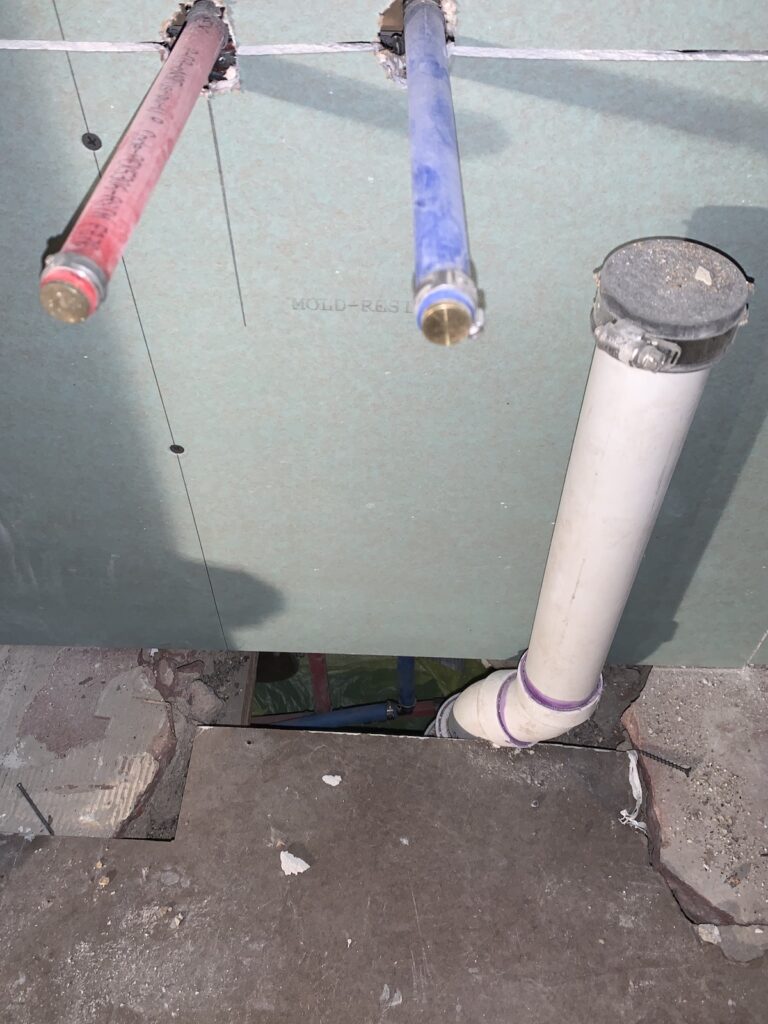
Fellow new homeowners, notice that the sheetrock boards in the bathroom are green or purple – that means they’re rated for a room that will get damp, like from a hot shower.
Are you, too, renovating your bathroom?
Go claim your Bathroom Renovation Planner – it’s the best nine bucks you’ll spend on your new loo!

Tile Time
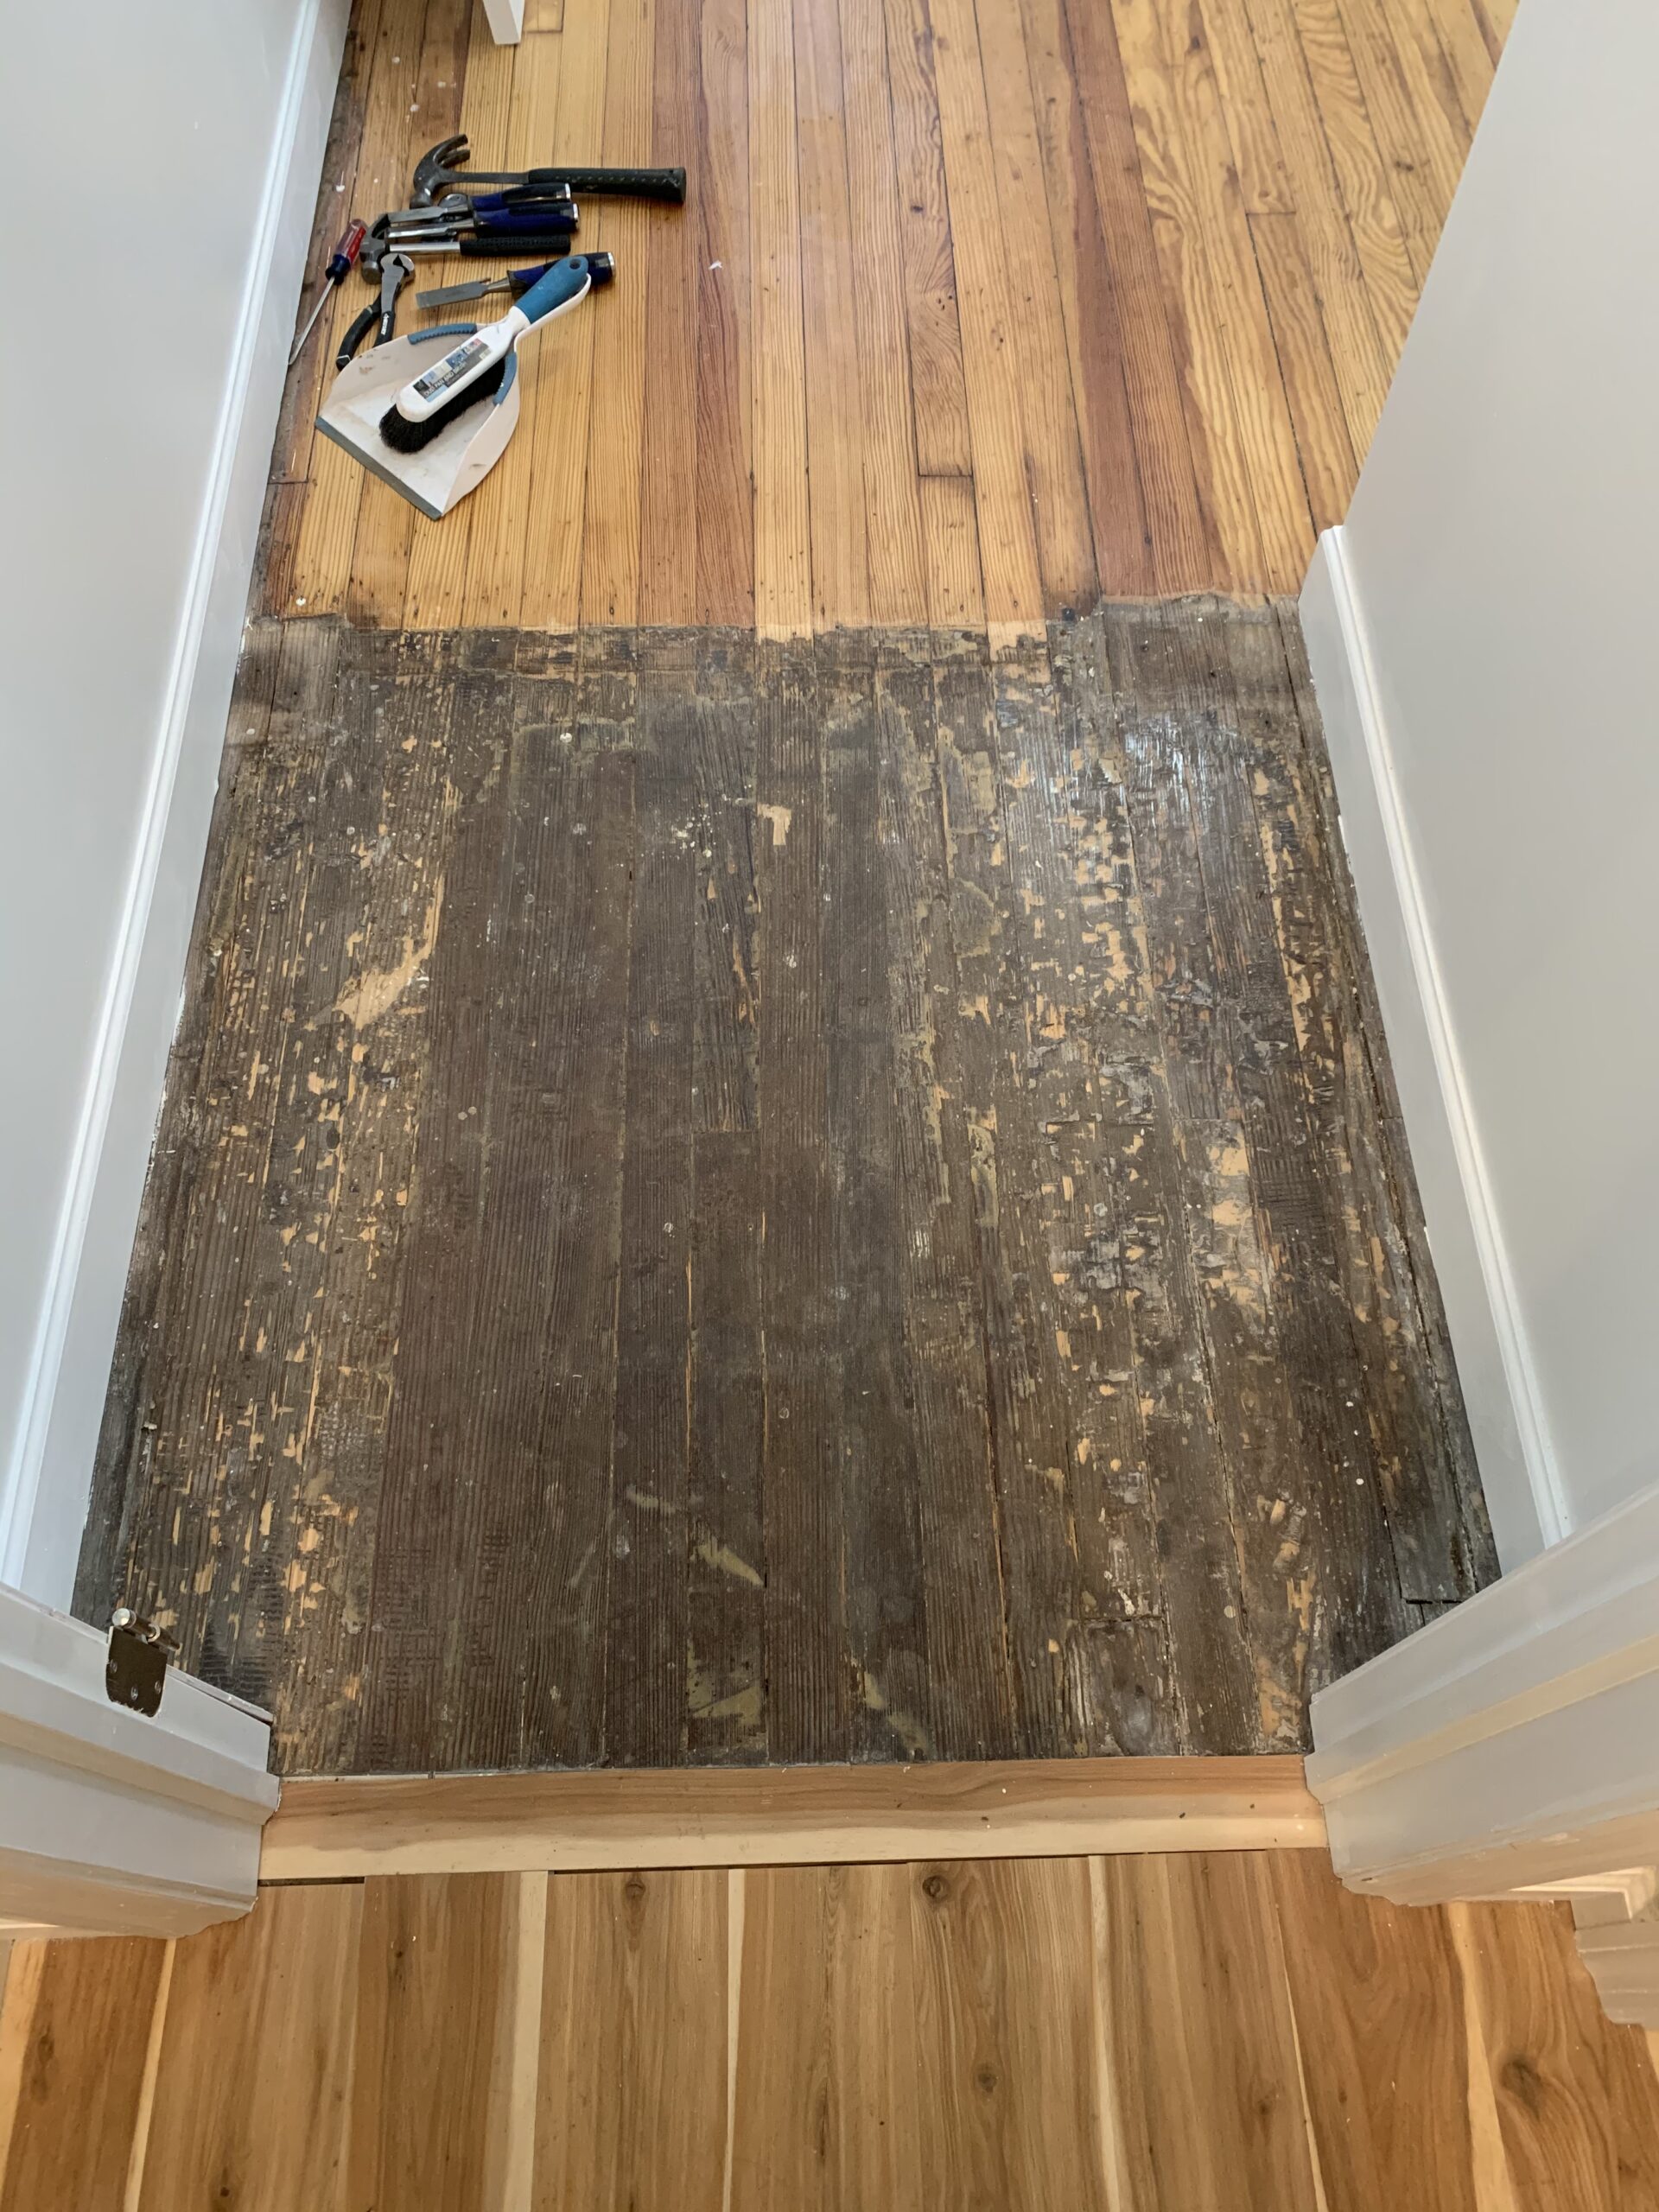
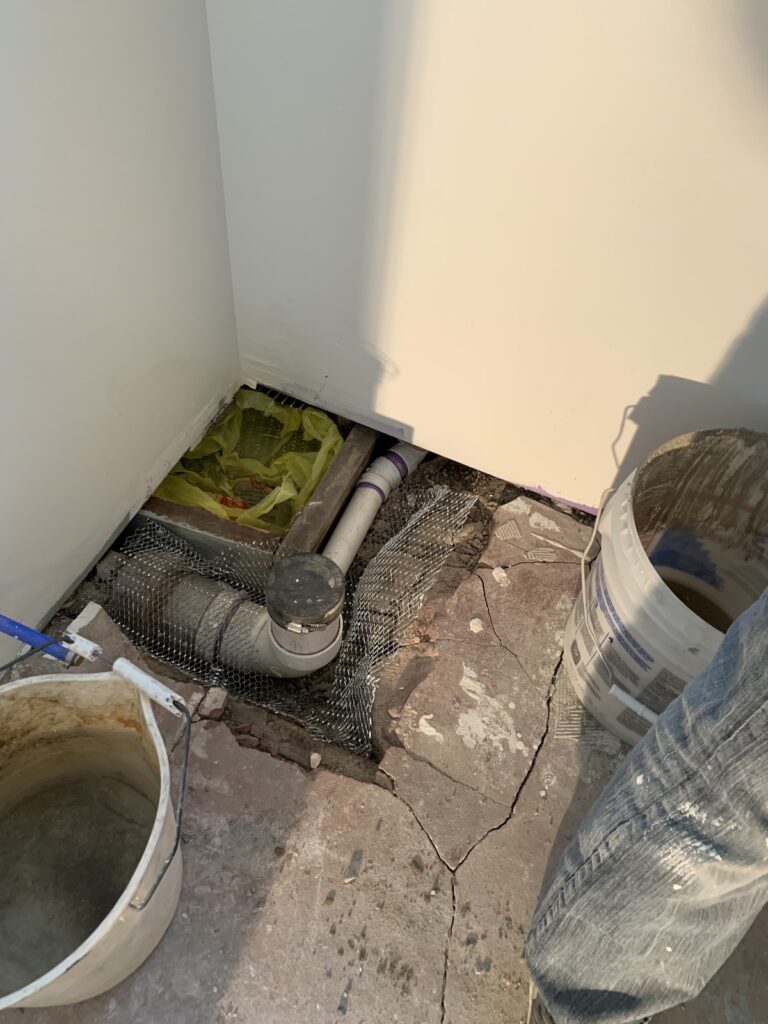
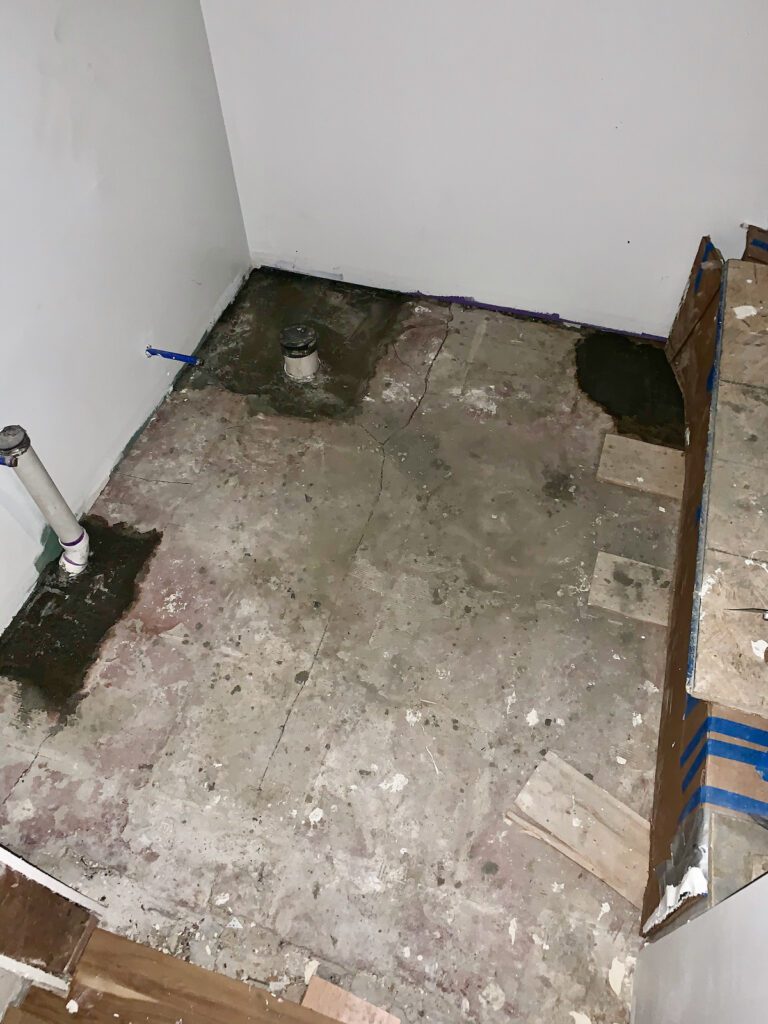
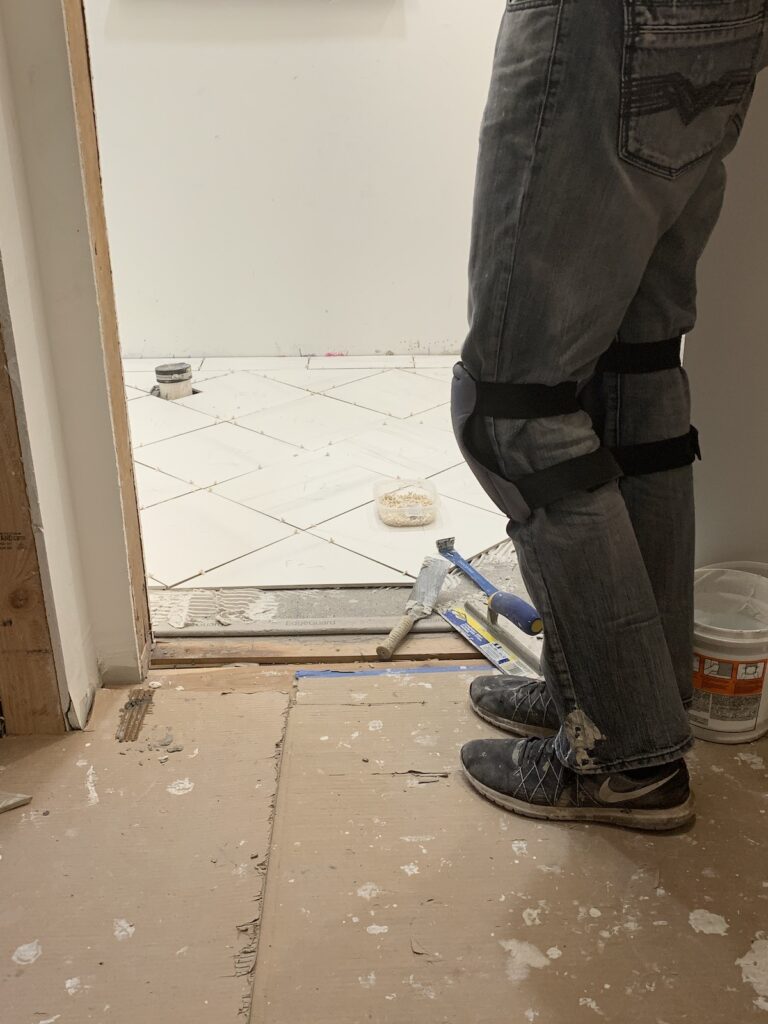
Once the walls were rocked and on their way, we had to patch some flooring.
In retrospect, we should have just started over with the flooring and ripped out everything, instead of the Swiss cheese mess that we created for ourselves. Whatever! Solve it and move on, right?
With some wire mesh (check the roofing department) and plain ol’ concrete, D and I spent a lovely Sunday together patching the holes in our bathroom floor. Who needs football and nachos when you can mix concrete instead? (…said no one, ever.)

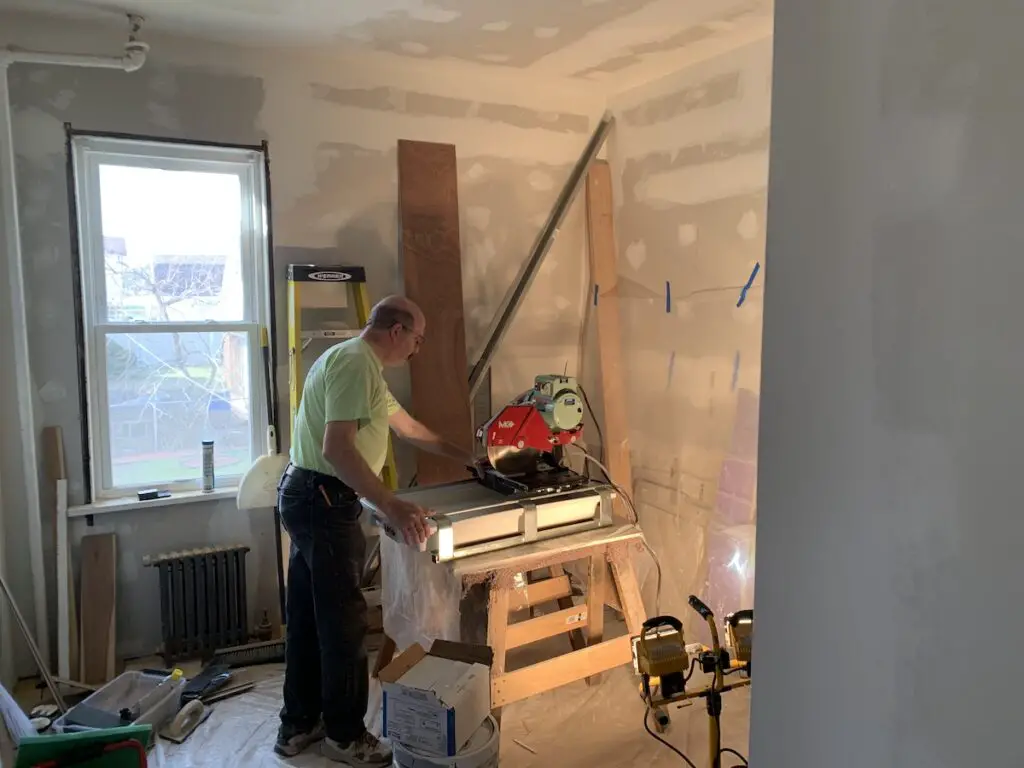
Now for the beautifying part… tiles!
I let the boys have fun with the wet saw and muck. Ya girl doesn’t do water + blades, given her hand modeling career.
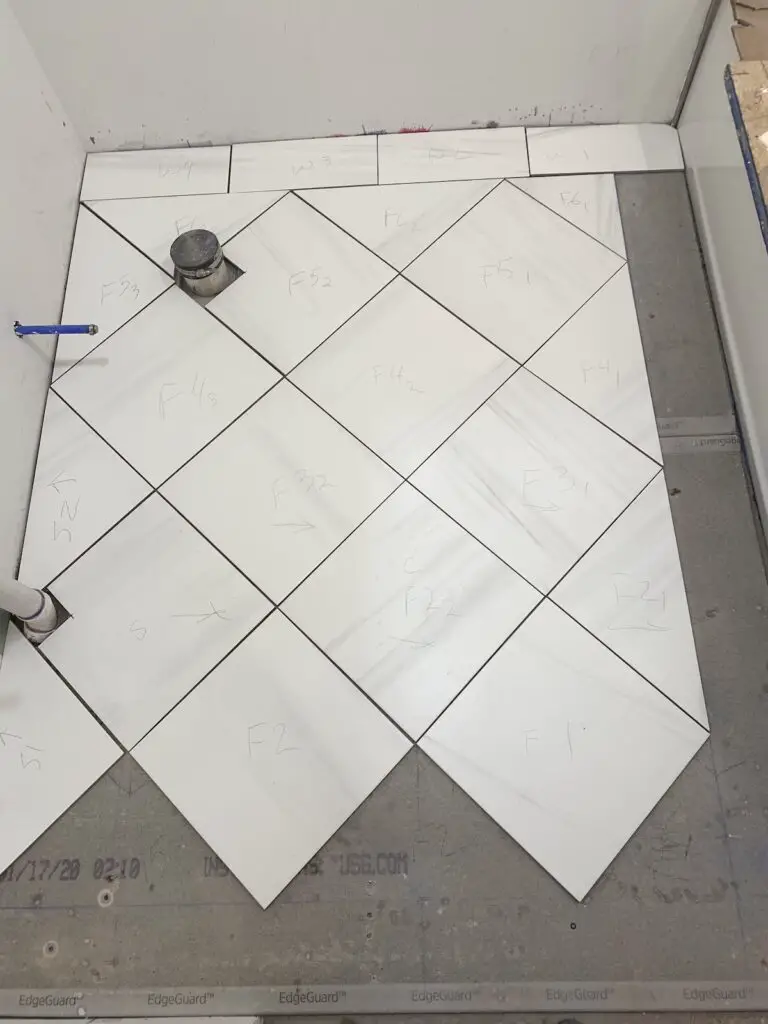
TIP: Write down the names of the paints, tiles, and fixtures you pick out. If applicable, write down the product number and store you bought it from. I promise, you won’t remember later.
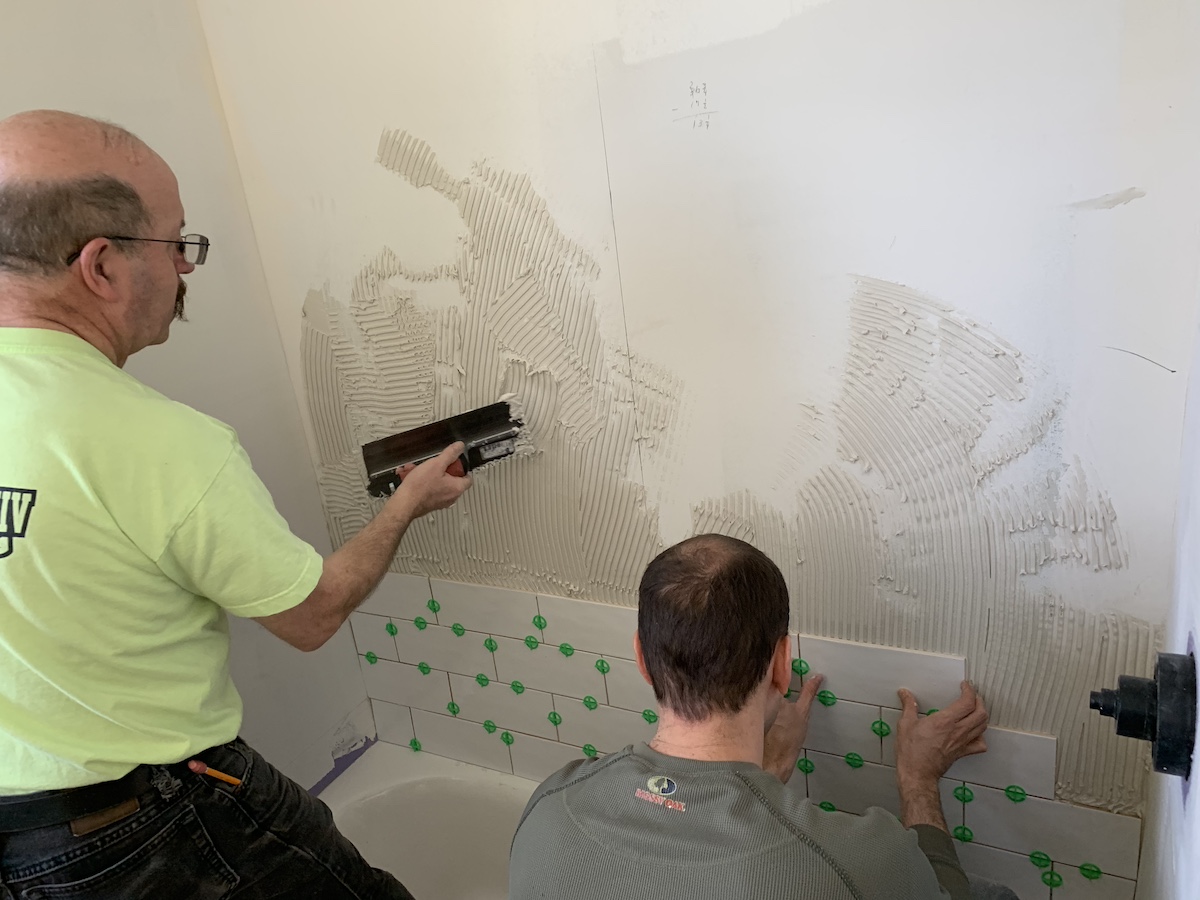
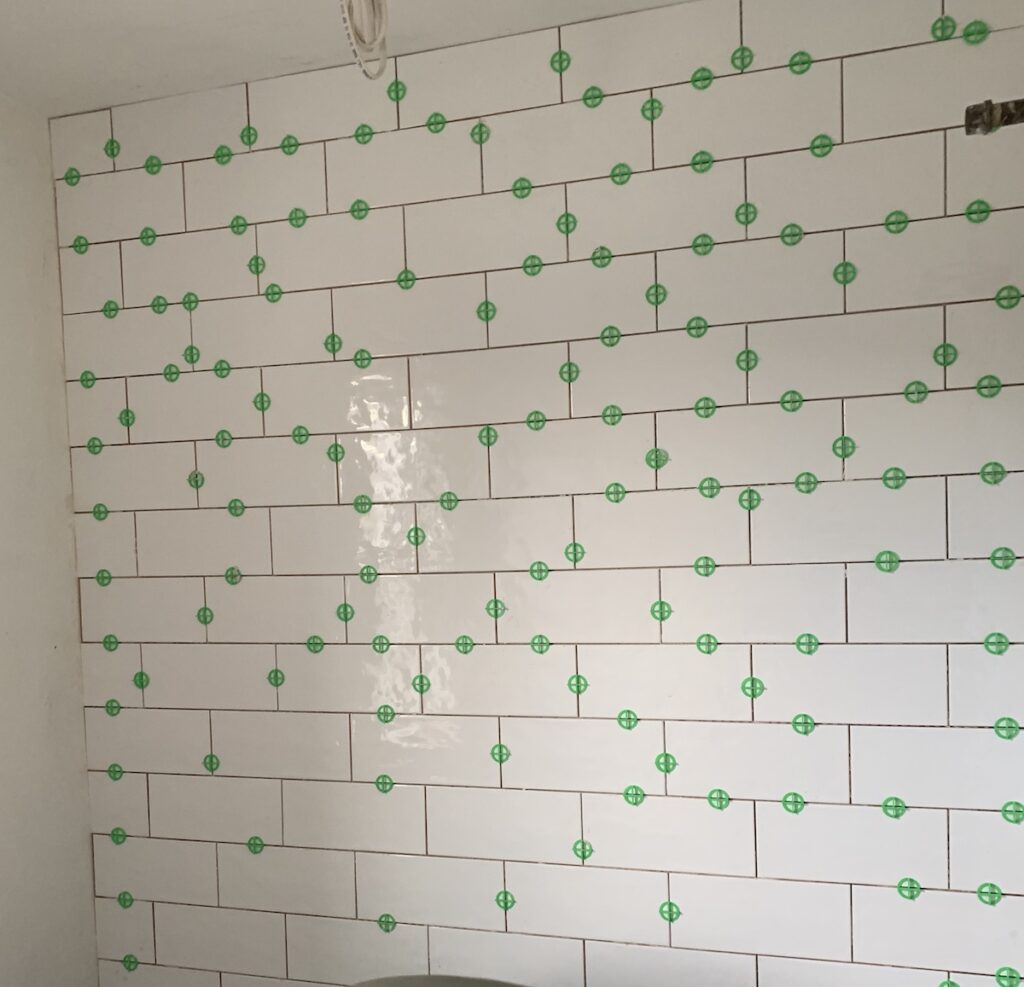
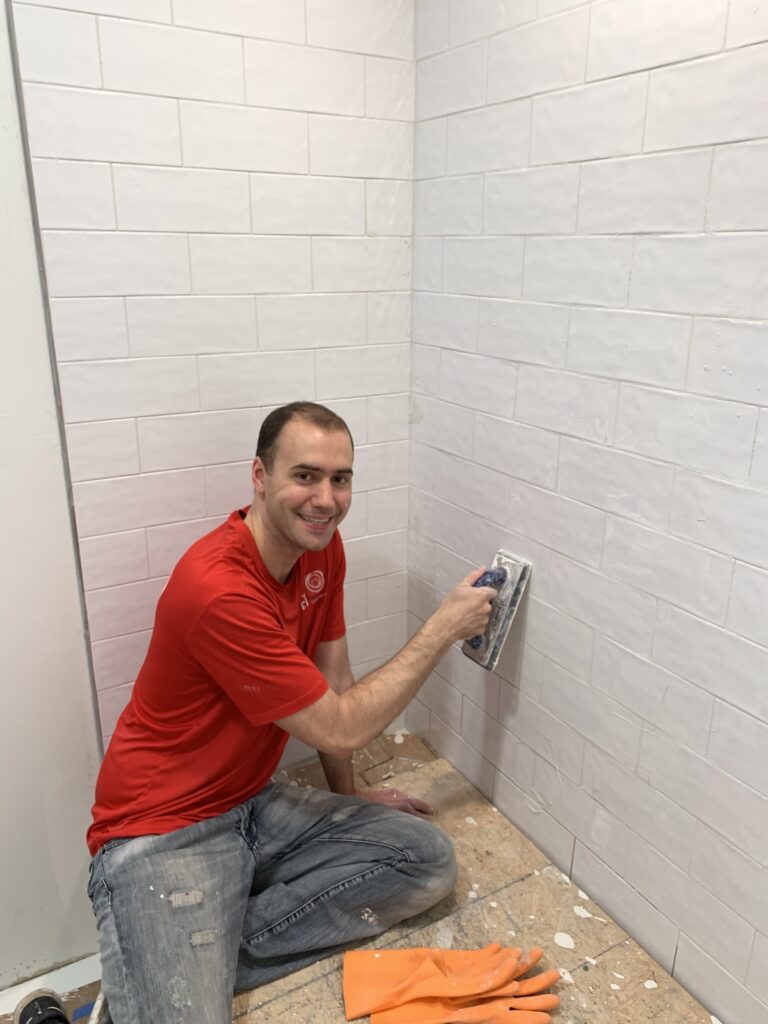
While we had the wet saw set and ready to go, we also threw the tiles up in the shower. Derek and I got an education in how to use spacers and grout real quick!
TIP: When you have your tub delivered, don’t throw out the box! The second you have your tub installed: Clean it, admire it, and cover it with its box. Use the round oval on the tub floor, and the other side of the box to L-shape over the rest of the tub. Unless you have to work in it or on top of it, don’t go near it. You will be SUPER SAD if someone drops a tool and cracks your brand new tub.
Did we create the most basic, white, subway tile bathroom in America?
Yep.
Do I care?
Nope.
Here’s why: patterned, colorful tiles can easily reveal the year in history during which you renovated your bathroom.
We find it much easier to change out linens and paint than to change out tiles on the floor and shower surround.
You’ll notice in our basement bathroom remodel, we also chose white tiles. We hope that will make these rooms more timeless, and allow for easier (and less expensive!) updates in the future.

Fixtures
Once we got everything painted, it was time for fixtures.
Tub
We’d had the tub installed before tiling, but vanity, toilet and mirror had to be installed for the finishing touch.
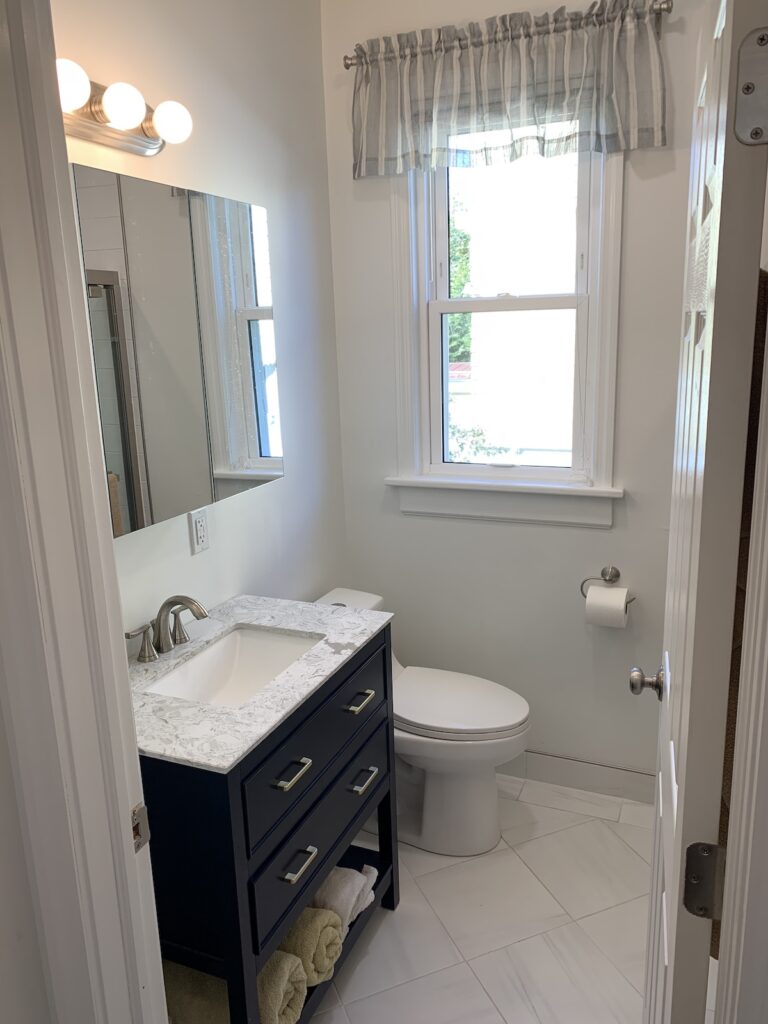
Vanity
We picked out this beautiful vanity for a couple of reasons. One, we wanted ample counter space in our humble small bathroom. Two, we love the pop of color it adds to the room. And three, the drawers are easier on our backs than low shelves would be (we are taller than your average humans).
TIP: Order the vanity WELL in advance. We were delayed because of a back order, then delayed again because the wrong size was shipped.
Then, our plumber looked at me like I was crazy when I said the drawers only allowed for a 1.25” pipe. He had installed a 1.5″ kitchen grade pipe (Lazy? Materials? Who knows why) and ended up giving our 2nd vanity drawer a little interior haircut with his Sawzall. I cried on the inside.
Luckily… it still looks okay, and you never would know unless you’re searching for a cotton swab.
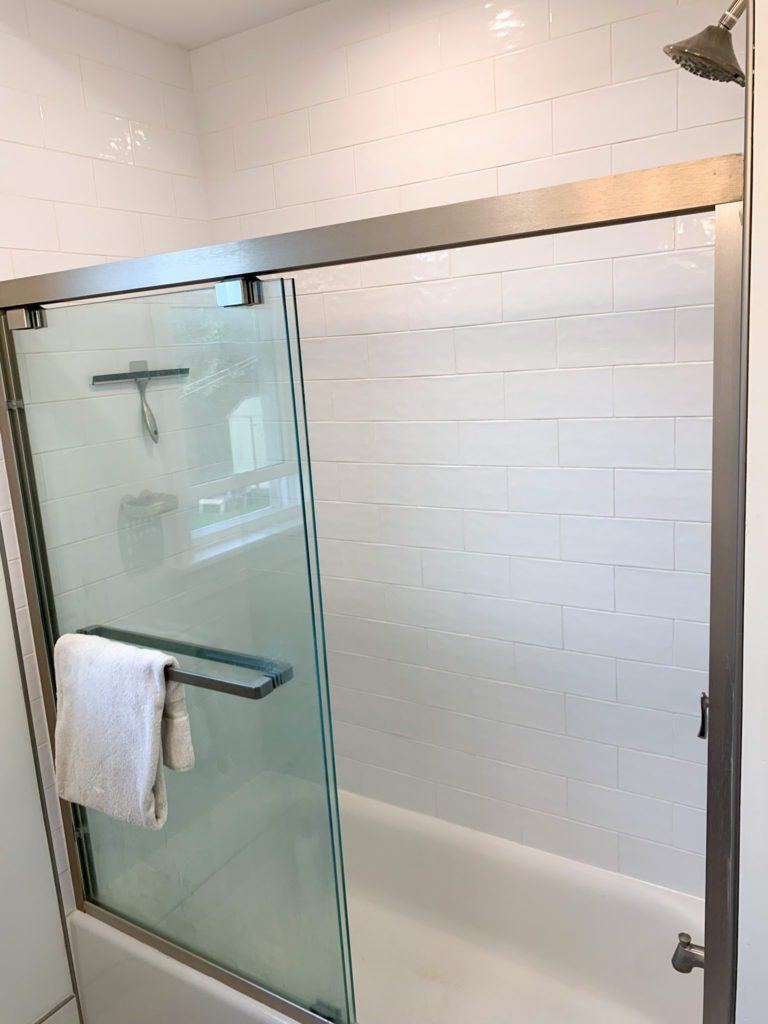
Shower Door
We also chose to add a shower door instead of leaving it open for a curtain. The clear glass creates a lighter, airy feel in the already tight room.
We just love this semi-frameless one along with its built in towel rack, since our wall space is minimal to house such a fixture.
Toilet Roll Holder and Towel Ring
Last tip on fixtures – our toilet roll holder! I know this may seem insignificant, but hear me out. This is the second time I’ve purchased this toilet roll holder and its mate the towel ring… because they only need one stud in the wall.
Bathroom fixtures take a beating, am I right? Do yourself a favor and choose a fixture that employs a sturdy stud behind its screw.
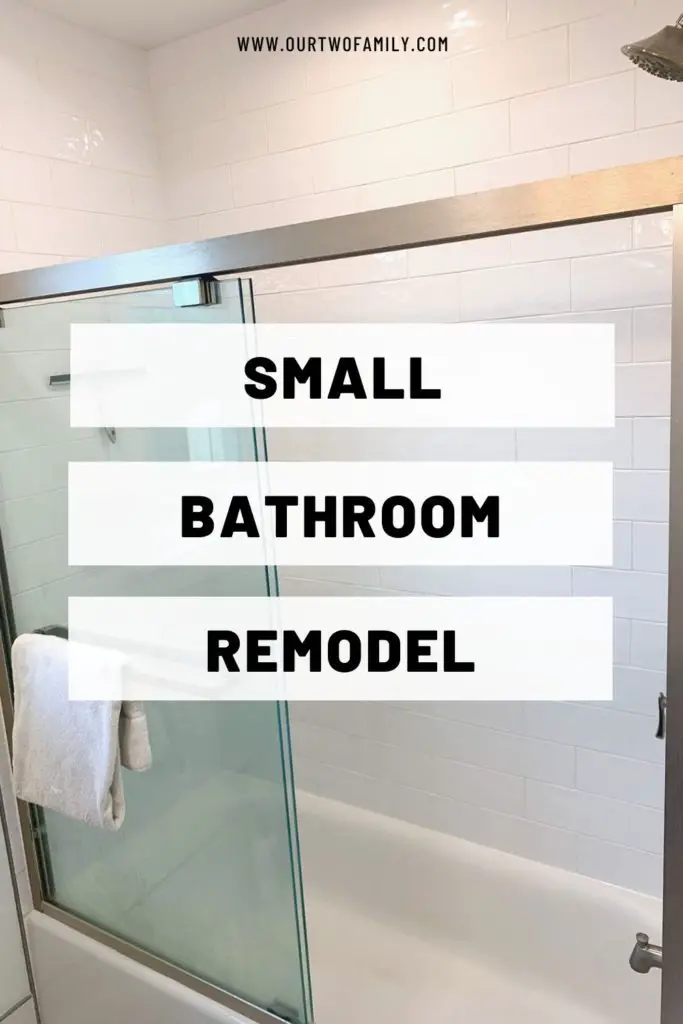
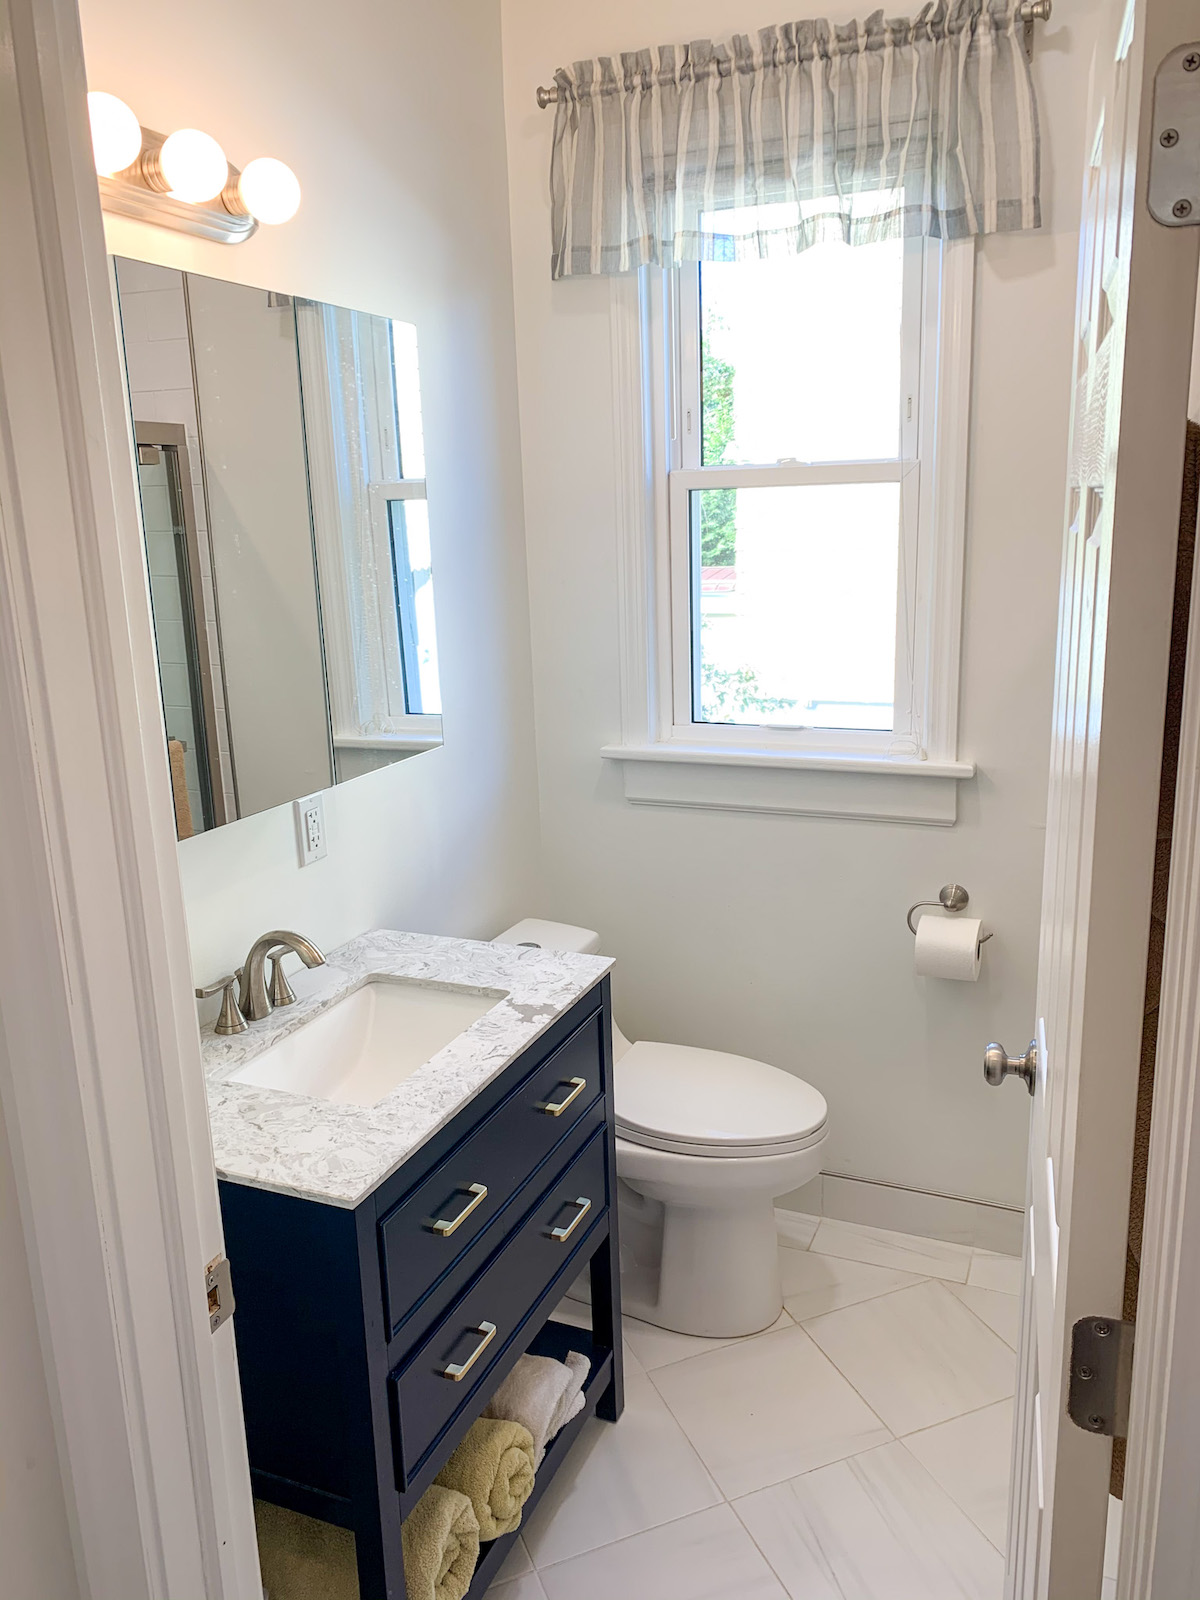
Final Product
Here are the final bathroom remodel before and after pictures.
Shop the new bathroom: Vanity | Shower door | Toilet | Faucet
I do hope this bathroom remodel + the before and after has inspired you to take on your own powder room with confidence, from demo day to polishing the fixtures.
Swing by again next week for our master bedroom and closet reveal. Until next time…!
You might also like…
- Full Home Remodel Before and After – our ENTIRE house!
- Basement Bathroom Remodel – from half nightmare to dreamy full commode
- Old House Bathroom Renovation – the second floor, part 3