
3 Simple Steps to Creating Your Perfect Makeshift Kitchen During a Remodel
This post may contain affiliate links. If you purchase a product through one of them, we will receive a commission at no additional cost to you. As Amazon Associates, we earn from qualifying purchases.
This post is about creating a makeshift kitchen during remodel.
Alright, so you’ve decided you’re ripping out the kitchen.
BEHOLD A BRAVE WARRIOR WHOSE HOUSEHOLD SHALL FACE IMPENDING DOOM! …ok, sorry, whoops, got excited. It looks so easy on TV, but yes indeed, you’re in for a ride.
Our best advice for living without a kitchen is to create a makeshift kitchen during your remodel.
We went five whole months with no kitchen during our first floor remodel. We ate out approximately 15 times – which, over the course of 150 days (=450 meals), is not that much! Especially given that we live in a densely populated, very diverse area of NJ that boasts loads of DELICIOUS take out.
So, how did we do it, with no stovetop, oven, kitchen sink, or comforts of home?
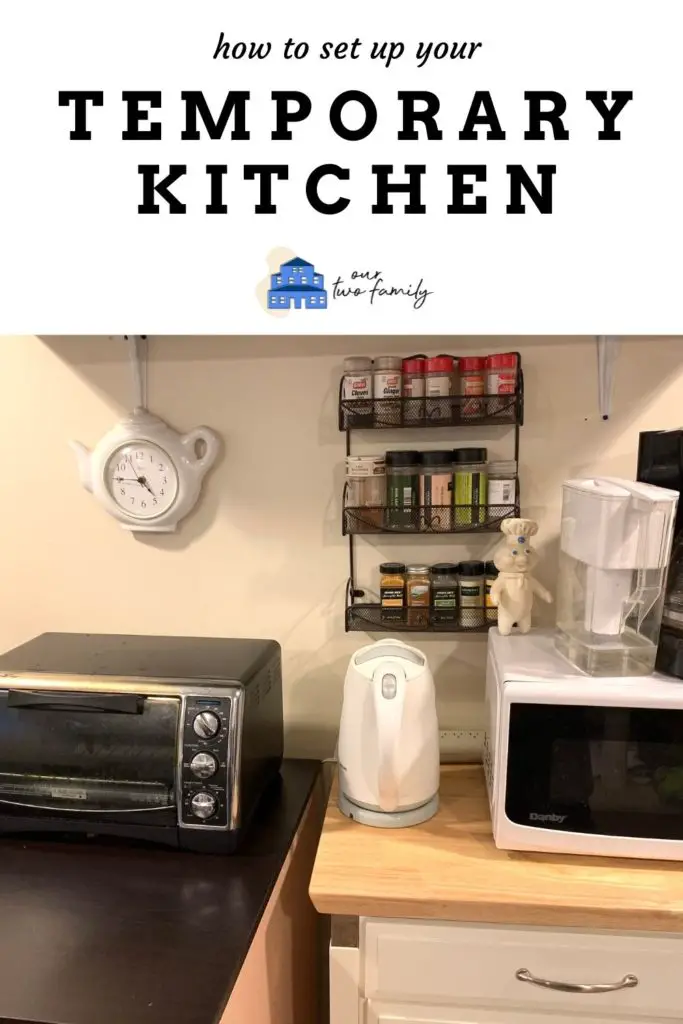
We set up a mini-kitchenette. Side note – having lived in NYC for 7 years, I can tell you firsthand that this little kitchenette is larger than the average Manhattanite’s actual kitchen. It may seem like you’re roughing it, especially when gazing at the drafts and drawings of your gorgeous future kitchen island, backsplash, dishwasher, and cabinets. But you can make do to keep fed.
Yes. I am telling you to find space to cook and eat before ripping apart the starship, the ground zero, the command center of your home.
Here’s why: you will want to sit down for meals. You need to eat to fuel your body. And if you are doing any amount of work on your kitchen yourself… you’ll absolutely want to sit down to eat and fuel your body.
Living-room-floor picnics get old, even for the youngest at heart. So please, don’t skip this step.
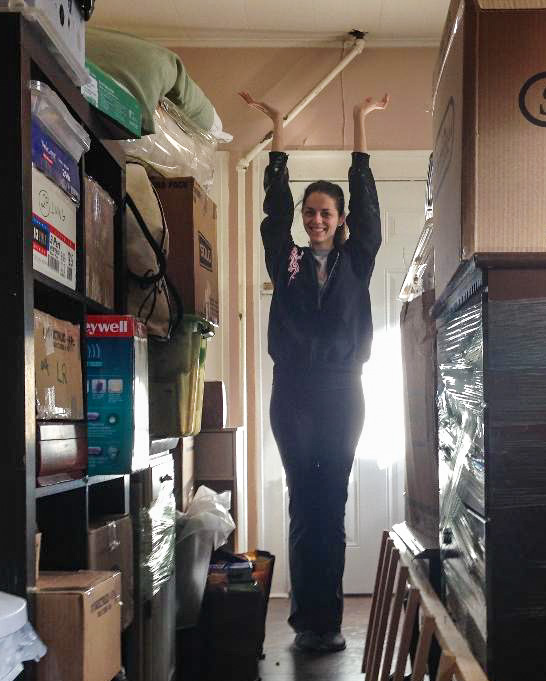
“But Noreen,” you ask, “where am I gonna put this business???” Here’s where extra space helps. Do you have a guest room? A basement corner? A spot in your living room that you don’t use regularly? Look at your house with a new set of eyeballs, or even ask a friend to come over that hasn’t been to your house yet, and objectively decide what space you can “do without” for a few weeks (or months…).
We decided on our ever-floater basement space, the rec room. We shifted some gym equipment and furniture around and decided on a simple wall for the makeshift kitchen during our remodel.
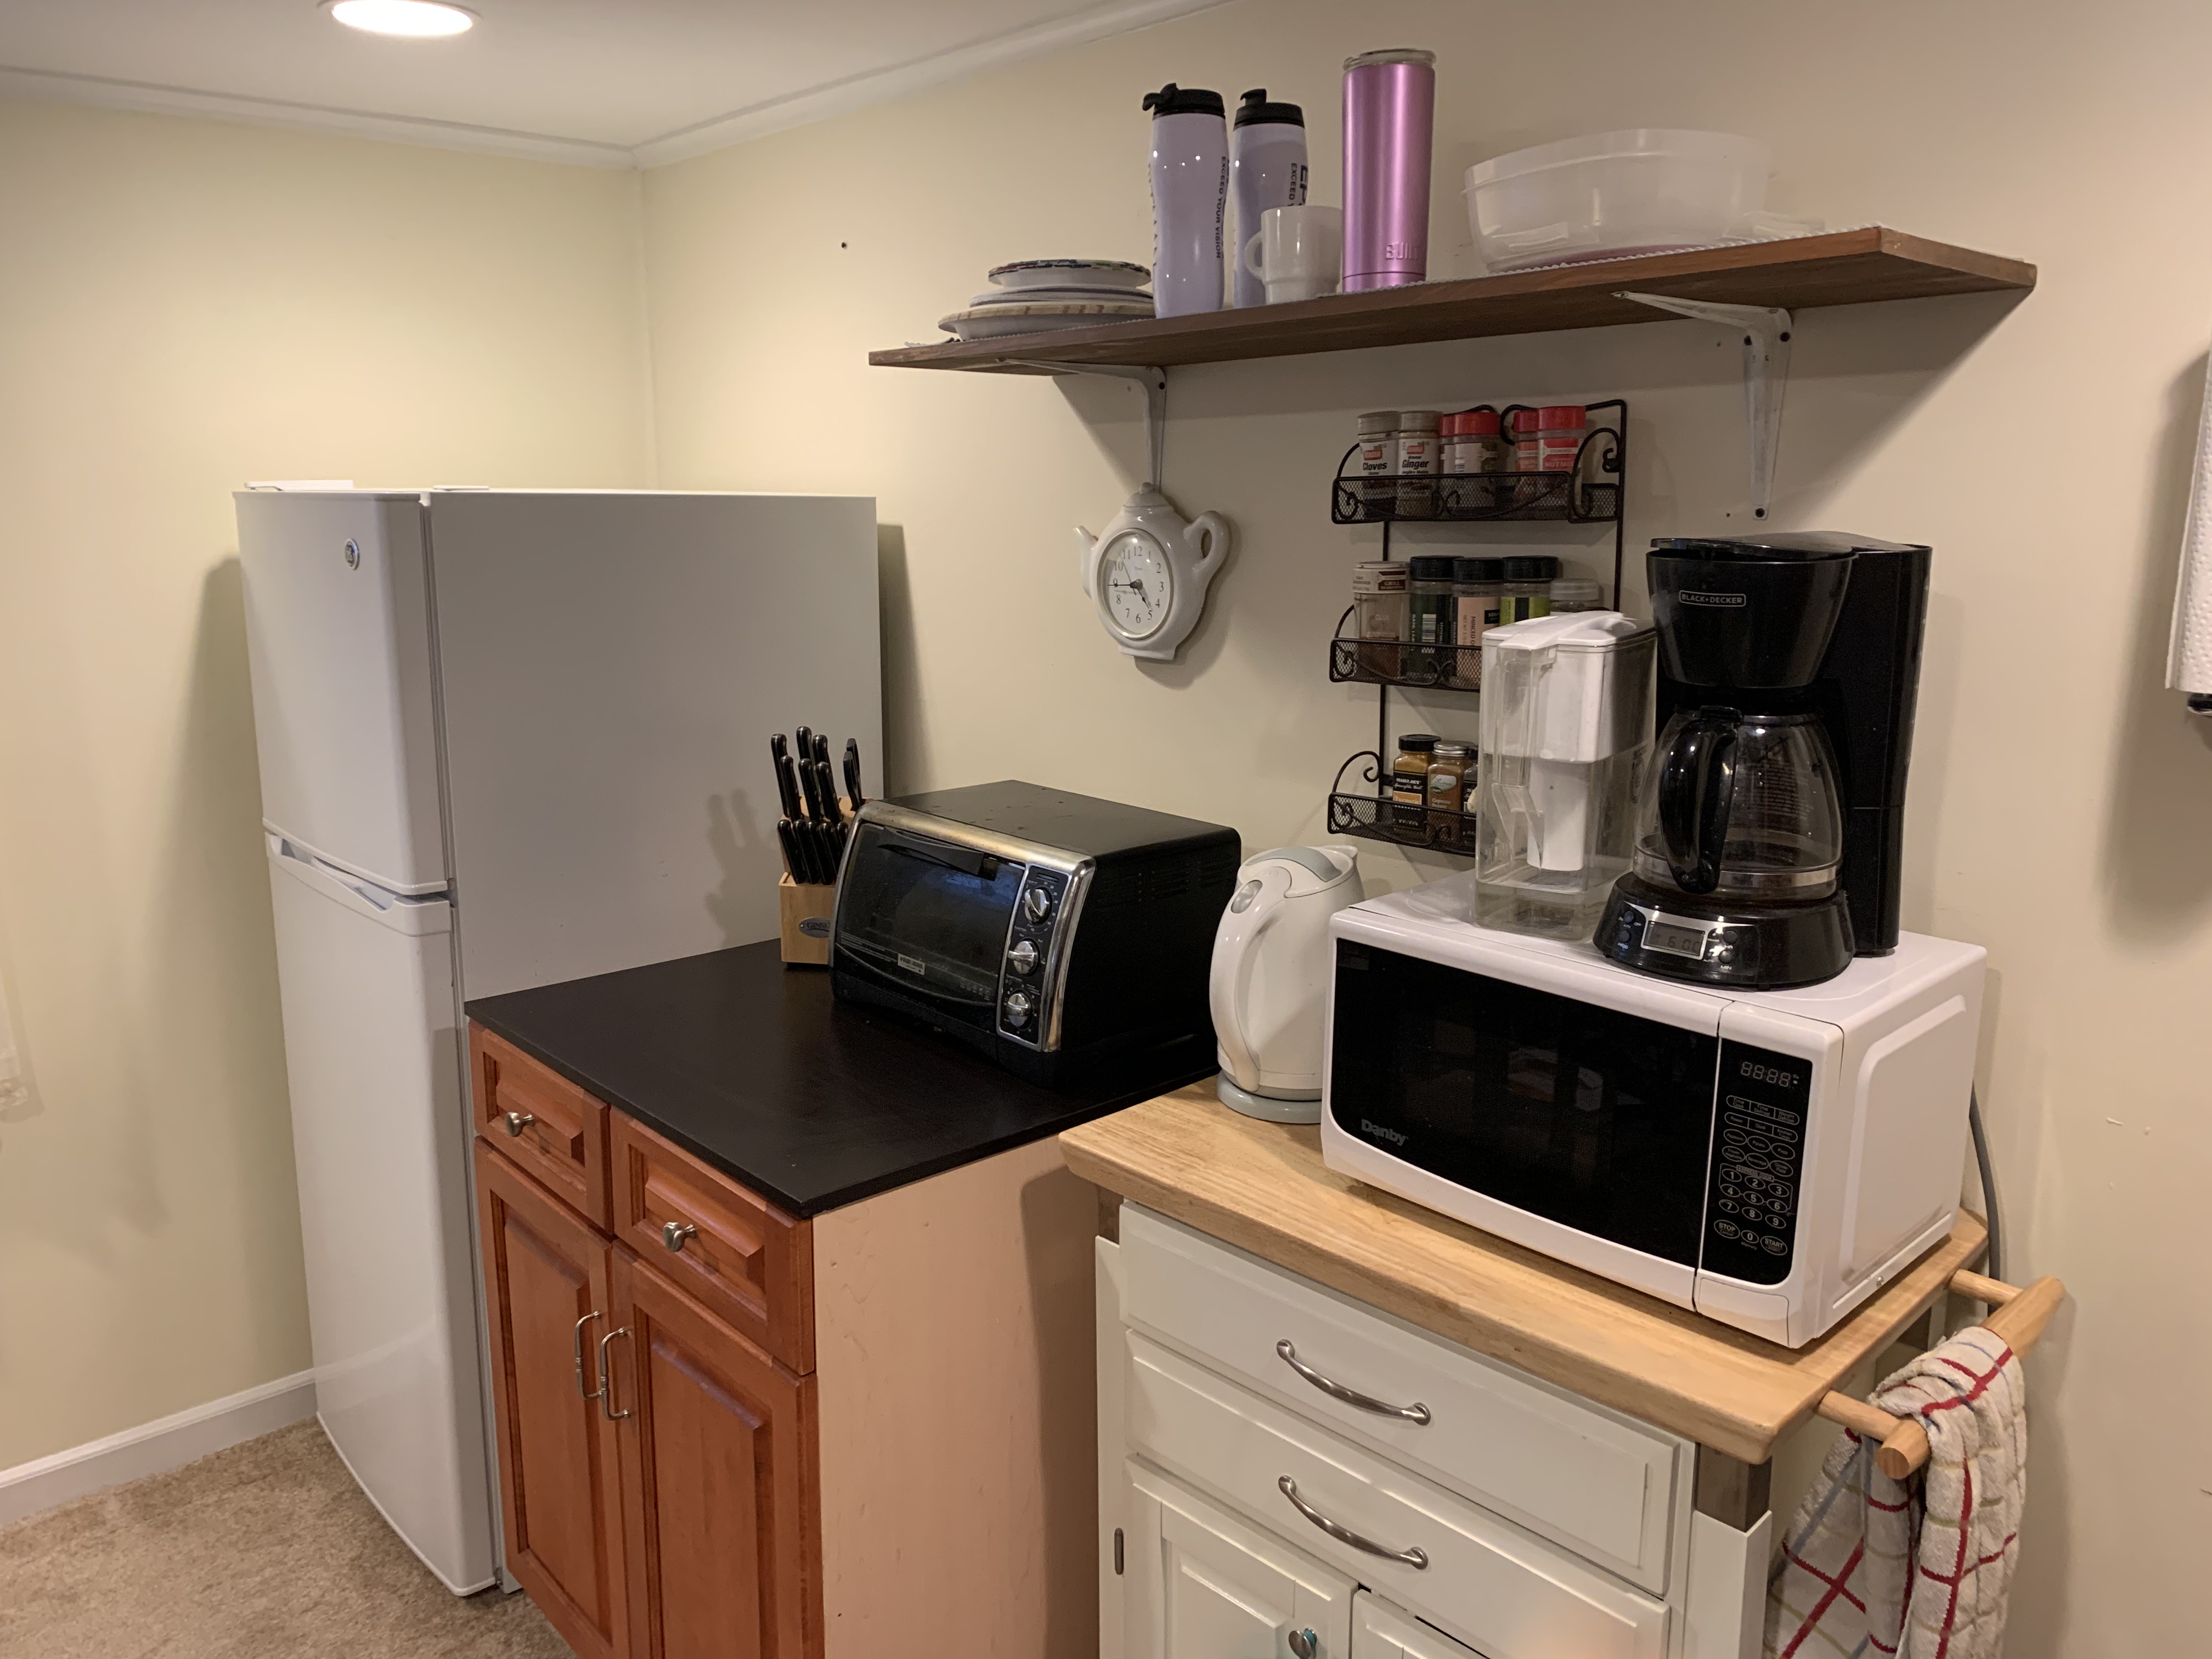
We followed three basic steps to create this space.
Step 1: Create Your Makeshift Kitchen Space
Now, let’s craft your kitchenette without breaking the bank.
Workspace
We decided to use a lower cabinet leftover from our genius 2nd hand 2nd floor kitchen. One tiny problem…
… it had no countertop.
You know what’s expensive?
Countertops.
We didn’t want to spend much (read: anything) to make this un-permanent workspace. So we thought and thunk, kept the measurements handy (always keep a note in your phone with measurements of the item you’re searching for!) and one day I just happened to be perusing a thrift store and came across this gem:
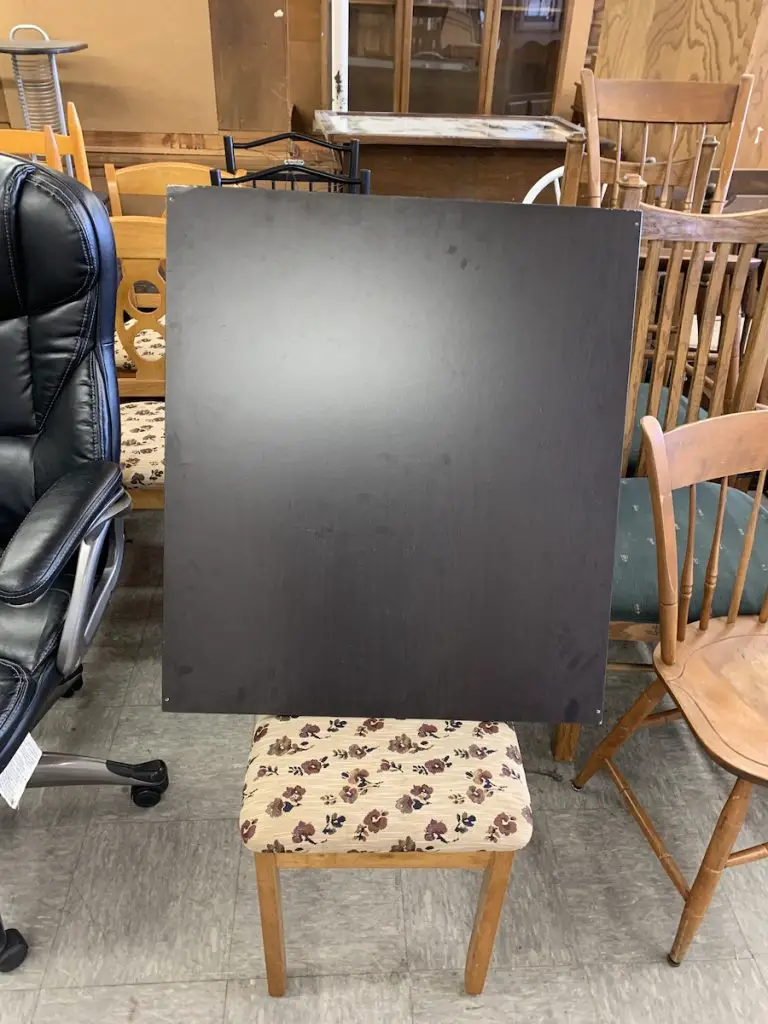
Bless my soul, this bad boy was the exact size we needed for the cabinet!
Now… “How much, good sir?”
“…99 cents.”
Yes.
99 cents.
The negotiator in me though about asking for a discount just to see how low we could go, but honestly I was so delighted to have a cheap solution for our countertop that I said YEP! and muscled that bad boy into my shopping carriage before the nice guy changed his mind.
Workspace? Check.
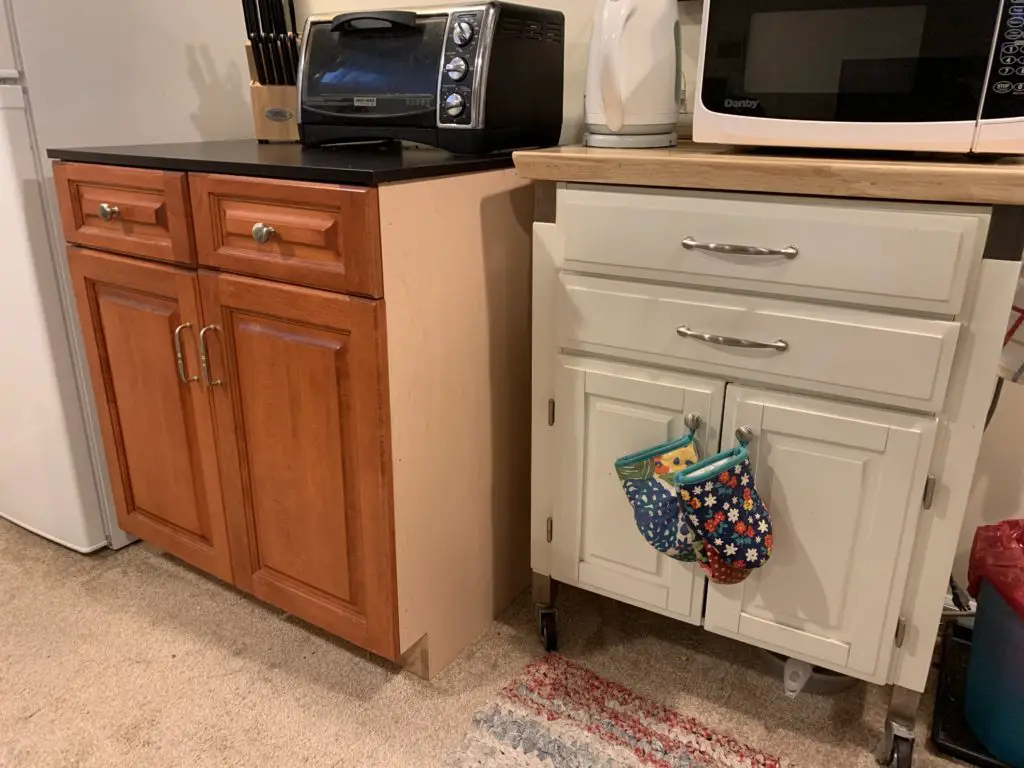
Small Appliances
Now, for those small appliances.
Fortunately, when we got married and lived in Queens, Derek’s company gifted us this handy white kitchen cart.
It housed our microwave in our old kitchen, so we decided to just bring it downstairs away from the destruction and use it in the makeshift kitchen during our remodel.
The Fridge
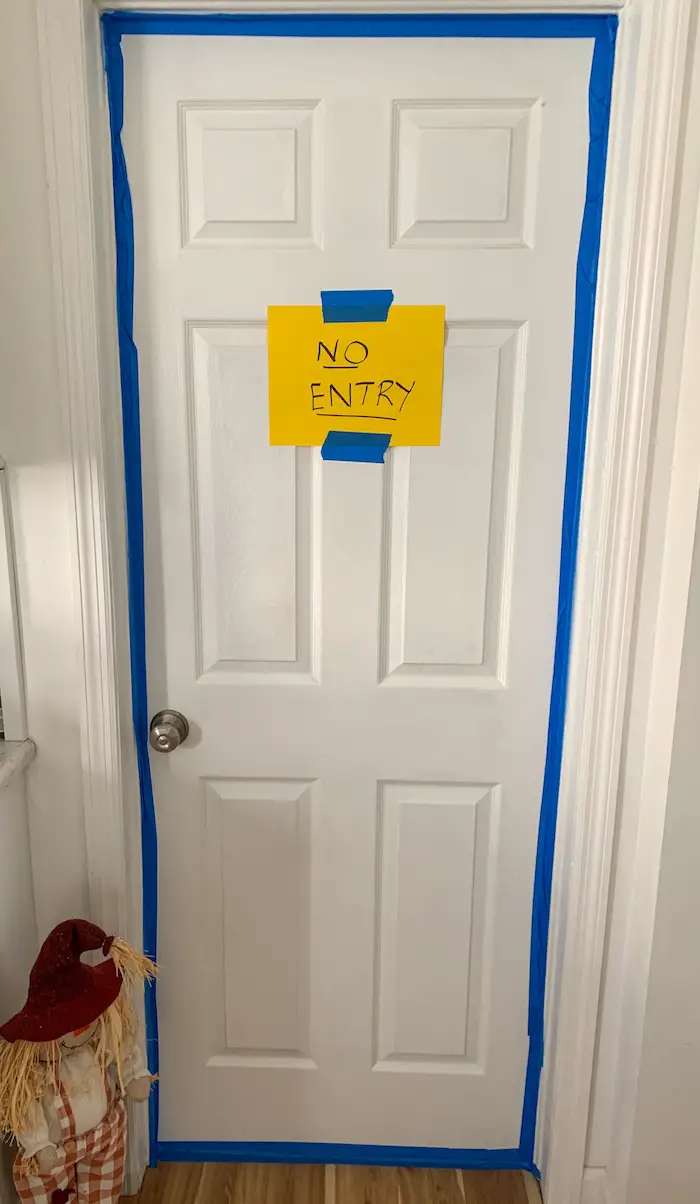
Finally, the fridge. If at all possible, find a way to set up your usual fridge in a new place. I definitely recommend NOT keeping it anywhere in or near the construction project – you’re just asking for (literally) dirty trouble if you do.
Caution: double check what plugs are on the same circuit. Fridges usually require a “home run” – aka a direct line to your electric panel, all on its own. Even if temporary, try not to overload any single circuit.
If you don’t have the luxury of your dreamy stainless making its way to your basement (that’s us!) find a mini-fridge somewhere, anywhere, to keep your food fresh.
In our case, our 2nd floor tenants wanted to bring their own refrigerator, so the lovely slim one from the 2nd floor was still available for our use. We had originally planned to store it, but hey, who doesn’t want some extra freezer space? Or a place to put the Barbie-sized-bride cake for your friend’s bridal shower?
Admittedly, we ended up using this more than I’d have preferred, but hey, when relocating to suburbia, you get that wholesale club membership and stock up, suckers!

If you don’t happen to have a 2nd fridge just lying around your house, try to get a college-dorm sized fridge for cheap, or even swing by your local higher education establishment and offer a few bucks to the graduating seniors. College kids often like cash. Go make a deal!
Another option – just keep your regular fridge plugged in (or if you’re replacing it, wait until the last minute to have the new one delivered). This may result in your fridge residing in a separate space than your kitchenette, which may result in serious frustration and ingredient-toting around your house, but please remember, this is temporary.
Always remember that reno-s are temporary.
Side note – a sink
Somewhere in your home, please, PLEASE tell me you’ve left yourself another sink.
Even if you choose to eat off of paper plates for the next several months, you’re going to eventually need to wash a dish, whether it’s your travel mug or your coffee pot. Set yourself up for success by defining an area for continuous washing and drying of dishes.
We used our slop sink. She’s an old, cast-iron, farmhouse sink, which when we bought the house was actually brown, but turns out was manufactured a lovely shade of creamy white in approx. 1925.

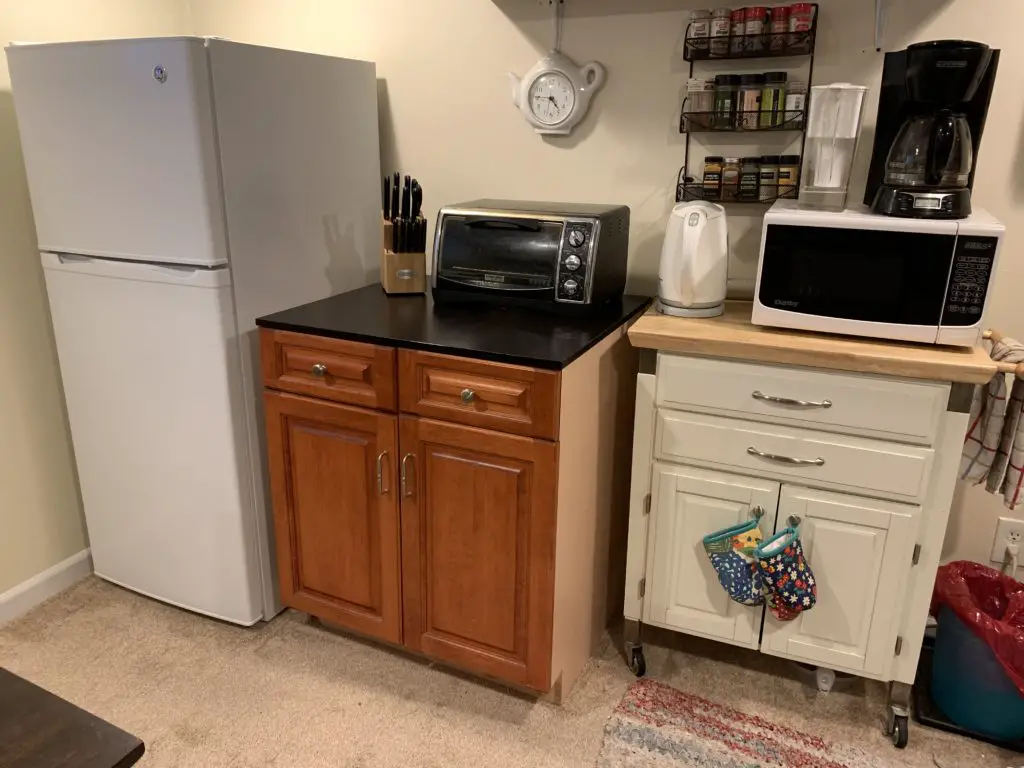
Step 2: Sort Out Your Small Appliances
Crafting a makeshift kitchen during a remodel requires a few tools.
Here’s our list of small appliance must-haves that kept our chef’s hats on:
- Microwave: Just, duh. Same rules apply as those of the fridge – if you can use a separate circuit for this, please do. If not, try only running one small appliance at a time.
- Toaster oven: If you have the counter space, a toaster oven will provide a plethora of culinary options! Just don’t do what I did and store your plastic cinnamon shaker on top of it. My brother lent us one like this – it was really excellent because it had bake, broil, and toast options.
- Rice cooker: OH THE POSSIBILITIES (read all about them, here!). Extra points for one with a steamer basket on top.
- Electric kettle: Hot water is yours. Highly recommend a basic one like this, even if you’re not a tea drinker. Many a recipe calls for hot water!
- Coffee pot: Even if you don’t drink it, your awesome crew might! It’s cheaper to brew your own for coffee break than to buy everyone’s individual mocha-chai-low-whip-half-pump-sugar-free-venti-latte combos. Even a simple one like this will come in handy.
- Crock pot: We found this especially useful because our renovation was in winter months. While I doubt either of us will crave potato soup anytime soon, I must admit that we ate and were satisfied even on the coldest days of the winter. At the time, we used an oldie found at a thrift during college. If I were to invest in a new one, I’d pick this cutie from The Pioneer Woman herself.
- Honorable mention – Waffle iron. If you have one (here’s the one I swear by!), and like to eat waffles, it’s a good tool to keep out for a sweet treat!
- Honorable mention—bread maker. Same. If you have one, and HONESTLY use it, I highly recommend keeping this handy. What could be better than the comforting smell of bread baking?
- Honorable mention – insta pot. I personally don’t have an insta pot, but they are currently all the rage. If that’s your jam, go for it!
Step 3: Fill Your Shelves With Strict Intention
Ok, so you’ve got your little army of tabletop appliances ready for action. You are mentally preparing for the disaster of demo that awaits. You’re going to keep yourselves well fed throughout your kitchen renovation.
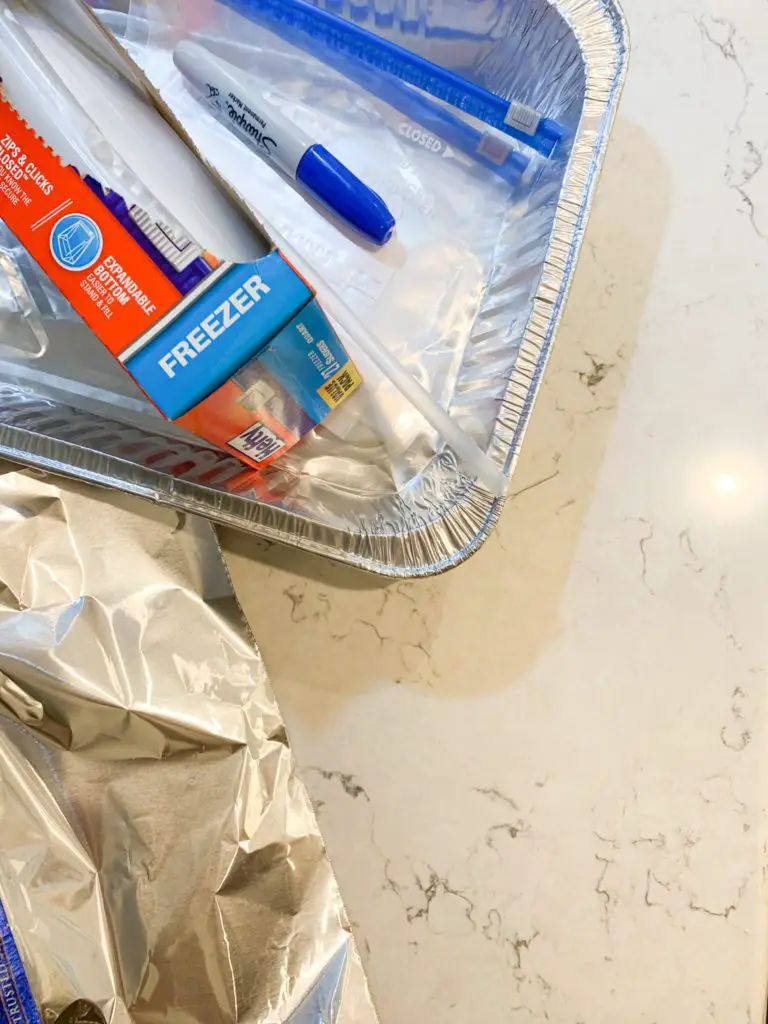
Even if you choose to use disposables, you’ll need to stock those cabinets while setting up your makeshift kitchen during a remodel.
Things You Need
- Silverware. We just took what was in our regular drawer and moved it downstairs.
- Knife block
- Basic spatulas / cooking spoons
- Ladle
- Corkscrew
- Vegetable peeler
- Can opener
- Measuring cups. (I am obsessed with the perfect water to oatmeal ratio. Don’t ask.)
- Small rubber spatulas (to get to the bottom of the peanut butter jar, naturally.)
- Egg timer. No stove = no timer on stove. Or, omit and use your cell phone.
- Oven mitts
- Cutting boards
- Loaf pan, if yours fits in your toaster oven
- Food storage containers
- Mixing bowls
- Handheld beaters (…to be honest, I used these only during the holidays, but I am glad I had them handy when I needed them.)
- Meat thermometer
- Pizza slicer (I promise, at some point, no matter how hard you try… you will be ordering pizza.).
- Immersion blender. (If you don’t have one…. Get one ASAP! Trust me, it’s easier than pouring hot soup into a blender!)
- Plates & bowls
- SPICES! We just moved our basic spice rack: shelf, bottles and all.
Things You Don’t Need
- Salad spinner. Trust me, you won’t have the energy to spin salad. Just buy it pre-washed and hope for the best.
- Toaster. Get over it (talking to myself, here) and use the toaster oven.
- Hot plate. A word about hot plates: when you cook, you’re putting a significant amount of grease and steam into the air. While your normal kitchen likely has a vent (either through your microwave or the range hood), your makeshift kitchen probably will not. With enough use, a hot plate will offer grease the opportunity to settle into and onto your walls, ceiling, shelving, etc. Your kitchenette is probably not equipped for this in the long haul, so we do not recommend using a hot plate. If you need to cook something in boiling water, try your rice cooker! And if you need to fry something, consider an outdoor grill.
- Mandoline. Truthfully, I did use this bad boy once or twice, but not enough to justify it taking up so much space in our already crowded drawers.
- Cast iron pans. Originally, we kept these handy in case we decided to cook outside on the grill. However, we just didn’t do it, and these suckers are HEAVY, and were more trouble than they were worth to keep in the cabinet during reno.
- Blender. Had our renovation taken place over the summer months, we’d likely change our minds on this and make smoothies in our trusty blender. But it was winter, and we don’t drink frozen things in the winter, unless they are margaritas.
- Rolling pin. On what planet did I think I was making pie or cookies??? (Edit: I did roll out pie crust once, to make homemade pop tarts in the toaster oven, and they were delicious and no one complained).
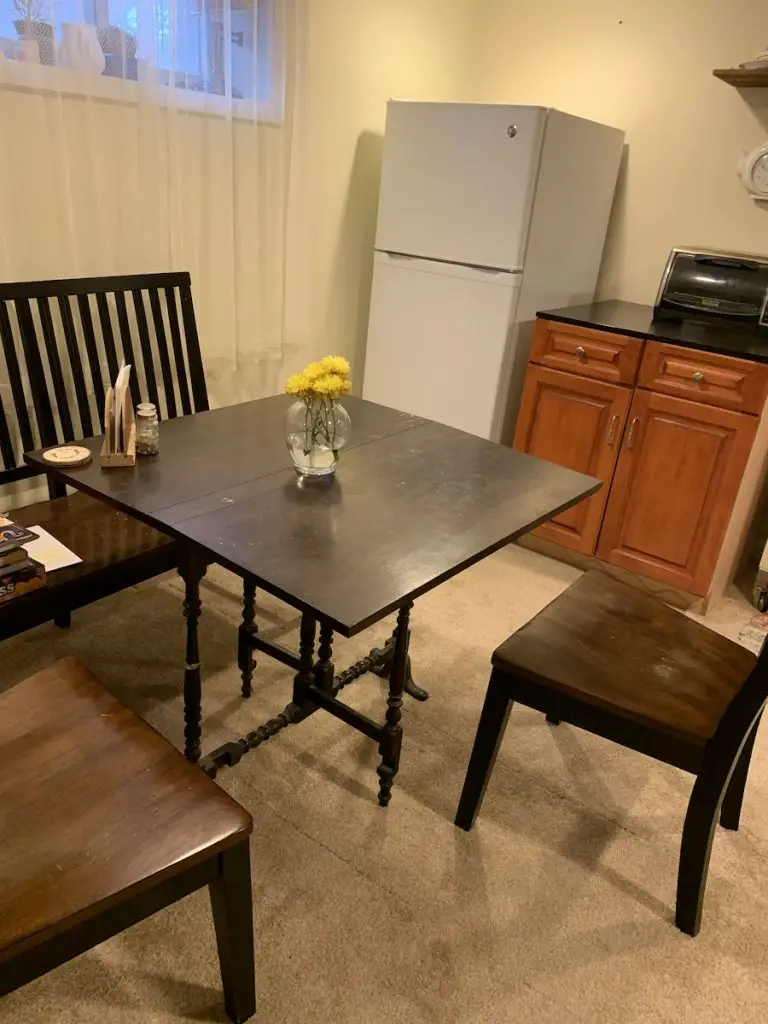
There you have it! Three steps to creating a makeshift kitchen during your remodel. Add a table and chairs, and you’re on your way! Planning is key to preventing freak-outs. (Ask me how I know.).
By taking a few smart steps to set yourself up for success, you’ll make it through your reno easier than if you hadn’t prepared.
While you’re at it, check out The Ultimate Home Renovation Survival Guide for more tips on getting through the mess.
What works for you? Got any renovation survival tips for fellow readers?