How to Repair an Exterior Door
This post may contain affiliate links. If you purchase a product through one of them, we will receive a commission at no additional cost to you. As Amazon Associates, we earn from qualifying purchases.
If you’re wondering how to repair an exterior door, you’ve come to the right place!
This post is a spin-off tutorial from our larger project, Better Home Curb Appeal Before and After. We had quite the adventure replacing our concrete stair, lighting, mailboxes, and yes – repairing & painting our front door.
Our front door was in rough shape. Take a look at the before picture:
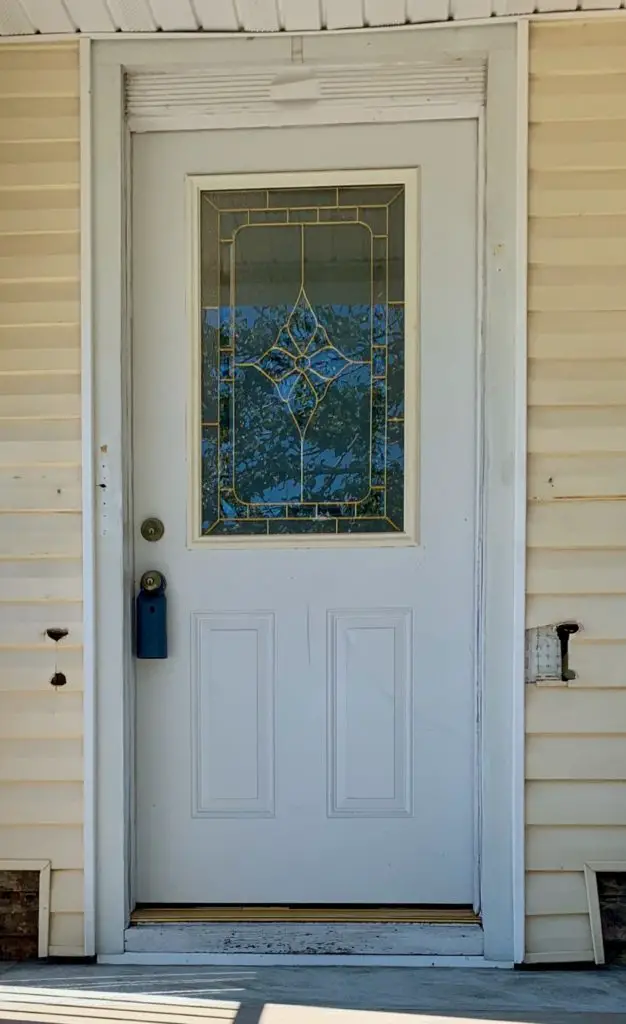
As you can see, there’s a giant dent in the door, thanks to a slight collision on our staircase installation. (Check out those gory details at Old House Remodel Part 4).
We also felt the front entrance needed a little… pop, shall we say.

Thankfully, repairing and painting a front door is an affordable, simple DIY fix!
Here’s how to repair an exterior door.
Materials Needed to Repair an Exterior Door
To repair and paint your exterior door, you will need:
Sanding Block
Auto Repair Kit
Putty Knife
Drill
This is to remove and re-hang the door! We love this drill set.
Paint
Make sure it’s rated for exterior!
You also might need primer, depending if it’s built into the paint color or not.
Paint Brush
9″ Paint Roller
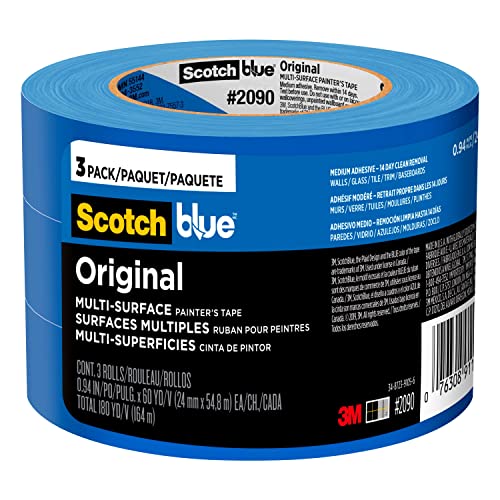
Painter’s Tape
This is if you have a window or other accoutrement on the door that you don’t want to paint.
Help
Assistance from other people is always a good thing!
Especially if you have a large door, you’ll be wise to have help lifting it. Plus, friends always make a project more fun!
How Much Does It Cost to Repair an Exterior Door?
If you already own materials like drills and paintbrushes, your biggest expense will be the auto repair kit (currently about $14 on Amazon) and a small can of paint (depending on where you buy it, very likely under $50).
It’s safe to say that painting a front door will cost less than $75.
What Color to Paint Front Door?
This, my fellow home lovers, is up to you.
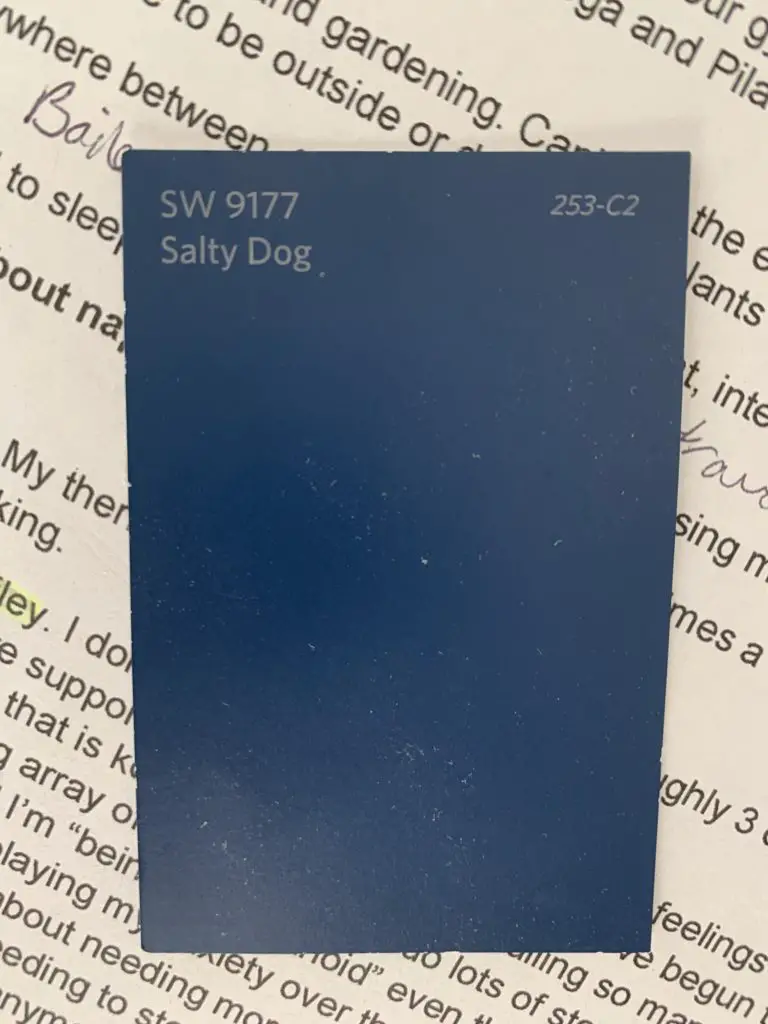
Personally, my favorite color is blue – which conveniently happens to flow well with the color of our siding. Some people like a pop of red, green, yellow – it’s all a matter of personal preference!
Need inspiration? Check out this fun article from The Spruce with 52 Front Door Colors to Choose From.
Step by Step Tutorial – How to Repair Exterior Door
Here is the step-by-step.
1. Remove the Door
Get help to remove the door and set up a working space.
We had a spectacular September day weather-wise, so we took advantage. This was especially advantageous once the smelly stuff came out (see step 6 below).
I recommend using sawhorses or something similar to get this at working height – save your back!
2. Remove the Hardware
As with any painting project, remove all of the hardware. This includes the hinges and door handles (aka lock set).
3. Clean It!
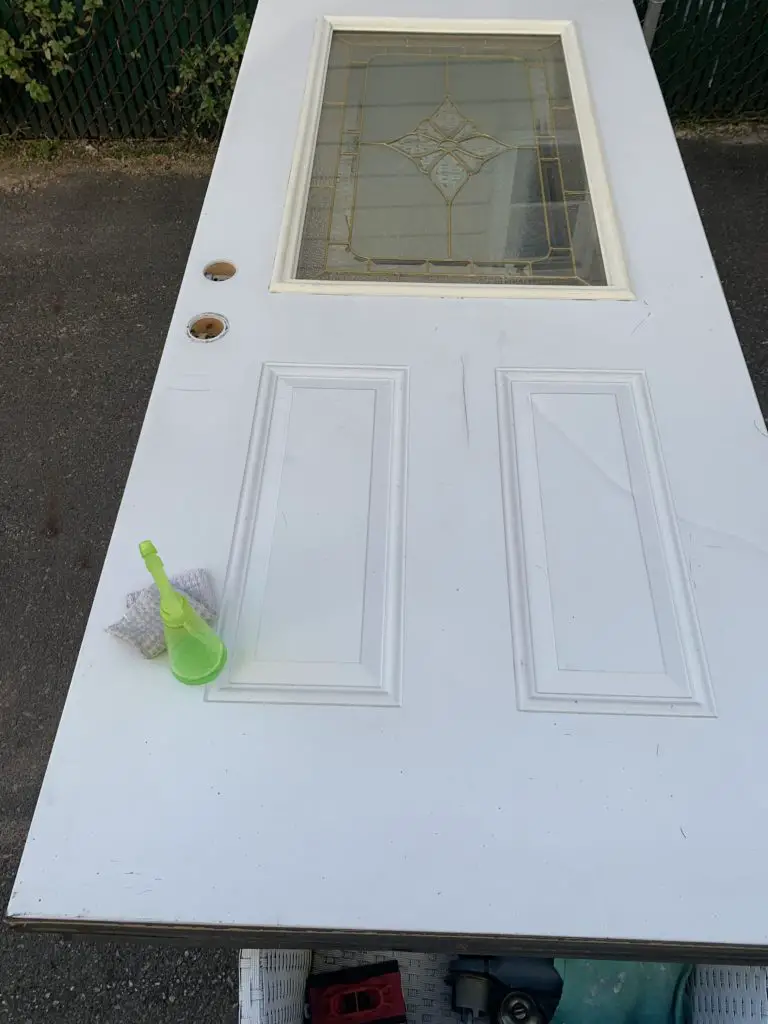
Your front door is dirtier than you might think, and we want the paint to stick. We used a simple Mr. Clean in a spray bottle to get the grime off.
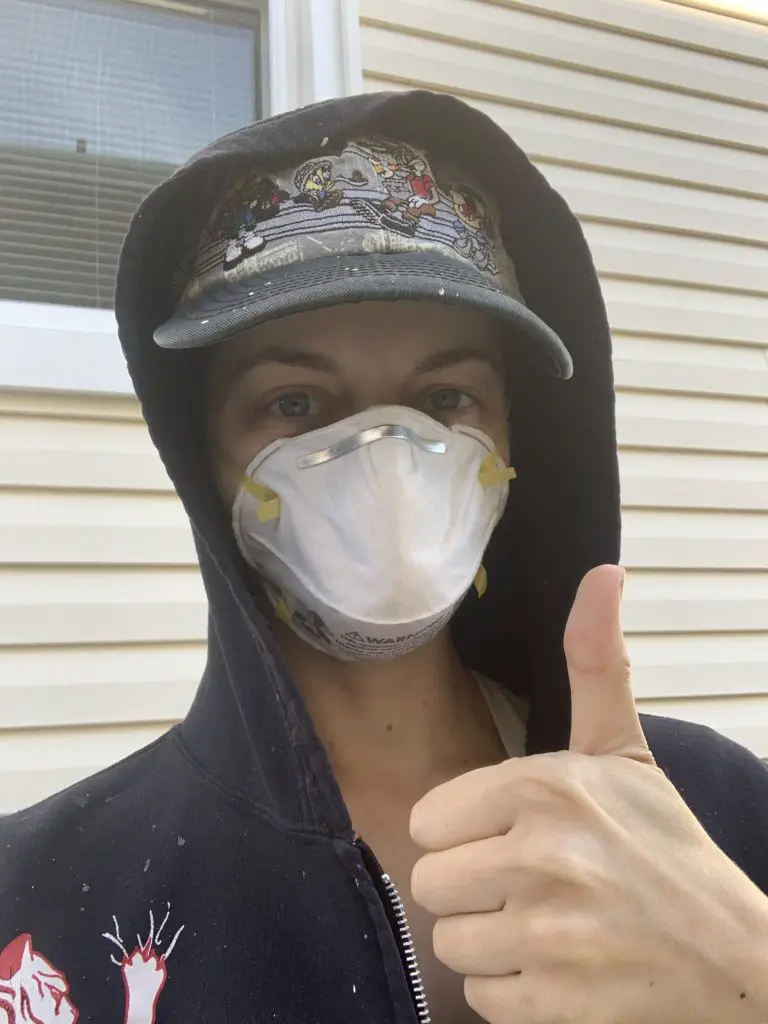
4. Mask Up!
If you are sanding anything, even outdoors, it is best to wear a face covering.
5. Sand It Down.
Since we’ll be applying putty, we need to sand off the old paint so the goop adheres well.
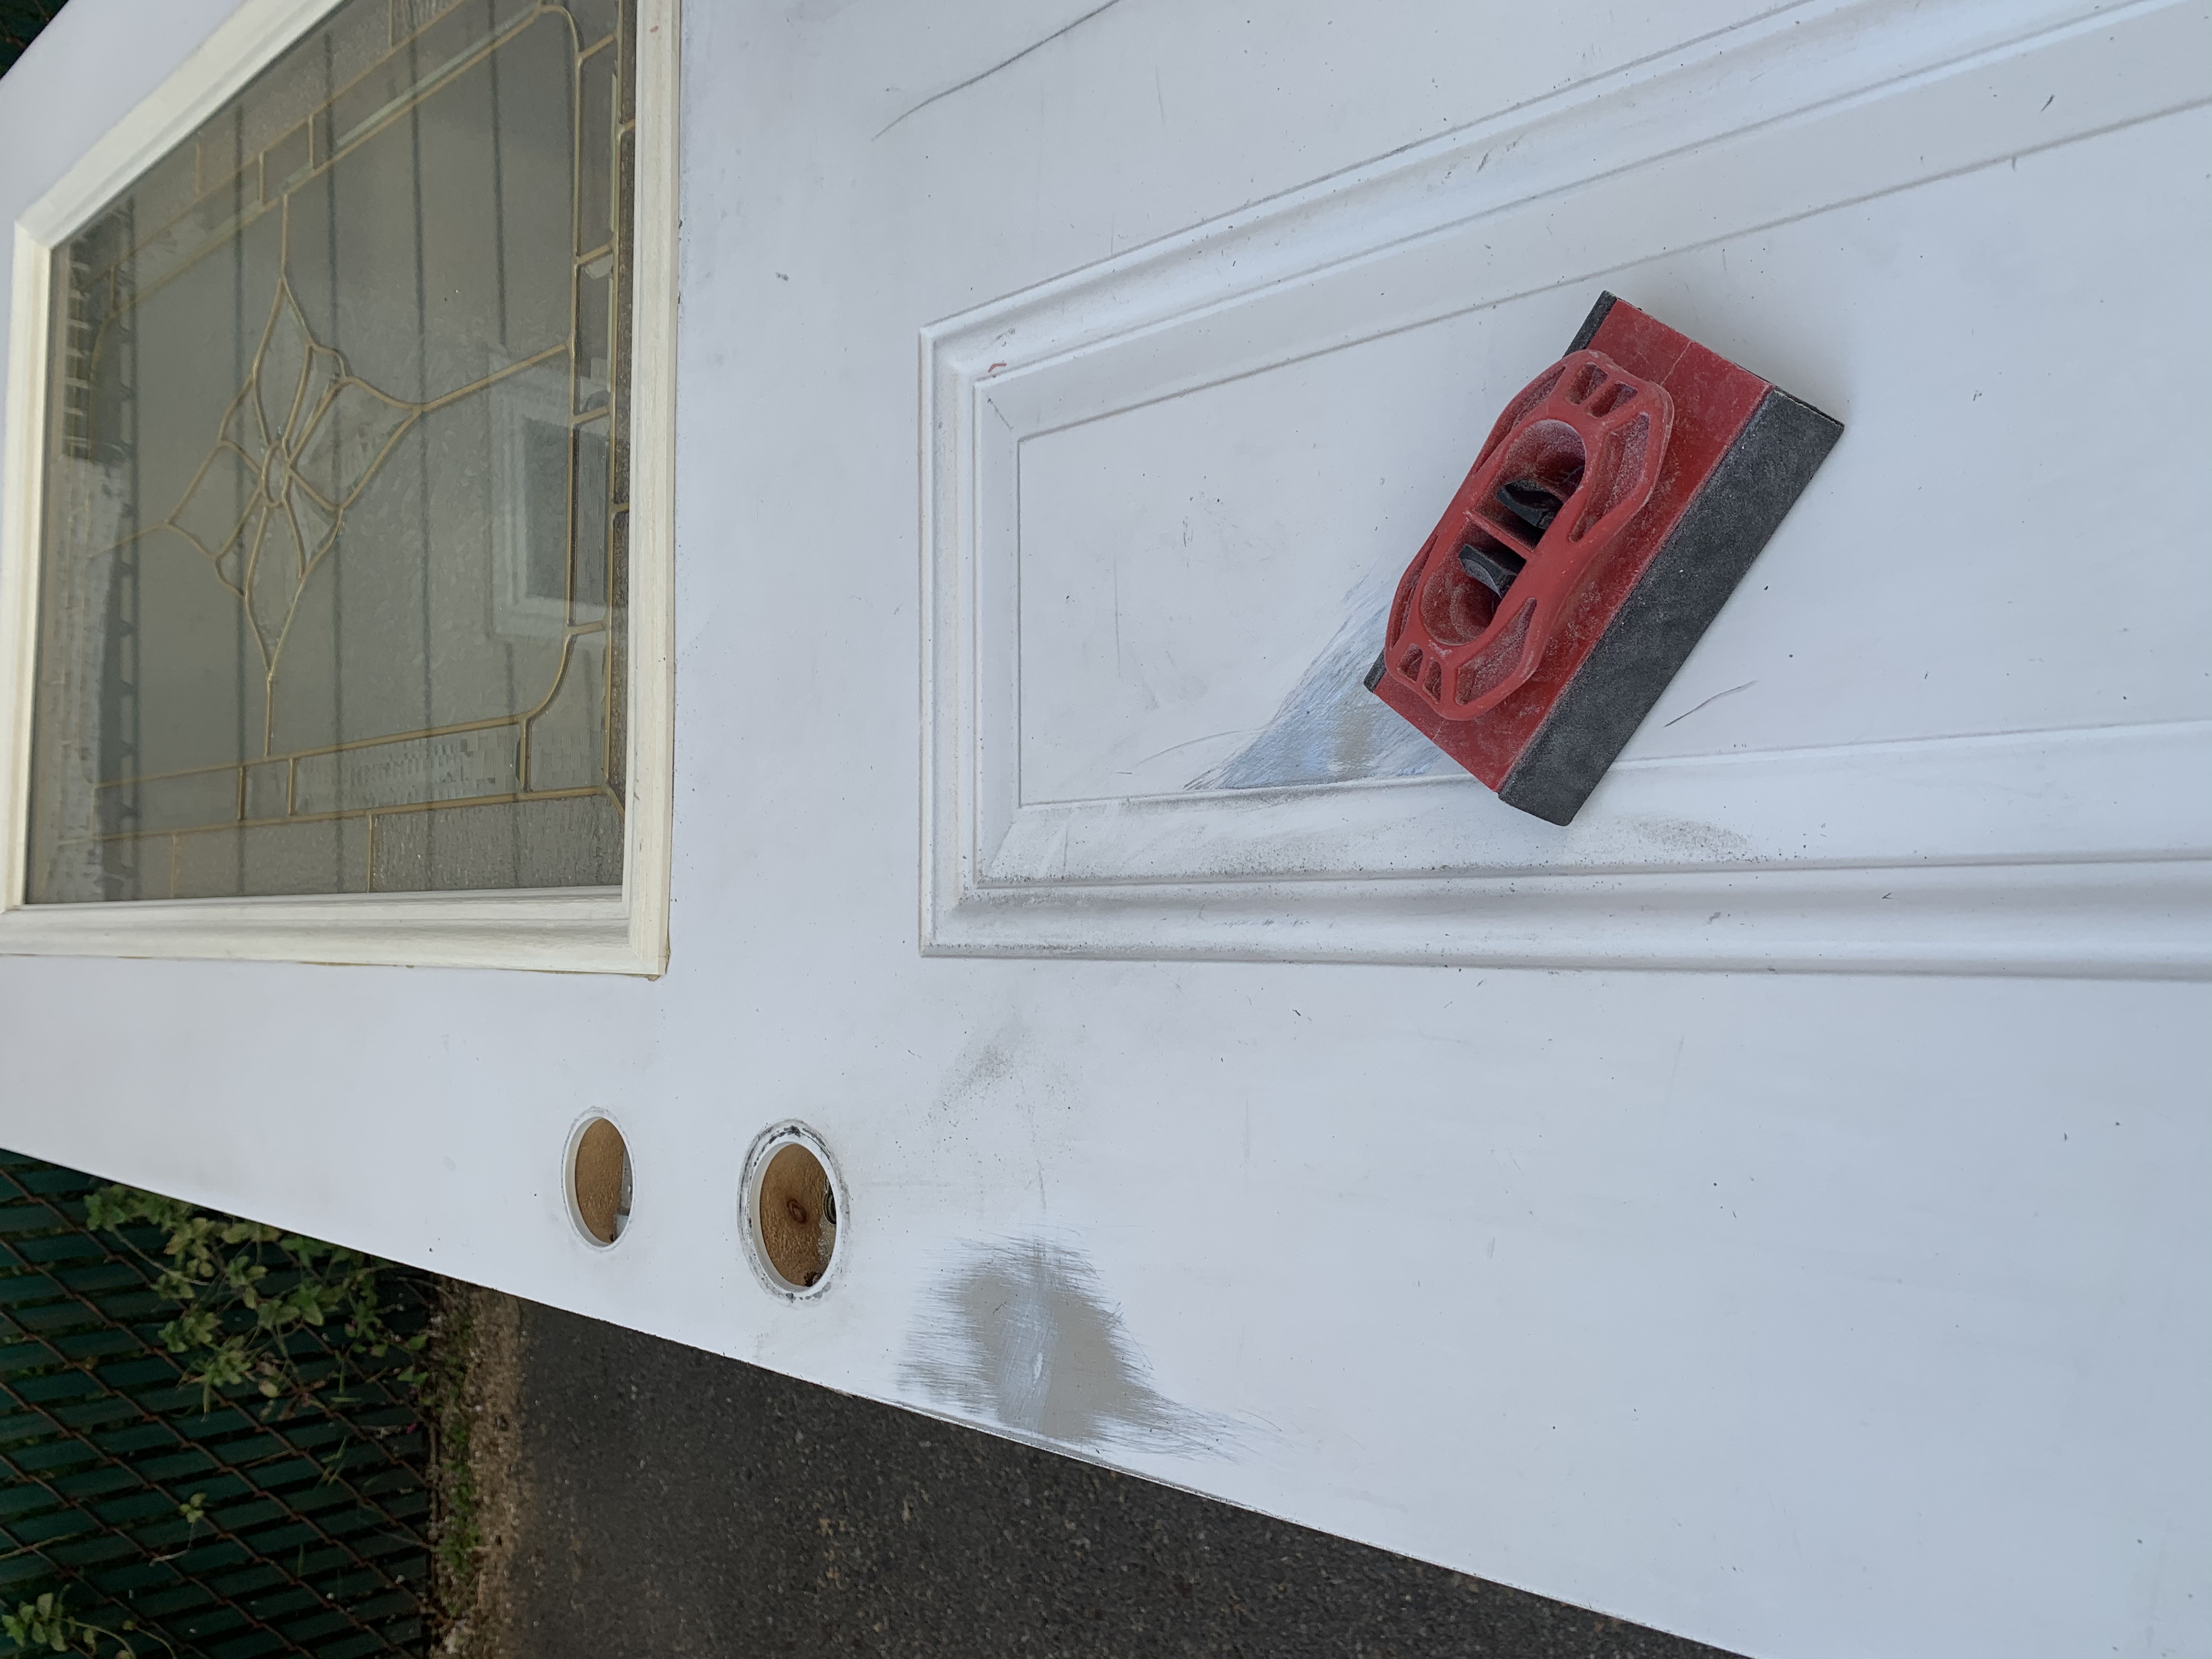
Make sure you get the old paint off!
6. Patch.
We used an automotive repair kit like this one.
I highly recommend using this outdoors – it’s pretty smelly. Our front door is metal, which is why we needed an auto filler and not something like ordinary joint compound.
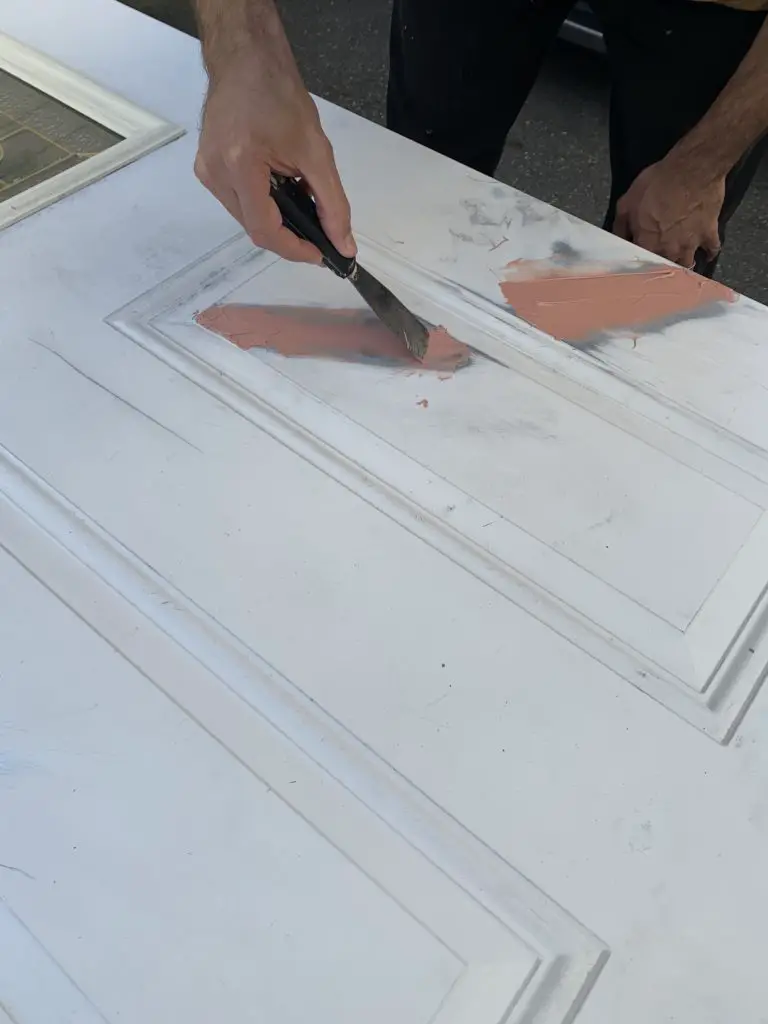
7. Patch Again.
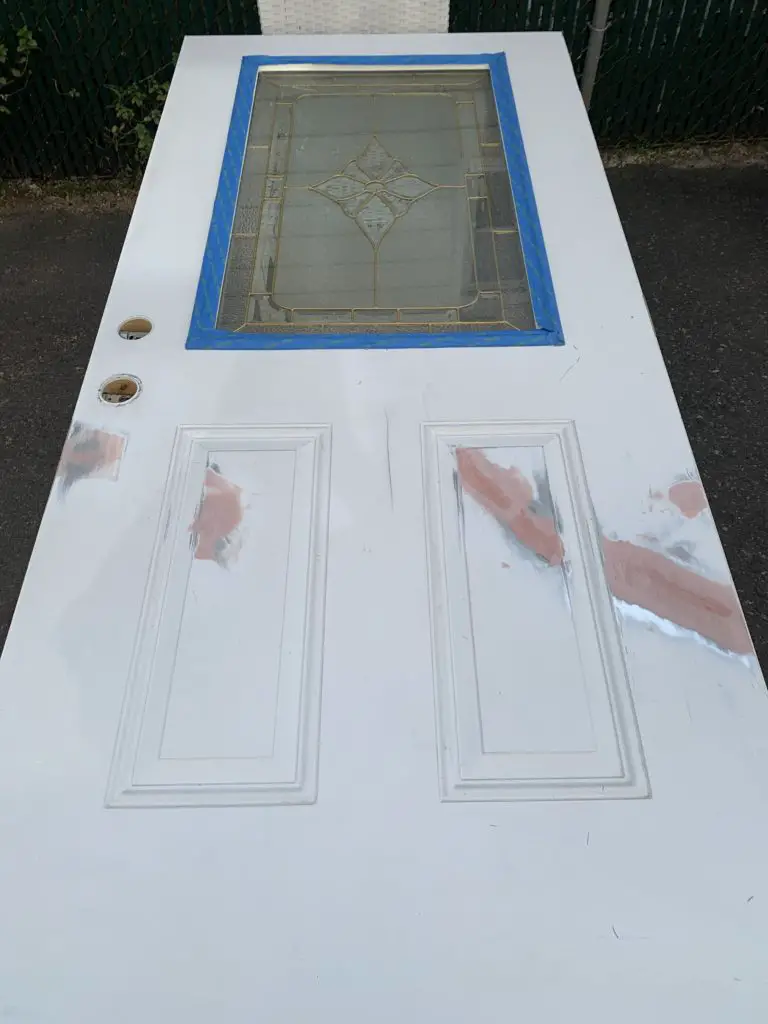
It took a few layers of putty to get a nice enough finish.
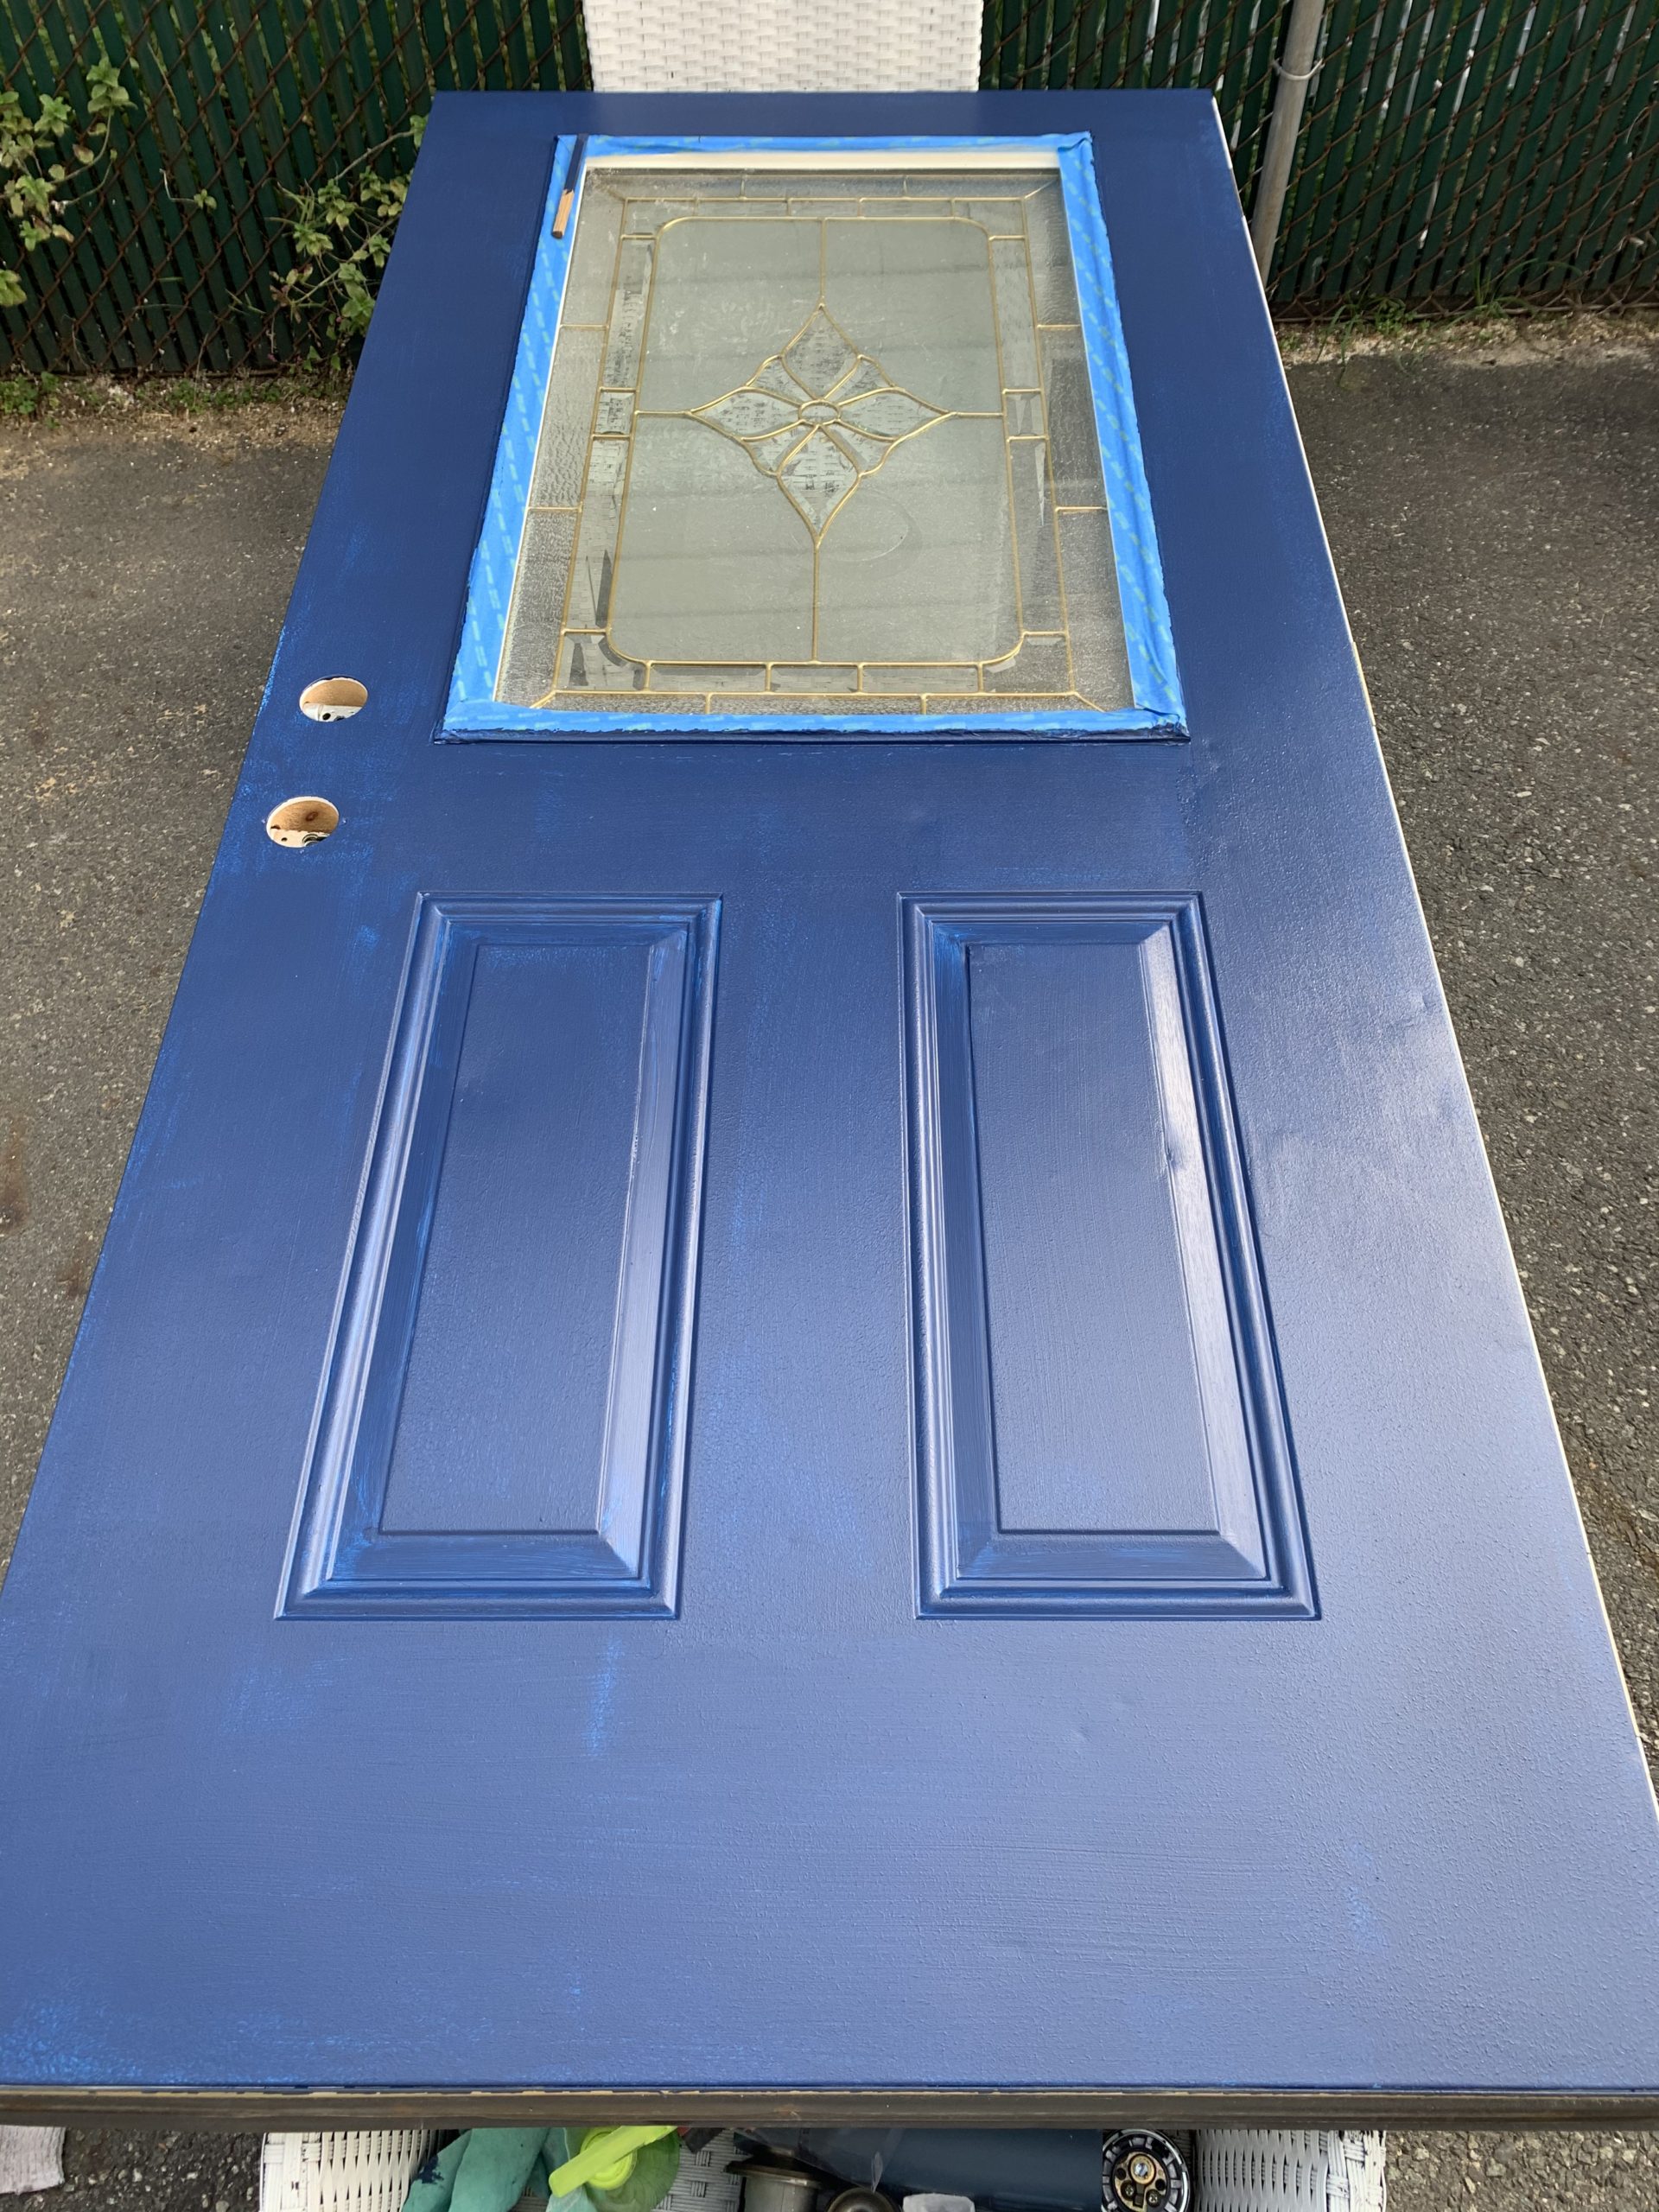
8. Tape Out the Window
Don’t be proud, kids, we’re going dark blue.
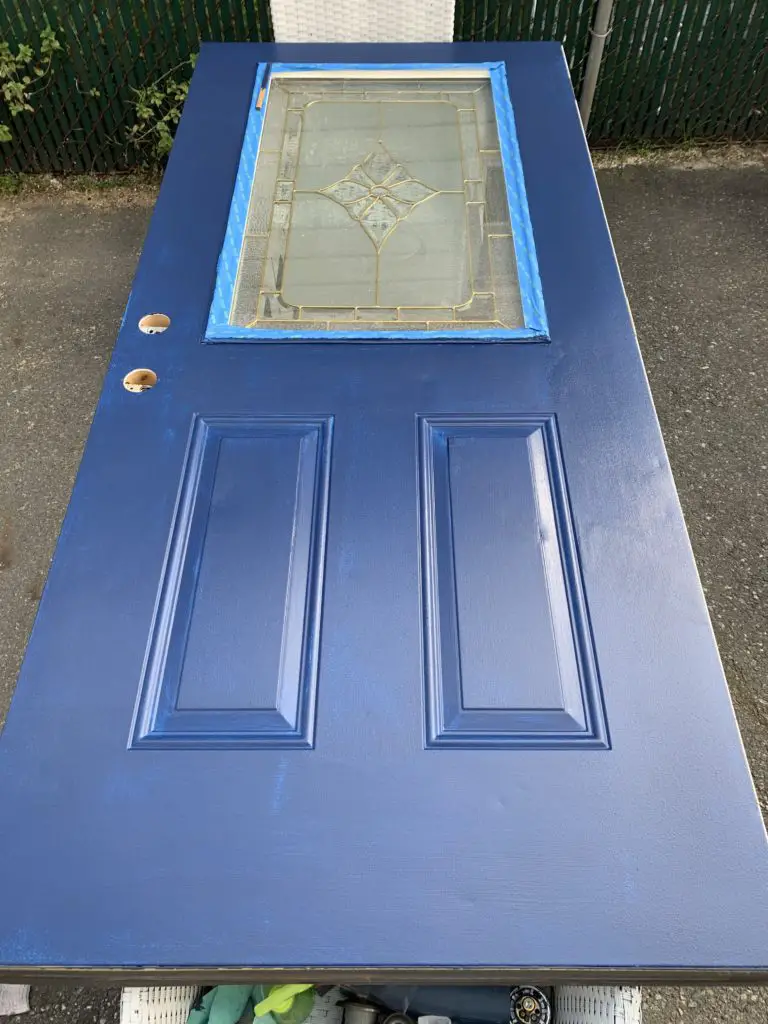
9. Paint
This took me three coats of paint. Pictured here is coat #2.
Note – Our paint was primer + color all in one. Had we been painting over something other than white, we may have considered a primer coat.
We found that a 9″ paint roller performed better on the flat parts.
10. Be Patient.
Let it dry.
Like, really, really dry.
The last thing you need is a thumbprint on your fine craftsmanship.
11. Re-Hang Door
…and reattach the hardware.
The Final Step: Admire Your Work
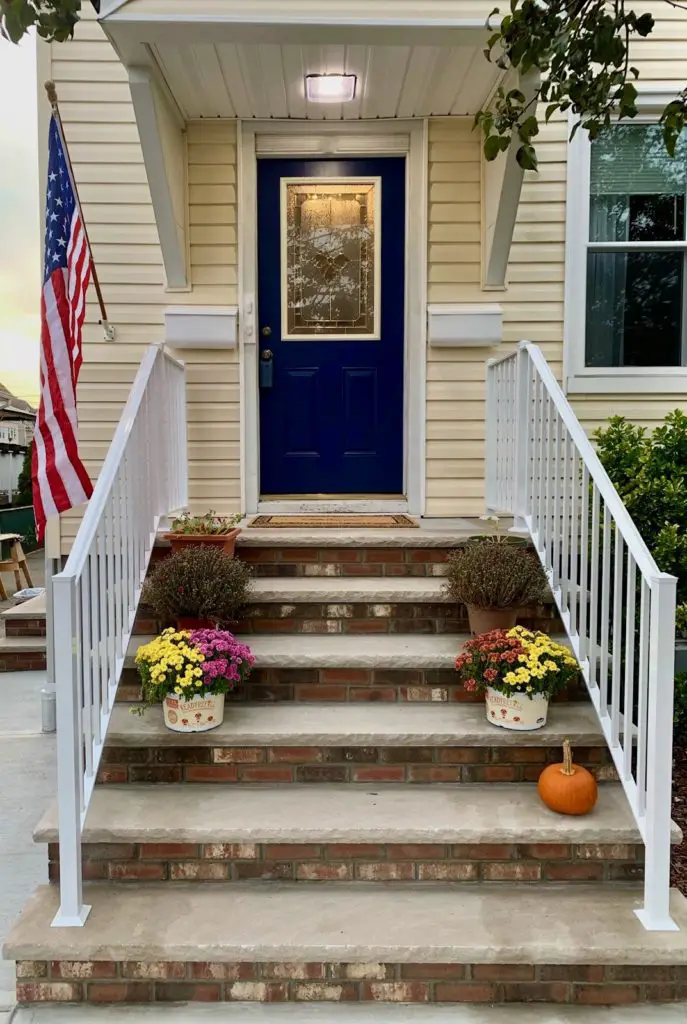
A very important step in all home renovations – take a step back and marvel at the work you completed today!
It’s always good to smile at the sight of your home improving, one project at a time.
We hope this tutorial on how to repair an exterior door has been helpful! Happy remodeling!


