
Nursery Makeover – How We “Made Do” Without Brand New
This post may contain affiliate links. If you purchase a product through one of them, we will receive a commission at no additional cost to you. As Amazon Associates, we earn from qualifying purchases.
Welcome back to Our Two Family house! Today we are showing you the before and afters of our neutral nursery makeover.
When we discovered our little one was truly on the way, we decided to create a neutral nursery in our smallest bedroom.
We particularly emphasized the “neutral” in our nursery makeover for two reasons:
- To keep us surrounding by calming colors when wrestling a screaming infant
- To avoid repainting if the gender specified by Doc was actually wrong.
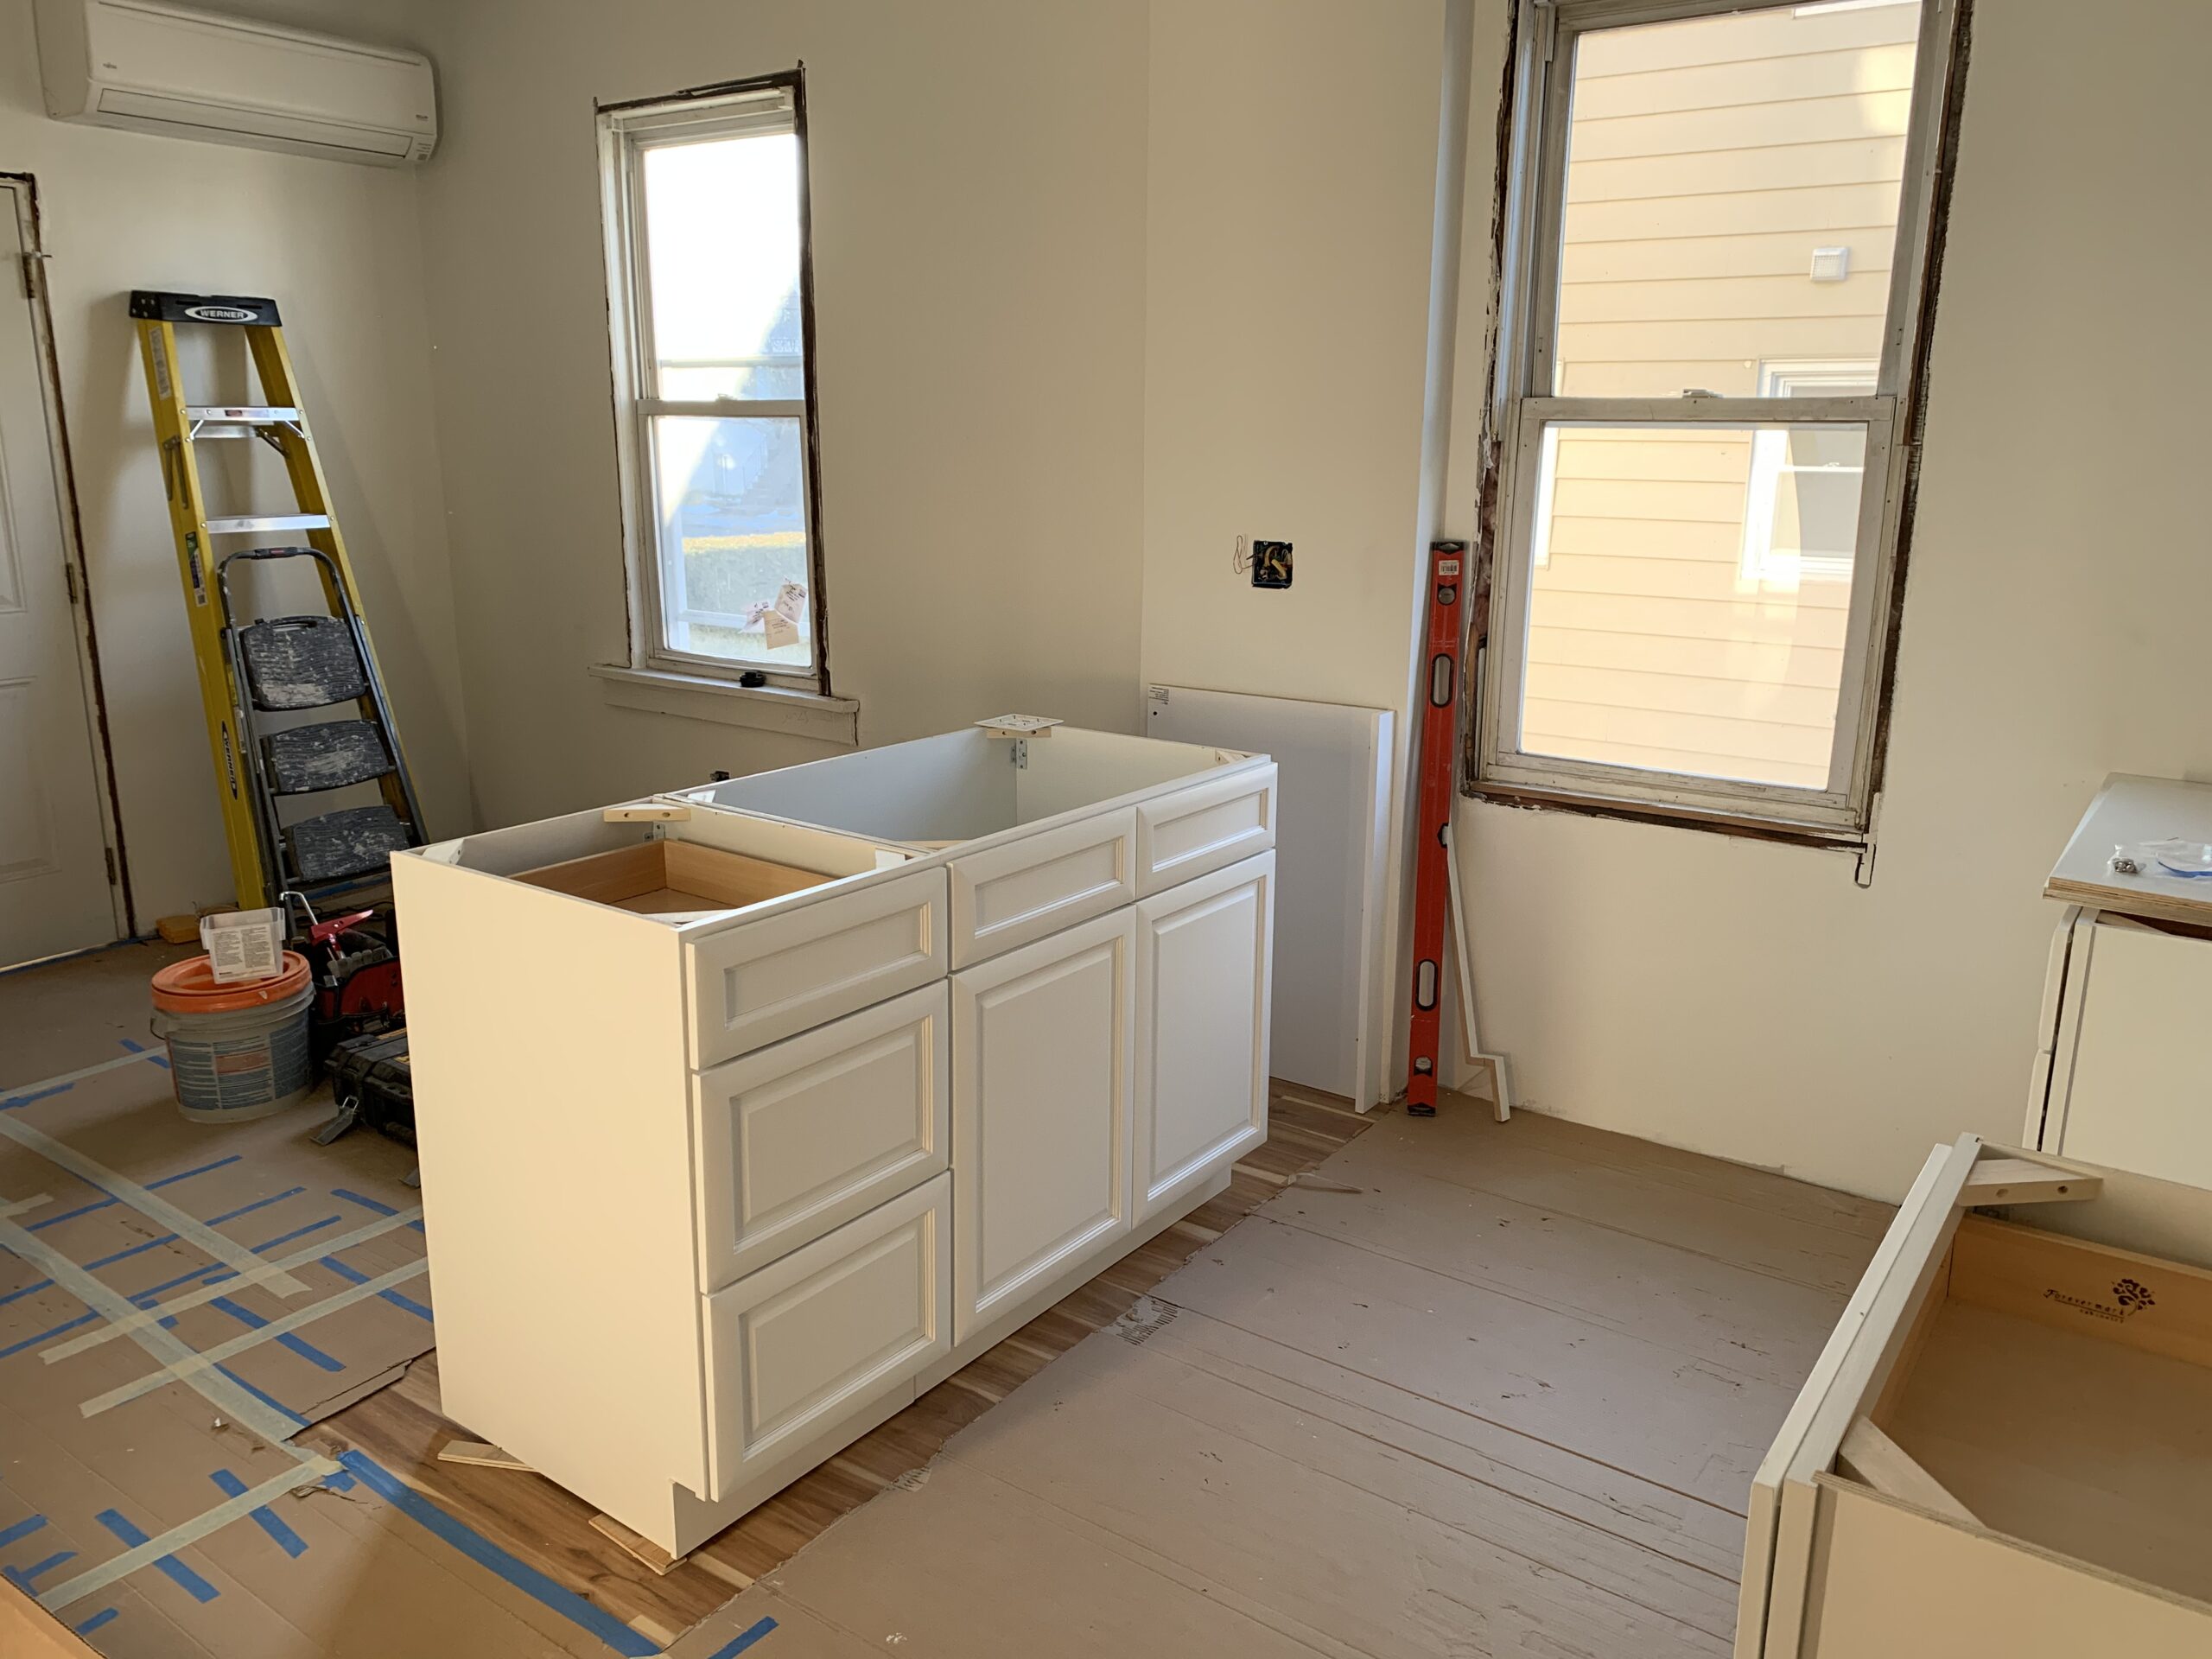
We had the perfect location that we (hoped) wouldn’t require too much work. After a gut renovation of 2 kitchens and 3 bathrooms, we were hoping for something simpler.
Let’s take a spin around our small nursery makeover!
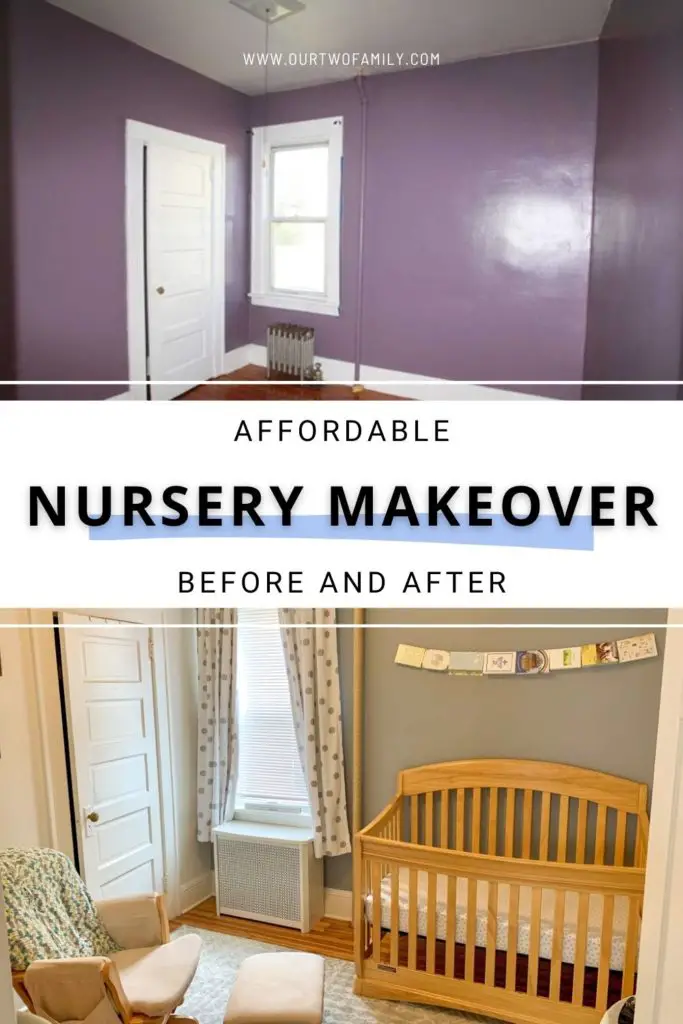
Nursery Makeover: Before
The problem wasn’t the room exactly.
The problem was… everything in it.
Behold, the pride and joy of the previous homeowners, the one-roller job, the glossy, the shiny, the infamous…
Purple room.
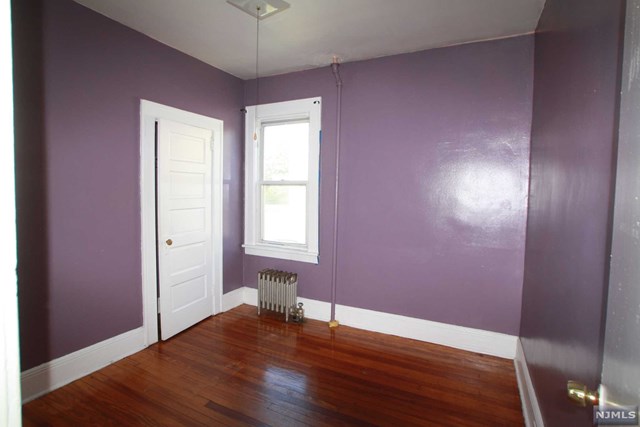
Yes, that is indeed high gloss paint on the walls, as evidence by the reflection of the camera’s flash on the right.
And… yes, that is a steam pipe painted to match.
And yes, as back when The Honeymooners just made its debut, there is indeed a ceiling light that turns on… if you pull the chain.
This sweet 10 x 11 room is the headquarters we picked out for our neutral nursery.
Thankfully, this was really a cosmetic fix.
We decided that between Noreen being five months pregnant, our open concept galley kitchen and first floor bathroom remodel still finishing up, and the two of us still working, it was NOT the time to rip down more plaster and do a big overhaul.
Sorry little babe, you’re getting the “lipstick on a pig” approach. You’ll be okay, at least until you hit middle school.
We found 5 things to troubleshoot during the nursery makeover: the lighting, closet, paint color, steam pipe, and radiator.
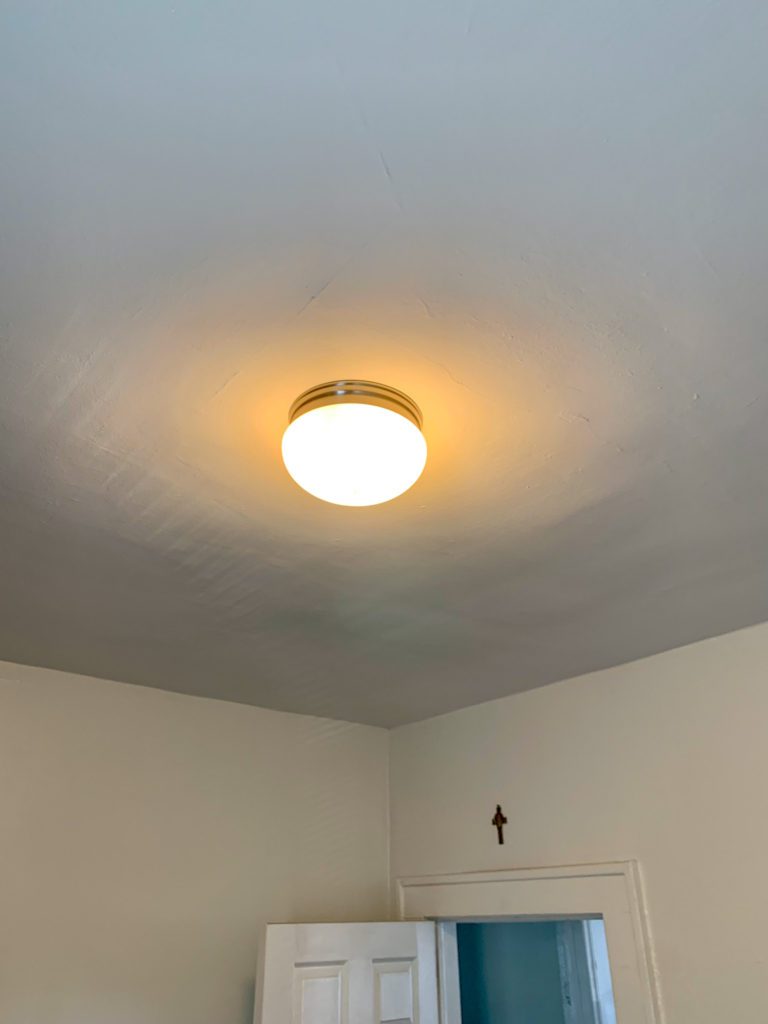
1. Ancient Light Fixture
First, we hired an electrician to replace the light fixture and bring it past the year 1950.
See the string hanging down? Not good. Not safe.
We chose to keep it simple with a basic ceiling mount fixture.
Then, we added a light switch by the door, like normal people – like lights should be in the year 2020.
We did choose to hire this out – sometimes it’s worth it to point and pay – adding it to our kitchen/bath reno tab.
In hindsight, I wish we had added one more wall outlet (can we ever have enough outlets these days?) but we will make do for now.
2. That Wretched Closet
…Then we had a look at the closet.
You guessed it! The entire closet, ceiling included, was glossy purple. Every bedroom’s closet in our house boasted the same godawful color as its walls.
Aside from the obnoxiously loud purple color, the glossy finish made fixing it particularly annoying.
In general, high-gloss paint lives best on high-touch surfaces, like trim. The previous owners likely chose high-gloss for two reasons:
- It was a rental, and it’s easier to clean high-gloss in between tenants rather than properly repaint.
- They found it on the “oops” rack on sale at the store and saved a bunch of money.
You know what’s a pain in the tuchus?
Painting over high gloss purple in a closet that’s only 22” deep.
House lesson: Standard depth for a closet is 24” deep.
Alas, we successfully painted it (and I, at 5 months pregnant)! 22” is not a lot of space to rotate, turn around, reach up and down, etc., but we did it.
Some joint compound over the roughest plaster spots, a dash of caulk where the trim had pulled away, two THICK coats of primer and two thick coats of flat white (it’s a closet, after all), and that pupper was passable.
The white really brightens things up, making it easier to see what’s in the closet.
3. Overbearing Paint
We wanted a neutral nursery and settled on a trendy gray color scheme. This is a nice one called “Morning Fog.”
Initially, we couldn’t decide whether to paint the whole room gray or to just paint one wall.
After priming, we painted one wall gray and took a step back.
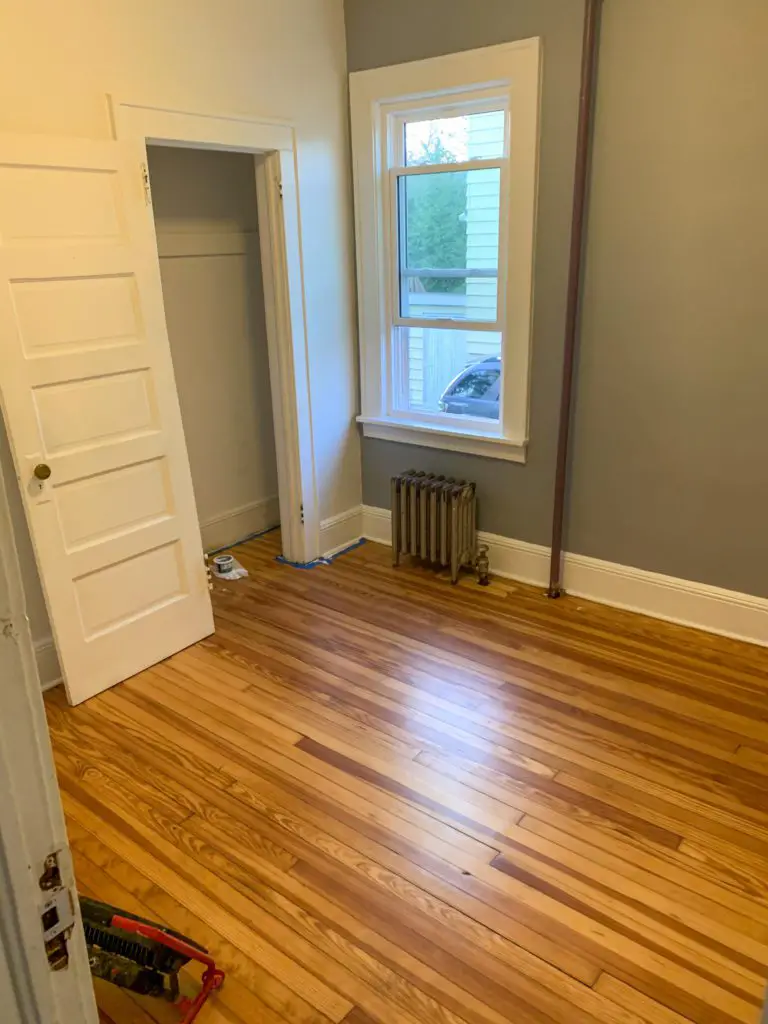
Since this little room only gets sunlight after about 3pm from one singular window, we concluded that we would keep the rest of the walls white, so as to make the room feel bigger.
White reflects more light, and we felt that one gray wall was enough.
After deciding to keep the accent wall, we admitted to ourselves that the first coat looked rough.
One of the joys of an old house is that plaster has “character” – aka the corners aren’t necessarily clean.
Here’s a “DO NOT DO” TIP: Do not use caulk to seal the corners of a room. The previous owners did this, and it DOES NOT make for a clean edge. And it’s impossible to rip out unless you want to tear down the whole wall.
Keeping with our decision to “make do” in this room, we decided to just do our best with it and not look too closely.
We had used blue painter’s tape to cut in the accent wall very carefully.
After removing the tape, we touched up with a teeny tiny crafting brush to fill in the bumps in the corners. Not bad.
After patching and painting the trim, the neutral nursery walls were set!
4. Pesky Steam Pipe
And now…. For that pesky pipe.
May I have a moment? Good.
There is a special place in homeowner hell for people who use latex paint on a steam pipe.
First of all, latex paint is inefficient for painting metal surfaces.
Second of all, WHO THE HELL PAINTS A STEAM PIPE? It gets hot. It will peel. Yes, it’s ugly, but it keeps your 2nd floor warm in the wintertime, so live with it and leave it the hell alone. Whatsamatta with you?!
I shall now descend from my soapbox.
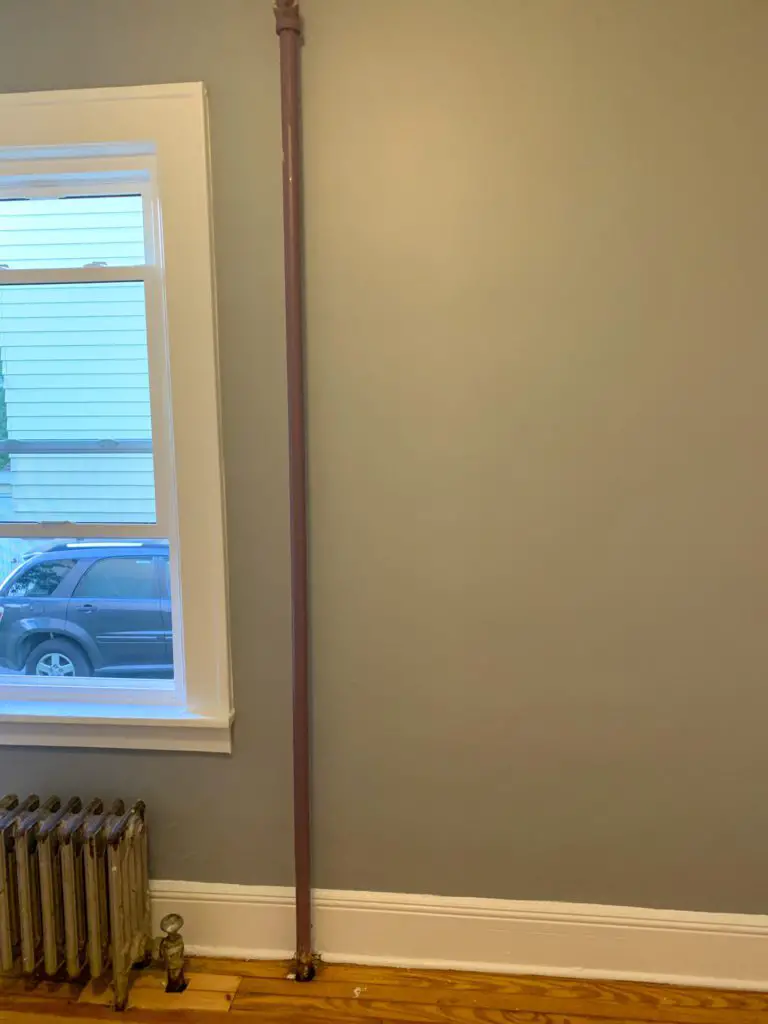
We concluded that trying to get the paint off this awful thing would be more trouble than it’s worth. But to leave it there in all of its ugly purple glory was also not an option for my aesthetically unpleased brain.
My other concern was that this pipe gets HOT, and in a kid’s room, that’s practically inviting lil’ bub to burn themselves.
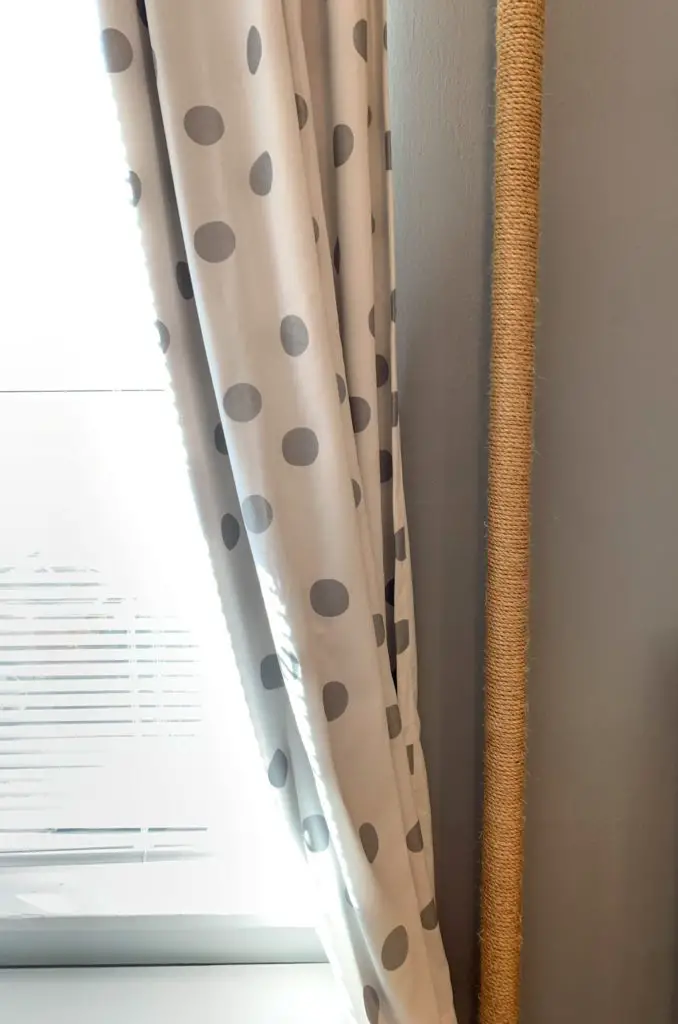
Thanks to the internet, we discovered an affordable fix…
Rope.
Yes, rope.
What kind of rope?
I reached out to a lovely company called SGT Knots – owned and operated by a Marine Corps veteran and based in the USA. One primary concern was that a rope on such a hot pipe would emit fumes, or even worse, pose a fire hazard.
Thankfully, SGT Knots did not disappoint, and within 24 hours they kindly responded that this sisal rope was best, and would not char until 300 degrees.

With 9 ft. ceilings, we went whole-hog and ordered 600 feet of this rope (yes…. there are more pipes like this in our house…). The last thing we wanted to do was to run out, so we bought more than enough.
Yes, it took an entire afternoon to wrap, and wrap, and wrap this rope around this pipe. But we think it was more than worth it!
There was some slight odor when the heat first kicked on upstairs, I would say for about 2-3 days, but other than that, it has worked out perfectly.
No more purple pipe, more neutral color in the nursery.
5. Old School Radiator
Finally, the last eye sore of our nursery makeover: the radiator.
Oh, fellow old-house owners, you know the radiator.
Ohh, fellow New Yorkers who have lived in a pre-war building, you know the radiator.
Ohhh, necessary cast iron heater of the blessed, you are ugly as all get-out in every home you grace.
We need you, we love you, and you are still the most efficient manner of heating one’s home, even in your ancient, unattractive glory.
Much like its neighbor, the purple steam pipe, we felt the radiator posed a safety hazard for a child. Even an adult could bump into one of these scalding fixtures and come out with a boo-boo.
We decided that we needed to cover the radiator, too, to avoid problem-os.
You know what’s expensive?
Radiator covers.
In our tri-state area, there are companies that still manufacture brand-new radiator covers. They run at least $150+ per cover, and that doesn’t include the gas/mileage/tolls/frustration it requires to haul as* to Brooklyn or Queens to pick it up.
So, like good millennials, we turned to social media…
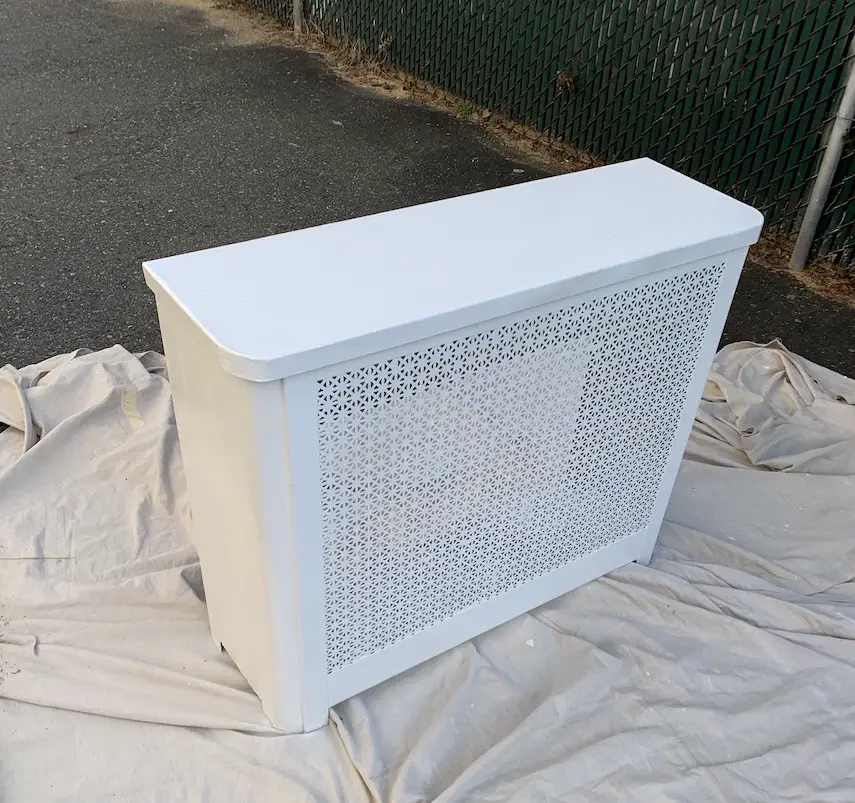
…and found this gem on Facebook Marketplace for $100.
For a radiator cover, painted, right size, in decent condition, that’s a pretty good price. Best of all, pickup was on our side of the Hudson River, so we’d save $30 in travel costs.
Related: How to save money on home renovations.

Furniture
Our generous friends and family graciously gifted us fixings for this nursery.
My brother and sis-in-law, whose children had graduated to toddler beds and beyond, were offloading a crib and super-comfy glider. All we needed to do was register for a new crib mattress.
As we were grilling in our backyard one evening, our next door neighbors peeked over the fence and gently asked, “…sooooo, do you need a changing table?”
They had just sold a short term rental and were unloading a basement’s worth of furniture. We dropped our chicken drumsticks, had a peek, and sure enough, the perfectly matching changing table was waiting for us.
Our sweet neighbors essentially tossed it over the fence and look at that, the nursery was outfitted with the basics for baby.
After adding a cute area rug in a gentle gray and long blackout curtains, we called it good.
Thanks to our kind family and friends, this nursery makeover has this room ready for baby! If only we were, too!
Related posts:
- Minimalist Baby List – What to love or skip in a small home
- How to clear house before an exciting life change
- Best benefits of a small house