How to Refinish Hardwood Floors – Basic DIY Tutorial
This post may contain affiliate links. If you purchase a product through one of them, we will receive a commission at no additional cost to you. As Amazon Associates, we earn from qualifying purchases.
Welcome back to Our Two Family house! I take it you’d like to know how to refinish hardwood floors. Here’s our basic DIY tutorial.
Hardwood flooring is such a beauty, particularly in an old home. We’ve enjoyed our pine floors and are quite pleased that we took the time and money to refinish them before we moved in.
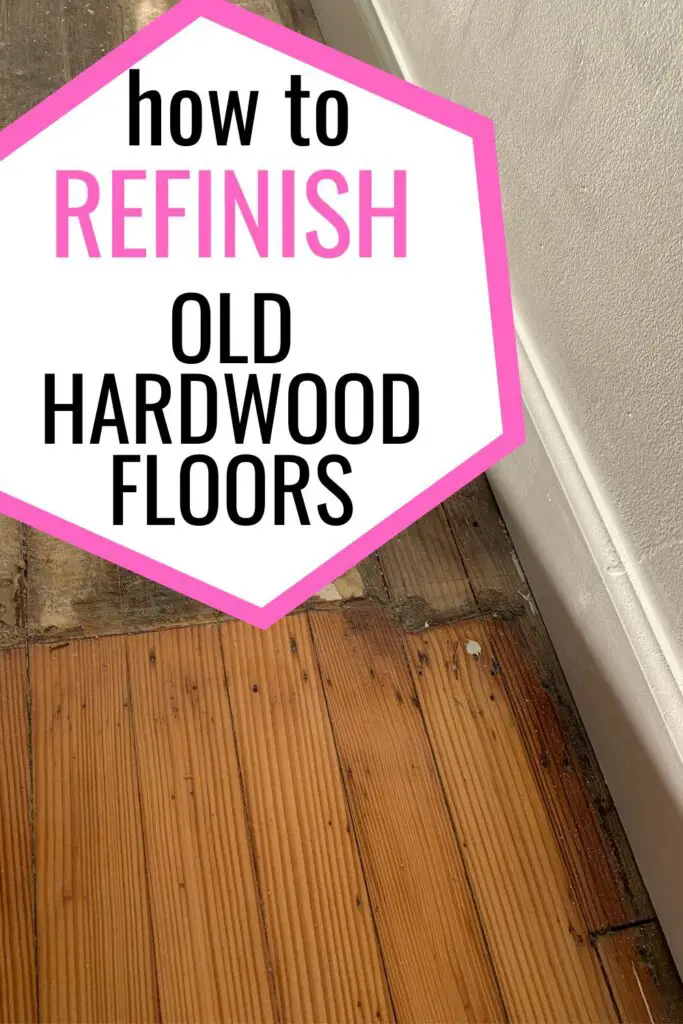
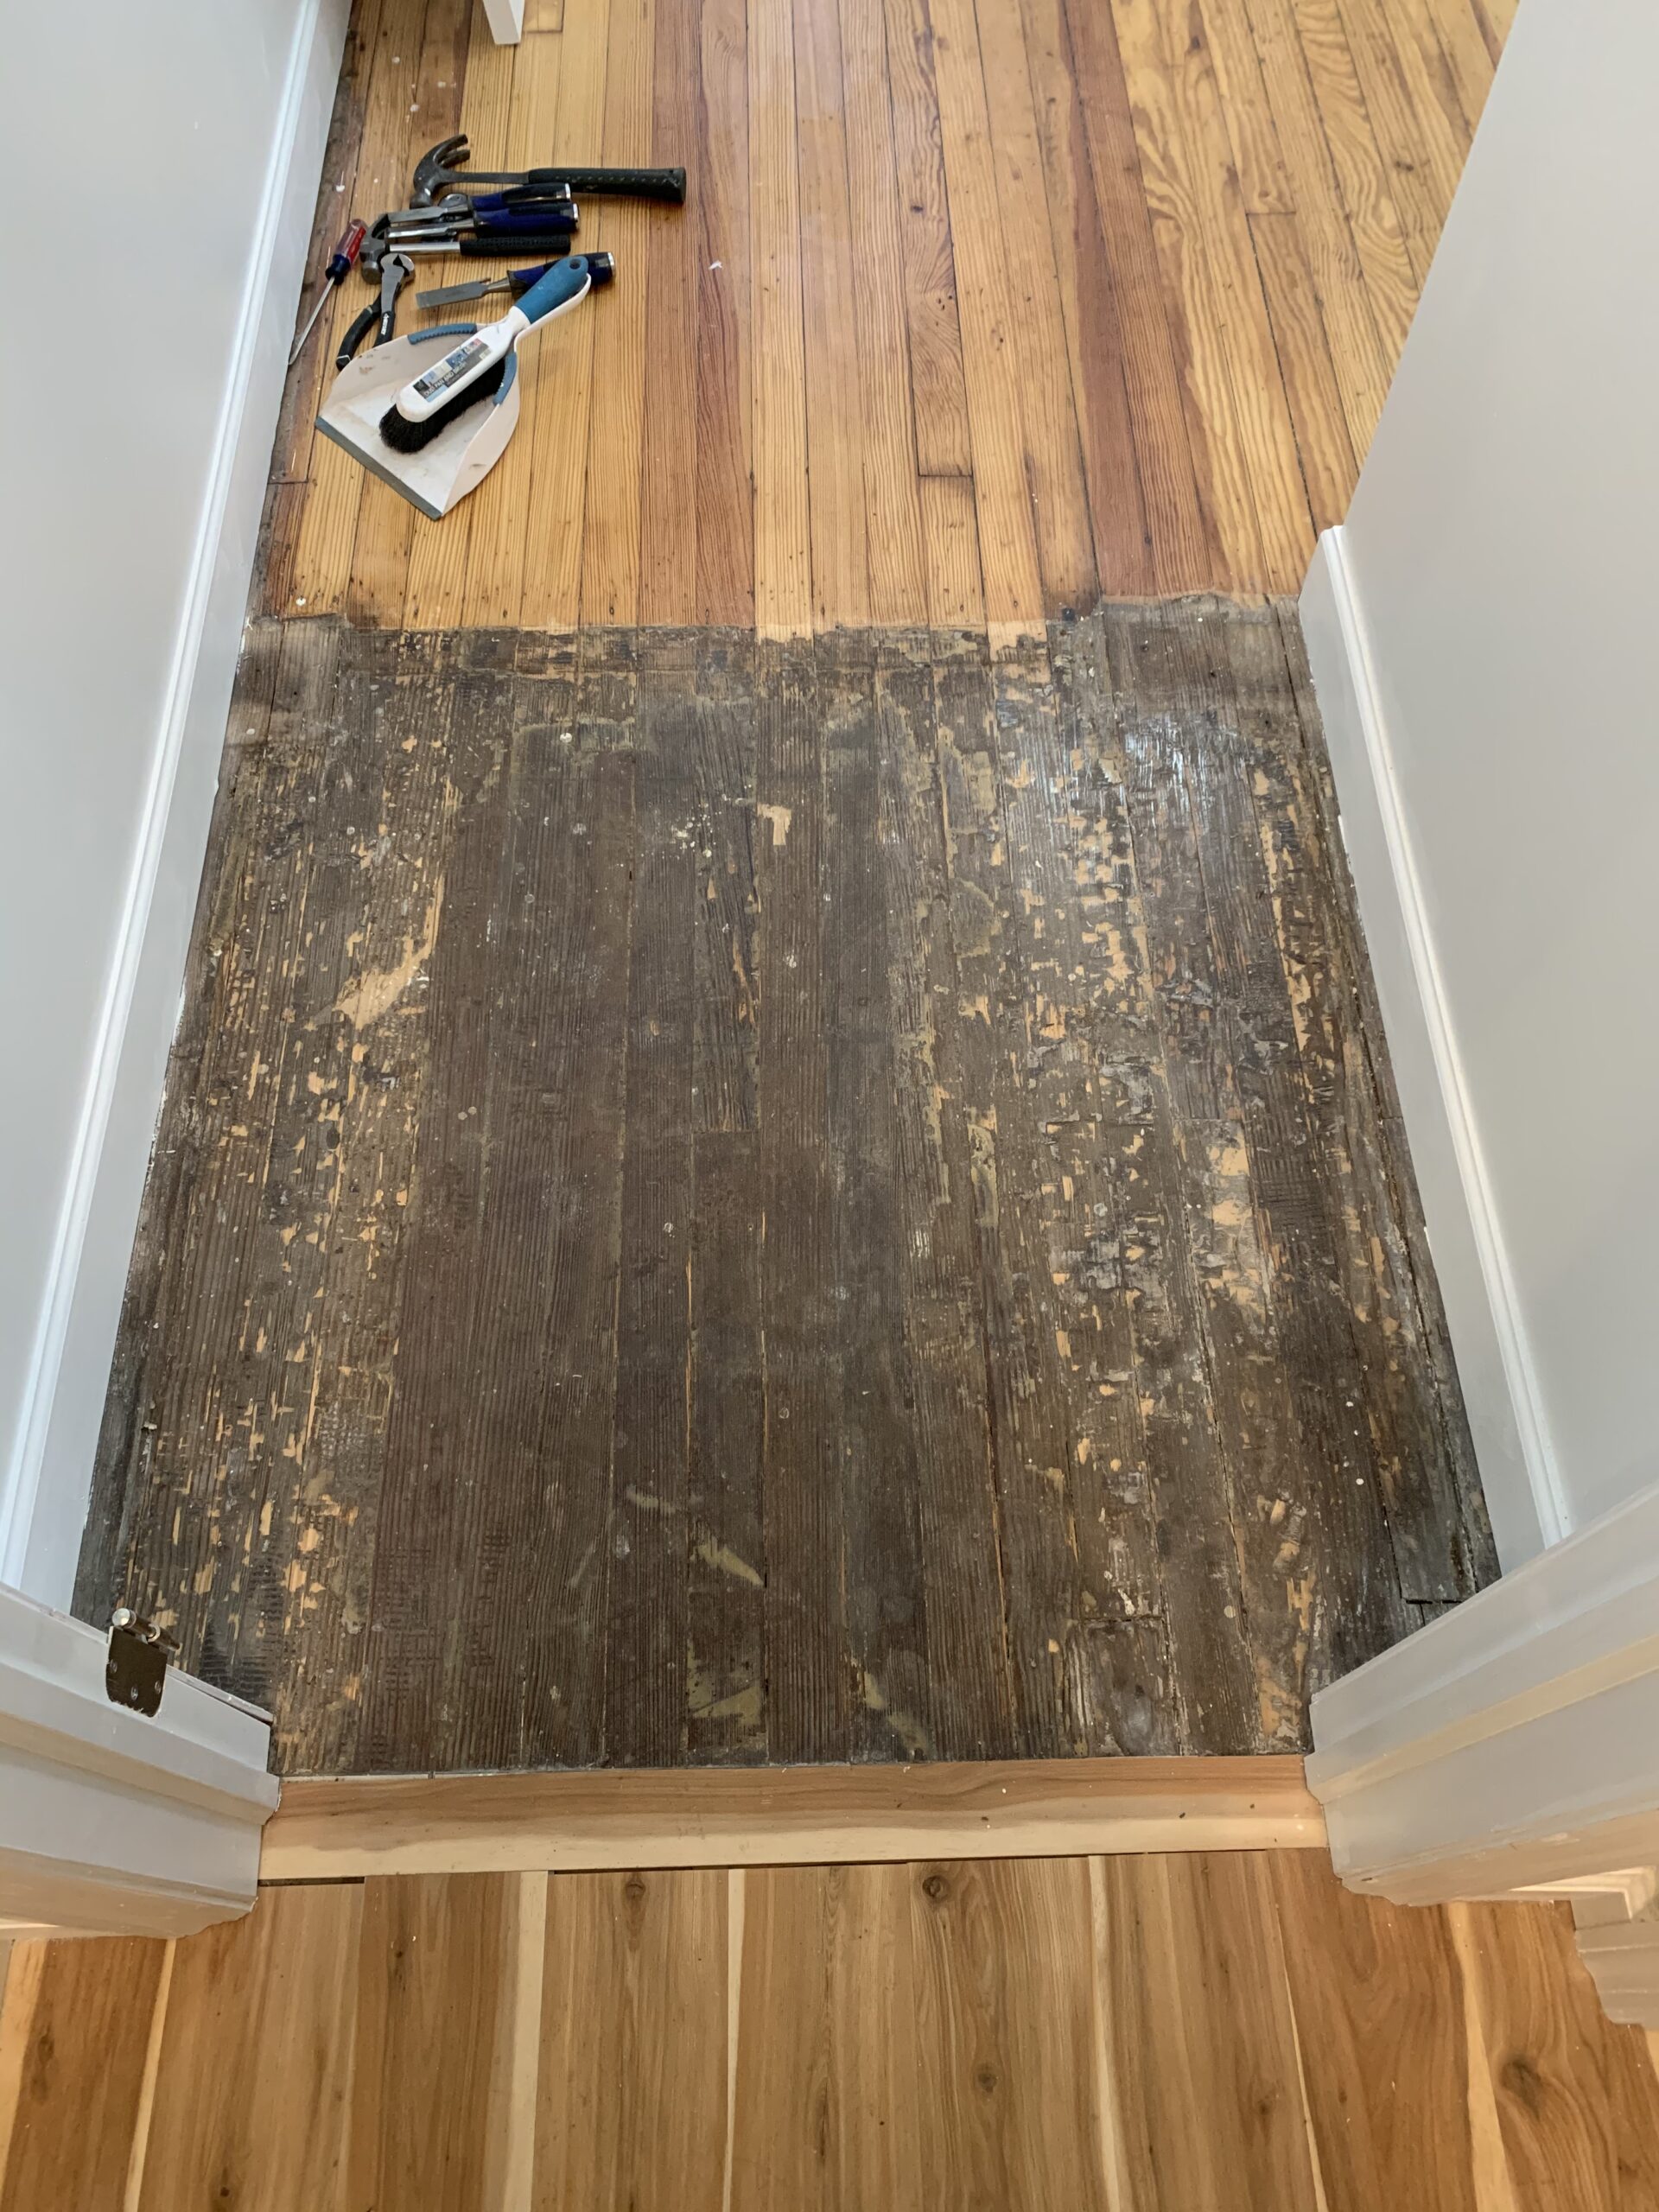
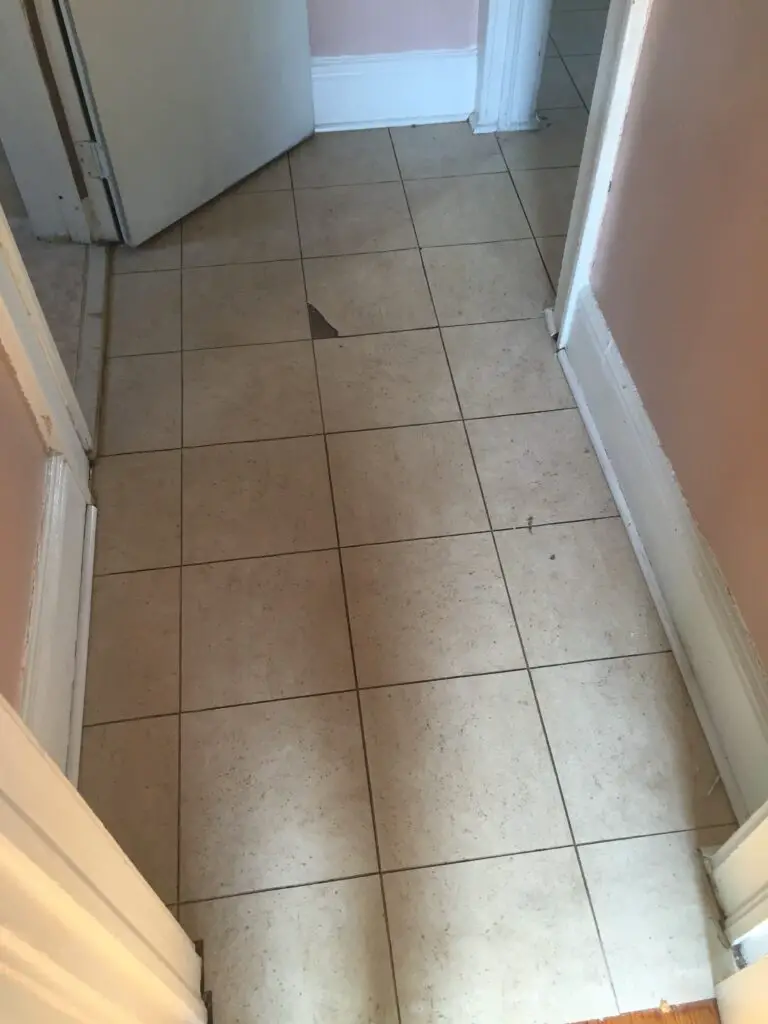
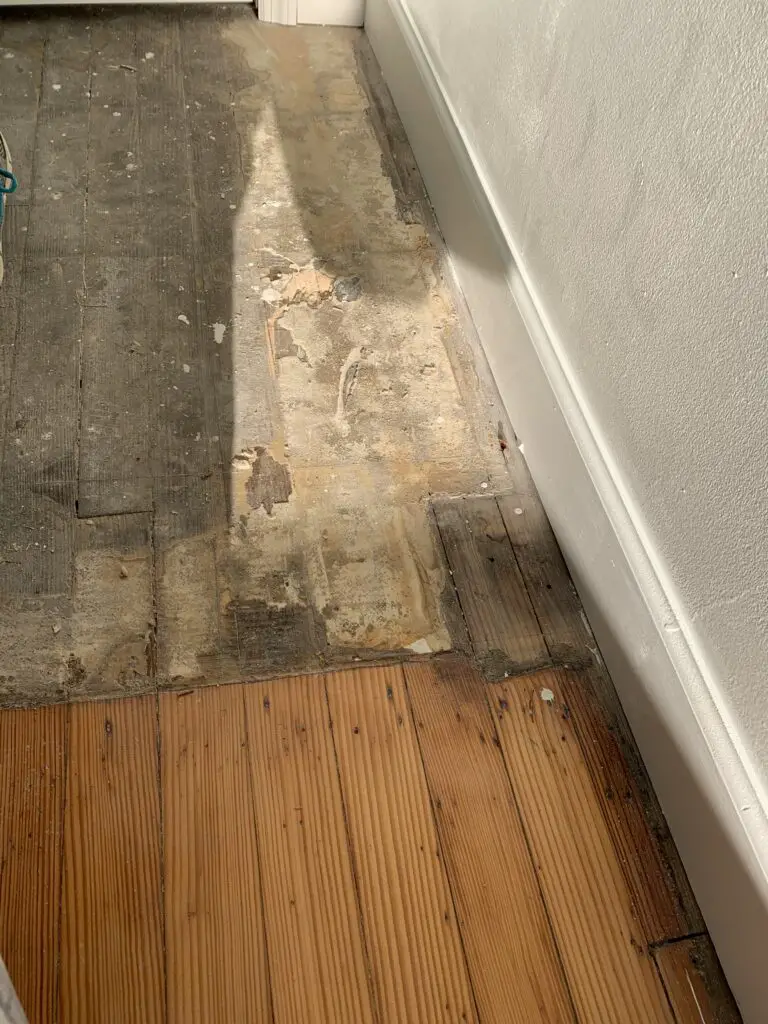
However, there was this one time when we rearranged a hallway during our Master Bedroom Remodel and discovered we’d be peeling up sticky tiles from the 70s. If you’re staring down a view like this:
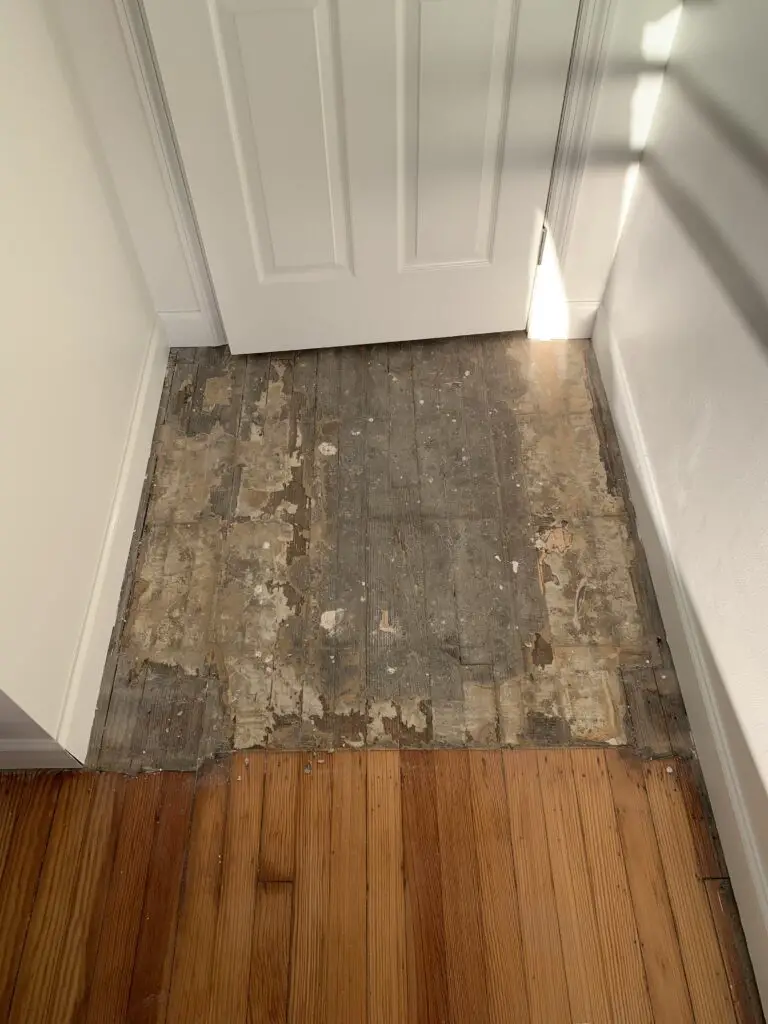
…we feel your pain.
Let’s get to it – how to refinish hardwood floors.
What Is the Easiest Way to Refinish Hardwood Floors?
The easiest answer: Point and pay. Check out all of our favorite reasons to hire a contractor for more incentive.
But I’m guessing for reasons such as “Money!” and, “What fun would that be?” you’re here to understand how to refinish hardwood floors on your own.
The second easiest way to refinish hardwoods is in an empty house, as we detail here in our post, What to do Before Moving into a New House. Once you have an iota of stuff in a room, it gets really cumbersome to refinish the flooring.
As you will see, refinishing hardwood flooring involves sanding and therefore dust – lots of it – so an empty room is best.
How Much Does It Cost to Refinish Hardwood Floors?
If you do it yourself, probably less than if you hire it out – money wise, anyways.
You’ll have to do your own research on local contractors, but usually if you cut out paying for labor costs and do it yourself, you can save some money – that is, if you do it right. You won’t save anything if you have to hire someone to correct your work.
DIYing a hardwood floor renovation should cost a few hundred bucks. If you have a smaller square footage to conquer, it will cost less, as a simple handheld sander and paintbrush should do the trick.
However, if you’re refinishing an entire home, you’ll likely be renting a giant drum sander (picture a lawn mower, but with 2 feet of round sandpaper instead of blades), and buying more finish product, which will cost more.
How Much Does It Cost to Refinish 1000 Square Feet of Hardwood Floors?
In 2016, we paid a contractor $1,400 to refinish our first floor, which is approx. 1,000 square feet.
I highly doubt this cost remains the same these days, but if you’re in the greater NYC area and would like his contact info, give us a shout!
Materials Needed to Refinish Hardwood Floors
Chisel / 1” Knife
Sander
(or, rent a big one!)
Sandpaper
Various grits of sandpaper (if you’re working on a small section, consider a multipack)
Masks
Safety Glasses
Knee Pads
Ear Protection
A Fan
Mop
…to clean everything. No inch will go un-dusty during this process.
Shop Vac
Dust Broom and Pan
Do you have everything you need? Let’s get going!
Steps to Refinishing Hardwood Floors
Make Sure They’re Hardwoods
These days, there are lots of beautiful project that may trick you into thinking you have hardwoods.
Make sure they’re actually that, and not laminates or LVP!
Clear Out the Room.
Make your life easier for clean up. Take EVERYTHING out of the room.
Don’t forget bifold doors, curtains, blinds, other humans, furniture…. nothing is safe.
If possible, tape the door shut. Yes, seriously. You’re about to create a dust storm.
Don Your Safety Gear
A mask and some goggles are a great idea. You might be want ear muffs as well. Safety first!
Chisel if Necessary
This is where we started. After pulling up these wretched tiles, we had to use a 1″ knife and/or chisel to get the massive pieces of flooring and glue up from our hardwoods. It was neither a glamorous nor enjoyable process. C’est la vie.
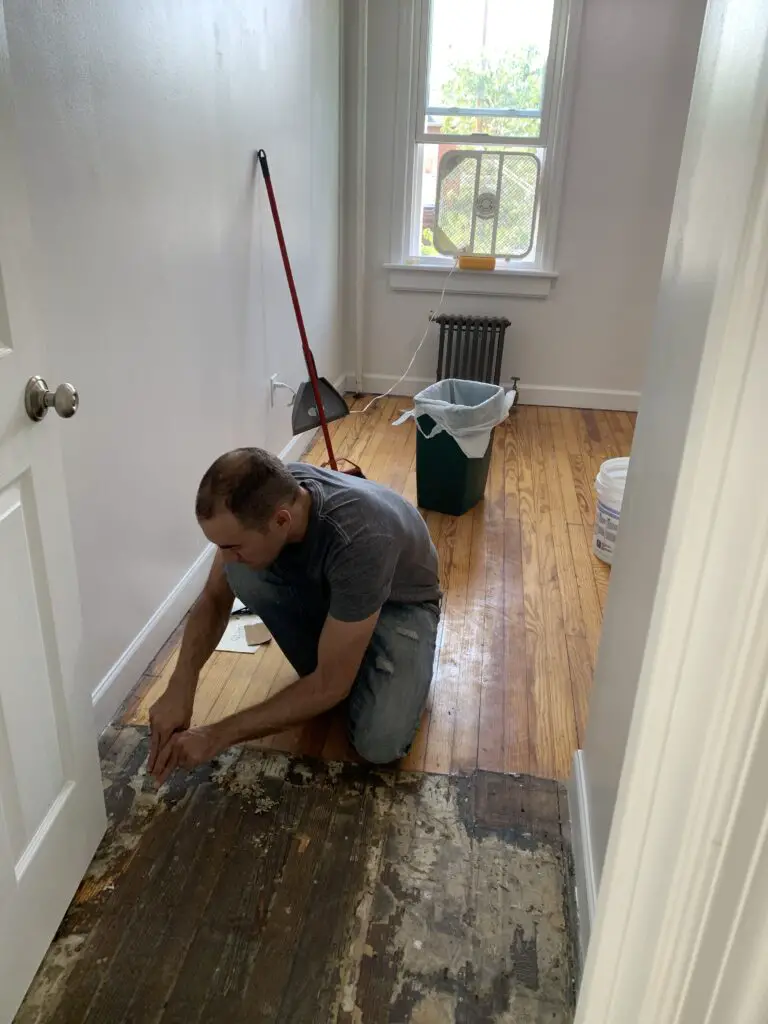
Sand
First, sand with your roughest grit of sandpaper. We had to start at like, 220 grit in order to get the massive chunks of glue up from this floor. You might not need to start that severe.
Sand Again
Then you sand with something less gritty.
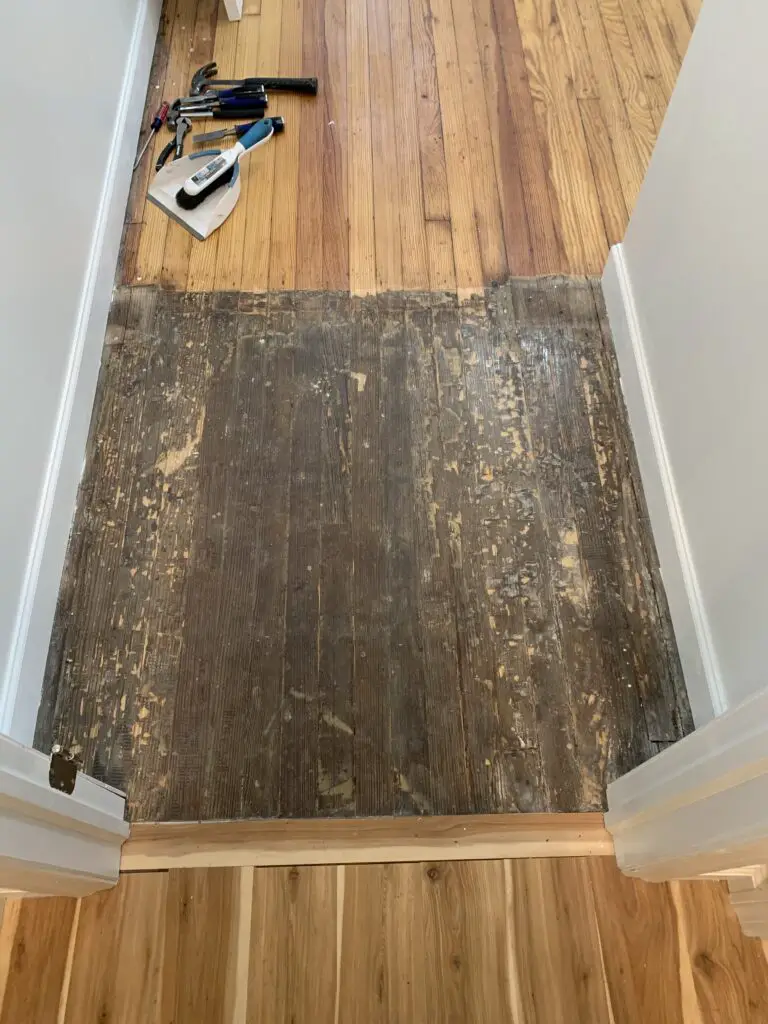
…And Again and Again.
Work your way down the sandpaper list.
Use sandpaper grit numbers from biggest to smallest, until your floors are nice and smooth. They’ll look like they got a hair cut, if flooring could get a haircut.
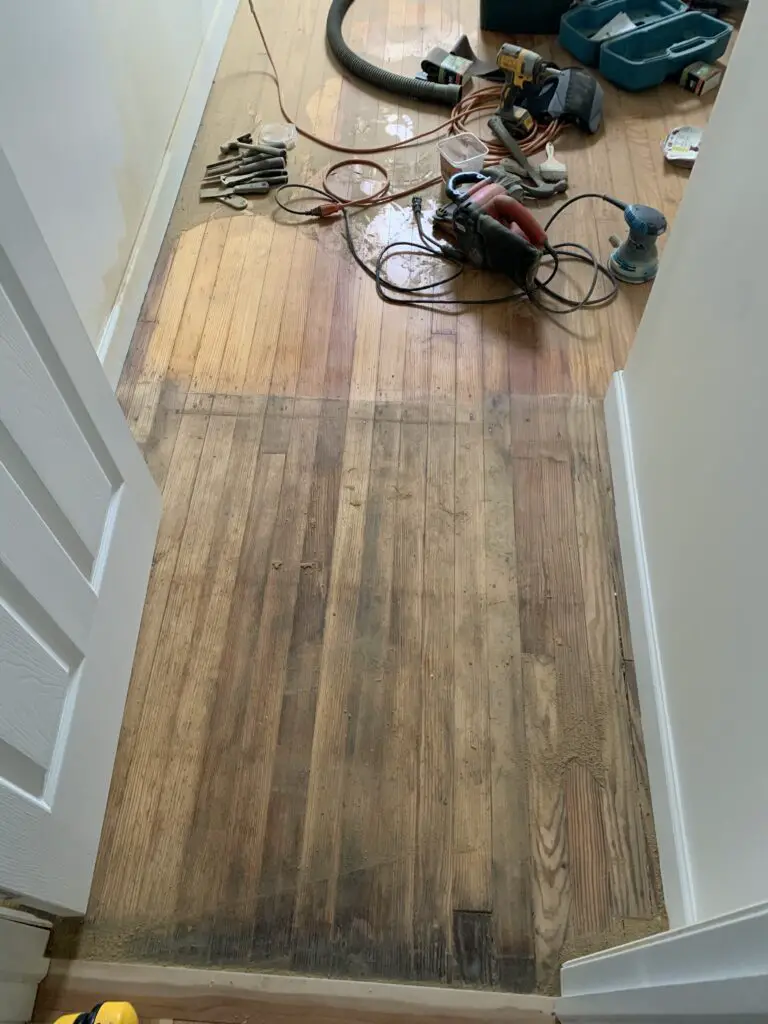
Don’t Give Up
There may come a time during this sanding process that you will want to throw in the towel.
Don’t!
You are just around the corner from your shiny new floors!
Try one more round of sanding. You’ll get there.
Sweep Up
Grab that dust pan and sweep up the crumbs! You’re almost there!
We also ran a Swiffer around the room to really get the dust up.
And when I say, “around the room,” I mean we also Swiffered the walls.
Like I said, dust gets everywhere.
Finish Coat!
Grab your paintbrush, June, we’re headed for the finish line!
Pick your poison (literally) – we used a simple, non-tinted polyurethane finish here. Since we weren’t matching new wood with old, we didn’t have to worry about varnishing or staining darker or lighter.
Let It Dry…
…and hang a sign on the door so no one stomps all over your nice work!
You should probably do two to five finish coats, depending on the traffic volume of your project. If you want the snazziest results, sand between coats.
For example, on our staircase remodel, we did five full coats of polyurethane and sanded in between every layer. High traffic = more protection needed.
Refinished Hardwood Floors Before and After
Here are the before and after pictures of our refinished hardwood floors from our master bedroom hallway.

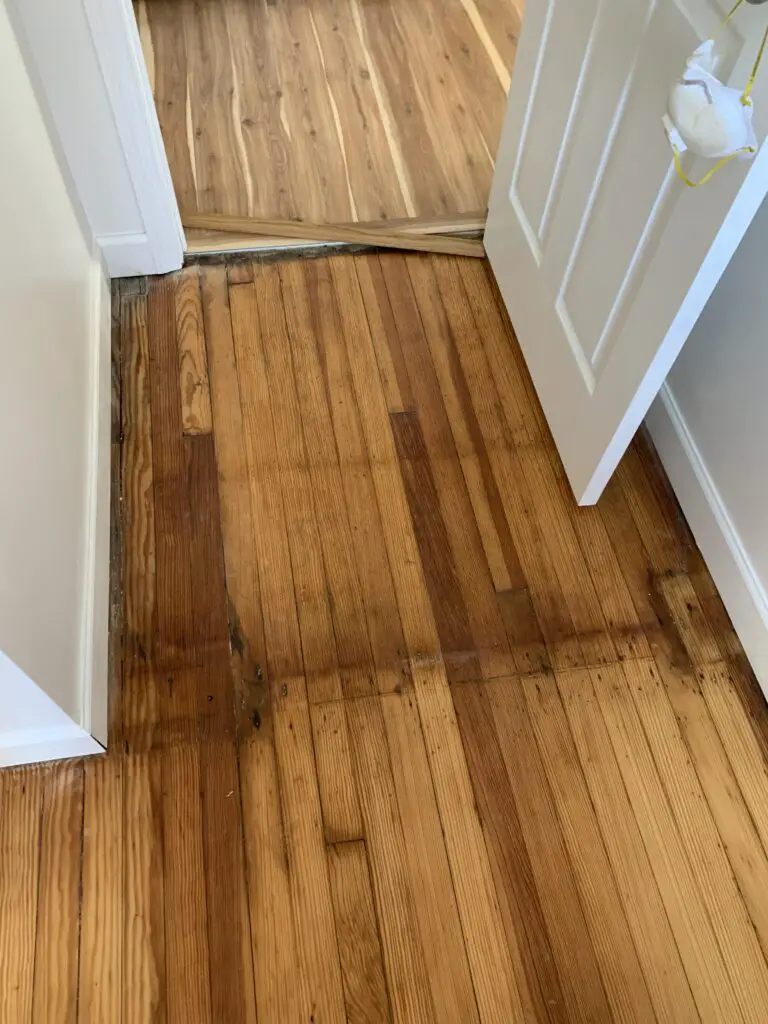
With a little bit of TLC and a lot of elbow grease, we got this floor back to its original beauty!
While the floor isn’t perfect, we embrace that it never will be.
At 110 years old and having survived 40 years of sticky tile, we adore its character and take pride in the fact that we conquered this project ourselves.
Final Thoughts on How to Refinish Hardwood Floors
Well, I hope this DIY tutorial on how to refinish your hardwood floors has been helpful.
Keep in mind we are DIYers and if you are a professional, you should probably get more detailed instructions.
But if you’re a regular homeowner like we are, just know that we are so proud of you for taking on this project! Revel in your new hardwoods, champ!
Related posts:
- Our Amazing Old house Remodel – the 2nd floor, part 4
- How to Repair an Exterior Door
- The Ultimate Home Renovation Survival Guide
