Basement Stairs Remodel – Really Epic Saga Of A Staircase
This post may contain affiliate links. If you purchase a product through one of them, we will receive a commission at no additional cost to you. As Amazon Associates, we earn from qualifying purchases.
Confession: we’ve been dragging our feet for a loooooooong time on our basement stairs remodel. It’s been a process– a super annoying, drawn-out, lengthy, embarrassing, unnecessarily long process.
The sad part about this makeover project is that we aren’t done! Nope. We’re only halfway down the staircase, people!
However, the first half of this renovation is complete, and we’re big believers in focusing on the glass half-full. Come see how it transformed!
Let’s jump in!
The Before
Let’s start with the exterior of our basement stairs remodel.
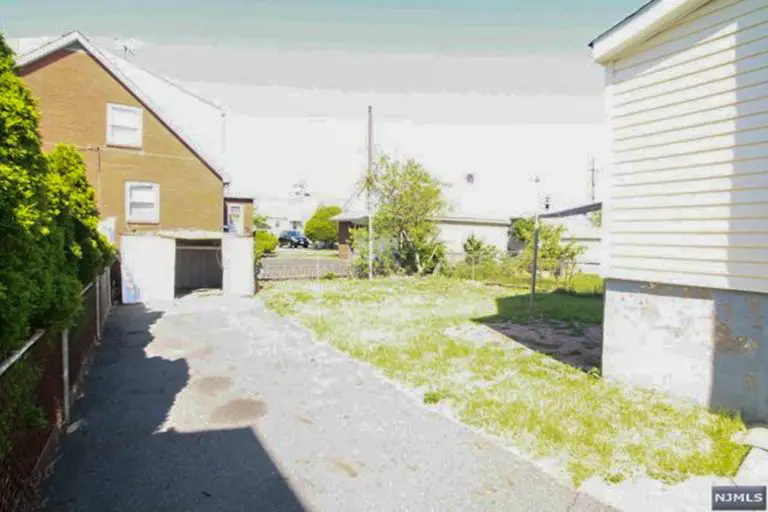
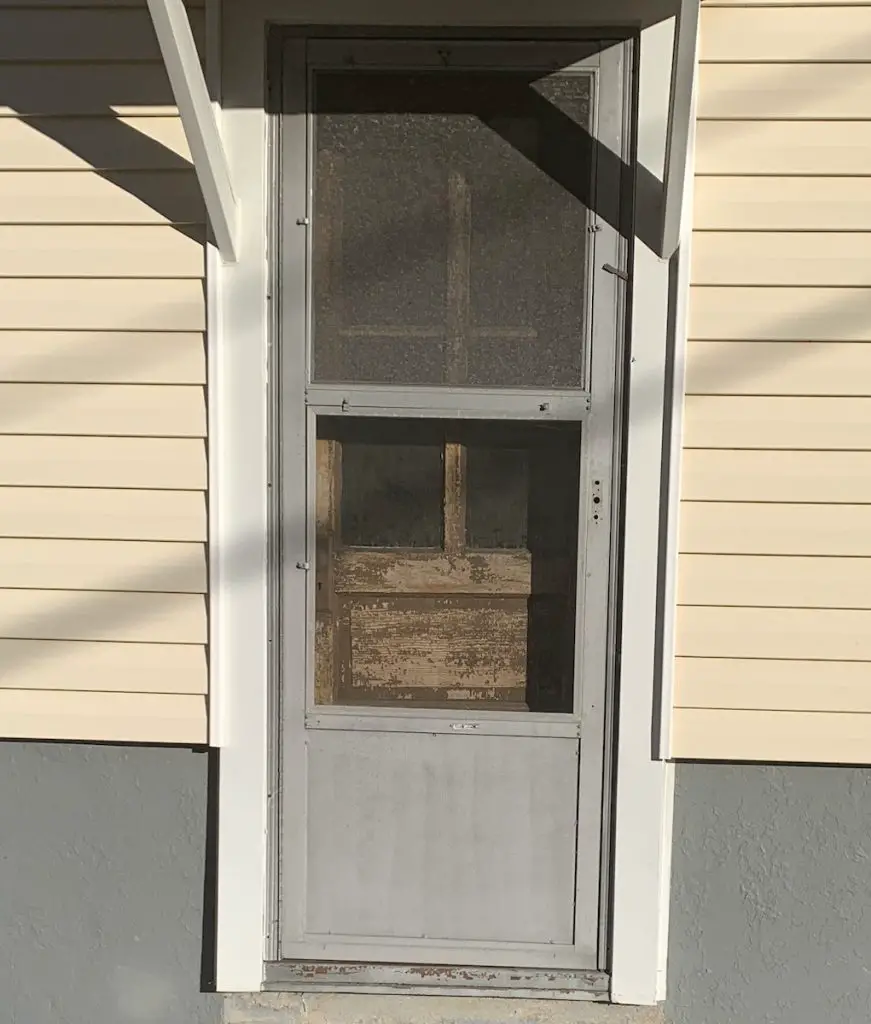
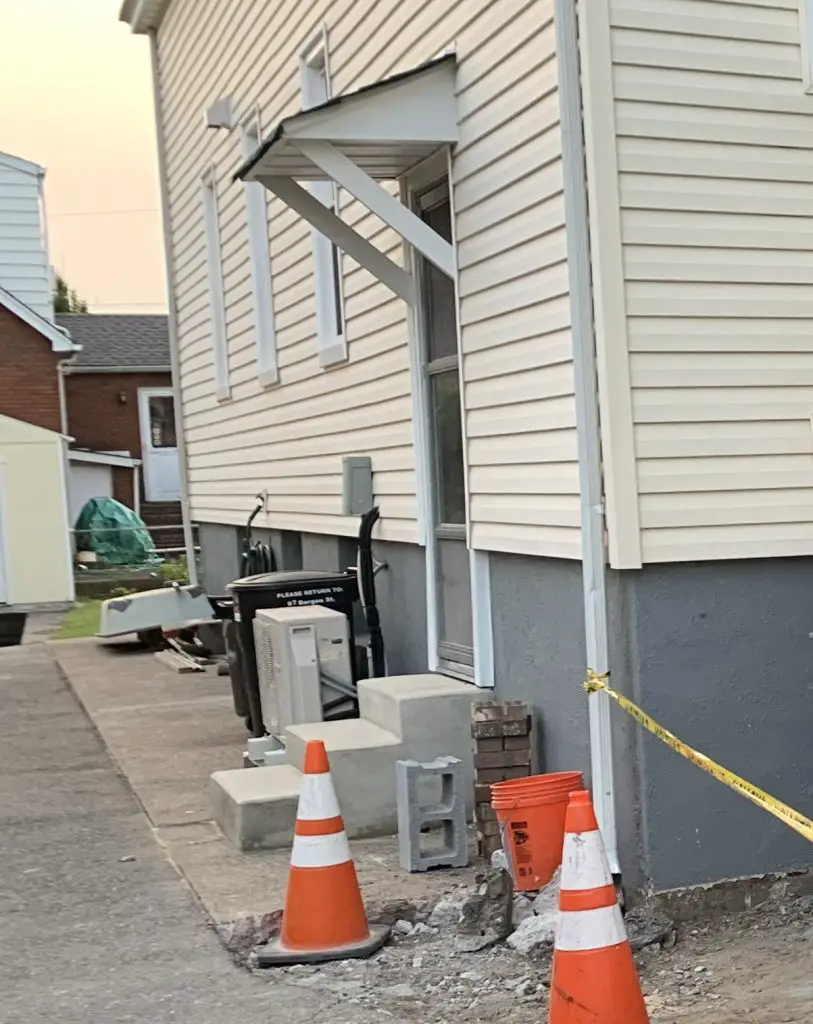
Behold, the “before” status of our side door, as purchased in 2016. (Read all about the process of Our Fha 203K Loan Hud Home here).
Notice it has no exterior stair (just a three-foot drop), a nasty ol’ storm door with no handle, and an original, 110-year-old wood door inside.
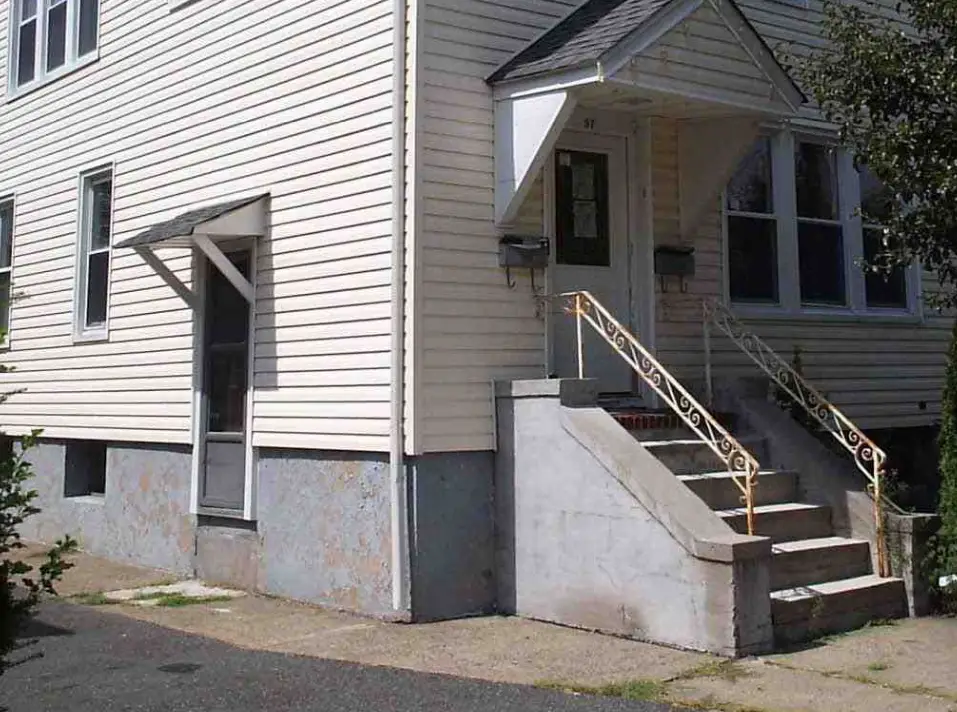
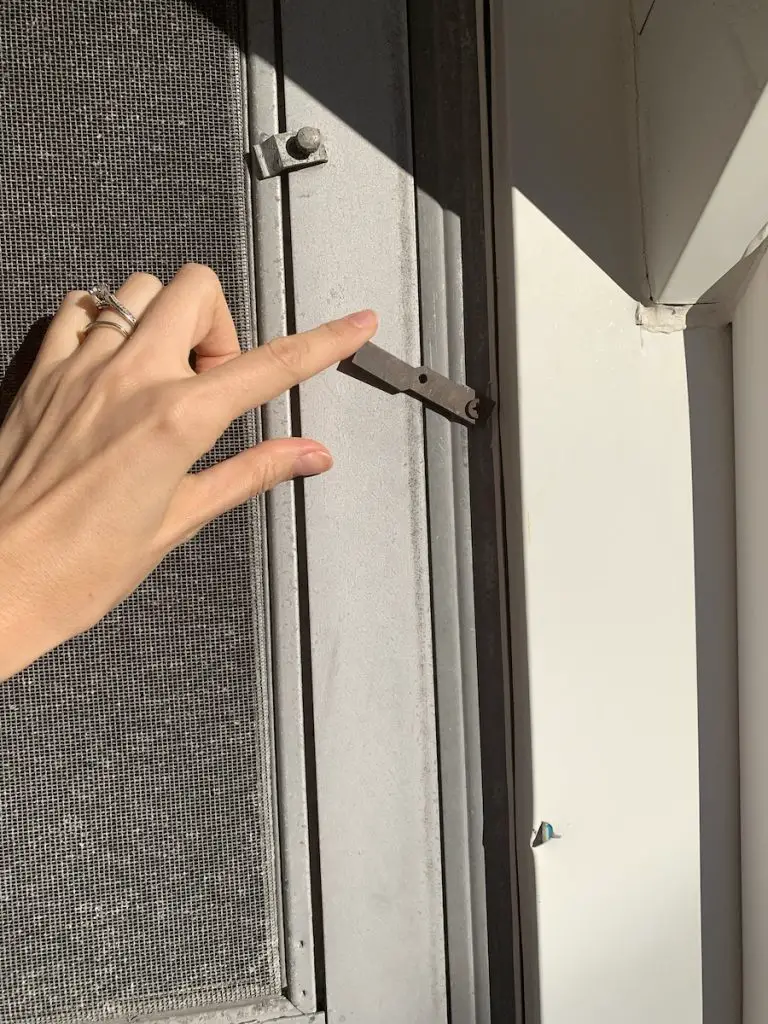
Sorry, did you want to see the close-up of that storm door latch?
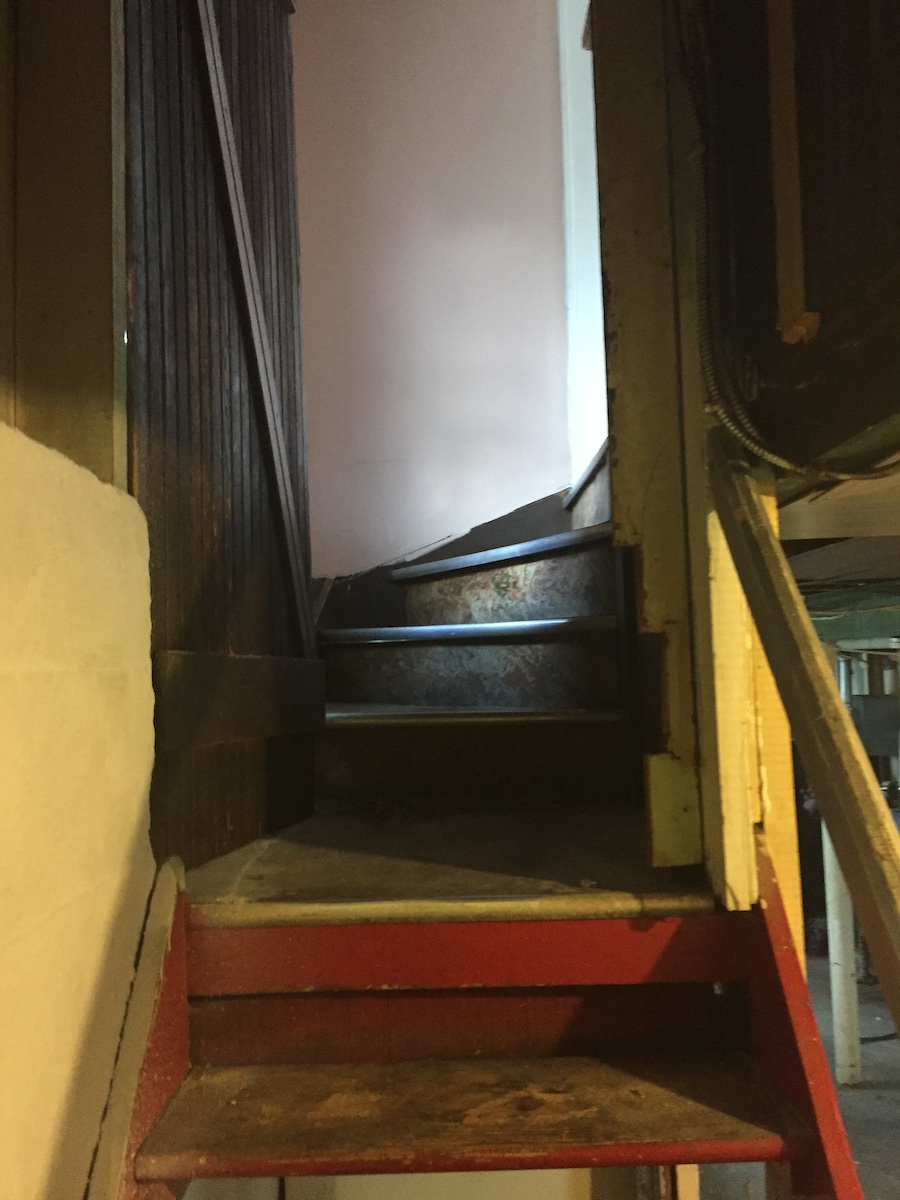
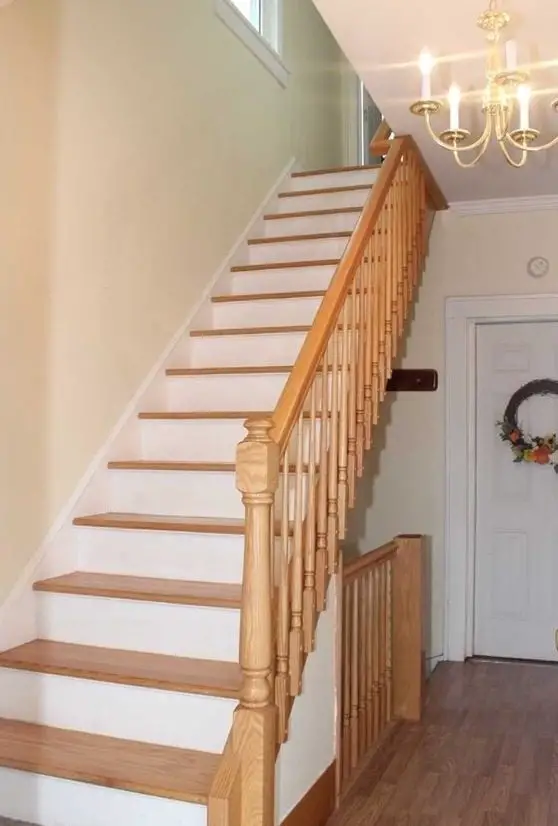
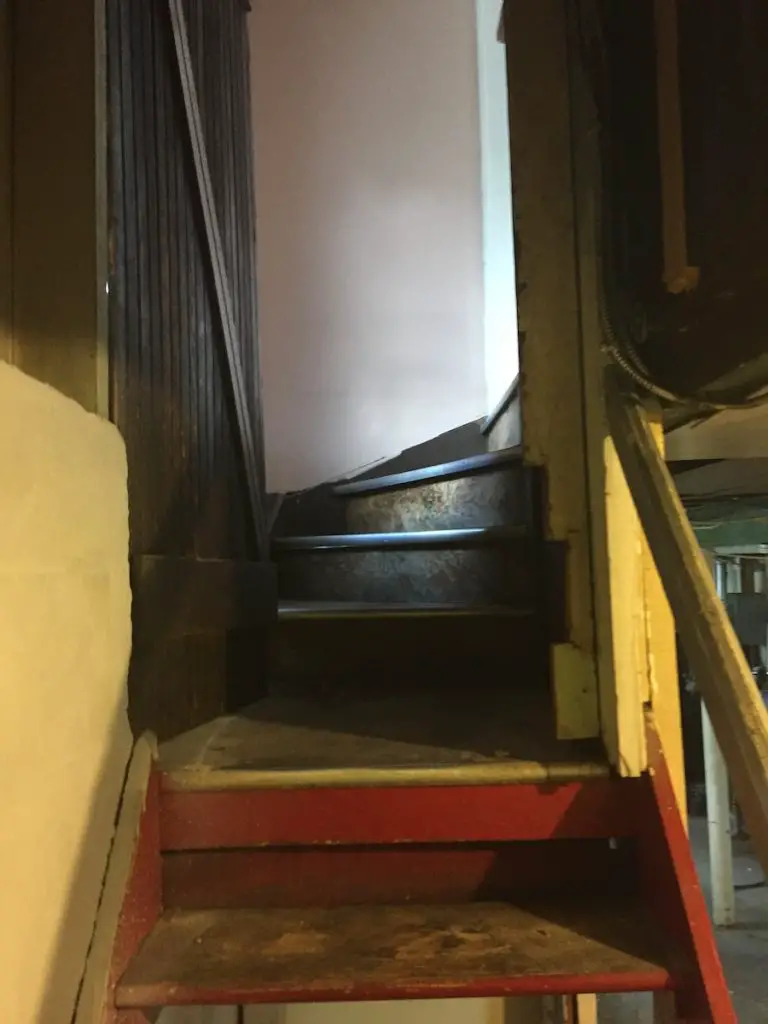
Come with me to the interior, where you will see our winding stair, plus a pitiful barn door (now repurposed to our Basement Bathroom Remodel), some oddly painted paneling, and laminate as old as laminate itself!
Please pity us as you tour this side door entrance. It was most easily left alone (it wasn’t broken, so why fix it?) while we had bigger fish to fry (see the rest of our Full Home Remodel Before and After).
Also, we were tired.
Really, really tired.
But you know, once you’re out of projects on a fixer-upper, it’s nice to start a project, am I right?
Add the significant draft (read: wind tunnel) in our basement stairwell; we were hot to trot to get this going.
Why was there a draft? Gee, I’m not sure….
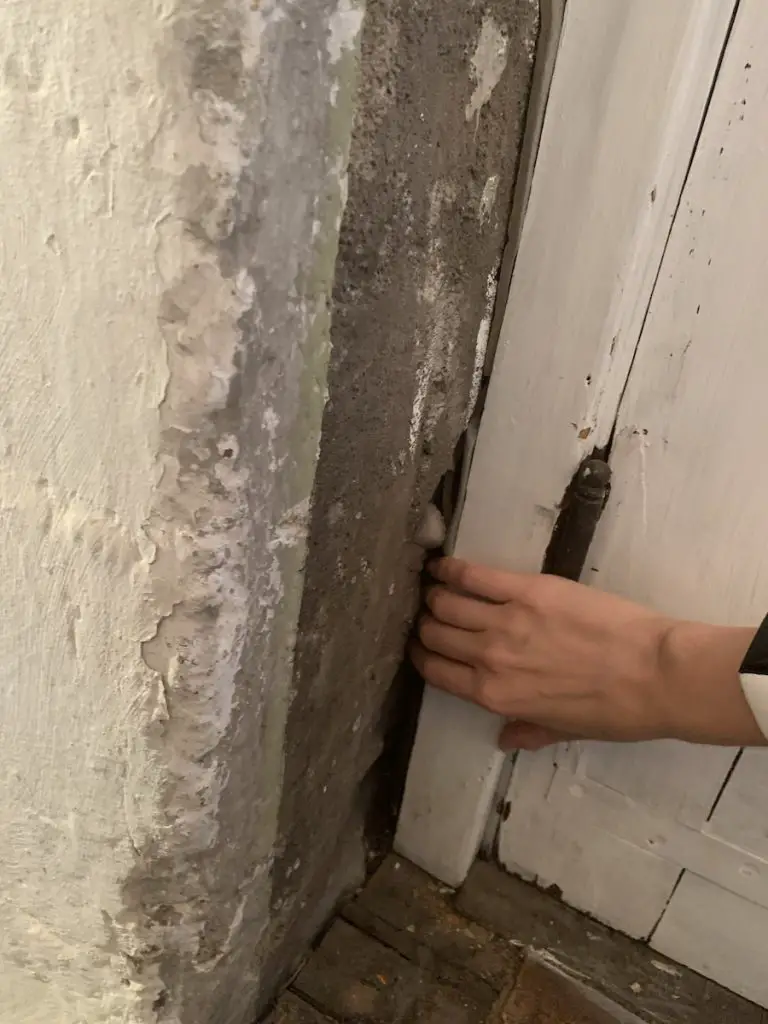
Let’s go through our process that fixed this mess.
Step 1: Exterior Staircase
Timeline: Sept. 2021
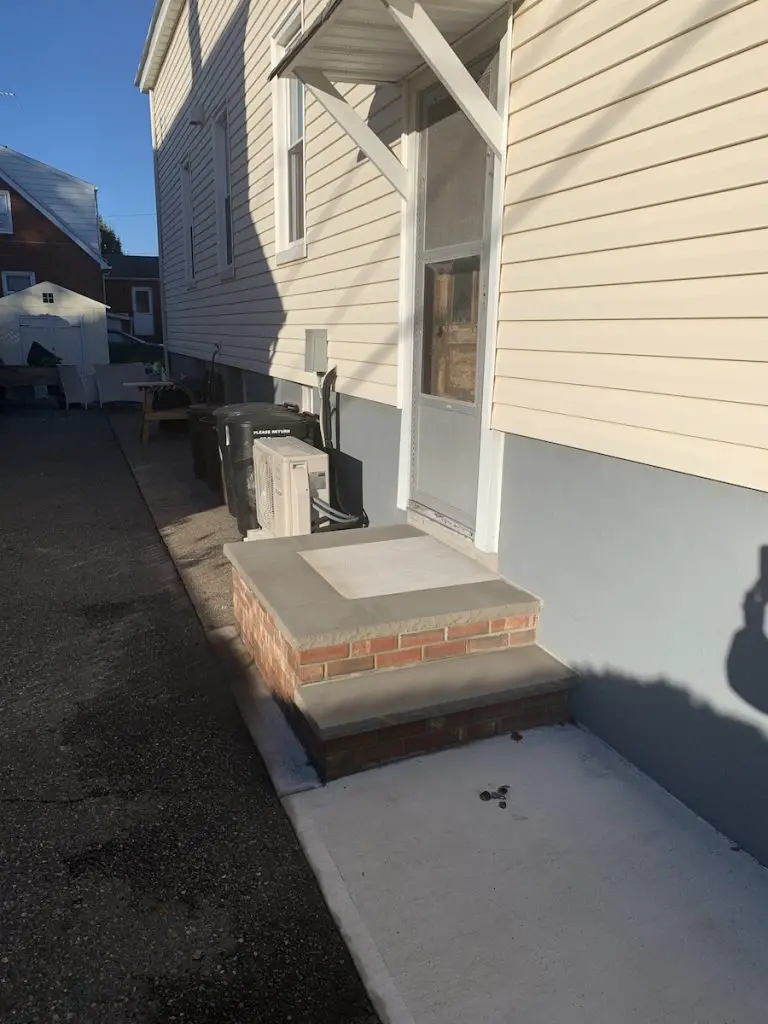
While our HUD purchase required a staircase to be poured here during our 203k renovation, we weren’t pleased with the result. So, while replacing our front exterior staircase, we tacked on a little more work for our mason to make the side door stair safe and attractive.
Yes, it was expensive, but safety is our top priority for both ourselves and our tenants.
Step 2: Replace Main Door
Timeline: 2021 – 2022
Yes, we needed to replace this door. But first, we needed to open the darned door. It had an old lock – like, a 112-year-old lock.
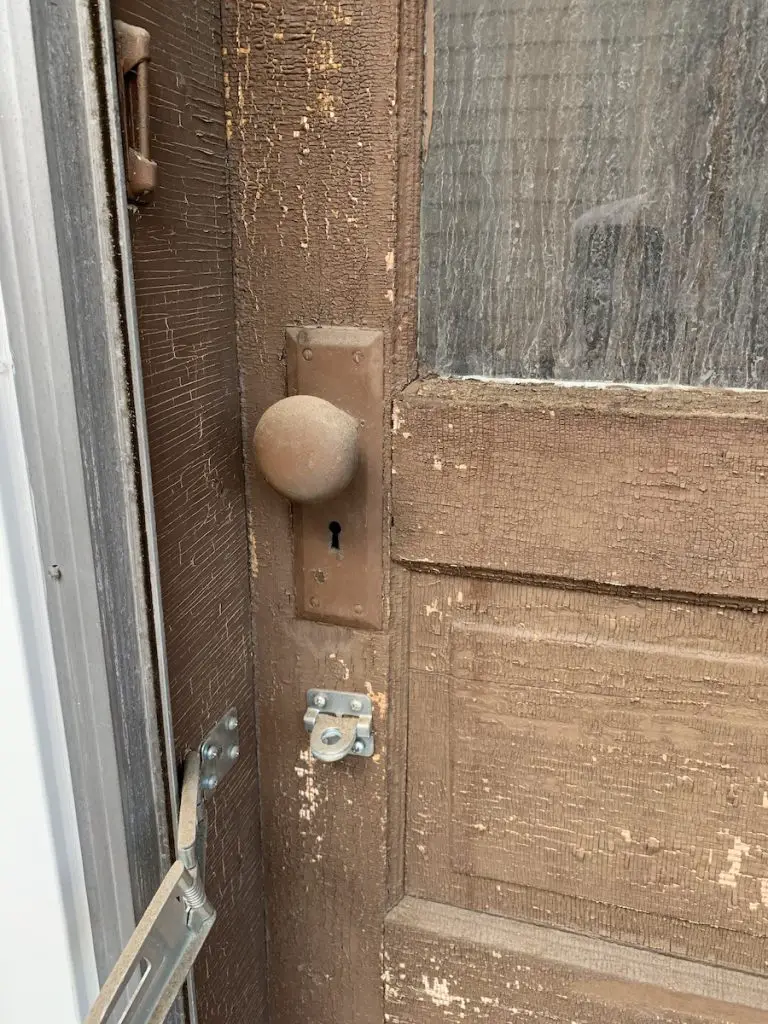
We called a locksmith. After multiple attempts to unlock the door, she gave up, popped off the hinges, and busted it open backward.
Once the lock was toast, we put a deadbolt on the door. This sat for about a year while we were doing things like our kid’s bedroom makeover, having a baby, and supporting family members facing health challenges in 2023.
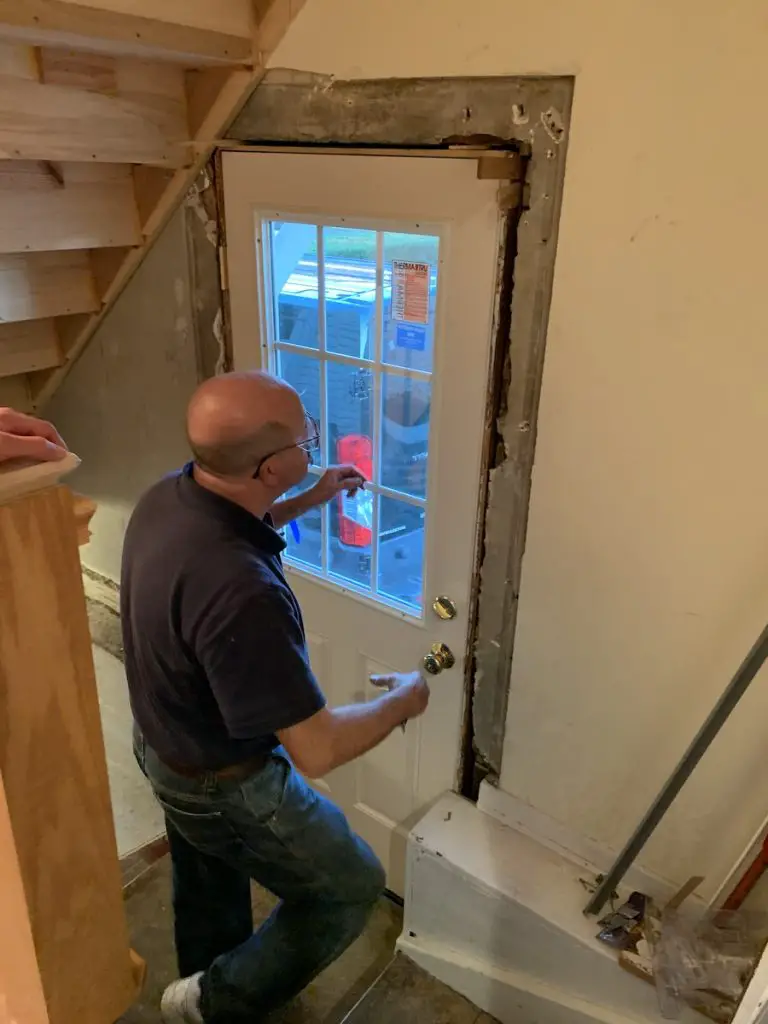
Following all that, we finally decided to replace this old door.
Thanks to the help of dear ol’ Dad, we spent a solid day squaring up the frame and installing (a thankfully standard 30”) exterior door.
Not bad.
Step 3: Seal the Trim
Timeline: I have no idea. I only know it took forever for us to get our butts moving.
Now’s a great time to mention that my dad is/was one of the best finish carpenters in NYC. He thinks a morning installing quarter-round is a great pregame to watching football. He’s like a kid at a candy store if he gets to unpack his circular saw to help with a door frame. He is the only person I know whose blood pressure decreases when he turns on a table saw.
Needless to say, we’re mighty lucky to have him in our corner.
Dad used his incredible skills to help make some, shall we say, custom trim to help this door frame meet the cement foundation en route to our basement.
Step 4: The Stair Treads
Timeline: Summer 2024
After painting the trim and walls during tenant turnover, we turned our attention towards the flooring of this basement stairs remodel.
Now, we are no strangers to stair renovations, but we faced an added challenge: this stairwell is a winder.
Winder Stairs, Explained
Be it known – if you own a new-ish house, you probably don’t have anything that winds as windy as our winding stair. That’s because winder staircases like ours are rarely installed these days. Check out the Building Code Blog for more information.
However, in houses that are 100+ years old (like ours), this stair design can be “grandfathered in.” In other words, if you don’t take it out, you can leave it there, but good luck if you want to install a new one for some crazy reason.
The bullnose edges of this stair were also a wretched metal – difficult to remove and difficult to replace. Wanting to avoid a massive spend on improving the look of this stair, we decided to leave the metal bullnose but find a way to replace the flooring.
How To Update Ugly Winder Stair
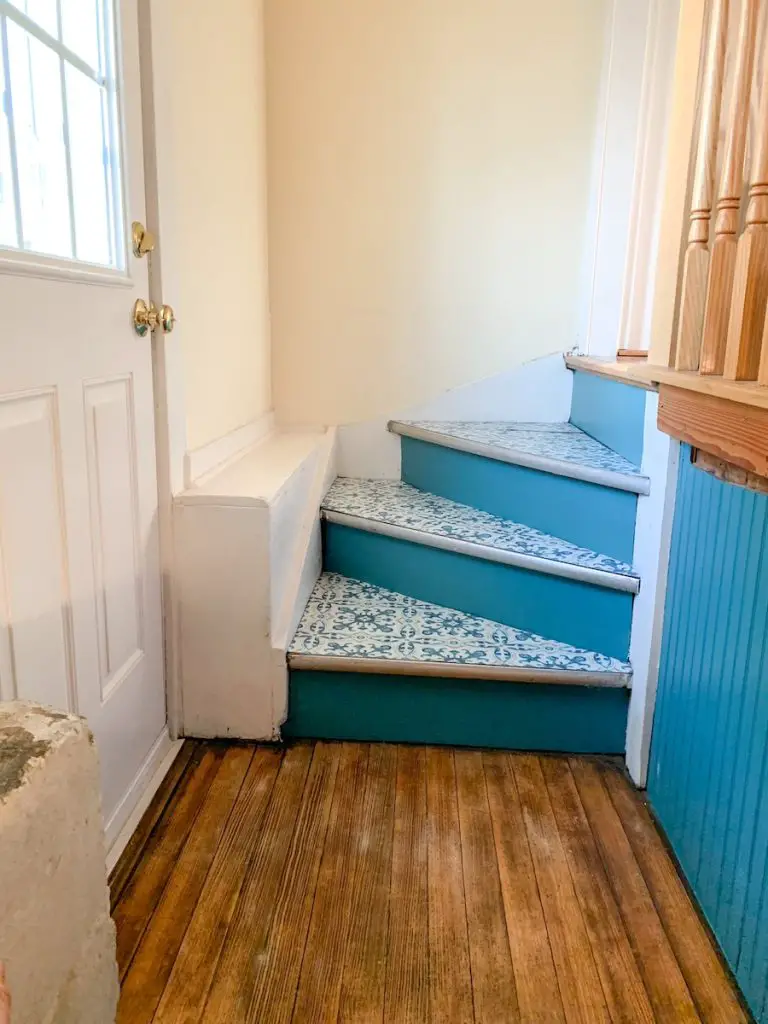
First, we had to do a lot of research. The laminate was over 1/8” thick, so removing it would mean we’d have to meet the difference to avoid a trip hazard on the bull nose. However, we didn’t want to go through the difficulty of installing LVP or laminate on the winder. We decided on 1/8” plywood plus some stick-on tile.
Here’s what it looked like when we removed the old laminate:
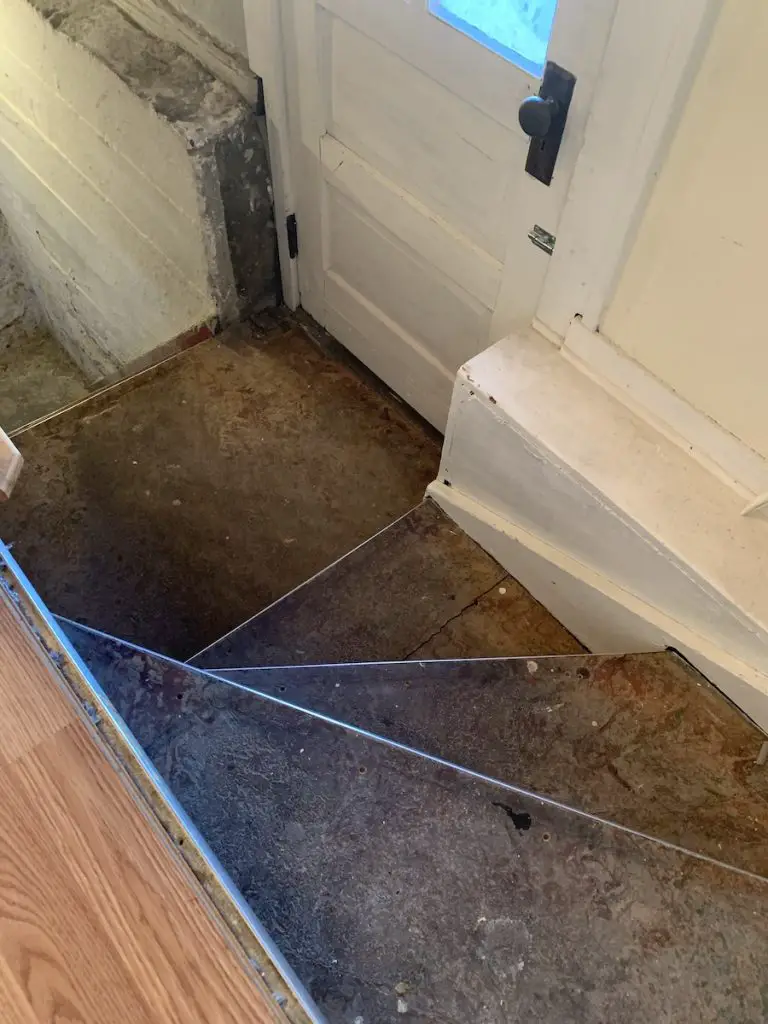
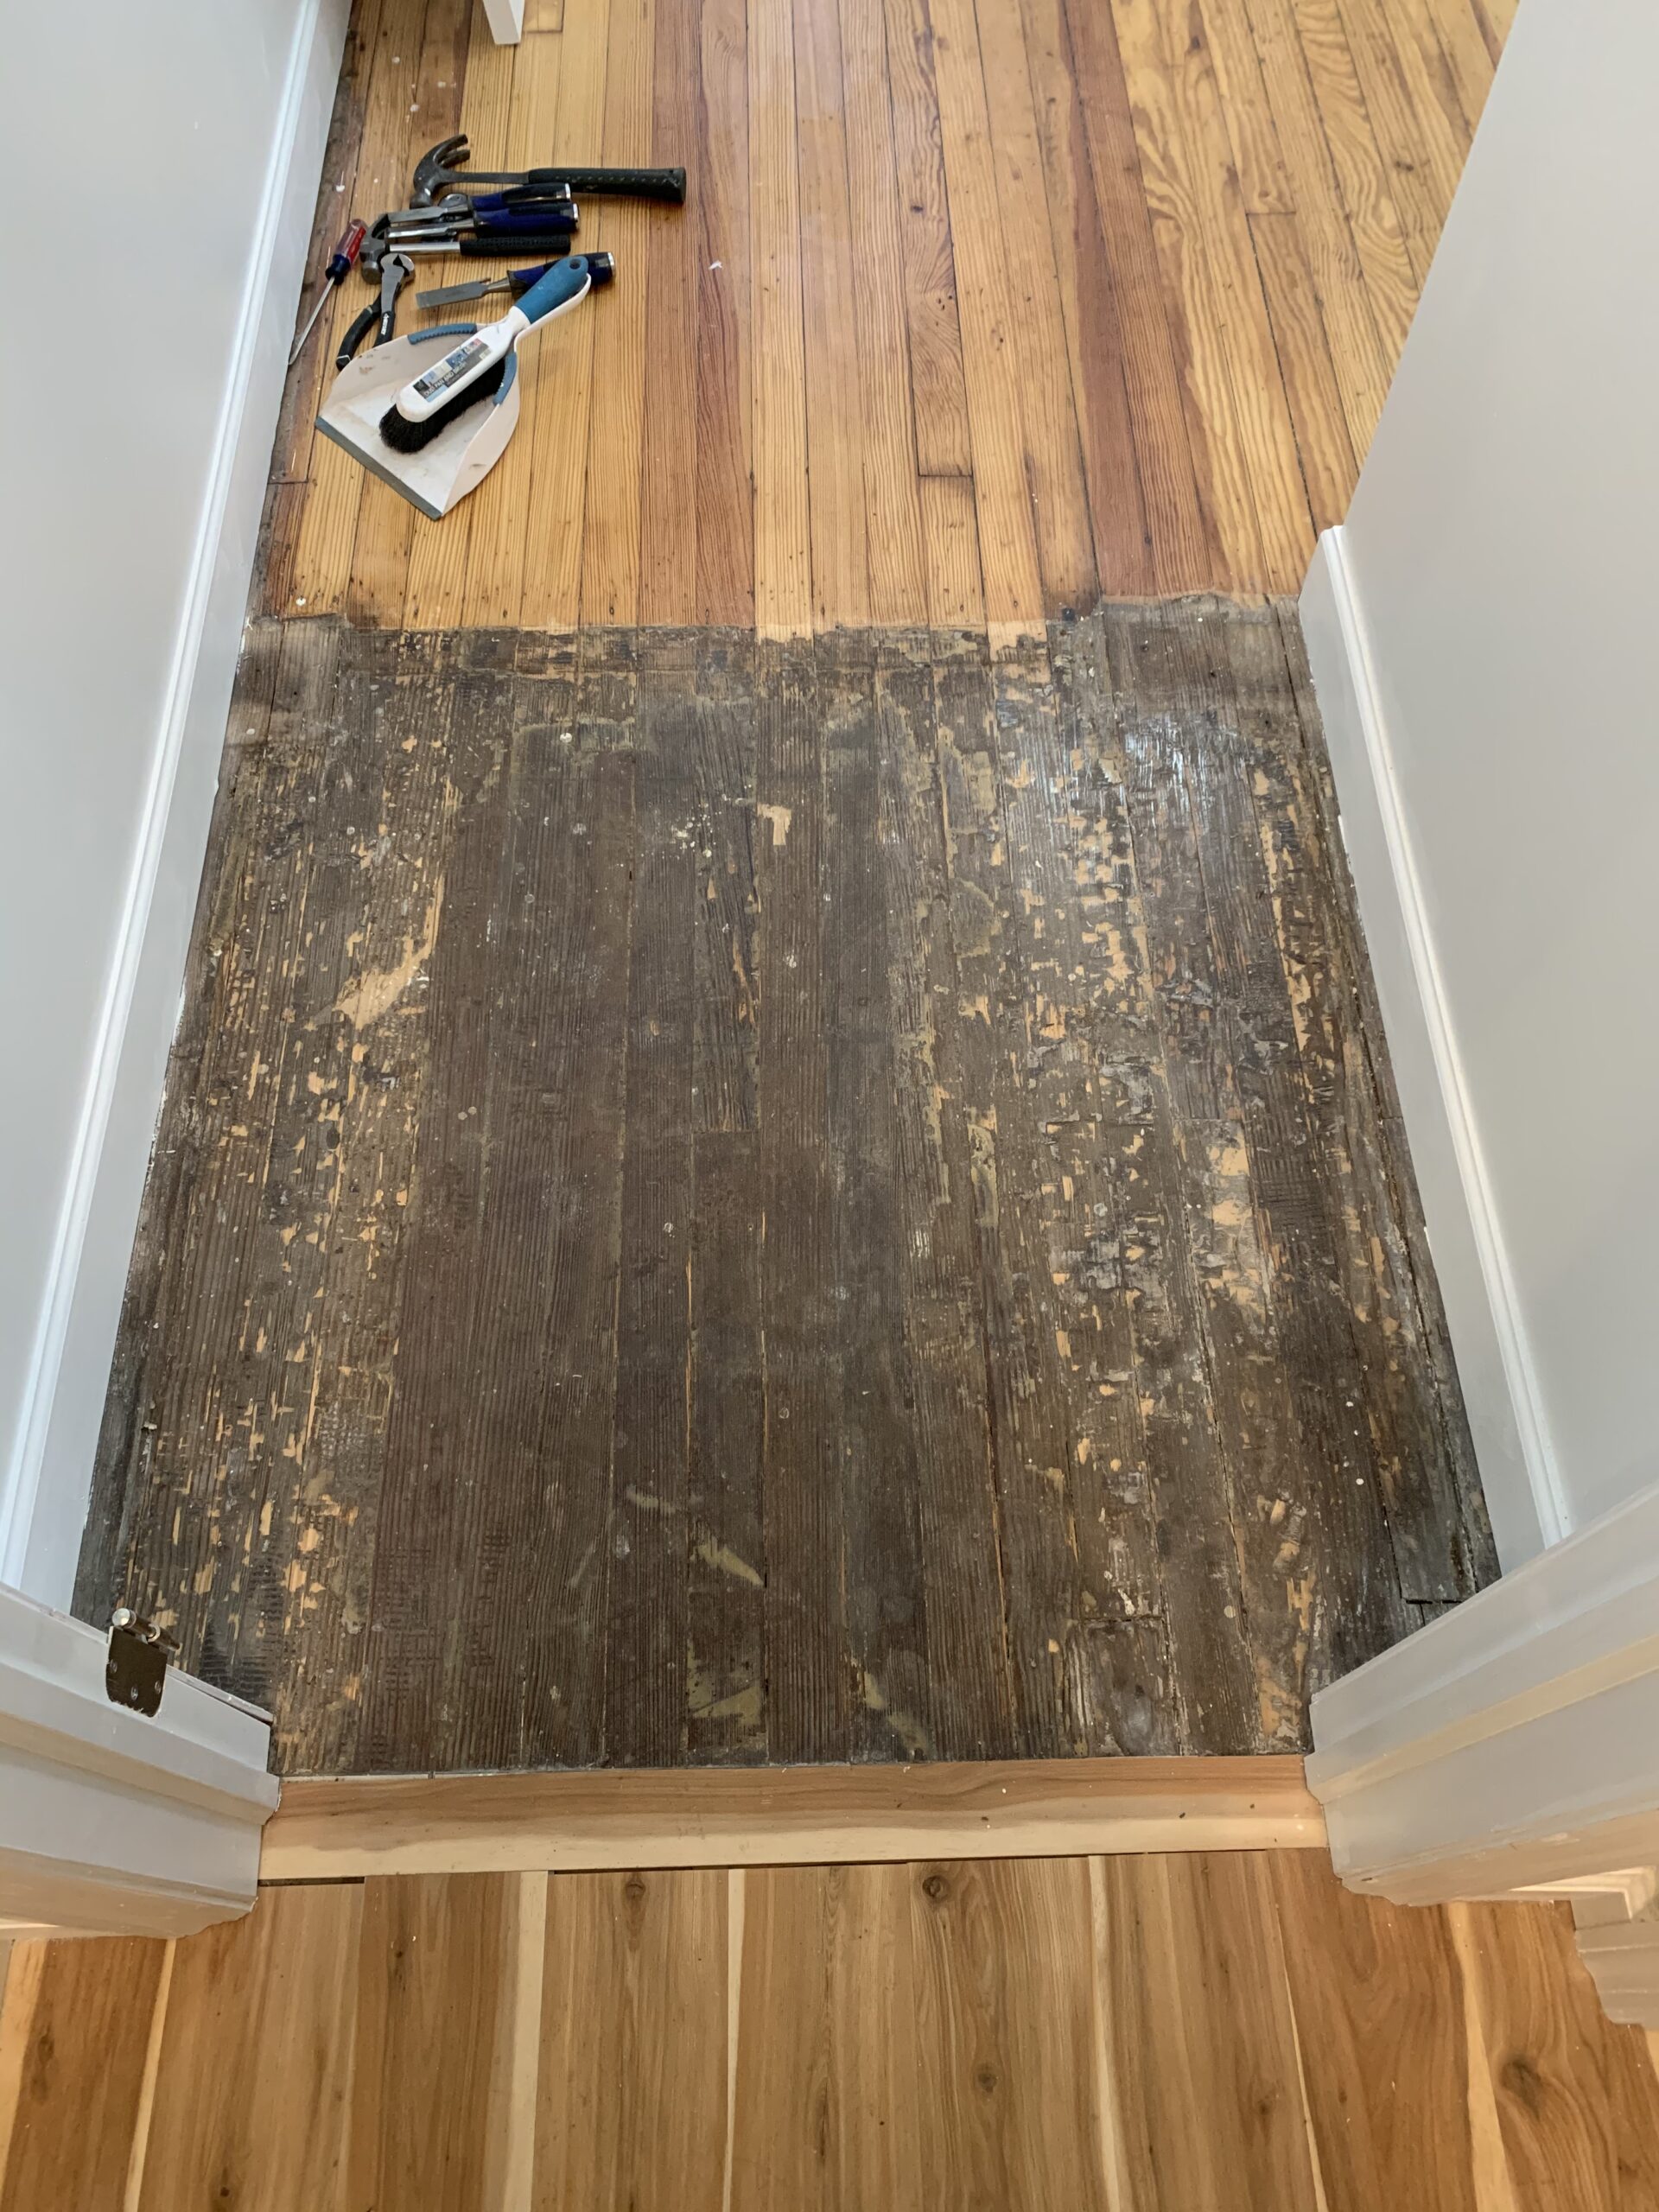
And on the platform, we discovered a huge advantage:
HARDWOODS!!!
Eureka! Every old house homeowner loves this sight!
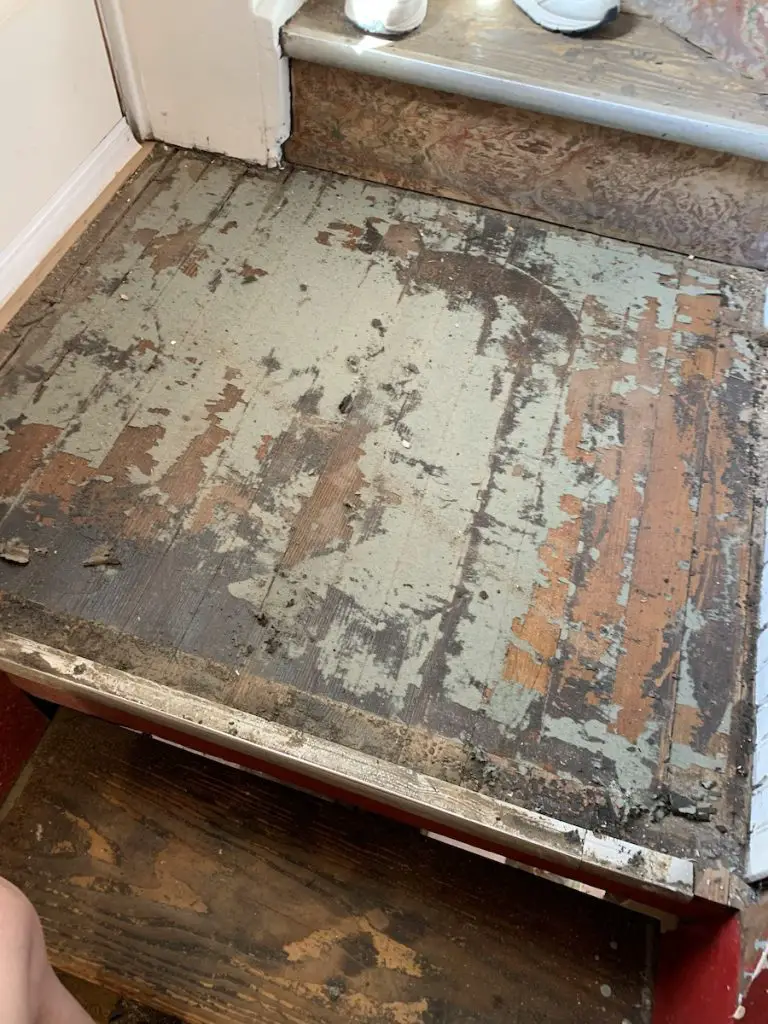
We scraped it down and were off to the races!
Tip: we kept the laminates handy as stencils for our new plywood stair treads.
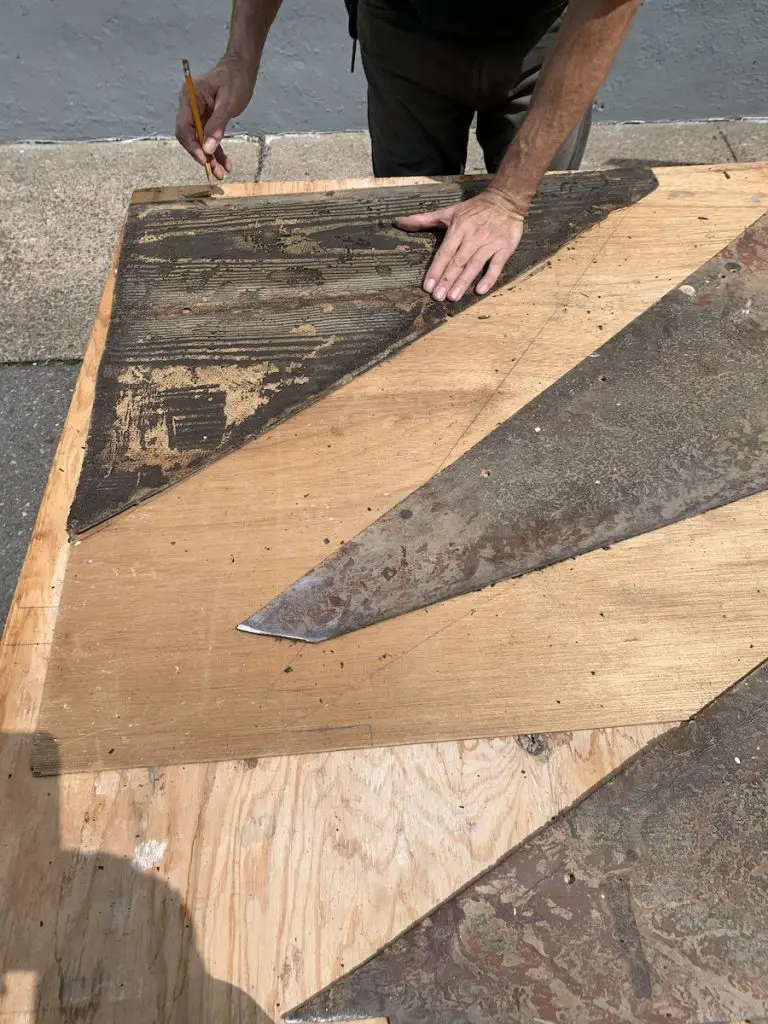
We carefully laid out the material, then Dad used the jigsaw to carve out the new plywood pieces.
Note: This 1/8” plywood is scrap wood from his basement. Never, ever throw out scraps from projects!! This has saved us a legitimate fortune on our projects.
Related: How to Save Money on Home Renovations
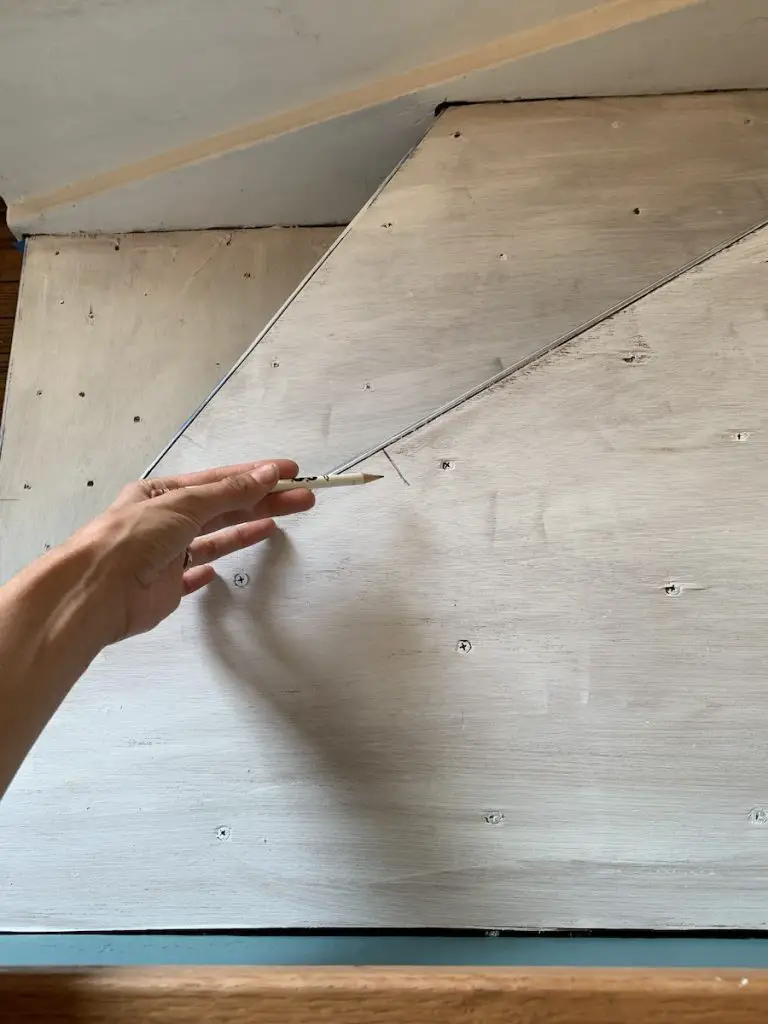
A little silicone (read: A LOT of silicone), some screws, and we were on our way to safe and improved treads.
Step 5: Make It Nice-Nice
Timeline: Summer 2024
Now that our staircase was protected from the elements with a new door, safe and sound with sturdy treads, it was time to put on the finishing touches.
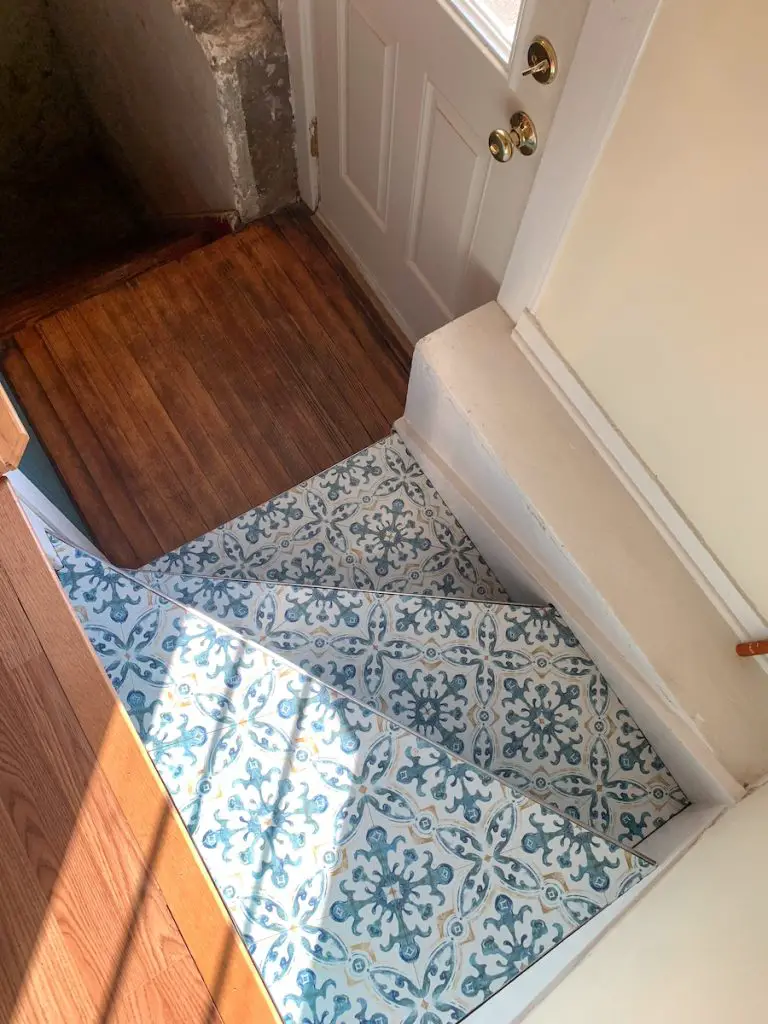
We ordered some stick-on floor tile from Wayfair.
You can purchase similar floor tiles if you’re interested
Then, we cleaned and painted the risers to match. How did we choose this color? We looked at the picture of our tile’s advertising and chose one of the colors in the ad picture.
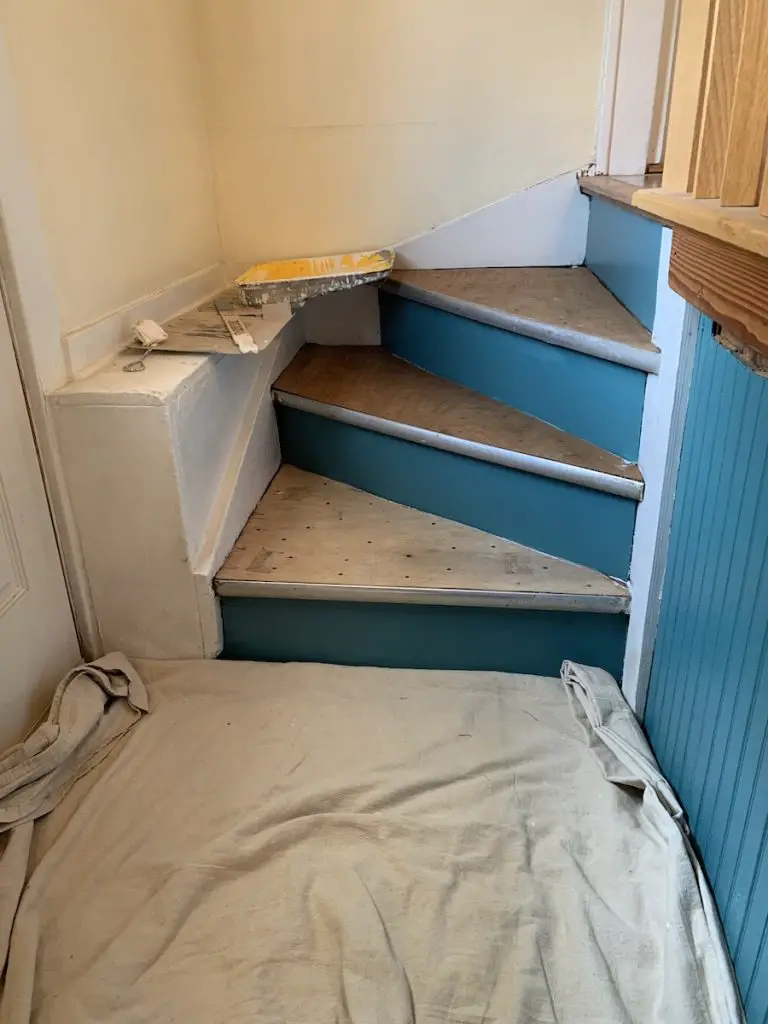
We also took the time to sand and refinish the newfound hardwood platform.
Related: How to Refinish Hardwood Floors – Basic DIY Tutorial
Next, it was time to tile.
The only thing more fun than descending a winding stair is figuring out how to tile one!!
Remember algebra? And geometry?
And remember giving your teacher, mom, and tutor some sass that “I will never, ever, evah need this stuff in my whole life?!”
Installing stick on tile is when they prove you incorrect.
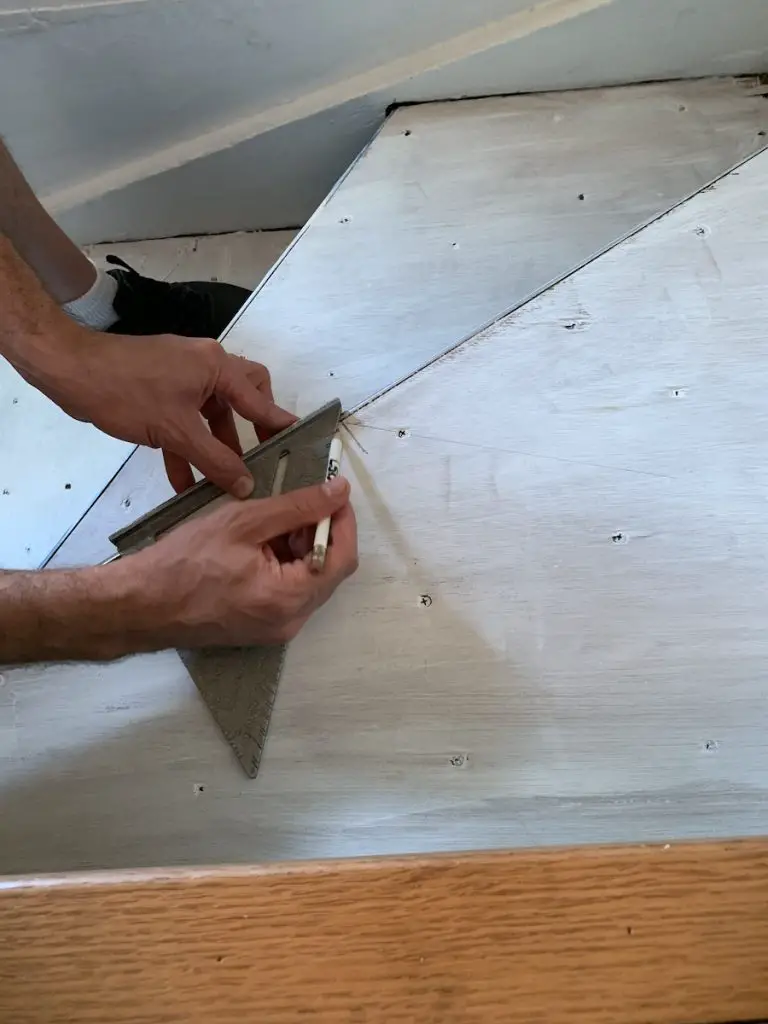
We were pleased to see our tiles came out alright – not perfect, but just enough for our needs.
Step 6: The Storm Door
Timeline: Fall 2024
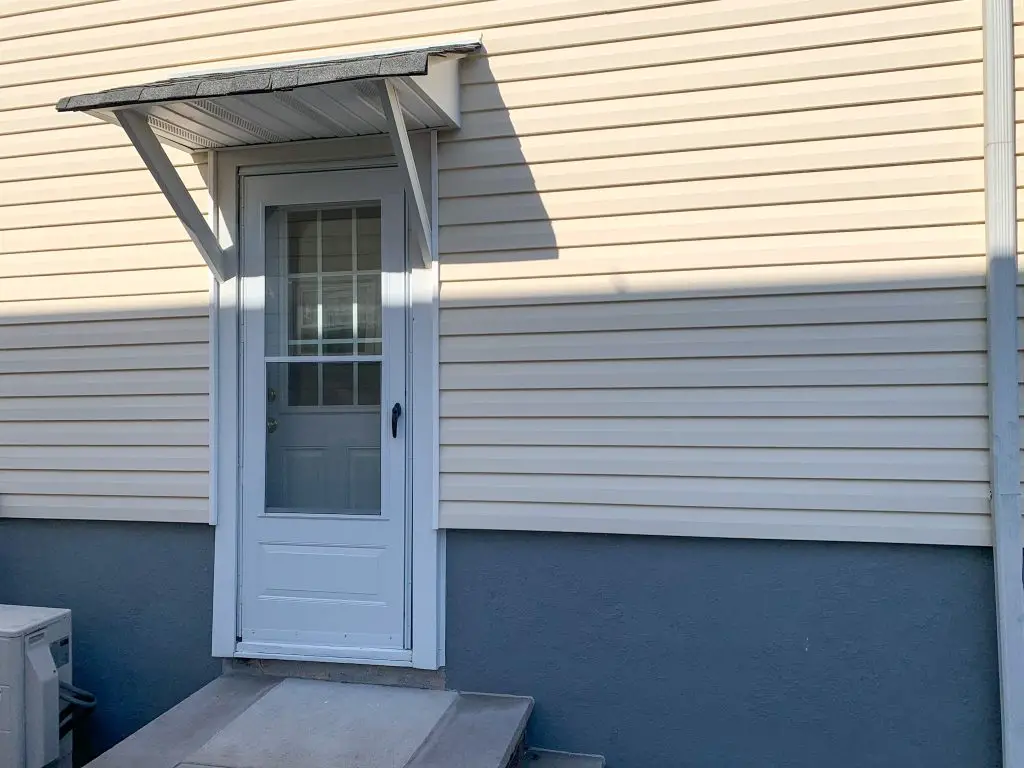
The piece de resistance of this project was our storm door.
We hemmed and hawed about putting another one in since we hardly ever use this door, but in the name of cutting down drafts and keeping a good appearance… we gave in.
WOW, I cannot even tell you what a difference this storm door has made!
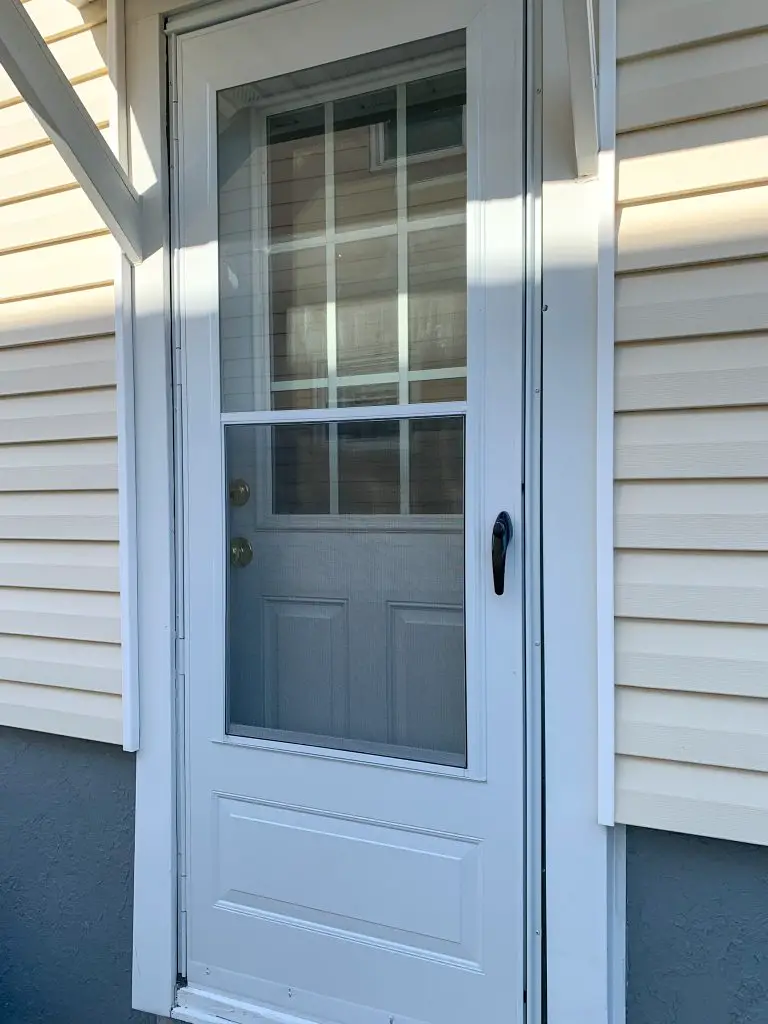
Plus, this is not your grandma’s storm door, with that awkward latch on the hinge to pinch your fingers – nay, this beauty has a button instead, is a clean white, and boats a screen.
Plus, I no longer feel the wind coming from the Rockies straight across Appalachia to New Jersey every time I walk down my staircase!!!
Our house is warmer, our heating bill is about to drop, and we are ready to bask in the glory of this before and after.
BOOM.


Final Thoughts on Basement Stairs Remodel
Thank you for joining us on the everlasting saga that is and was our basement stairs remodel! We hope this has inspired you to take on a project, even if in small increments, to help improve your home.
Don’t forget to subscribe for our once-a-month updates!
You may also like:
- How to Refinish Hardwood Floors – Basic DIY Tutorial
- 17 Tips – How to Renovate a House While Living in It
- 21 Best Home Improvement Items on Amazon for Under $10

